
1. 설정
1.1 패키지 내용
조립하기 전에 패키지에 모든 구성품이 들어 있는지 확인하십시오.
- KTC H24F7 24 Inch 240Hz Monitor
- 모니터베이스
- 모니터 받침대
- 전원 어댑터
- HDMI 케이블
- 빠른 시작 가이드(QSG)
1.2 조립 지침
모니터를 조립하려면 다음 단계를 따르세요.
- 모니터와 모든 구성품을 포장에서 조심스럽게 꺼내십시오.
- Attach the monitor stand to the monitor base. Ensure it clicks securely into place.
- Connect the assembled stand and base to the back of the monitor. The stand is designed for easy snap-in installation.
- 모니터를 안정적이고 평평한 표면에 놓으십시오.

1.3 VESA 마운트 설치
The KTC H24F7 monitor supports VESA 100mm x 100mm mounting for alternative stand or wall mount solutions. Ensure you use M4-0.7 x 10mm screws (not included) for secure installation.

1.4 장치에 연결하기
적절한 케이블을 사용하여 컴퓨터 또는 기타 장치를 모니터에 연결하십시오.
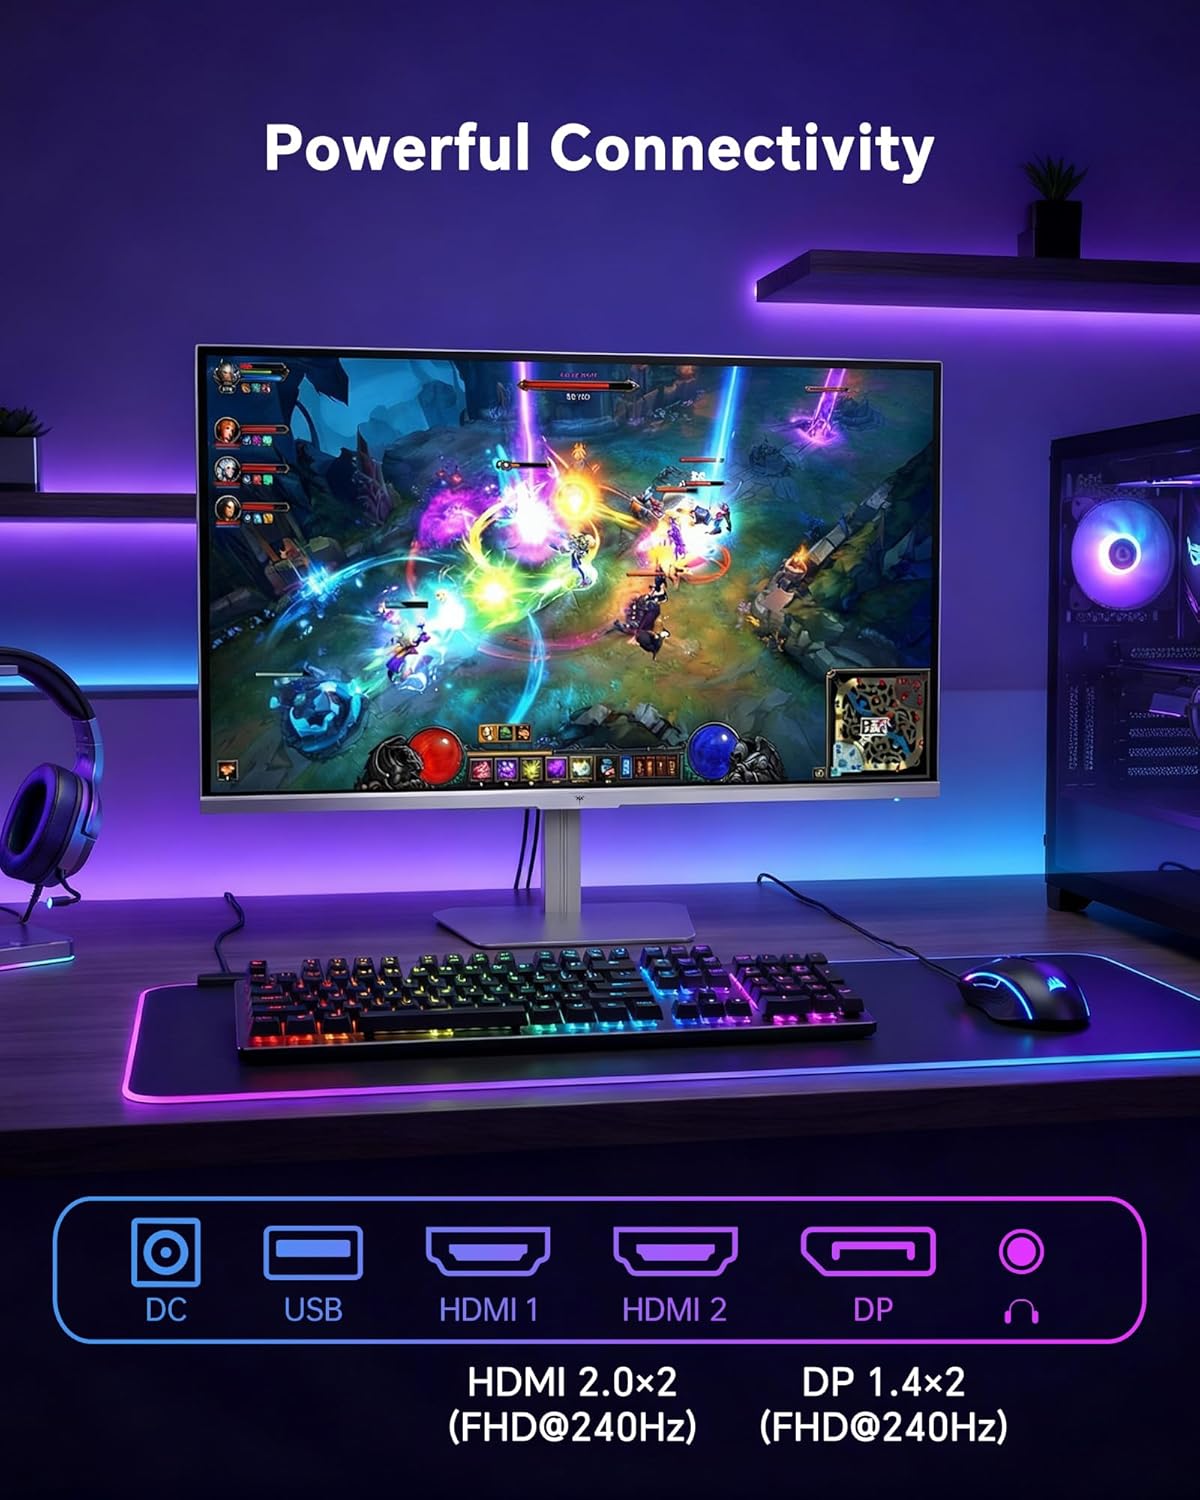
- HDMI : Use an HDMI cable to connect to devices with HDMI output. The monitor has two HDMI 2.0 ports, supporting FHD at 240Hz.
- 디스플레이포트: Use a DisplayPort cable for devices with DisplayPort output. The monitor has one DisplayPort 1.4, supporting FHD at 240Hz.
- 힘: Connect the power adaptor to the DC input on the monitor and then to a power outlet.
- USB: A USB 2.0 port is available for connecting peripherals.
- 오디오 출력: A 3.5mm audio jack is available for connecting headphones or external speakers.
2. 사용 설명서
2.1 전원 켜기/끄기
모니터에 있는 전원 버튼을 눌러 모니터를 켜거나 끄세요. 모니터가 작동 중이면 전원 표시등이 켜집니다.
2.2 온스크린 디스플레이(OSD) 메뉴
The OSD menu allows you to adjust various monitor settings. Use the control buttons (typically located on the back or bottom of the monitor) to navigate the menu and select options. Refer to the Quick Start Guide for specific button functions.
2.3 디스플레이 설정
최적화하세요 view다음 설정을 조정하여 경험을 향상시키세요.
- 새로 고침 빈도: The monitor supports a 240Hz refresh rate for smooth motion. Ensure your graphics card settings are configured to utilize this rate.

- 적응 동기화: This technology synchronizes the monitor's refresh rate with your graphics card's frame rate to eliminate screen tearing and stuttering. Enable Adaptive Sync in the OSD menu and ensure it is also enabled in your graphics card control panel (FreeSync/G-Sync compatible).

- HDR 400: High Dynamic Range 400 provides enhanced contrast and color accuracy, delivering brighter highlights and deeper shadows. Activate HDR in the OSD menu and your operating system display settings for compatible content.

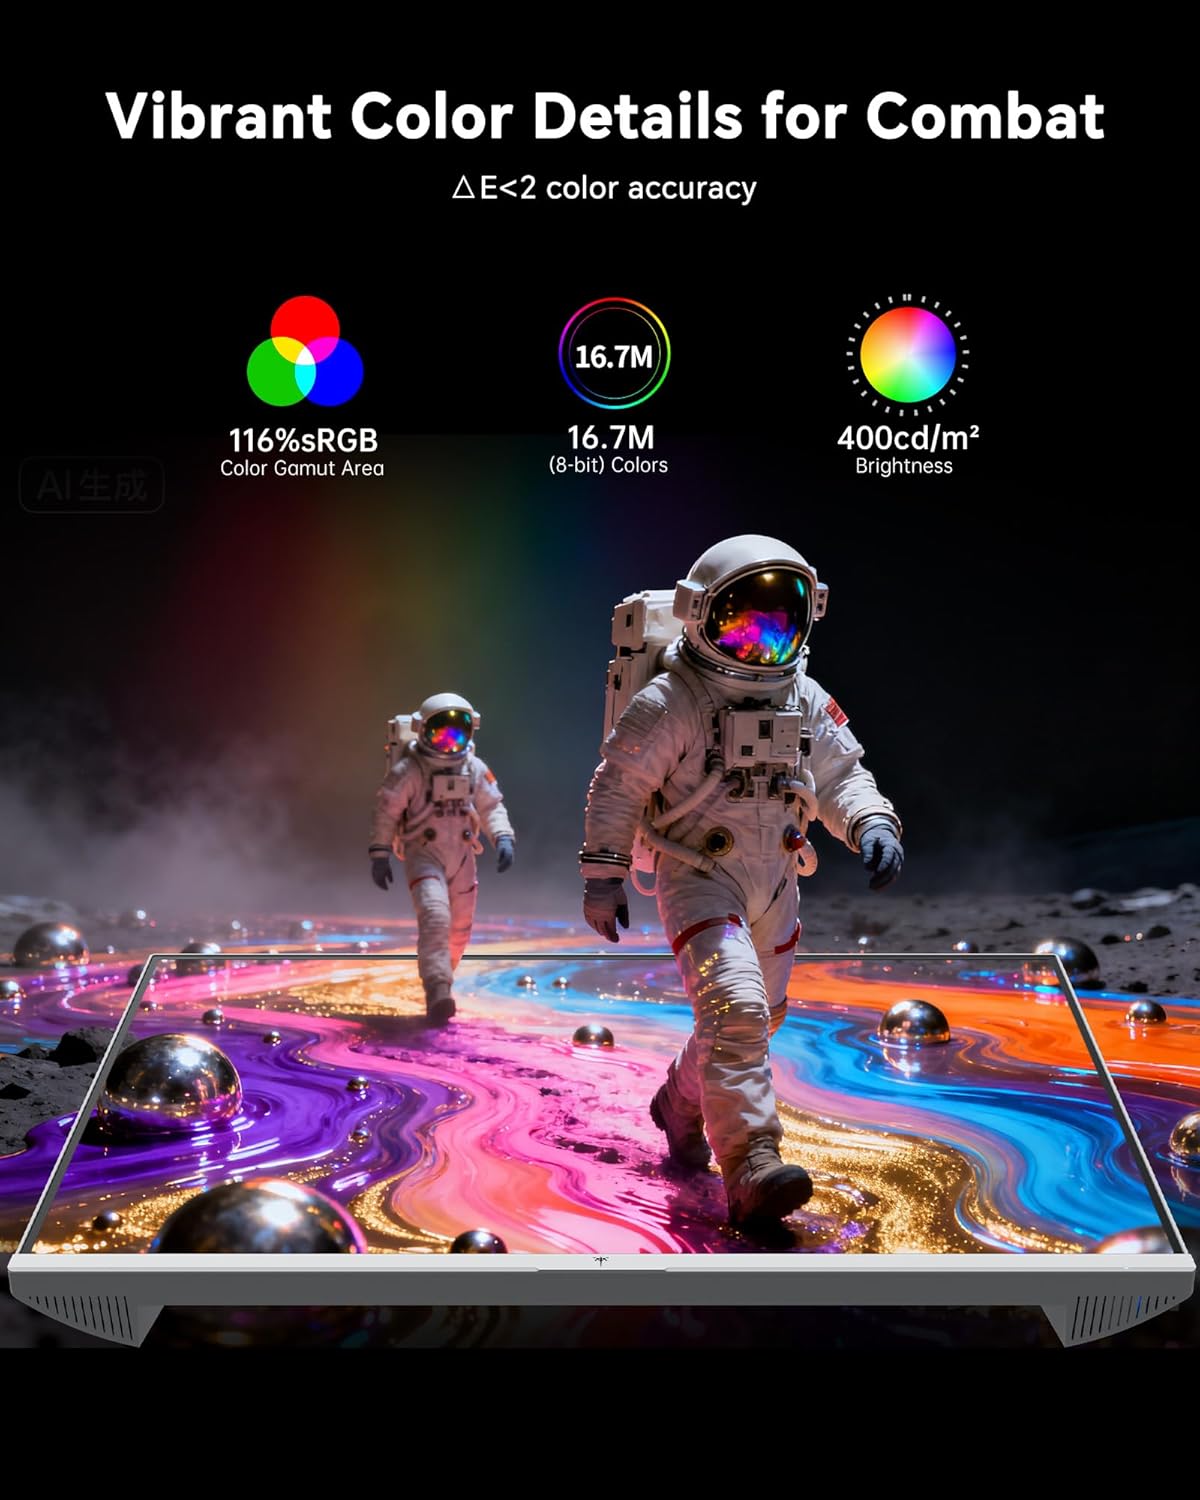
- 색상 설정: The monitor offers 116% sRGB color gamut and 16.7 million colors. Adjust brightness (up to 400 cd/m²) and color temperature through the OSD menu to suit your preference.
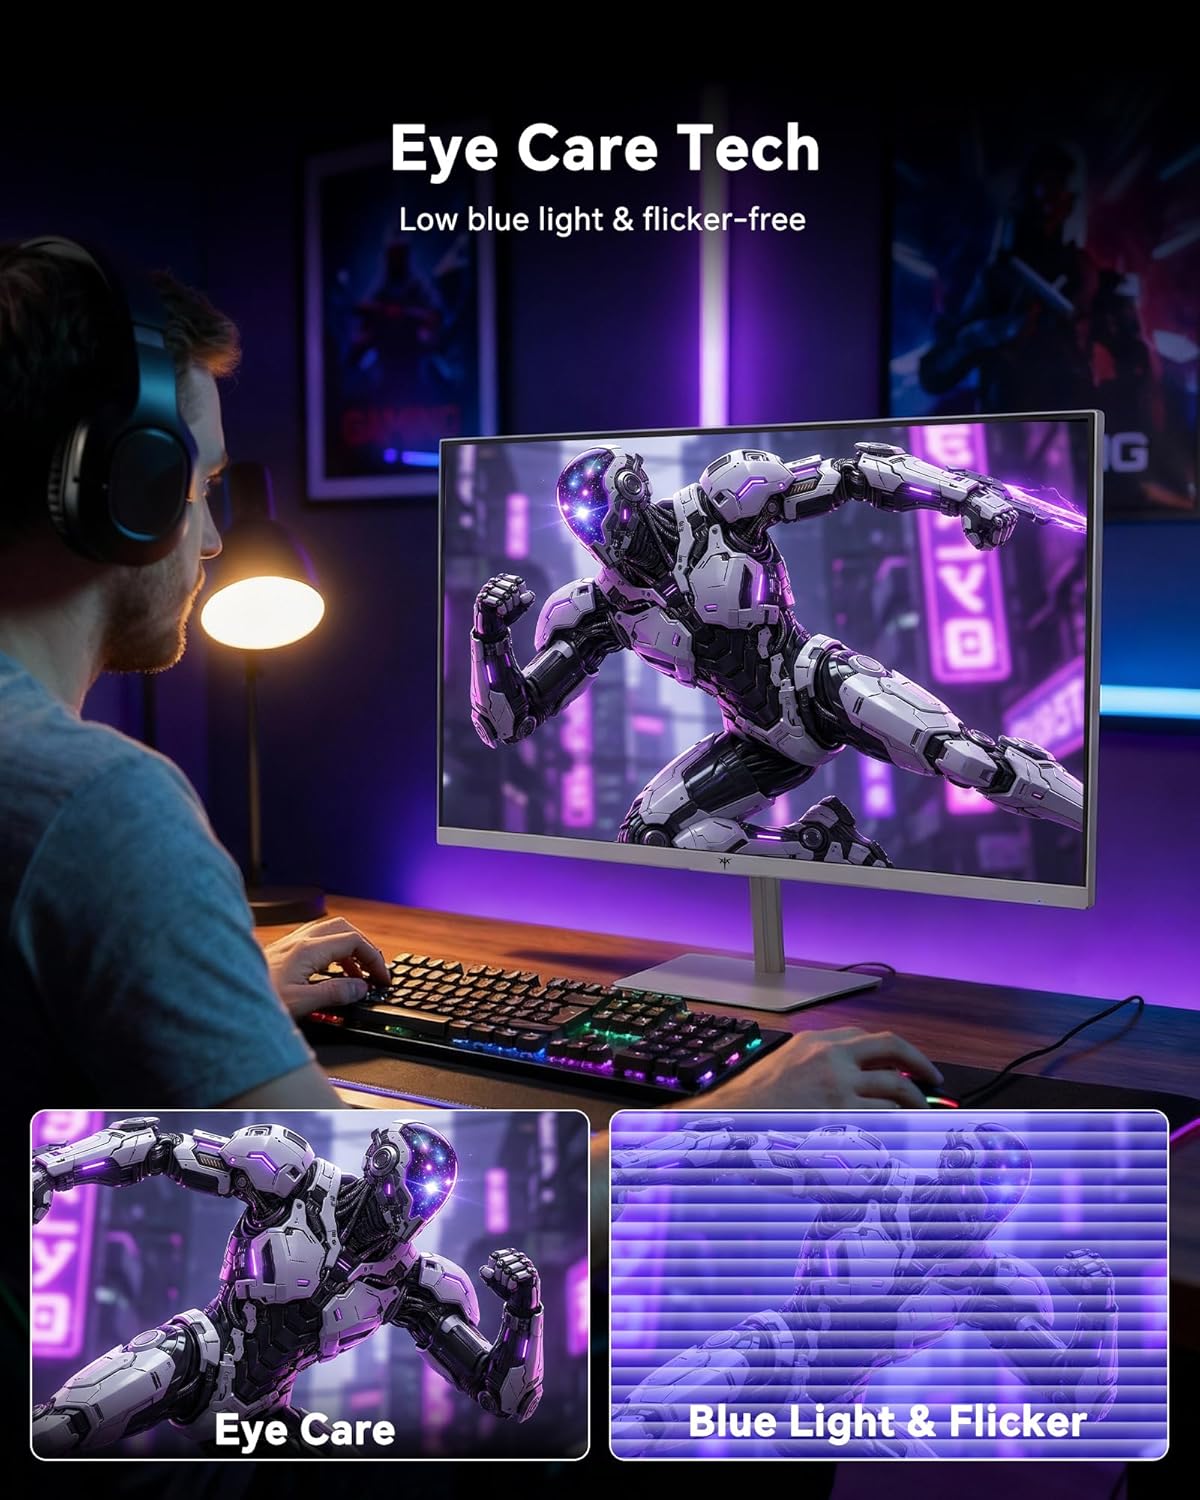
- 아이 케어 기술: The monitor features low blue light and flicker-free technology to reduce eye strain during prolonged use. These settings can typically be adjusted or enabled within the OSD menu.
2.4 Monitor Tilt Adjustment
The monitor supports tilt adjustment from -5° to 15° (±3°). Gently adjust the monitor panel to your desired view잉 각도.
3. 유지관리
3.1 모니터 청소
모니터 화면과 c를 청소하려면asing:
- 청소하기 전에는 항상 모니터의 전원을 끄고 전원 코드를 뽑으세요.
- 부드럽고 털이 없는 천을 살짝 사용하세요.amp물이나 부드럽고 연마성이 없는 화면 세척제로 닦으세요.
- 화면의 먼지와 얼룩을 부드럽게 닦아내세요. 과도한 압력을 가하지 마십시오.
- c를 위해asing, use a dry, soft cloth. Do not use alcohol, ammonia, or abrasive cleaners, as these can damage the surface.
3.2 일반 관리
- 모니터나 케이블 위에 무거운 물건을 올려놓지 마세요.
- 모니터를 직사광선, 과도한 열, 극한의 추위에 노출시키지 마세요.
- 모니터를 액체와 습도가 높은 곳에 두지 마세요.
- 과열을 방지하려면 모니터 주위에 적절한 환기가 이루어지도록 하십시오.
4. 문제 해결
If you encounter issues with your KTC H24F7 monitor, refer to the following common problems and solutions:
| 문제 | 가능한 원인 | 해결책 |
|---|---|---|
| 화면에 이미지가 없습니다. | Power cable disconnected; Video cable disconnected or loose; Incorrect input source selected; Monitor is off. | Ensure power cable is securely connected and monitor is on. Check video cable connections (HDMI/DisplayPort) at both the monitor and computer. Press the input source button on the monitor to cycle through inputs. |
| 화면 깜빡임 또는 찢어짐 | Adaptive Sync not enabled; Graphics card driver issues; Faulty video cable. | Enable Adaptive Sync in the OSD menu and your graphics card control panel. Update graphics card drivers. Try a different video cable. If using DisplayPort 1, try DisplayPort 2 or HDMI if available, as some units may experience issues with specific ports. |
| 색상이 잘못되었거나 바래 보입니다. | Color settings incorrect; HDR not properly configured; Faulty video cable. | Adjust color settings (brightness, contrast, color temperature) in the OSD menu. Ensure HDR is enabled in both the OSD and your operating system for HDR content. Try a different video cable. |
| 모니터 주사율이 240Hz에 도달하지 않습니다. | Graphics card limitations; Incorrect display settings in OS; Cable bandwidth limitations. | Ensure your graphics card supports 240Hz at 1080p. Verify display settings in your operating system (e.g., Windows Display Settings or NVIDIA/AMD control panel) are set to 240Hz. Use the provided HDMI cable or a certified DisplayPort 1.4 cable. |
| Stuck or dead pixels | 제조상의 결함. | A small number of stuck or dead pixels (typically 1-3) may be considered normal for LCD panels. If the issue is severe or persistent, contact customer support. |
5. 사양
| 특징 | 세부 사항 |
|---|---|
| 상표 | KTC |
| 모델 번호 | H24F7 |
| 화면 크기 | 24 인치 |
| 해결 | FHD 1080p(1920 x 1080 픽셀) |
| 패널 유형 | 빠른 IPS |
| 새로 고침 빈도 | 240Hz |
| 응답 시간 | 1밀리초(MPRT) |
| 종횡비 | 16시 9분 |
| 명도 | 제곱미터당 400 칸델라 |
| 대비율 | 1000시 1분 |
| 색상 영역 | 116% sRGB |
| HDR 지원 | HDR400 |
| 적응형 동기화 | FreeSync, G-Sync Compatible |
| 연결성 | 2x HDMI 2.0, 1x DisplayPort 1.4, 1x USB 2.0, 1x Audio Out (3.5mm) |
| 눈 관리 기능 | Low Blue Light, Flicker-Free, Anti-Glare Screen |
| 조정 | 기울기(-5°~15°) |
| VESA 마운트 | 100mm x 100mm |
| 치수(D x W x H) | 5.39인치 깊이 x 21.25인치 너비 x 15.74인치 높이 |
| 품목 무게 | 3.2 킬로그램 |
| 색상 | 하얀색 |
6. 보증 및 지원
6.1 보증 정보
The KTC H24F7 monitor comes with a three-year manufacturer warranty. 본 보증은 정상적인 사용 중에 발생하는 재료 및 제조상의 결함을 보장합니다.
보증 청구를 위해 구매 증명서를 보관하십시오.
6.2 고객 지원
For technical assistance, warranty claims, or any questions regarding your KTC H24F7 monitor, please contact KTC customer support. KTC aims to provide responsive customer support and typically responds within 12 hours.
You can usually find contact information on the official KTC website or through the retailer where you purchased the product. When contacting support, please have your monitor model number (H24F7) and purchase details ready.