소개
The Geeni Lighthawk Smart Floodlight Camera is an advanced outdoor surveillance device designed to provide security and illumination. It features Ultra-HD video recording, powerful LED floodlights, motion detection, two-way audio communication, and a built-in siren. This manual provides detailed instructions for the installation, operation, and maintenance of your Geeni Lighthawk camera.
주요 특징
- Ultra-HD 3MP Video & Dual-Band Wi-Fi: Records in 3MP (2304 x 1296) resolution for clear video. Supports both 2.4GHz and 5GHz Wi-Fi networks for stable connectivity.
- 1800-Lumen Lighting: Integrated LED floodlights provide 1800 lumens of brightness, activating automatically upon motion detection.
- Smart Motion Alerts & Siren: Sends instant notifications to your smartphone when motion is detected up to 8 meters away. Features a built-in siren for deterrence.
- Two-Way Audio & Night Vision: Enables communication through a built-in microphone and speaker. Offers enhanced night vision for clear visibility up to 8 meters (26ft) in darkness.
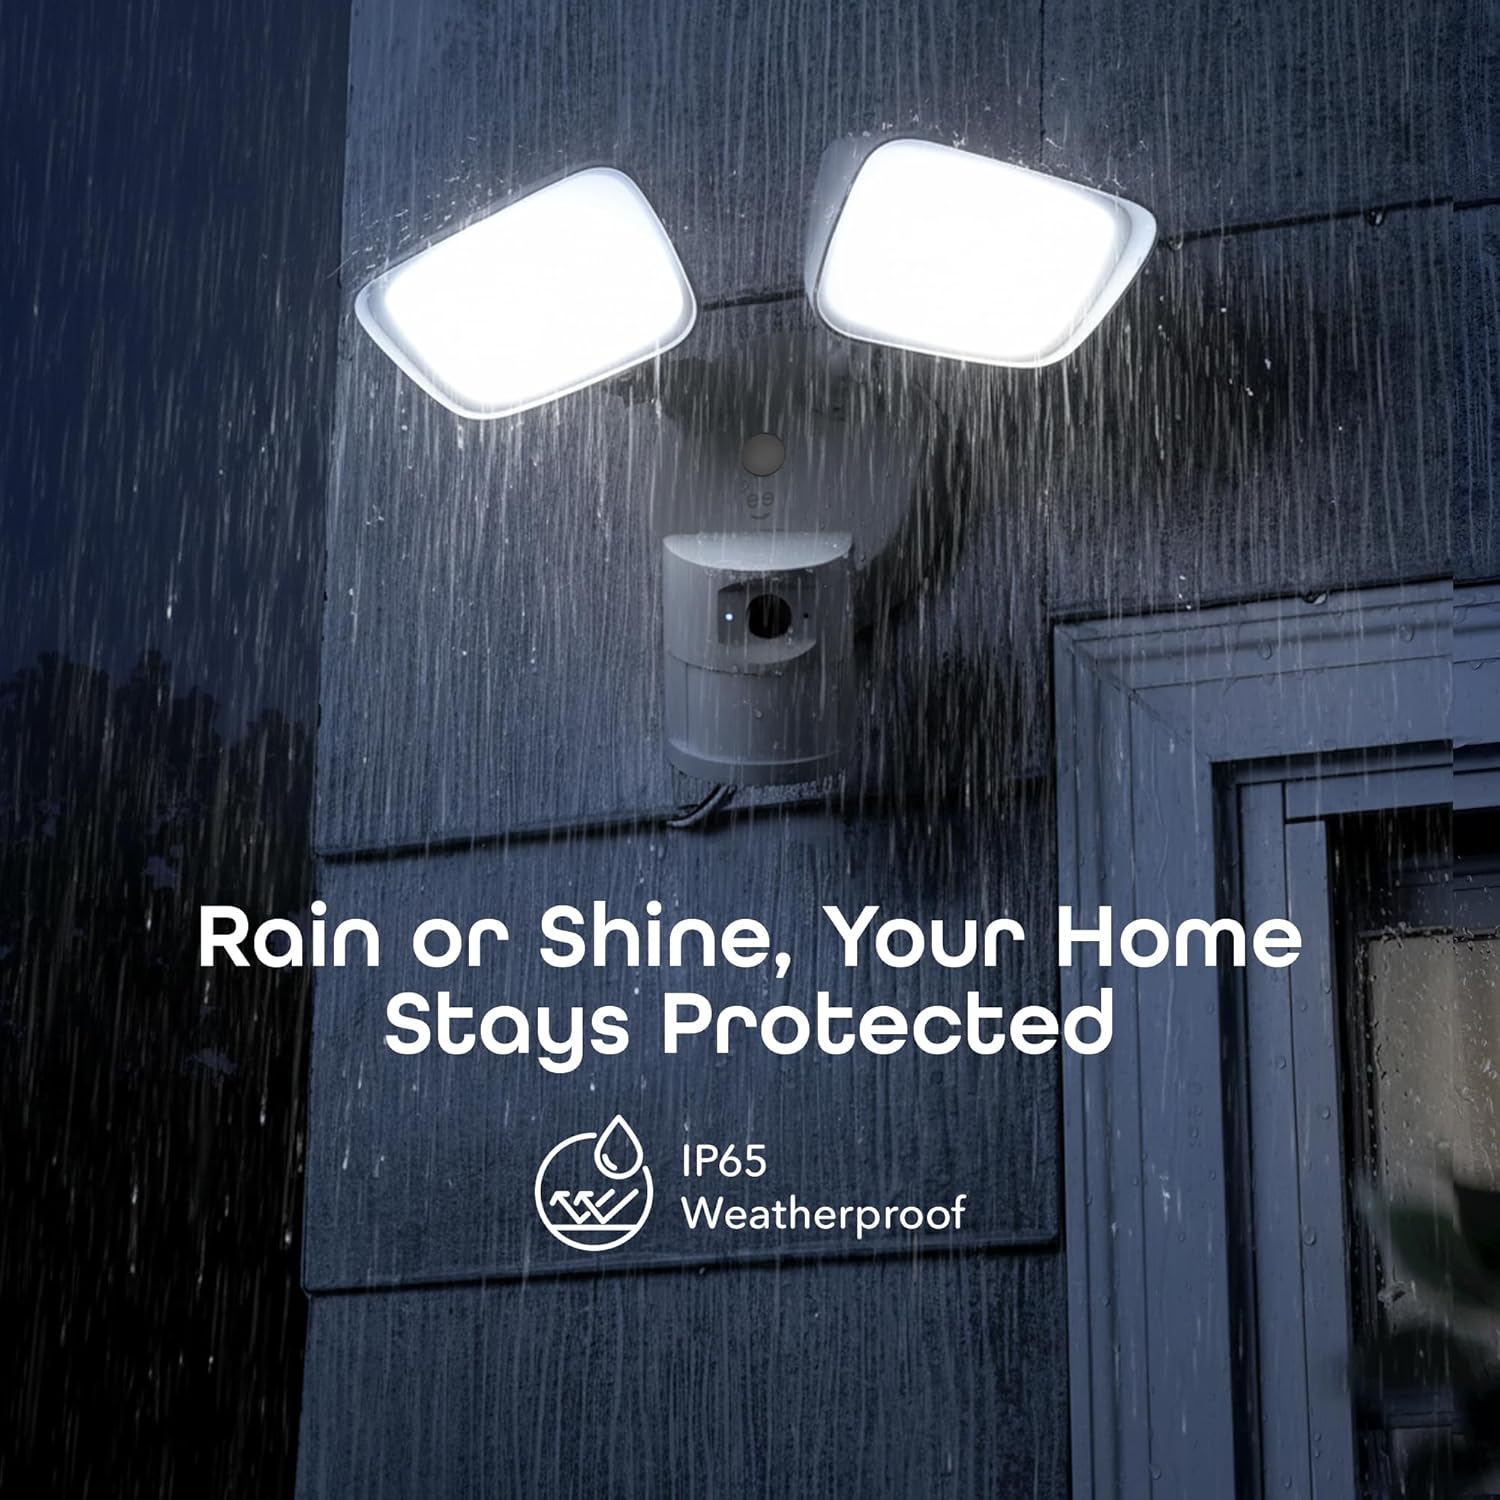
- IP65 Weatherproof & Local Storage: Durable IP65-rated housing protects against dust and heavy rain. Supports local storage via a microSD card up to 256GB (card not included).

무엇이 포함됩니까?
The Geeni Lighthawk Smart Floodlight Camera package typically includes the following items:
- Geeni Lighthawk Smart Floodlight Camera
- 사용 설명서
- 장착 나사 및 하드웨어
설치 가이드
1. 안전이 최우선
- Ensure the power to the installation area is turned off at the circuit breaker before beginning any electrical work.
- 전기 배선에 대해 잘 모르시겠다면 자격을 갖춘 전기 기술자에게 문의하십시오.
2. 설치 준비
- Choose a suitable outdoor location for your floodlight camera, such as a wall or eave, ensuring it covers the desired surveillance area.
- The camera is hardwired, requiring an existing electrical junction box.
- Gather necessary tools: screwdriver, wire nuts, electrical tape, and a ladder if needed.
3. 물리적 설치
- 회로 차단기에서 전원을 끄세요.
- Remove your existing light fixture from the junction box.
- 제공된 나사를 사용하여 장착 브래킷을 정션 박스에 부착합니다.
- Connect the camera's wires to your home's electrical wires (typically black to black, white to white, and ground to ground) using wire nuts. Secure connections with electrical tape.
- Mount the floodlight camera to the mounting bracket, ensuring a secure fit.
- Adjust the floodlight heads and camera angle to cover your desired area.
- 회로 차단기에서 전원을 복구하세요.
4. 앱 연결
- Download the Geeni app from your smartphone's app store.
- 계정을 만들거나 로그인하세요.
- Follow the in-app instructions to add your Geeni Lighthawk camera. This typically involves scanning a QR code on the device or manually selecting it from a list.
- Ensure your Wi-Fi network is active and accessible. The camera supports both 2.4GHz and 5GHz bands for flexible connection.

작동 지침
살다 View 그리고 녹음
- Open the Geeni app and select your Lighthawk camera to view 라이브 피드.
- You can manually initiate video recording or capture screenshots directly from the live view 인터페이스.
동작 감지 및 알림
- Configure motion detection sensitivity and activity zones within the Geeni app settings.
- 움직임이 감지되면 스마트폰으로 즉시 푸시 알림을 받으세요.
- The 1800-lumen floodlights will automatically activate upon motion detection, illuminating the area.
양방향 오디오
- Use the two-way audio feature in the app to speak to visitors or deter unwanted guests.
- The built-in microphone and speaker allow for clear communication.

Night Vision and Floodlight Control
- The camera provides enhanced night vision for clear monitoring in low-light conditions.
- The floodlights can be set to activate automatically with motion or controlled manually through the app.

로컬 스토리지
- Insert a microSD card (up to 256GB, not included) into the designated slot for continuous local recording.
- 기록된 foo에 액세스tage directly from the Geeni app without requiring a subscription.

음성 제어
- The Geeni Lighthawk camera is compatible with voice assistants like Amazon Alexa and Google Assistant.
- Link your Geeni account to your voice assistant app to enable commands such as "Alexa, show me the driveway."

유지
- 청소: 카메라 렌즈와 투광등 덮개를 주기적으로 부드러운 천으로 닦아주세요.amp 천을 사용하여 먼지와 이물질을 제거하세요. 연마성 세제는 사용하지 마세요.
- 펌웨어 업데이트: Ensure your camera's firmware is up to date through the Geeni app to benefit from the latest features and security enhancements.
- 연결 확인: Regularly check the physical wiring connections and Wi-Fi signal strength to ensure optimal performance.
문제 해결
| 문제 | 가능한 해결책 |
|---|---|
| 카메라가 Wi-Fi에 연결되지 않음 | Ensure your Wi-Fi password is correct. Verify the camera is within range of your router. Try connecting to both 2.4GHz and 5GHz networks if available. Restart your router and the camera. |
| Motion alerts are inconsistent or delayed | Adjust motion detection sensitivity in the app. Ensure there are no obstructions in the camera's field of view. Check your Wi-Fi signal strength at the camera's location. Ensure app notifications are enabled on your smartphone. |
| 비디오 품질이 좋지 않음 | Check your Wi-Fi connection speed. Ensure the camera lens is clean and free from smudges or dirt. Verify the camera's resolution settings in the app. |
| Two-way audio is unclear or has delay | Ensure your internet connection is stable. Reduce background noise near the camera and your smartphone. Check the volume settings in the app. |
| 투광등이 작동하지 않음 | Check motion detection settings and schedules in the app. Ensure the ambient light sensor is not obstructed. Verify power supply to the unit. |
명세서
| 특징 | 세부 사항 |
|---|---|
| 상표 | 지니 |
| 모델명 | GNC-CW100-199 |
| 연결 기술 | 무선(Wi-Fi) |
| 비디오 캡처 해상도 | 3MP (2304 x 1296), 2K |
| 조명 출력 | 1800루멘 |
| 나이트 비전 범위 | 최대 8미터(26피트) |
| 움직임 감지 범위 | 최대 8미터 |
| Wi-Fi 주파수 | 2.4GHz & 5GHz Dual-Band |
| 비바람에 견디는 등급 | IP65 |
| 로컬 스토리지 | 최대 256GB microSD 카드 지원 (별도 구매) |
| 전원 | Hardwired (No Batteries Required) |
| 호환 장치 | Smart Display, Smartphone, Tablet |
| 장착 유형 | 벽걸이형 |
| 품목 치수 | 29 x 15.5 x 22 센티미터 |
| 원산지 | 중국 |
보증 및 지원
For warranty information and technical support, please refer to the official Geeni website or contact Geeni customer service directly. Keep your purchase receipt for warranty claims. Support resources, including FAQs and troubleshooting guides, are often available online.