소개
구매해주셔서 감사합니다asing the Donner HHCB-12 Electronic Drum Hi-Hat Pad with Stand. This product is designed to enhance your electronic drumming experience by providing a realistic hi-hat feel with a dedicated stand. This manual provides essential information for the proper setup, operation, and maintenance of your new hi-hat pad and stand. Please read this manual thoroughly before use to ensure optimal performance and longevity of the product.
중요한 안전 정보
- Always place the hi-hat stand on a stable, level surface to prevent tipping.
- 모든 나사와 cl을 확인하십시오.amps are securely tightened before playing to prevent components from shifting or falling.
- 제품을 물, 습기, 극한의 온도로부터 멀리 보관하세요.
- 제품을 분해하거나 개조하지 마십시오. 모든 서비스는 자격을 갖춘 전문가에게 맡기십시오.
- 질식 위험을 방지하려면 작은 부품을 어린이의 손이 닿지 않는 곳에 보관하십시오.
- Use only the power adapter specified for your electronic drum module, if applicable, when connecting the hi-hat pad.
패키지 내용
다음 품목이 모두 패키지에 포함되어 있는지 확인하세요.
- Donner HHCB-12 Electronic Hi-Hat Pad (12-inch)
- 하이햇 스탠드
- Hi-Hat Clutch
- 연결 케이블
- 사용 설명서 (본 문서)
설치 지침
Follow these steps to assemble and set up your Donner HHCB-12 Hi-Hat Pad and Stand:
1. Assemble the Hi-Hat Stand
- Unfold the tripod base of the hi-hat stand and ensure it is stable.
- Extend the lower tube of the stand to your desired height and secure it with the wing nut.
- Insert the upper tube into the lower tube. Do not tighten yet.
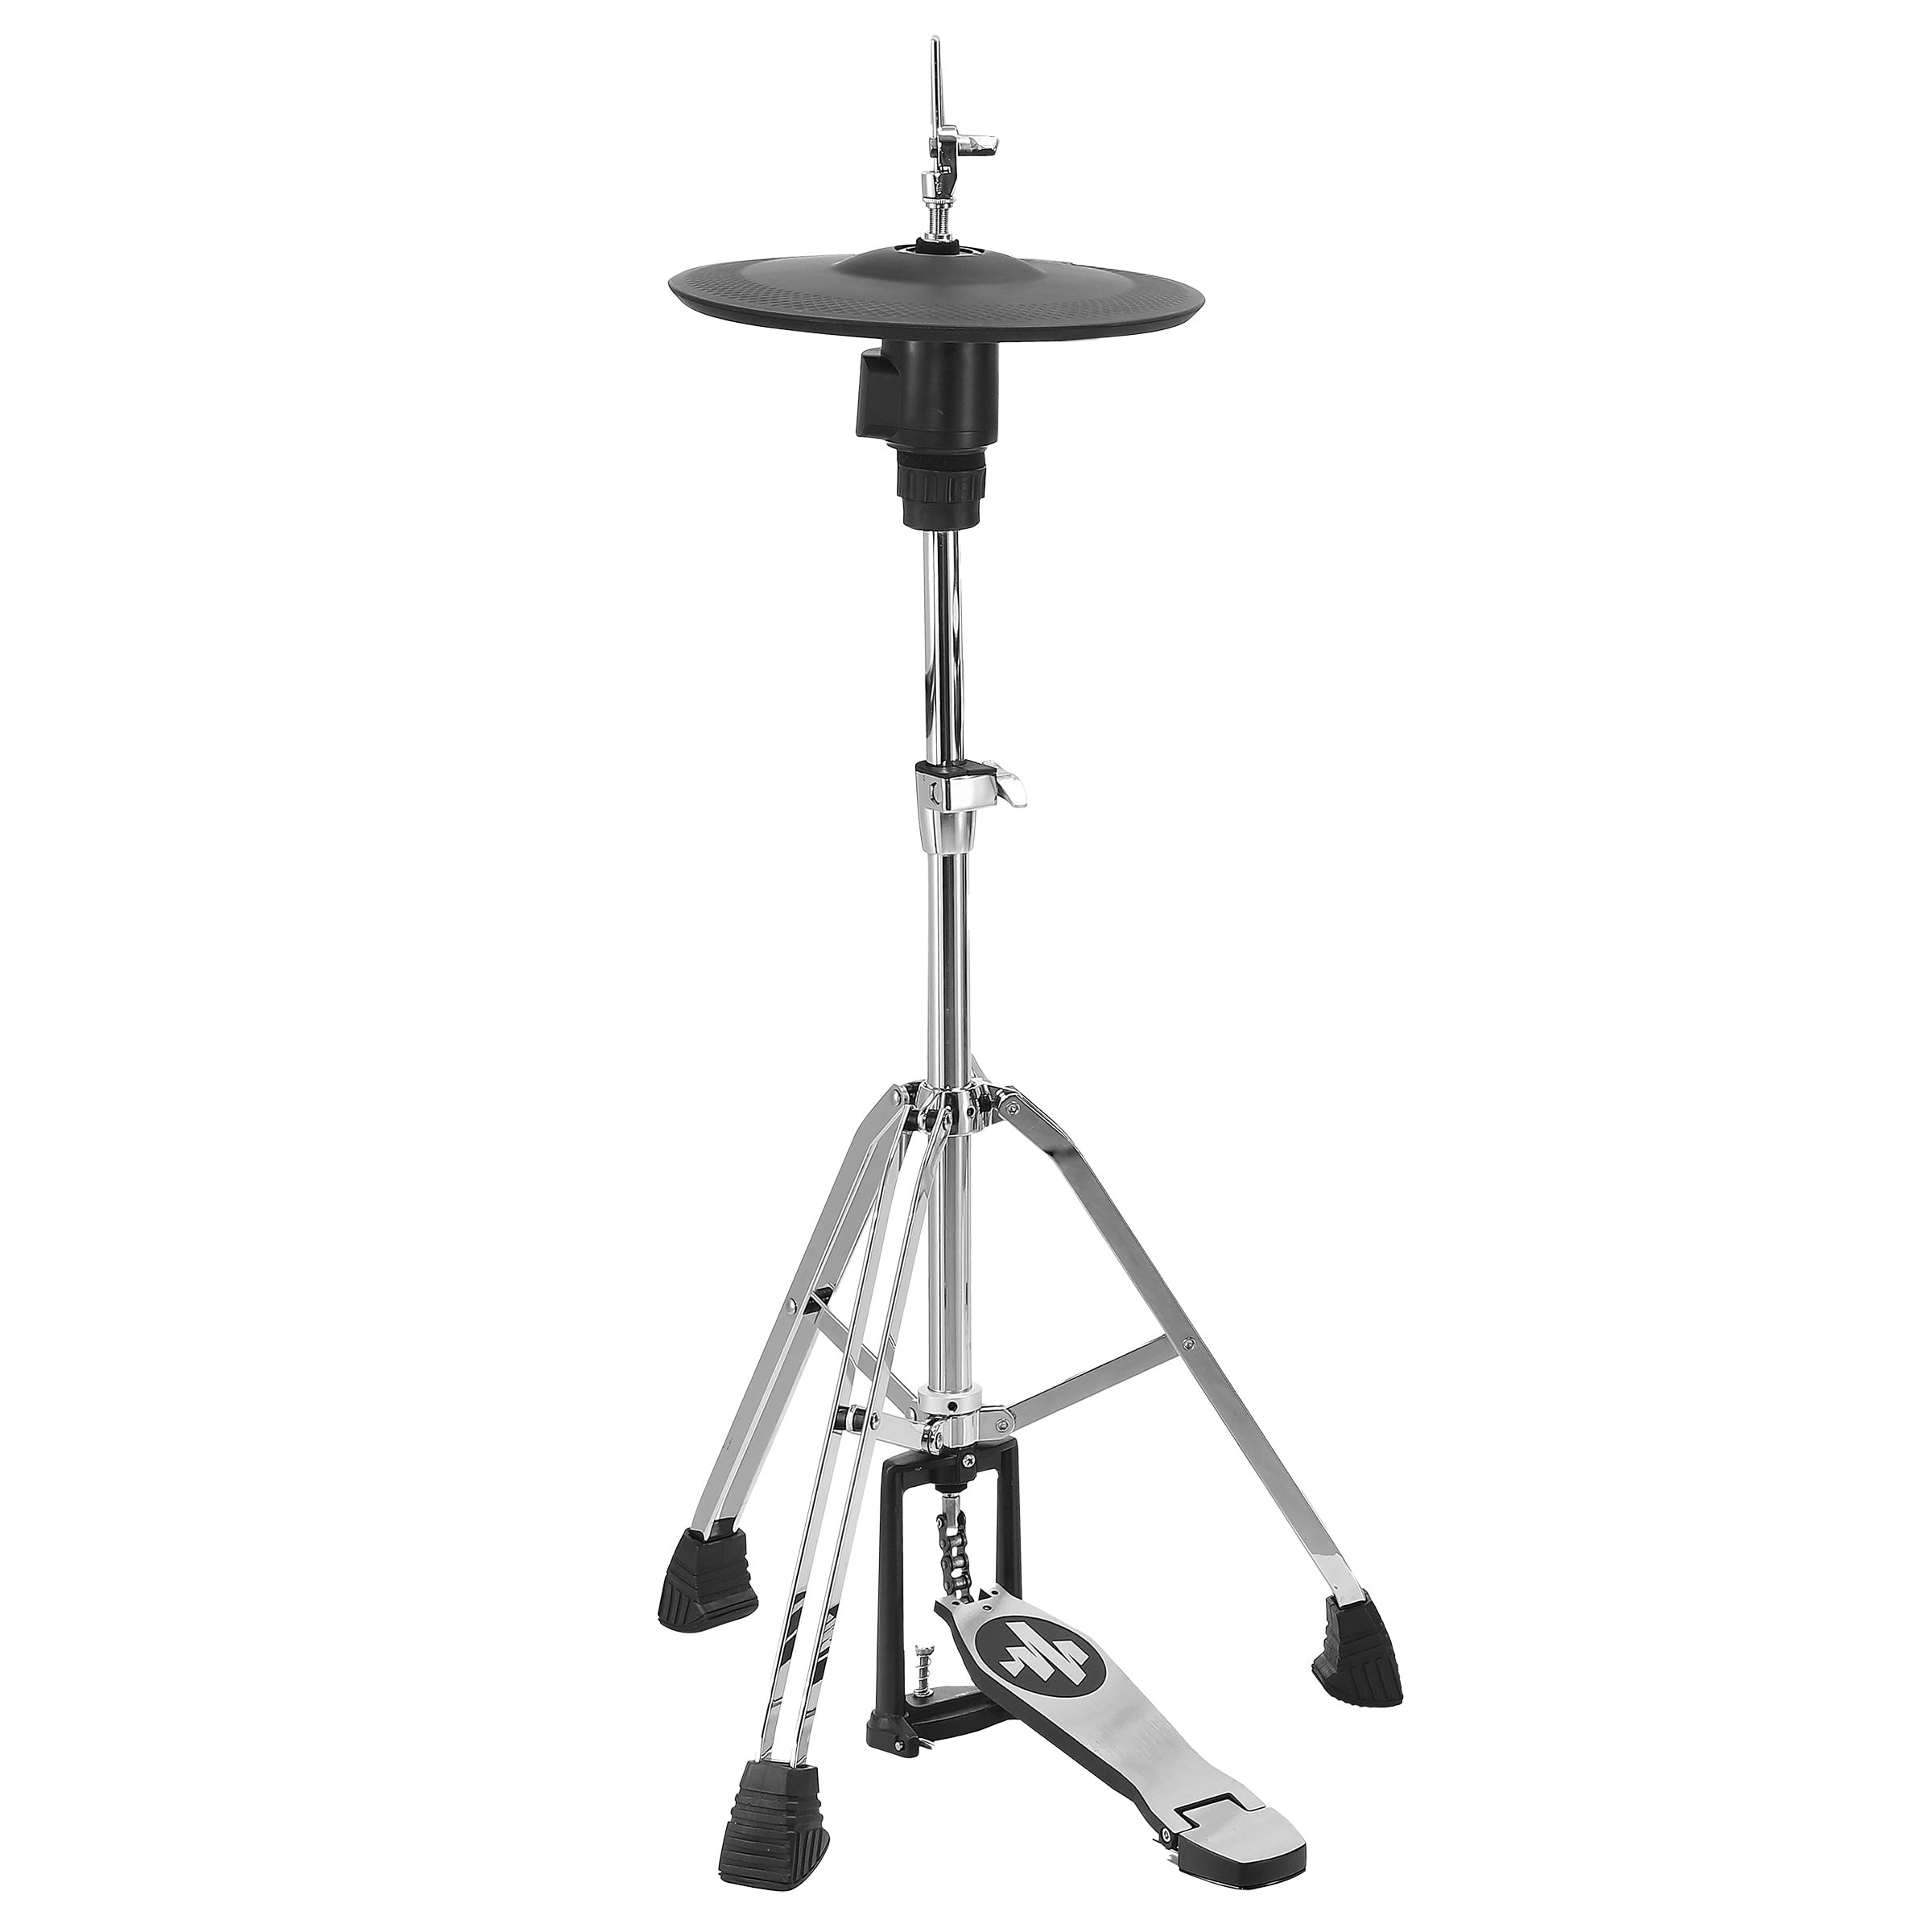
Image: The Donner HHCB-12 Electronic Hi-Hat Pad mounted on its stand, ready for connection to an electronic drum module. The stand features a sturdy tripod base and a foot pedal.
2. Attach the Hi-Hat Pad
- Place the bottom hi-hat pad onto the stand's clutch rod.
- Attach the hi-hat clutch to the top hi-hat pad. Ensure the clutch is securely fastened to the pad.
- Slide the top hi-hat pad (with clutch) onto the stand's rod, above the bottom pad. Adjust the height and angle for comfortable playing.
- Tighten the wing nut on the upper tube to secure the hi-hat pads at the desired height.

이미지: 자세한 view of the Donner HHCB-12 electronic hi-hat pad, showing its black surface and the chrome stand components. The hi-hat clutch mechanism is visible, securing the pad to the stand rod.
3. Connect to Electronic Drum Module
- Locate the hi-hat input on your electronic drum module. This is typically labeled "HH" or "Hi-Hat".
- Connect one end of the provided connection cable to the output jack on the hi-hat pad.
- Connect the other end of the cable to the hi-hat input on your drum module.
- Power on your electronic drum module and select the appropriate hi-hat settings according to your module's manual.
작동 지침
The Donner HHCB-12 Hi-Hat Pad is designed to replicate the feel and response of an acoustic hi-hat. Its operation is straightforward once connected to your electronic drum module.
- 오픈 하이햇: Strike the pad when the foot pedal is not pressed down.
- 닫힌 하이햇: Strike the pad while pressing the foot pedal down completely.
- Foot Splash/Chick: Press the foot pedal down quickly without striking the pad to produce a "chick" sound, or release it quickly for a "splash" sound, depending on your module's settings.
- 반 오픈 하이햇: Partially press the foot pedal down and strike the pad. The sensitivity and sound variation for half-open states can usually be adjusted in your drum module's settings.
For detailed sound adjustments and sensitivity calibration, refer to the user manual of your specific electronic drum module.
유지 보수 및 관리
- 청소: Wipe the hi-hat pad and stand with a soft, dry cloth. For stubborn dirt, a slightly damp 천을 사용한 후 마른 천으로 닦아낼 수 있습니다. 연마성 세척제나 용제는 사용하지 마세요.
- 저장: When not in use for extended periods, store the hi-hat pad and stand in a clean, dry environment, away from direct sunlight and extreme temperatures.
- 검사: Periodically check all screws, nuts, and clamps for tightness. Re-tighten as necessary to ensure stability and prevent wear.
- 케이블 관리: Avoid bending or kinking the connection cable excessively. Store it neatly to prevent damage.
문제 해결
| 문제 | 가능한 원인 | 해결책 |
|---|---|---|
| No sound from hi-hat pad. |
|
|
| Hi-hat sound is always open or always closed. |
|
|
| Pad feels unstable or wobbly. |
|
|
명세서
| 모델: | HHCB-12 |
| 유형: | Electronic Hi-Hat Pad with Stand |
| 패드 크기 : | 12인치 |
| 호환성: | Compatible with most electronic drum modules (check module specifications for input requirements) |
| 포함된 액세서리: | Hi-Hat Stand, Hi-Hat Clutch, Connection Cable |
보증 및 지원
Donner products are designed for reliability and performance. For information regarding warranty coverage, technical support, or service, please refer to the warranty card included with your product or visit the official Donner web대지.
도너 공식 Web대지: www.donnerdeal.com
When contacting support, please have your product model (HHCB-12) and purchase date available.