
소개
Thank you for choosing the NexiGo Wireless Controller NS32-A9. This controller is designed to enhance your gaming experience on Nintendo Switch and Switch 2 consoles, offering advanced features such as no deadzone thumbsticks, customizable RGB lighting, adjustable vibration, six-axis gyroscope, and a turbo function. Please read this manual carefully to ensure proper setup and operation.
제품 특징
- No Deadzone Thumbsticks: Experience precise control with minimal input delay, ensuring accurate movements in games.
- Dual Motors and Six-Axis Gyroscope: Enjoy immersive haptic feedback and responsive motion controls for a dynamic gaming experience.
- LED 표시등: The thumbsticks feature LED activity indicator rings that light up and flash during use, providing visual feedback.
- 빠른 충전: The controller can be fully charged in 2-3 hours, providing up to 10 hours of gameplay.
- 블루투스 연결 : Easily pairs wirelessly with your Nintendo Switch console. Initial pairing requires a wired connection.
- Comfortable Non-Slip Design: Constructed from durable ABS material with ergonomic, non-slip grips to reduce hand fatigue during extended play sessions.
- 터보 기능 : Allows for partial and full automatic button mashing for repetitive actions in games.
- 조정 가능한 진동: Customize the intensity of the haptic feedback with four distinct levels.
- 폭넓은 호환성: Compatible with Nintendo Switch, Nintendo Switch OLED, Nintendo Switch Lite, and PC.
- Switch Wake-Up Function: Conveniently wake up your Nintendo Switch console directly from the controller.

Image: No Deadzone Precision

Image: Wide Compatibility Overview
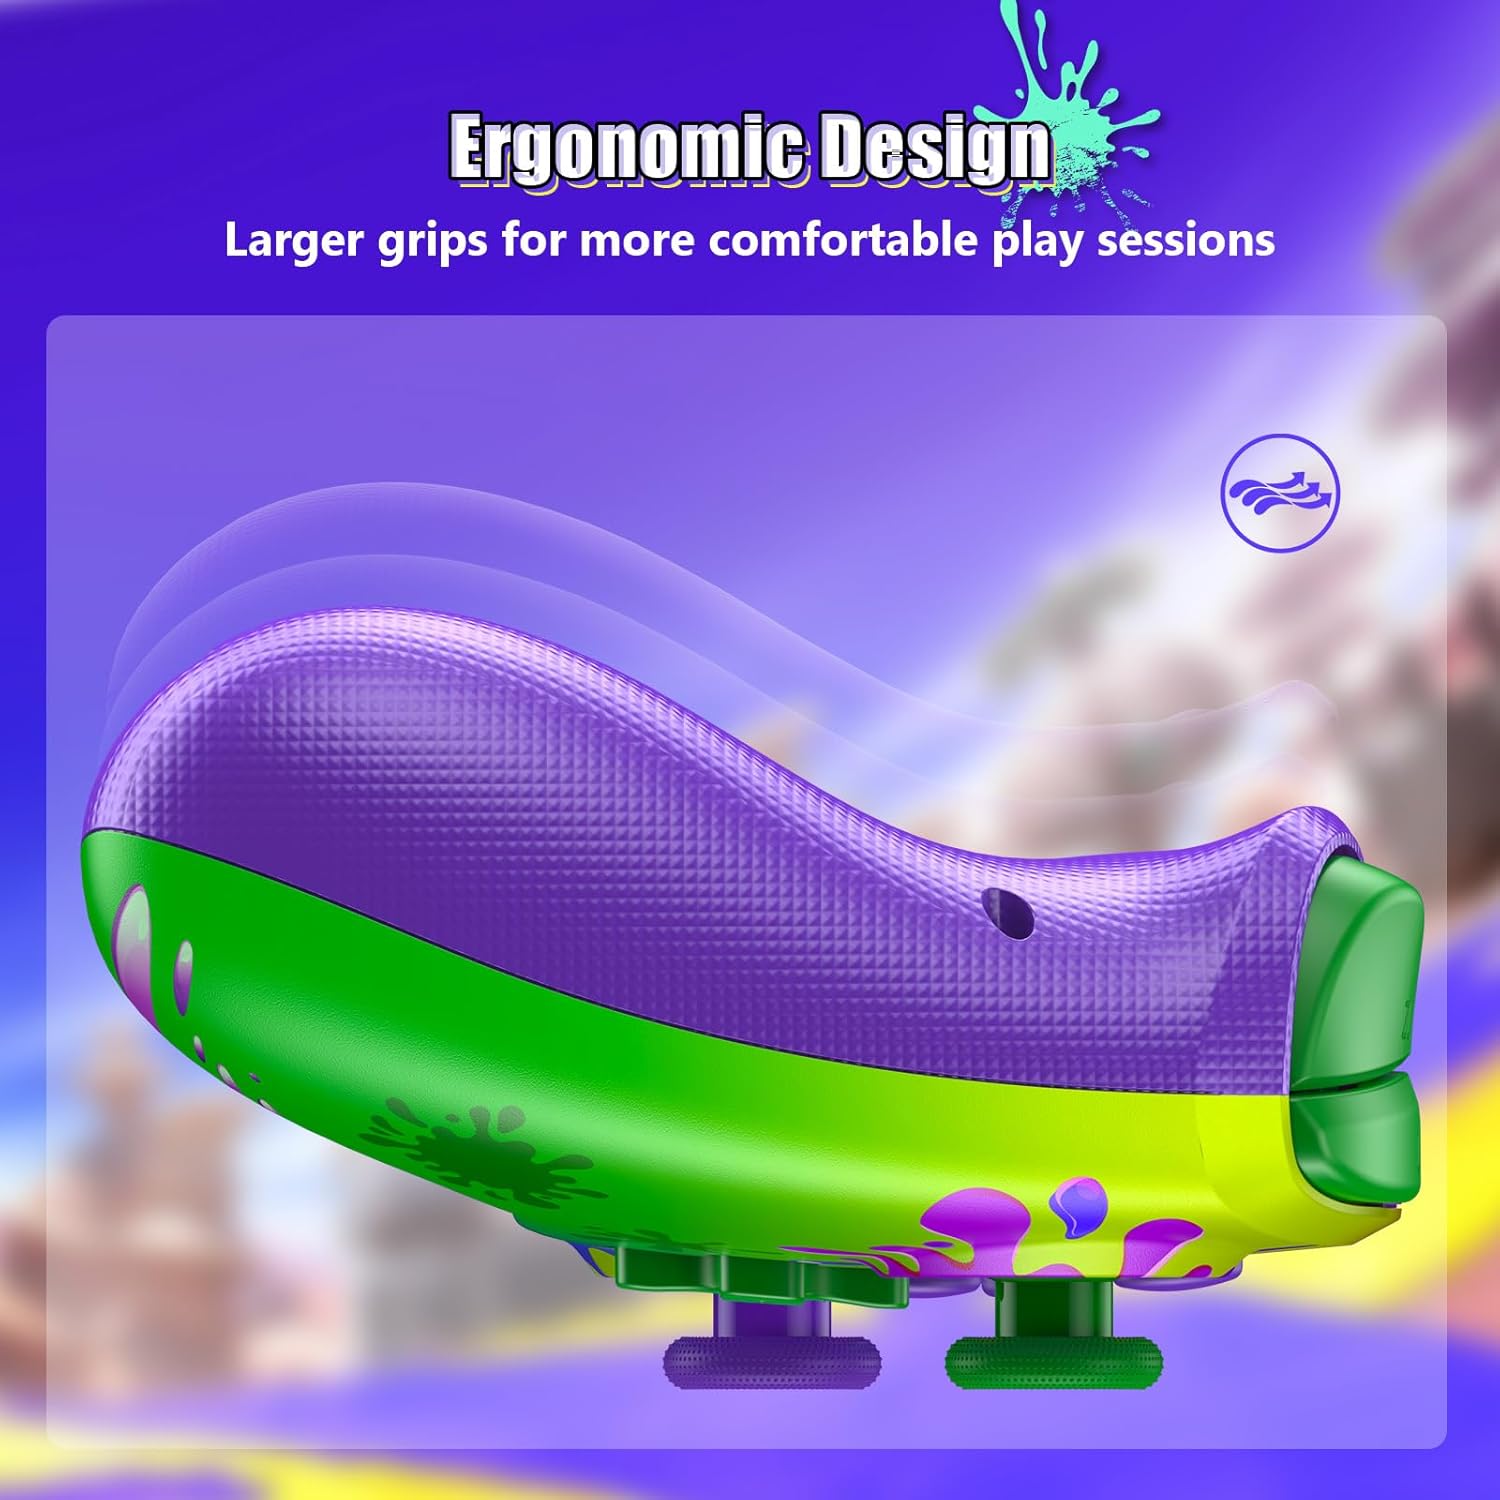
Image: Ergonomic Design for Comfort
Setup: Wireless Connection
Follow these steps to connect your NexiGo Wireless Controller to your Nintendo Switch console:
- 1단계: Turn on your Nintendo Switch console and navigate to the "Controllers" menu from the HOME screen.
- 2단계: Select "Change Grip/Order" from the list of options.
- 3단계: Press and hold the Pairing button on the top of your controller for at least two seconds. The Pairing button is typically a small, circular button located near the charging port.
- 4단계: The LEDs on your controller will flash during the pairing process and remain solid when the connection is successful.
메모: You can only connect your controller wirelessly after pairing it once via a USB cable for the initial setup.
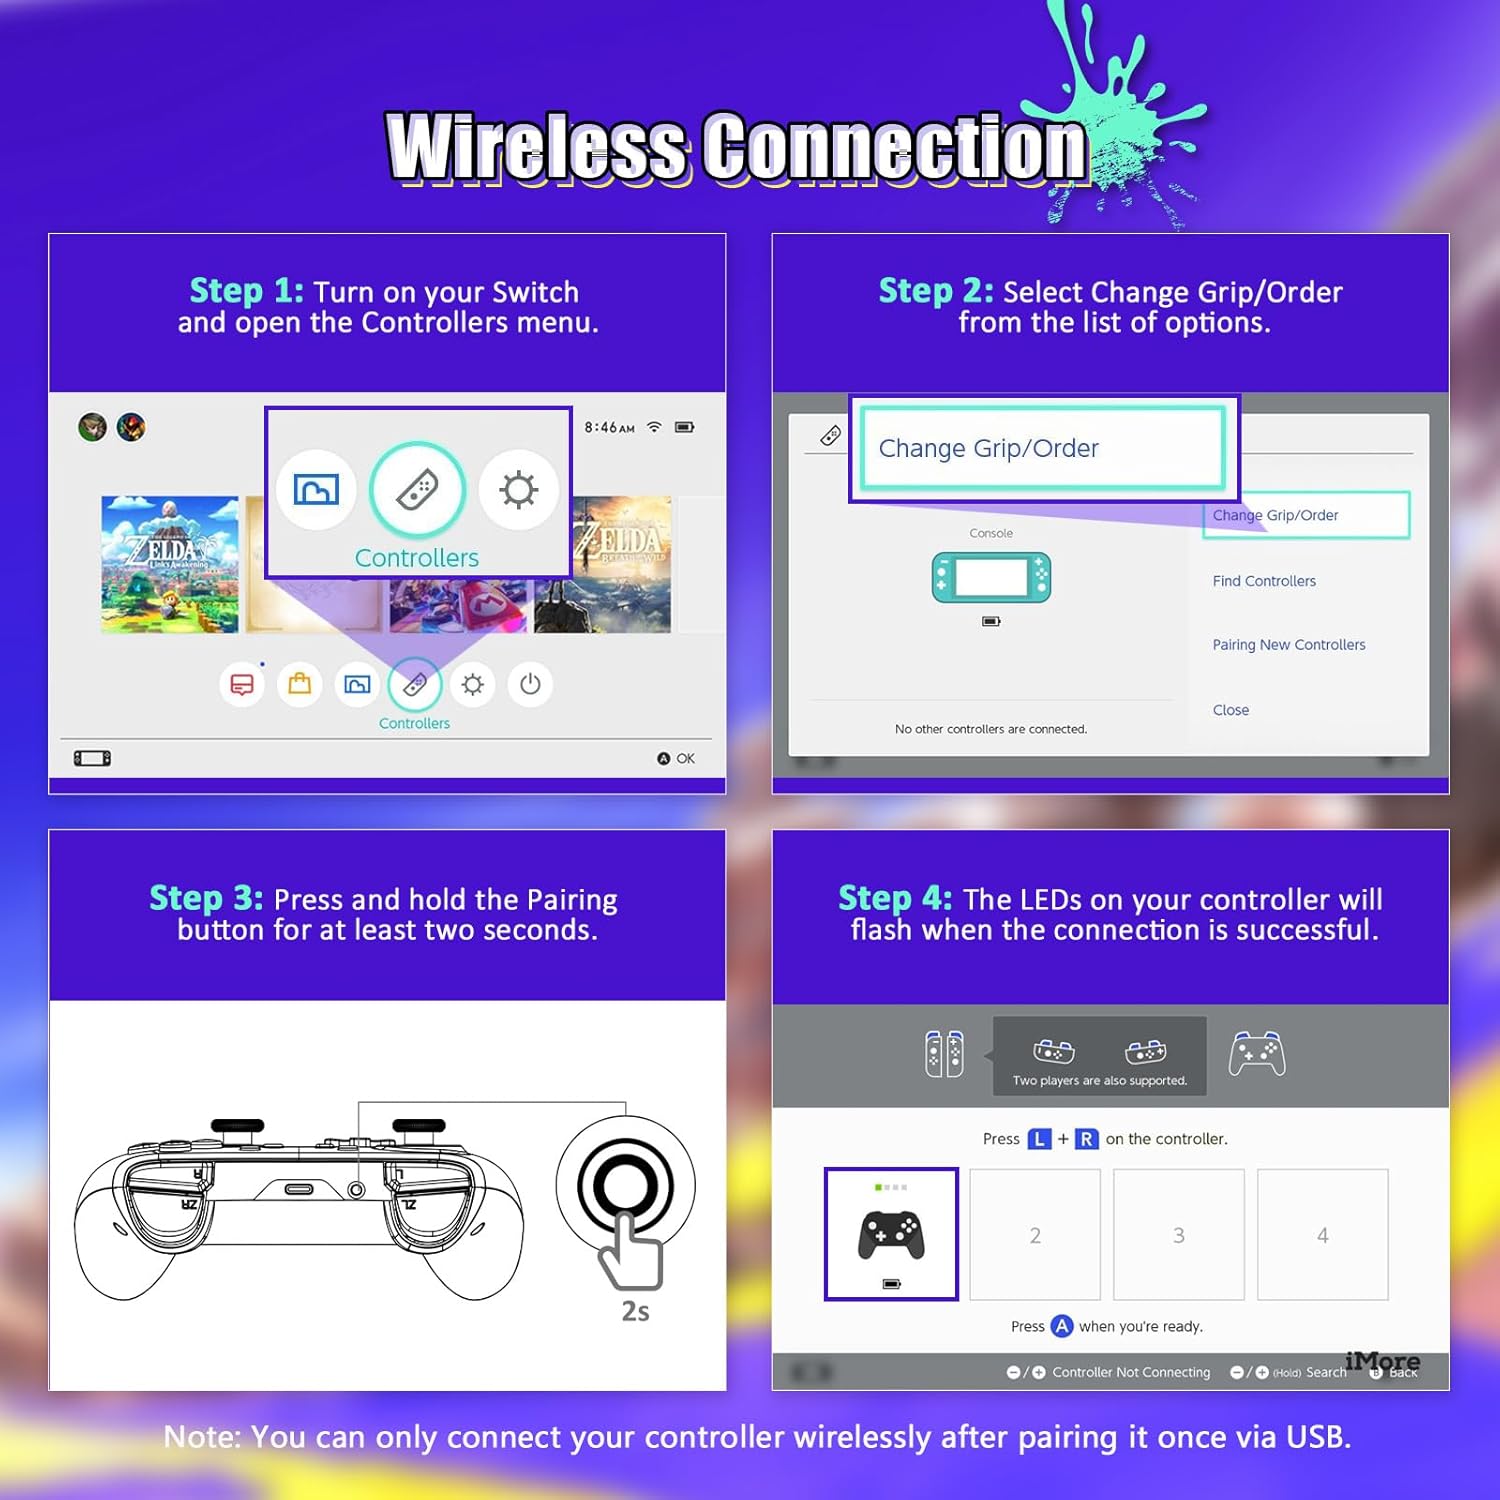
Image: Wireless Connection Setup Guide
작동 지침
터보 기능
The Turbo function allows you to assign rapid-fire capabilities to specific buttons. This is useful for games requiring quick, repeated button presses.
- 터보 활성화: Press and hold the button you wish to assign Turbo to, then press the Turbo button (usually located on the back or bottom of the controller). The button will now rapidly input when held down.
- 터보 비활성화: Repeat the activation steps for the same button to turn off the Turbo function.
- 터보 속도 조정: (If applicable, consult specific controller documentation for speed adjustment methods, often involves Turbo button + D-pad up/down).

Image: Turbo Mode in action
조정 가능한 진동
The controller features four levels of vibration intensity. You can adjust this to suit your preference or the game you are playing.
- 진동 조절: Typically, this is done by holding a specific button (e.g., Turbo or Function button) and pressing the D-pad Up or Down. Refer to the quick start guide for your specific model's button combination.
- The four levels are usually 0% (off), 30%, 75%, and 100% intensity.

Image: Adjustable Vibration Levels
6축 자이로스코프
The built-in six-axis gyroscope provides precise motion control for games that support it. This allows for intuitive tilt and motion-based gameplay.
- 플레이하는 게임이 모션 컨트롤을 지원하는지 확인하세요.
- Calibrate the gyroscope if you experience inaccurate motion sensing. This option is usually found in the Nintendo Switch system settings under "Controllers and Sensors."
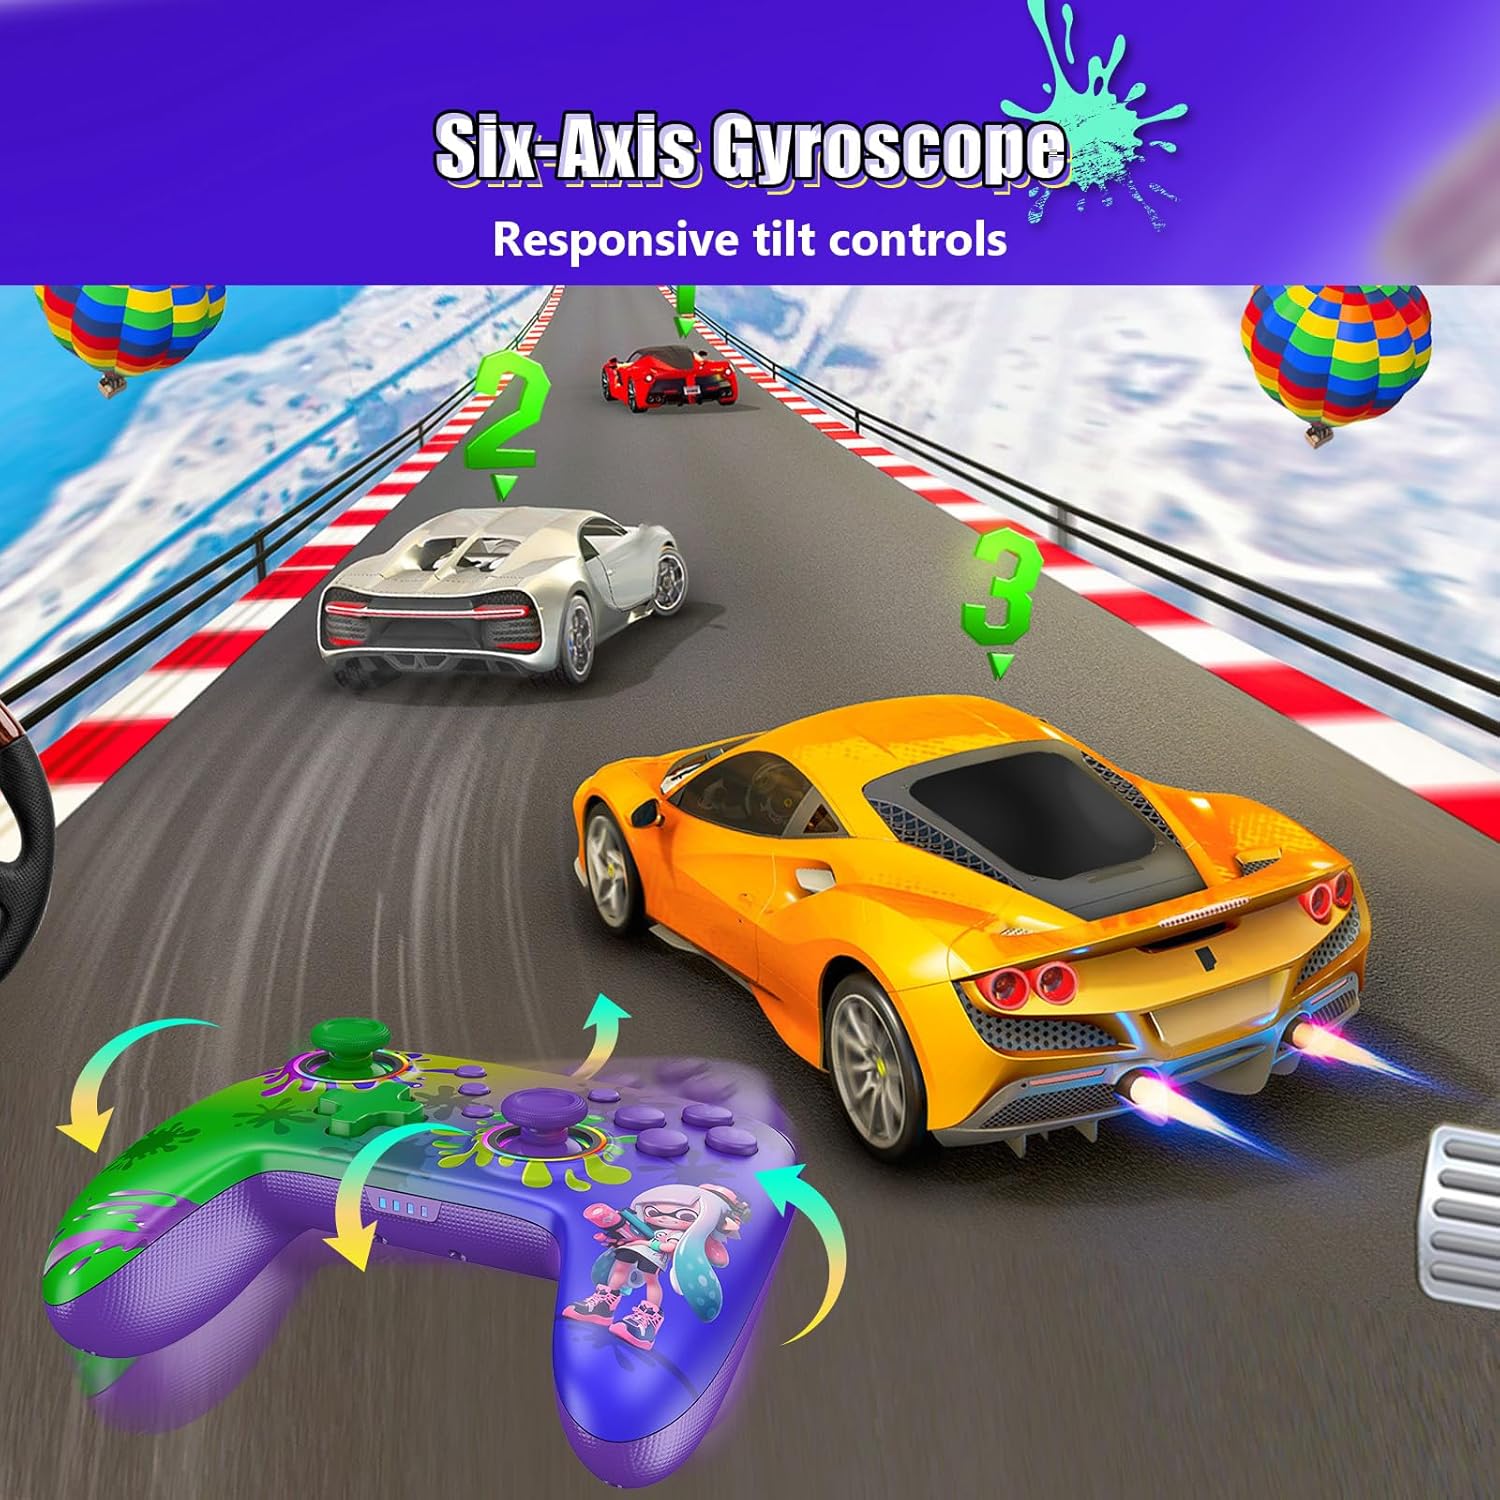
Image: Six-Axis Gyroscope in use
RGB Thumbsticks
The controller features customizable RGB lighting around the thumbsticks. These lights can be adjusted for color, brightness, and mode.
- 색상/모드 변경: Refer to the controller's quick start guide for specific button combinations to cycle through seven colors, adjust brightness, and select from three lighting modes (e.g., breathing, cycling, static).
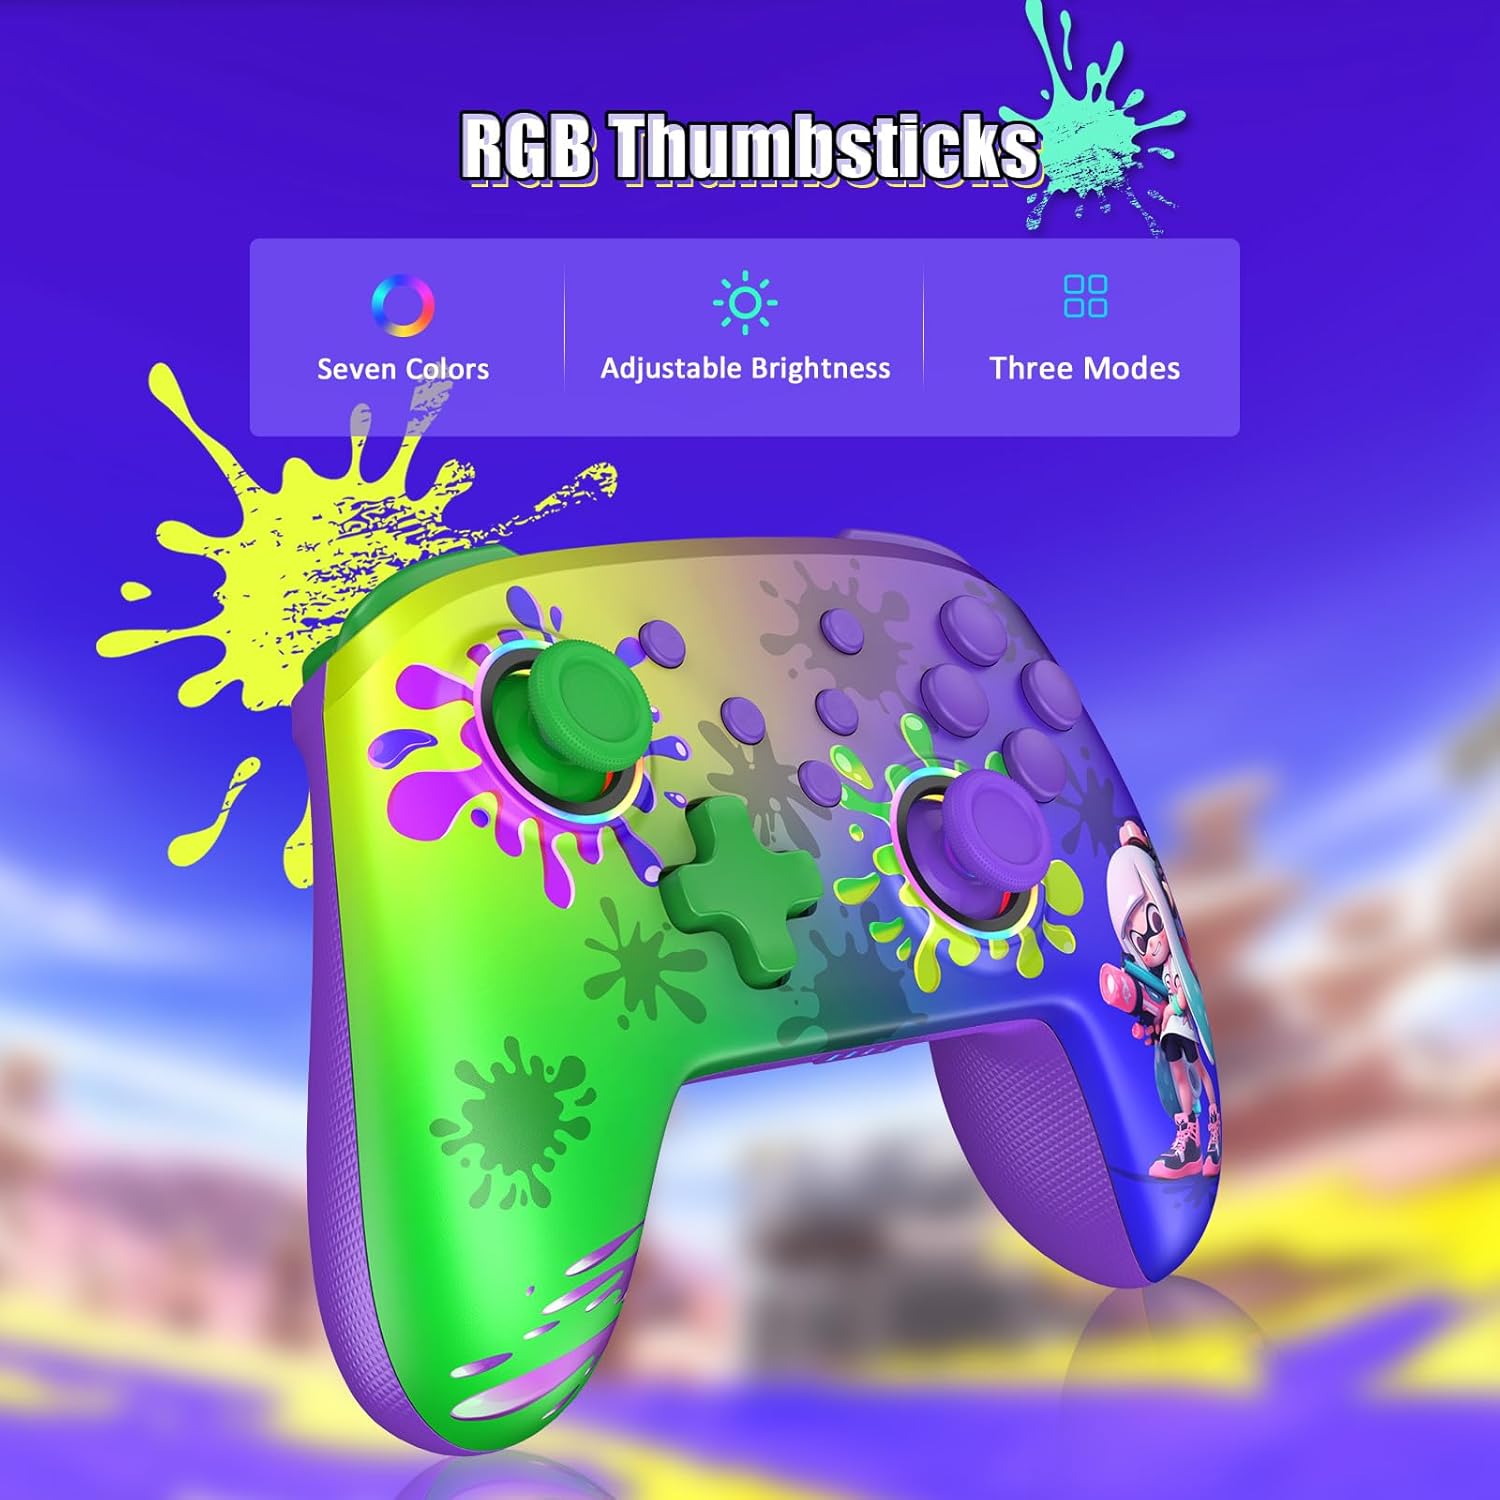
Image: RGB Thumbsticks Features
유지
- 청소: 부드럽고 마른 천을 사용하여 컨트롤러를 청소하세요. 강한 화학 물질이나 연마재는 사용하지 마세요.
- 저장: 컨트롤러는 직사광선과 극한의 온도를 피해 서늘하고 건조한 곳에 보관하세요.
- 배터리 관리 : 배터리 수명을 연장하려면 컨트롤러를 자주 완전히 방전시키지 마십시오. 계속 사용하지 않더라도 정기적으로 충전하십시오.
- 낙하 방지: 컨트롤러를 떨어뜨리거나 충격을 가하지 마십시오. 내부 구성 요소가 손상될 수 있습니다.
문제 해결
- 컨트롤러가 연결되지 않음:
- 컨트롤러가 충전되어 있는지 확인하세요.
- 닌텐도 스위치에서 블루투스가 활성화되어 있는지 확인하십시오.
- Attempt to re-pair the controller by following the "Wireless Connection" steps.
- Try connecting the controller via USB cable to confirm it powers on.
- 입력 지연 또는 버튼 반응 없음:
- 컨트롤러와 콘솔 사이에 장애물이 없는지 확인하십시오.
- 다른 무선 장치의 간섭을 확인하십시오.
- Update the controller's firmware if an update is available (check the NexiGo official web대지).
- 진동이 작동하지 않음:
- 게임 내 설정에서 진동이 활성화되어 있는지 확인하세요.
- Adjust the vibration intensity using the controller's dedicated function.
- Motion Controls Inaccurate:
- Calibrate the gyroscope in the Nintendo Switch system settings.
- Ensure the controller is held steadily during calibration.
명세서
| 모델 번호 | NS32-A9 |
| 제품 치수 | 6.14 x 4.02 x 2.56 인치 |
| 품목 무게 | 10.6 온스 |
| 연결성 | 블루투스 |
| 배터리 수명 | 최대 10시간(대략) |
| 충전 시간 | 2~3시간(대략) |
| 제조업체 | (주)넥사이트 |
보증 및 지원
NexiGo products are designed for reliability and performance. For any issues or questions, please refer to the following support information:
- 고객 지원: NexiGo offers quick response customer support, typically within 24 hours.
- 반품 정책: Products can be returned within 30 days for an exchange or refund, subject to terms and conditions.
- 기술 지원: Lifetime technical customer support is provided for your NexiGo product.
- For detailed warranty information and to contact support, please visit the official NexiGo web자세한 내용은 해당 사이트를 참조하거나 제품에 포함된 보증서를 참조하세요.