
1. 서론
This manual provides comprehensive instructions for the safe and efficient installation, operation, and maintenance of your ErGear Single Monitor Arm, Model EGDMA69B. Please read this manual thoroughly before installation and retain it for future reference.

Image 1.1: ErGear Single Monitor Arm, Model EGDMA69B.
2. 안전 정보
부상이나 제품 손상을 방지하려면 항상 다음 안전 지침을 따르세요.
- 최대 중량 용량 9kg(19.8파운드)을 초과하지 마십시오.
- Ensure your monitor's VESA pattern is compatible (75x75mm or 100x100mm).
- Verify your desk thickness is within the specified range for C-clamp (0.99 cm – 6.5 cm) or grommet base (0.99 cm – 7.5 cm).
- Perform installation with care, preferably with assistance for heavier monitors.
- 설치하는 동안 어린이와 애완동물이 접근하지 못하도록 하세요.
- 모든 나사를 단단히 조이세요. 하지만 나사산이 벗겨지는 것을 방지하기 위해 너무 세게 조이지 마세요.
3. 패키지 내용
Before installation, ensure all parts are present and undamaged. Refer to the included parts list in your product packaging for detailed component identification.
4. 사양
| 특징 | 사양 |
|---|---|
| 모델 번호 | EGDMA69B |
| 호환 가능한 화면 크기 | 13~34인치 |
| 최대 중량 용량 | 9kg(19.8파운드) |
| VESA 호환성 | 75x75mm, 100x100mm |
| 기울기 범위 | +80° / -50° |
| 스위블 범위 | ±90° |
| 회전 | 360° |
| 최대 높이 조정 | 최대 445mm(17.5인치) |
| 최대 확장 | 최대 460mm(18.1인치) |
| 책상 두께(C-clamp) | 0.99cm ~ 6.5cm |
| 책상 두께(그로밋) | 0.99cm ~ 7.5cm |
| 재료 | 알류미늄 |

이미지 4.1: 호환성 이상view for monitor size, VESA patterns, and maximum load.
5. 설정 및 설치
5.1 책상 호환성 확인
Before installation, ensure your desk is compatible with the chosen mounting method. The arm supports both C-clamp and grommet hole mounting.
- C-clamp: Suitable for desk thickness between 0.99 cm and 6.5 cm.
- Grommet Hole: Suitable for desk thickness between 0.99 cm and 7.5 cm.
- Ensure there is sufficient space and a flat surface under your table for secure attachment.

Image 5.1: Two mounting options: C-clamp and Grommet Hole, with specified desk thickness ranges.

Image 5.2: Detailed desk compatibility check, including contact surface width, height, and overall width requirements.
5.2 Mounting the Arm to the Desk
C-cl 중 하나를 선택하세요amp or grommet base method based on your desk type and preference.
- For C-clamp 설치: C-cl을 부착하세요amp 책상 가장자리까지 가져가서 손잡이를 단단히 조여 고정하십시오.
- For Grommet Hole mounting: Insert the grommet base through an existing hole in your desk and secure it from underneath with the provided hardware.

Image 5.3: The three-step fast setup process, showing desk clamp, arm attachment, and VESA plate mounting.
5.3 VESA 플레이트를 모니터에 부착하기
The ErGear monitor arm features a tool-free VESA mounting plate for quick attachment.
- Ensure your monitor has VESA holes (75x75mm or 100x100mm). If your monitor has a stand, remove it first.
- VESA 플레이트를 모니터 뒷면의 장착 구멍에 맞춰 정렬하십시오.
- Secure the VESA plate to the monitor using the provided screws. The design allows for tool-free attachment to the arm.

Image 5.4: Illustration of tool-free VESA mounting, highlighting ease of installation compared to traditional methods.

Image 5.5: Guidance on identifying VESA holes on your monitor and options for monitors without VESA compatibility.
5.4 모니터를 암에 부착하기
Once the VESA plate is secured to your monitor, slide the monitor onto the arm's VESA head until it clicks into place. Ensure it is firmly seated.
6. 운영 및 조정
6.1 Full Motion Flexibility
The monitor arm offers extensive adjustability to achieve your ideal viewing angle and ergonomic position. It supports:
- 높이 조정: Up to 17.5 inches (445mm).
- 도달하다: Up to 18.1 inches (460mm).
- 경사: +80° / -50° for optimal vertical angle.
- 받침: ±90° for horizontal screen orientation.
- 회전: 360° for landscape or portrait mode.

Image 6.1: Visual representation of the arm's maximum height, extension, tilt, swivel, and rotation capabilities.

Image 6.2: Illustration of how the monitor arm's extension changes based on monitor size (24", 27", 32").
6.2 장력 조절
The gas spring mechanism requires tension adjustment to properly support your monitor's weight. Use the provided Allen key to adjust the tension screw on the arm.
- Hold the arm in a horizontal position.
- 나사를 돌려 시계방향(+) if the monitor drops down.
- 나사를 돌려 반시계 방향 (-) if the monitor rises up or is difficult to push down.
- Adjust until the monitor stays in place at any desired height.

Image 6.3: Step-by-step guide for adjusting the arm's tension to match your monitor's weight.
6.3 케이블 관리
Integrated cable clips help keep your workspace tidy. Route your monitor and power cables through the clips along the arm for a clean setup.
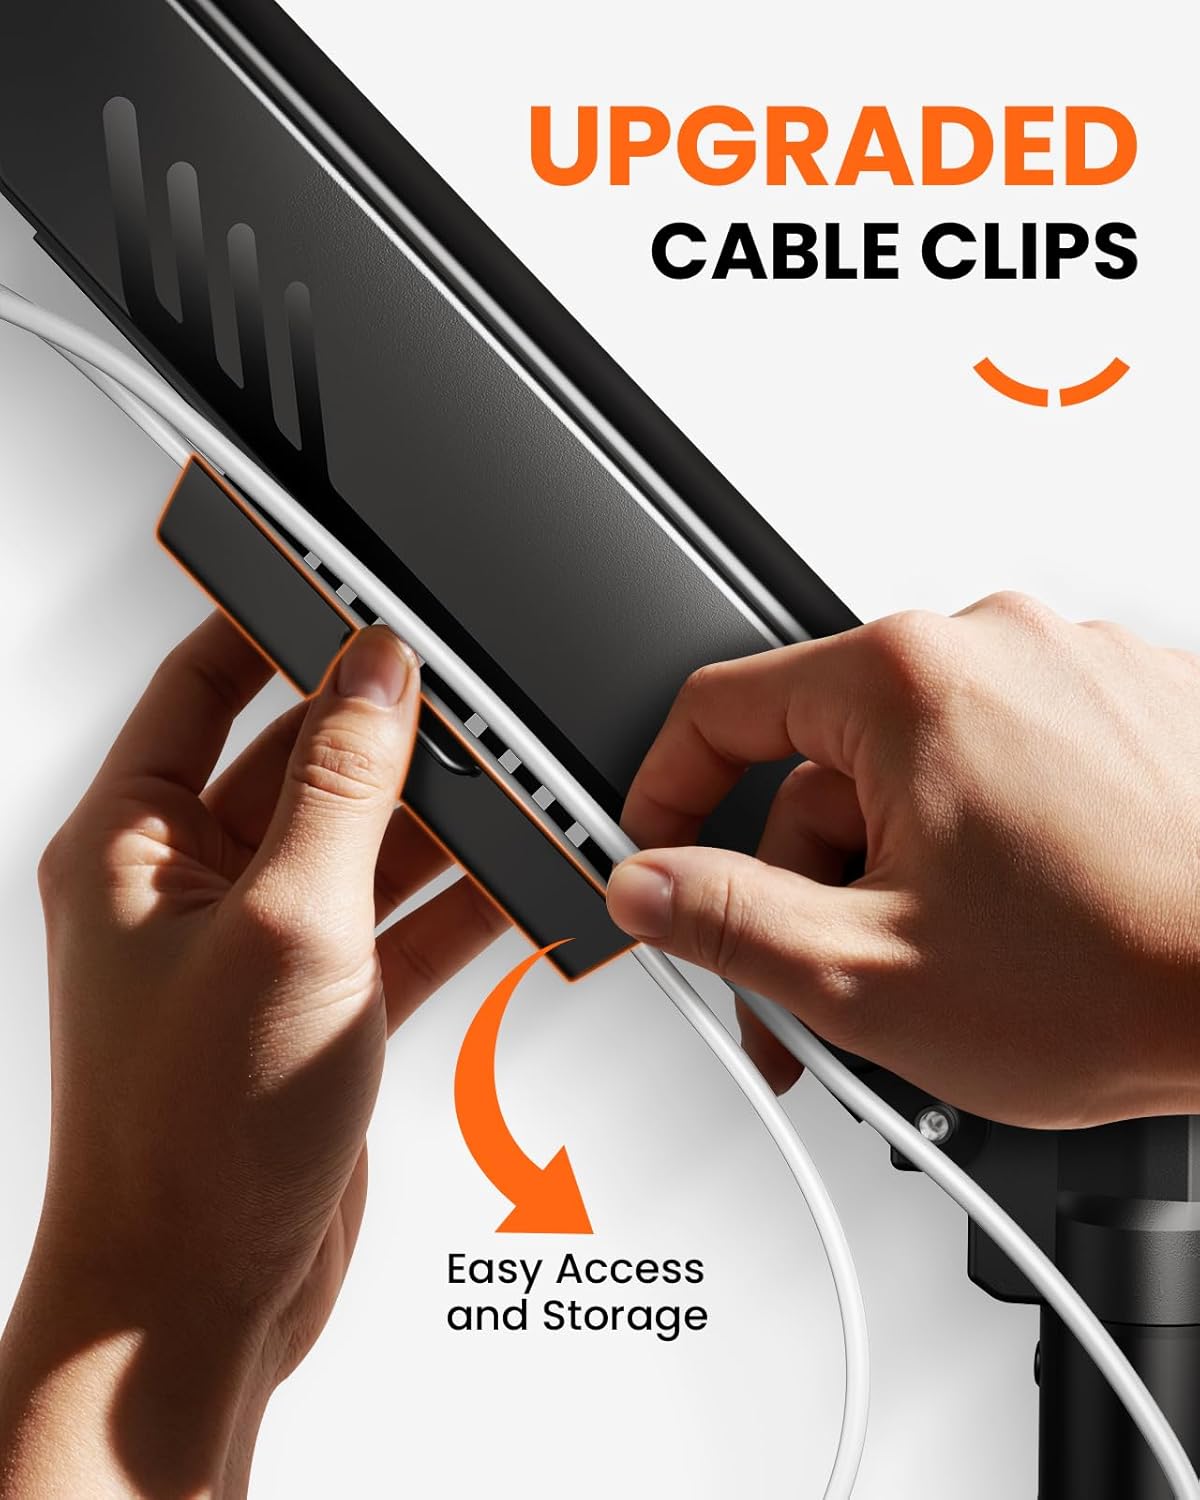
Image 6.4: Demonstration of the upgraded cable clips for easy cable organization.
7. 유지관리
To ensure the longevity and optimal performance of your ErGear Single Monitor Arm:
- Regularly check all screws and connections for tightness. Retighten if necessary.
- Clean the arm with a soft, damp 천으로 닦으세요. 연마성 세제나 용제는 사용하지 마세요.
- Do not lubricate the gas spring mechanism unless specifically instructed by customer support.
8. 문제 해결
If you encounter issues with your monitor arm, refer to the following common problems and solutions:
- 모니터가 처지거나 원하는 높이에 고정되지 않습니다. The gas spring tension needs adjustment. Refer to Section 6.2 (Tension Adjustment) and use the provided Allen key to increase tension (turn clockwise).
- Monitor rises too easily or is difficult to push down: The gas spring tension is too high. Refer to Section 6.2 (Tension Adjustment) and use the provided Allen key to decrease tension (turn counter-clockwise).
- Arm feels wobbly: Ensure all mounting screws (desk clamp/grommet base and VESA plate) are securely tightened. Check desk stability.
- Cannot attach monitor to VESA plate: Verify your monitor's VESA pattern matches the arm's compatibility (75x75mm or 100x100mm). Ensure no obstructions are present on the monitor's back.
9. 보증 및 지원
ErGear products are designed for durability and performance. For warranty information, technical support, or replacement parts, please contact ErGear customer service through the retailer where you purchased the product or visit the official ErGear website. Please have your model number (EGDMA69B) and purchase details ready.