
1. 서론
This manual provides essential information for setting up, operating, and maintaining your VITURE Luma Pro XR Glasses and Pro Neckband. Please read it thoroughly before use to ensure proper functionality and safety.

Image: The VITURE Luma Pro XR Glasses and Pro Neckband, showcasing는 전체 제품 패키지입니다.
2. 상자 안에 무엇이 들어있나요?
패키지에 모든 구성품이 들어 있는지 확인하세요.
- VITURE Luma Pro XR Glasses
- Pro Neckband
- 충전 케이블(USB-C)
- Nose Pad Set
- 사용 설명서 (본 문서)
3. 설정
3.1. Charging the Pro Neckband
Before first use, fully charge the Pro Neckband. Connect the provided USB-C cable to the Neckband's charging port and a compatible power adapter (not included). The charging indicator will show progress.
3.2. Connecting the XR Glasses to the Pro Neckband
Connect the VITURE Luma Pro XR Glasses to the Pro Neckband using the integrated USB-C cable from the glasses. Ensure the connection is secure.

Image: The Pro Neckband with its USB-C cable, ready for connection to the XR Glasses or other compatible devices.
3.3. Adjusting the XR Glasses
- 근시 교정: The glasses feature built-in myopia adjustments. Rotate the adjustment dials on the glasses to achieve clear vision. Luma Pro supports adjustments up to -4.0D.
- 코받침: Select the most comfortable nose pad from the included set and attach it to the glasses.
- Tilt-Adjustable Arms: Adjust the arms of the glasses to find a comfortable and stable fit on your head.
- 유연한 팔: The flexible arm design allows for a gentle and secure fit.
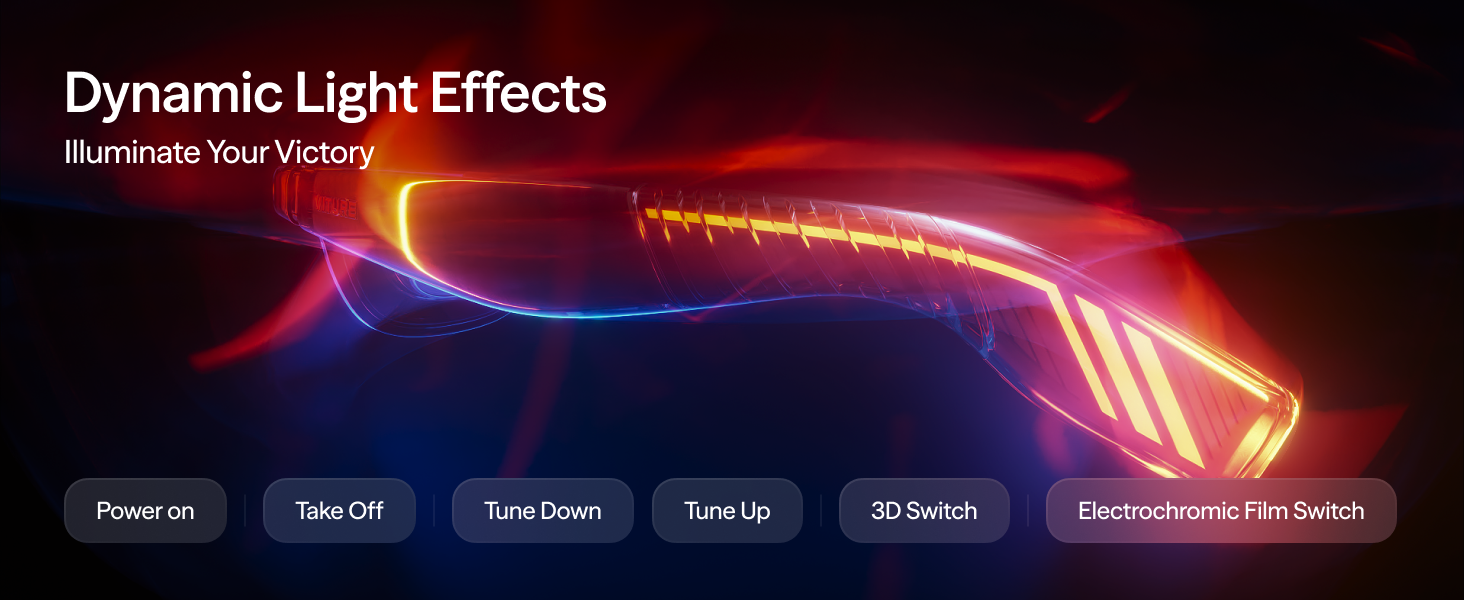
Image: Illustration of the myopia adjustment dials and flexible arms on the VITURE Luma Pro XR Glasses.
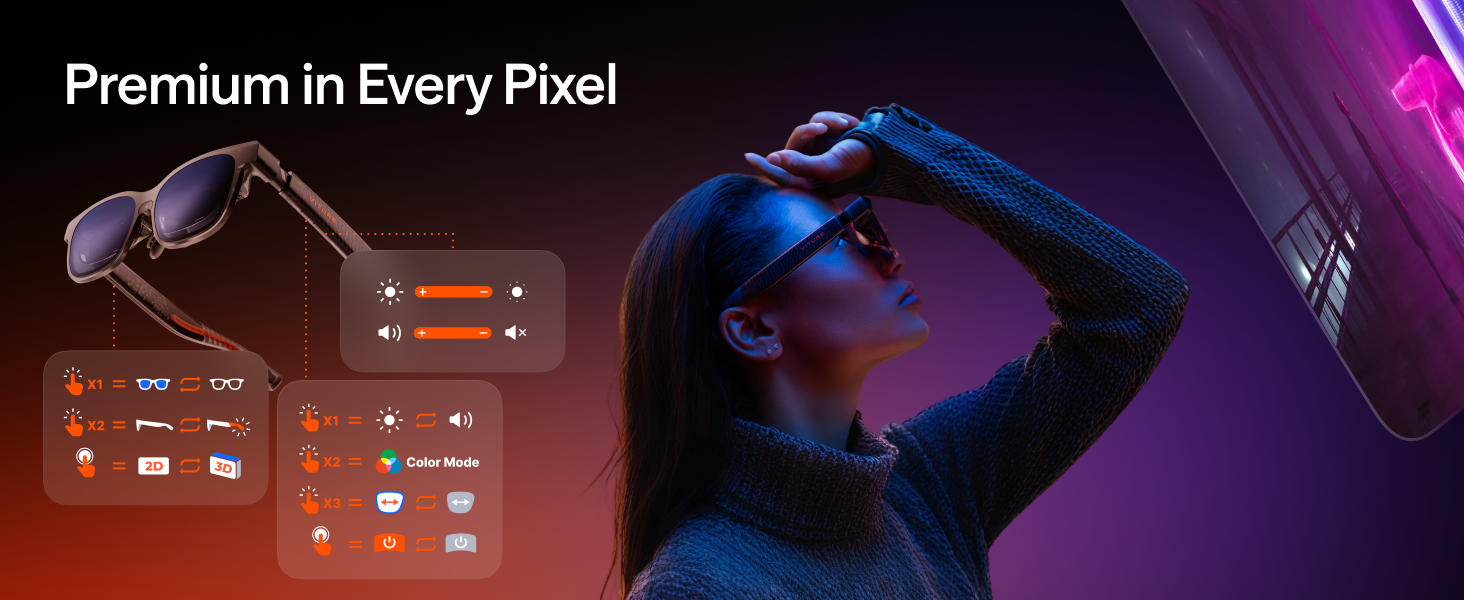
Image: Details of the tilt-adjustable arms and magnetic ergonomic nose pads for enhanced comfort.
4. 사용 설명서
4.1. 전원 켜기 / 끄기
To power on the Pro Neckband, press and hold the power button until the indicator lights illuminate. To power off, press and hold the power button until the lights turn off.
4.2. Basic Controls on XR Glasses
The XR Glasses feature integrated controls for various functions:
- 밝기 조정: Use the designated buttons to increase or decrease display brightness.
- 볼륨 조절: Adjust audio volume using the volume buttons.
- 2D/3D 스위치: Toggle between 2D and 3D display modes.
- Electrochromic Film Switch: Activate or deactivate the electrochromic film for light blocking and privacy.
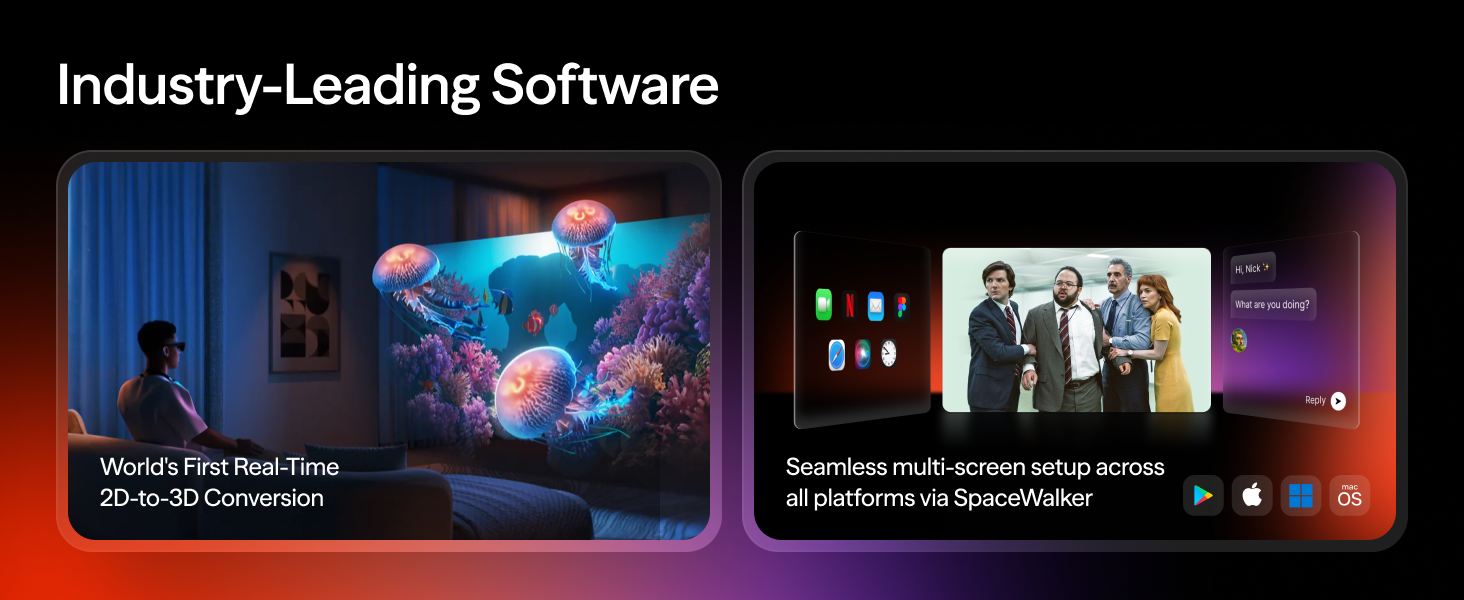
Image: Diagram illustrating the control functions on the VITURE Luma Pro XR Glasses, including brightness, volume, 2D/3D mode, and electrochromic film activation.
4.3. Neckband Interface and App Navigation
The Pro Neckband runs a proprietary VR OS, providing access to various applications. Navigate the interface using connected input devices or hand gestures.

Image: The Neckband's display interface showing a selection of applications, including streaming services and gaming platforms.
4.4. Multi-Screen Functionality (SpaceWalker App)
Utilize the SpaceWalker app to create a multi-screen workspace with up to three virtual screens. This feature supports horizontal, vertical, and code modes for enhanced productivity.

이미지: 사용자 viewing multiple virtual screens simultaneously, demonstrating the multi-screen capability.
이미지: 전amples of multi-display layouts, including vertical and ultrawide modes, for productivity tasks.
4.5. Hand Gesture Controls
The Pro Neckband is equipped with bottom-mounted cameras for hand gesture recognition. Supported gestures include:
- Move cursor with hands
- 수도꼭지
- Drag items
- Resize screens with two-hand pinch
- Wrist twist for 'back' action
- Flip hand and pinch to return 'home'

Image: An illustration demonstrating hand gestures for interacting with the AR interface.
4.6. Navigation Methods
In addition to hand gestures, navigation can be performed using:
- 레이저 포인터: Use your phone as a laser pointer for navigation.
- 트랙패드: Navigate by swiping on your phone screen.
Image: Visual representation of using a phone as a laser pointer and a trackpad for navigation within the XR environment.
4.7. Remote Play and Cloud Gaming
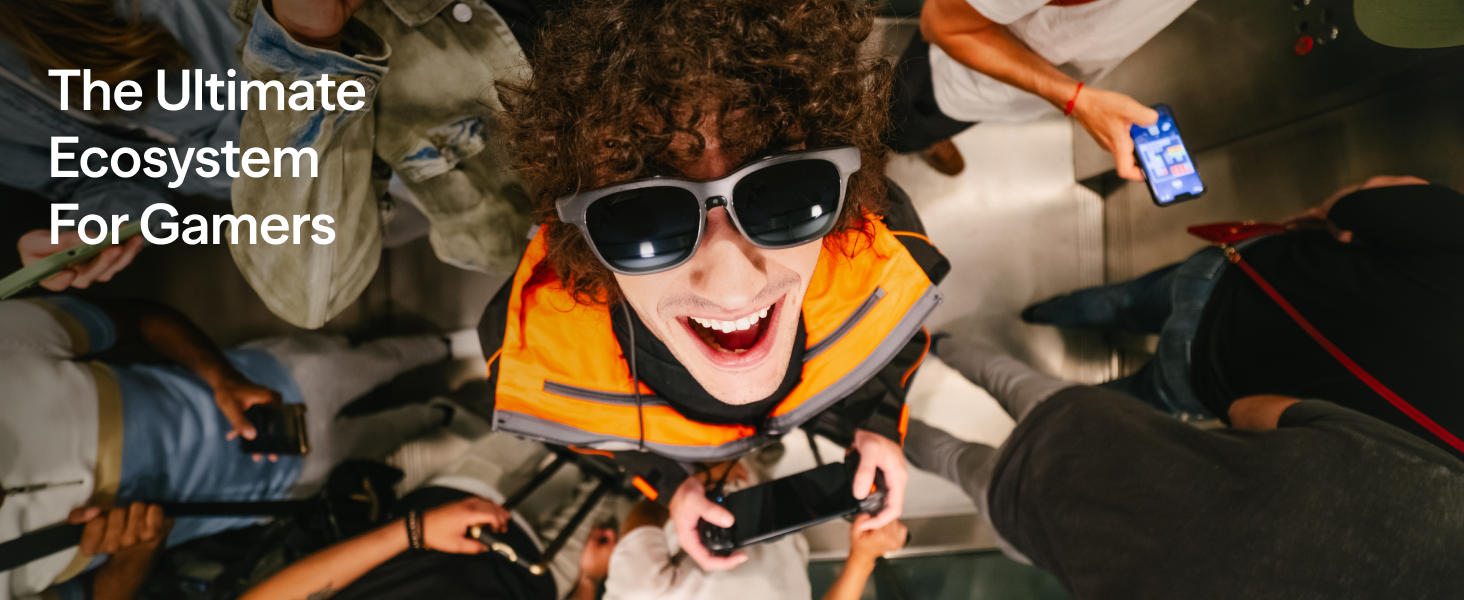
The Neckband supports remote play and cloud gaming. It is bundled with PSPlay and XBXPlay for console streaming. Other streaming applications like Moonlight are also compatible.

Image: A display showing various gaming and streaming applications compatible with the Pro Neckband, including PSPlay, XBXPlay, and Moonlight.
4.8. 내부 저장소
The Pro Neckband includes 256GB of internal storage, allowing you to download and store media for offline use.

Image: An illustration highlighting the 256GB storage capacity of the Pro Neckband, suitable for downloading movies for travel.
4.9. 장치 호환성
The VITURE Luma Pro XR Glasses and Pro Neckband are compatible with a range of devices:
- 직접 연결: Laptops and Android phones with DisplayPort (DP) output via USB-C.
- 게임 콘솔: PlayStation, Xbox, PC, Handheld Gaming Consoles (e.g., Steam Deck), Nintendo Switch (requires VITURE Pro Mobile Dock or HDMI XR Adapter).
- 아이폰: iPhone 15/15 Pro/15 Pro Max (direct USB-C DP output). Older iPhones (iPhone 14 and earlier) require an HDMI XR Adapter and an Apple Official Adapter.
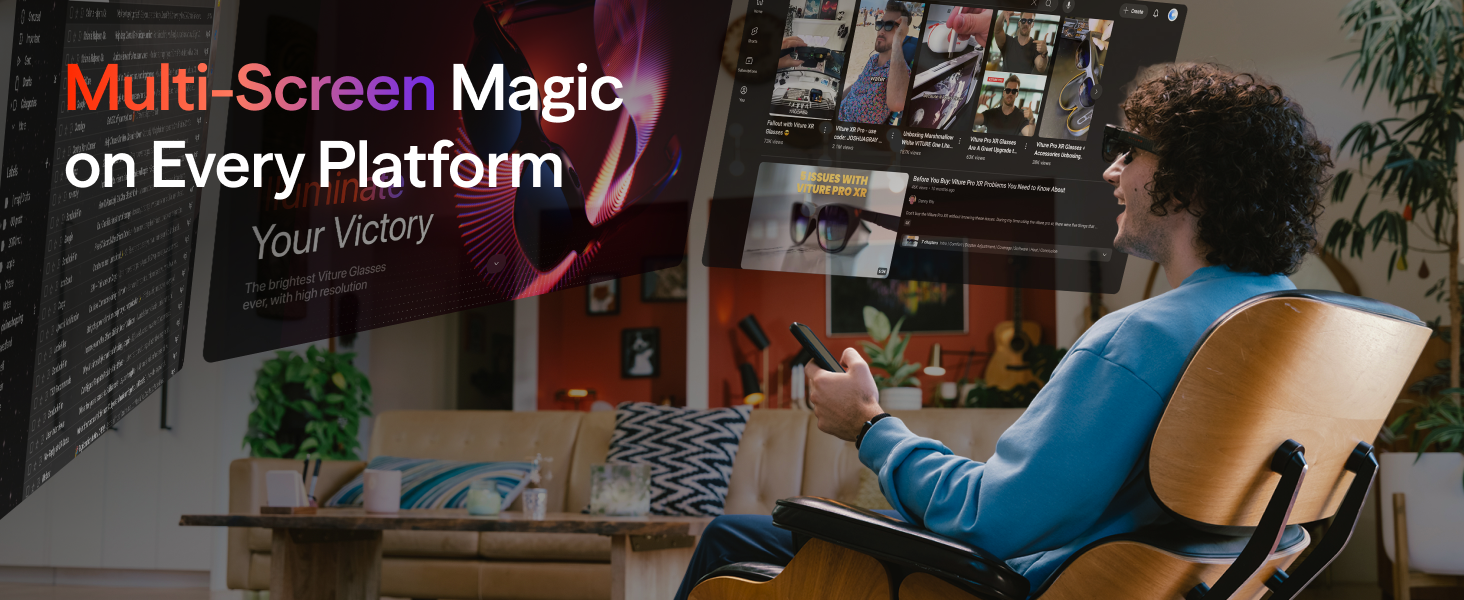
Image: A comprehensive compatibility chart showing how the VITURE Luma Pro XR Glasses connect to various devices including laptops, phones, and gaming consoles.
5. 유지관리
5.1. 청소
- 렌즈: Use a microfiber cloth specifically designed for optics to gently wipe the lenses. Do not use abrasive materials or chemical cleaners.
- 몸: Wipe the body of the glasses and Neckband with a soft, damp 천으로 덮으십시오. 포트나 개구부에 습기가 들어가지 않도록 하십시오.
5.2. 보관
Store the device in a cool, dry place away from direct sunlight and extreme temperatures. Use the provided carrying case (if applicable) to protect the glasses from scratches and dust.
5.3. 배터리 관리
To prolong battery life, avoid fully discharging the Neckband frequently. Charge it regularly and store it with a partial charge if not used for extended periods.
6. 문제 해결
문제가 발생하면 다음의 일반적인 문제와 해결 방법을 참조하세요.
| 문제 | 가능한 해결책 |
|---|---|
| No display in glasses | Ensure the Neckband is powered on and charged. Verify the USB-C connection between the glasses and Neckband is secure. Check device compatibility and necessary adapters. |
| Neckband not charging | Confirm the charging cable and power adapter are functioning correctly. Try a different USB-C cable or power source. |
| Hand gestures not recognized | Ensure sufficient lighting in your environment. Keep your hands within the camera's field of view. Recalibrate gesture recognition if available in settings. |
| Audio issues (no sound/low volume) | Check the volume settings on both the glasses and the connected device. Ensure no other audio output device is selected on your source. |
| Connectivity problems (Wi-Fi/Remote Play) | Verify your Wi-Fi connection is stable. Restart the Neckband and your router. Ensure remote play applications are correctly configured on both devices. |
문제가 지속되면 고객 지원팀에 문의하세요.
7. 사양
| 특징 | 세부 사항 |
|---|---|
| 상표 | 비투르 |
| 모델 번호 | VITURE Pro Cloud Pack 12GB+256GB |
| 색상 | 검은색 |
| 디스플레이 유형 | 액정표시장치 |
| 가상 화면 크기 | 152인치(3미터 기준) |
| 디스플레이 해상도 | 1920x1080 per eye (1200p), 3840x1080 (overall) |
| 디스플레이 재생 빈도 | 90Hz |
| 명도 | Up to 1000 Nits (peak perceived) |
| 메모리(RAM) | 12GB |
| 저장 장치(ROM) | 256GB |
| 연결 기술 | Wi-Fi, USB-C, HDMI (via adapter) |
| 운영 체제 | Proprietary VR OS |
| 센서 | Accelerometer, Gyroscope, Proximity, Magnetometer |
| Battery Life (Neckband) | 최대 4시간 |
| 호환 장치 | PS5, Xbox, PC, Android Phones, iPhones (with adapter), Nintendo Switch |
| 특별 기능 | Remote Play, Cloud Gaming, Multi-Screen, AR Interaction, Hand Gesture Recognition, 2D-to-3D Conversion, Electrochromic Film |
8. 보증 및 지원
8.1. 보증 정보
The VITURE Luma Pro XR Glasses and Pro Neckband come with a 12개월 보증 구매일로부터. 본 보증은 정상적인 사용 중 발생한 제조상의 결함에 적용됩니다. 보증 청구를 위해 구매 증빙 서류를 보관해 주십시오.
8.2. 반품 정책
A 30 일 반품 정책 is available for this product. Please refer to the retailer's return policy for specific terms and conditions.
8.3. 고객 지원
For technical assistance, troubleshooting, or warranty inquiries, please contact our responsive support team:
- 이메일: support@viture.us
Our team is available to assist you with any questions or issues you may encounter.