
중요 안전 지침
- 사용하기 전에 모든 지침을 주의 깊게 읽으세요.
- This appliance is for indoor aquarium use only.
- 전원 공급 장치 볼륨을 확인하십시오.tage matches the rating label on the filter.
- 유지 보수, 청소 또는 사용하지 않을 때는 항상 필터의 전원 플러그를 콘센트에서 뽑으십시오.
- 전원 코드나 플러그가 손상되었거나, 오작동하거나, 떨어뜨리거나 어떤 식으로든 손상된 경우에는 필터를 작동하지 마십시오.
- To avoid electric shock, do not immerse the power plug or cord in water or other liquids.
- 필터를 어린이의 손이 닿지 않는 곳에 보관하십시오.
- Ensure the filter is securely attached to the aquarium before operation.
- Not suitable for framed aquariums. Please check your aquarium type before installation.
패키지 내용
포장을 개봉하실 때 모든 구성품이 있는지, 손상되지 않았는지 확인해 주십시오.
- Filter Unit (Main body with motor)
- 입구 파이프 조립체
- 콘센트 노즐
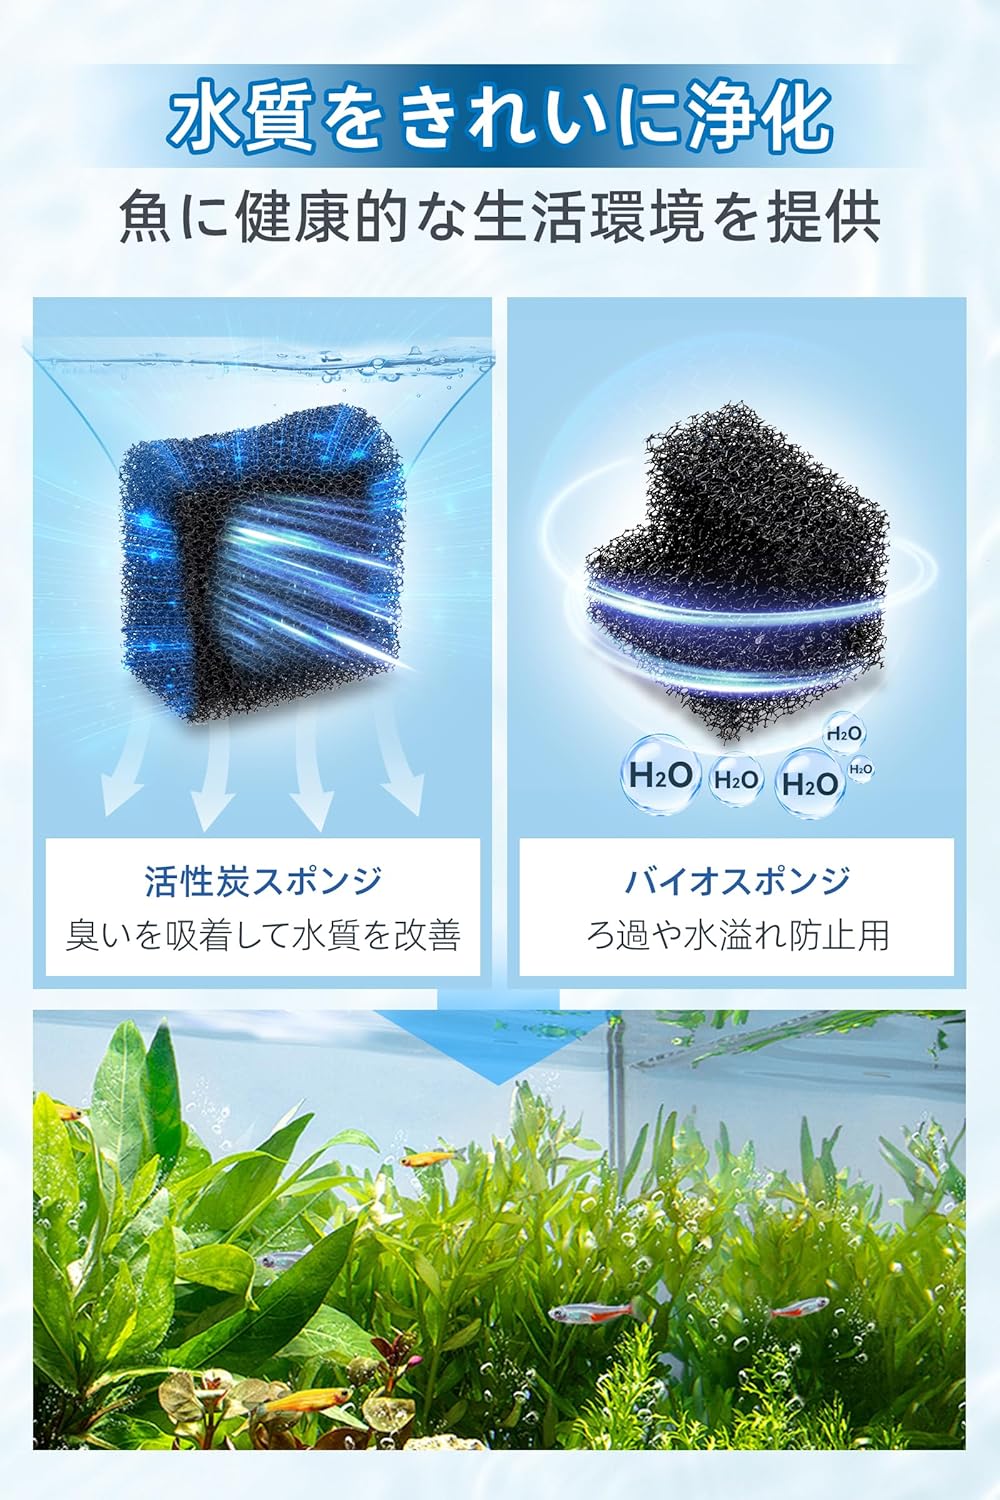
- 활성탄 필터면
- Overflow Prevention Cotton
- Sponge Protection Cover for Inlet
- Adjustable Hanging Hook (5-15mm)

설치 가이드
- Assemble the Inlet Pipe: Connect the various sections of the inlet pipe and attach the sponge protection cover to the bottom.

Figure 2: Illustration of assembling the inlet pipe components. - 필터 미디어 설치: Place the activated carbon filter cotton and overflow prevention cotton into the filter compartment. Ensure they are correctly seated.

Figure 3: Diagram showing the placement of filter media within the unit. - 수족관에 부착: Securely hang the filter unit onto the edge of your aquarium using the adjustable hanging hook. The hook is designed for tank glass thickness between 5-15mm. Note: This filter is not compatible with aquariums that have a frame around the edge.
Figure 4: The filter unit securely attached to the aquarium rim, showing the adjustable hook. - 필터 프라이밍: Before plugging in, add water to the filter compartment until it is full. This will initiate the self-priming process.

Figure 5: Adding water to the filter compartment to prime it before starting. - 전원 연결: Plug the filter into a suitable power outlet. The filter should start operating automatically.
Video 1: Demonstrates the setup and initial operation of a hygger aquarium filter, including connecting the power. This video shows the filter starting and circulating water.
작동 지침
물 흐름 조정
The filter features an adjustable knob on the top, allowing you to control the water flow rate up to a maximum of 400L/H. This is beneficial for aquariums with fish that prefer gentler currents, such as Medaka, Betta, or Ryukin goldfish.

Oil Film Removal Function
The filter is equipped with an oil film removal function to maintain a clear water surface, enhancing the viewing experience of your aquarium inhabitants.

Oxygen Supply (Aeration)
The design of the filter, where water is drawn up and then falls back into the tank, also provides aeration, effectively circulating oxygen throughout the aquarium. This creates an ideal environment for fish and shrimp.

유지
Regular maintenance is crucial for optimal filter performance and water quality. Always unplug the filter before performing any maintenance.
청소 필터 매체
- The filter utilizes multiple media types, including activated carbon filter cotton and overflow prevention cotton.
- These media can be replaced individually as needed.
- Rinse the filter media with old aquarium water during water changes to preserve beneficial bacteria. Avoid using tap water directly, as chlorine can harm bacteria.
Cleaning the Filter Unit
- Periodically disassemble the filter unit to clean the impeller and internal components.
- Use a soft brush to remove any accumulated debris or algae.
- Ensure all parts are reassembled correctly before restarting the filter.
문제 해결
| 문제 | 가능한 원인 | 해결책 |
|---|---|---|
| 필터가 작동하지 않음/물이 흐르지 않음 |
|
|
| 물의 흐름이 감소함 |
|
|
| 과도한 소음 |
|
|
명세서
| 특징 | 세부 사항 |
|---|---|
| 모델 번호 | HG238-JP |
| 크기 | M |
| 최대 유량 | 400리터/시간 |
| Applicable Tank Volume | 약. 20-38L |
| Applicable Tank Length | 최대 50cm |
| Applicable Tank Edge Thickness | 5-15 mm (unframed tanks only) |
| 소음 수준 | 25dB 이하 |
| 물의 종류 | 담수와 바닷물 |
| 특징 | Adjustable Water Flow, Oil Film Removal, Multi-stage Filtration, Oxygen Supply, Anti-suction Sponge Cover |

보증 및 지원
For warranty information and customer support, please refer to the contact details provided with your purchase or visit the official hygger web대지.
보증 청구를 위해 구매 증빙서류로 구매 영수증을 보관하세요.