SACUMURT CL31
SACUMURT CL31 Solar Wireless Security Camera User Manual
Model: CL31 | Brand: SACUMURT
1. 서론
This manual provides comprehensive instructions for the installation, operation, and maintenance of your SACUMURT CL31 Solar Wireless Security Camera. Please read this manual thoroughly before using the product to ensure proper functionality and safety.

Image 1.1: SACUMURT CL31 Solar Wireless Security Cameras.
The image displays two black SACUMURT CL31 security cameras, each paired with a rectangular solar panel. Both cameras and panels are shown mounted on a light-colored wall, illustrating their outdoor installation. The cameras feature a sleek, compact design with a lens, motion sensor, and LED lights visible on the front. The solar panels are positioned above the cameras, connected by a white cable, indicating their role in providing continuous power.
2. 패키지 내용
패키지에 모든 구성품이 들어 있는지 확인하세요.
- SACUMURT CL31 Solar Wireless Security Camera(s)
- 태양 전지 패널)
- 장착 브래킷
- 장착 나사 및 벽 앵커
- USB 충전 케이블
- 사용 설명서 (본 문서)
3. 주요 특징
- 2K Ultra HD 비디오: Provides clear and detailed video resolution.
- 태양열 전원: Equipped with a high-efficiency solar panel and built-in battery for continuous operation.
- 2.4GHz Wi-Fi 연결: Ensures stable wireless connection over longer distances.
- 스마트 AI 모션 감지: Accurately identifies human motion to reduce false alerts.
- 듀얼 나이트 비전: Offers full-color night vision with spotlights or infrared night vision.
- 양방향 오디오 : 실시간 통신을 위한 마이크와 스피커가 내장되어 있습니다.
- IP66 방수: 다양한 야외 기상 조건을 견딜 수 있도록 설계되었습니다.
- 유연한 스토리지: Supports local SD card storage (up to 128GB, not included) and encrypted cloud storage (30-day free trial available).
- 스마트 홈 통합: Compatible with Alexa and Google Assistant for voice control and view주고받음.

이미지 3.1: 이상view of SACUMURT CL31 Camera Features.
This image illustrates the SACUMURT CL31 camera and its solar panel mounted on a wall, with icons and text highlighting its main features: 2K HD video, motion detection, 2-way talk, color night vision, SD/cloud storage, and IP66 waterproof rating. It also indicates support for 2.4GHz WiFi and non-support for 5GHz WiFi.
4. 설정 가이드
4.1 초기 충전
Before first use, fully charge the camera's built-in battery using the provided USB cable. Connect the USB cable to the camera's charging port (located under the rubber cover) and to a 5V DC power adapter (not included). The indicator light will show charging status.
4.2 앱 설치 및 계정 등록
- Download the "AJCloud" app from your device's App Store (iOS) or Google Play Store (Android).
- Open the AJCloud app and register for a new account. Follow the on-screen prompts to complete registration.
- Allow all requested permissions when prompted by the app to ensure full functionality, including access to wireless data and notifications.
4.3 앱에 카메라 추가하기
Follow these steps to pair your camera with the AJCloud app:
- 카메라 전원 켜기: Open the rubber cover on the camera. Long-press the power button for 5 seconds until you hear a sound and the red and blue indicator lights begin blinking alternately.
- 앱에 장치 추가: In the AJCloud app, tap "Add device" or the "+" icon. Select "IP Camera" from the device type list.
- Wi-Fi에 연결: Enter your 2.4GHz WiFi network name and password. Ensure your WiFi signal is strong and stable. Note: The camera only supports 2.4GHz WiFi; 5GHz WiFi is not supported.
- 페어링 프로세스: The app will initiate the pairing process. Wait for the device connection to complete.
- 페어링 성공: Once the blue light on the camera blinks, the camera pairing is successful. You will receive a "Pair succeeded" notification in the app.
- 카메라 이름을 지어주세요: Assign a name to your camera (e.g., "Front door," "Back yard").
Video 4.1: How to Set up WiFi Security Camera Solar Power.
This video demonstrates the step-by-step process of setting up the SACUMURT WiFi security camera. It covers downloading the AJCloud app, registering an account, powering on the camera, adding the device within the app by selecting "IP Camera," entering 2.4GHz WiFi credentials, and confirming successful pairing. The video visually guides users through the app interface and camera interaction.

Image 4.2: App Setup Steps.
This image displays a four-step visual guide for setting up the camera via the AJCloud app. Step 1 shows downloading "AJCloud" from an app store. Step 2 illustrates turning on the camera by long-pressing the power button under the rubber cover, with red and blue lights blinking. Step 3 shows adding the camera in the app by selecting "IP Camera" and allowing Bluetooth access. Step 4 depicts connecting to the 2.4GHz WiFi network by entering the password and waiting for successful pairing.
4.4 카메라 및 태양광 패널 장착
태양광 패널을 설치할 최적의 일조량을 확보할 수 있는 장소를 선택하세요. view for the camera. Use the provided mounting brackets, screws, and wall anchors for secure installation.
- 태양광 패널이 매일 몇 시간 동안 직사광선을 받을 수 있도록 설치하십시오.
- Mount the camera at an appropriate height and angle to cover the desired monitoring area.
- 태양광 패널 케이블을 카메라의 충전 포트에 연결하세요.

Image 4.3: Wireless and Solar Powered Installation.
The image shows a SACUMURT CL31 security camera and its solar panel mounted on an outdoor wall. Text overlays emphasize "100% Wireless Non-stop Solar Powered," along with icons for wireless connectivity, solar power, and a rechargeable battery. This visually confirms the ease of installation without needing electrical wiring.
5. 사용 설명서
5.1 라이브 View 및 양방향 오디오
Access the live feed of your camera through the AJCloud app. Use the two-way audio feature to communicate with visitors or deter intruders.
- Open the AJCloud app and select the desired camera to view 라이브 피드입니다.
- 마이크 아이콘을 탭하면 카메라 스피커를 통해 말할 수 있습니다.
- 카메라 마이크에서 나오는 소리를 들으려면 스피커 아이콘을 탭하세요.

Image 5.1: Two-Way Talk Functionality.
This image depicts a scene where a child and a dog are playing in a sunny backyard. A SACUMURT CL31 camera is mounted on the side of the house. Speech bubbles indicate a two-way conversation: "Time for lunch, Tommy!" from the camera and "OK, mom!" from the child, illustrating the camera's two-way audio feature for remote communication.
5.2 동작 감지 및 알림
The camera utilizes AI technology to detect human motion and send instant alerts to your smartphone.
- Configure motion detection sensitivity and alert preferences within the AJCloud app settings.
- Upon detection, the camera can trigger a siren, activate spotlights, and send a notification to your phone.

Image 5.2: Motion Detection and Intelligent Alarm Push.
The image shows a SACUMURT CL31 camera with its solar panel mounted on a dark wall at night. The camera's spotlights are illuminated, and a person is highlighted within a red detection box near a garage. On a smartphone screen, an "AJCloud" notification indicates "Activity detected," with icons for Siren, Spotlight, and Message, demonstrating the camera's motion detection and alert capabilities.
5.3 야간 투시 모드
이 카메라는 어두운 환경에서도 선명한 시야를 확보할 수 있도록 두 가지 야간 투시 모드를 제공합니다.
- 풀컬러 야간 투시경: Activates the camera's spotlights to provide a color image.
- 적외선 나이트 비전: 완전한 어둠 속에서 흑백 영상을 구현하기 위해 적외선 LED를 사용합니다.
- Switch between modes in the app settings as needed.

Image 5.3: 2K FHD Color Night Vision.
This image presents a split view comparing two night vision modes from the SACUMURT CL31 camera. The top half, labeled "Spotlight On," shows a family dining outdoors at night in full color, illuminated by the camera's spotlight. The bottom half, labeled "Spotlight Off," shows the same scene in black and white infrared vision. This demonstrates the camera's ability to provide clear, colorful night surveillance when spotlights are active.
5.4 저장 옵션
Recordings can be stored locally or in the cloud:
- SD 카드 저장: Insert a Micro SD card (up to 128GB, not included) into the camera's SD card slot (under the rubber cover).
- 클라우드 스토리지: Utilize the encrypted cloud storage service. A 30-day free trial is typically included with new cameras.
- Playback and download recordings anytime via the AJCloud app.

Image 5.4: Flexible Storage Options.
The image focuses on the side of the SACUMURT CL31 camera, with its rubber cover open to reveal the SD card slot and USB port. Text highlights "Flexible Storage" with icons for "SD Card Storage (Supports to 128GB, Not Included)" and "Cloud Storage (30-day Free Trial)," indicating the dual storage capabilities of the device.
5.5 스마트 어시스턴트 통합
Connect your camera to Alexa or Google Assistant for convenient voice control and view호환되는 스마트 디스플레이에서 재생 가능.
- Follow the instructions in your Alexa or Google Home app to link the AJCloud service.
- Use commands like "Alexa, show me the front door" to view 카메라 영상입니다.
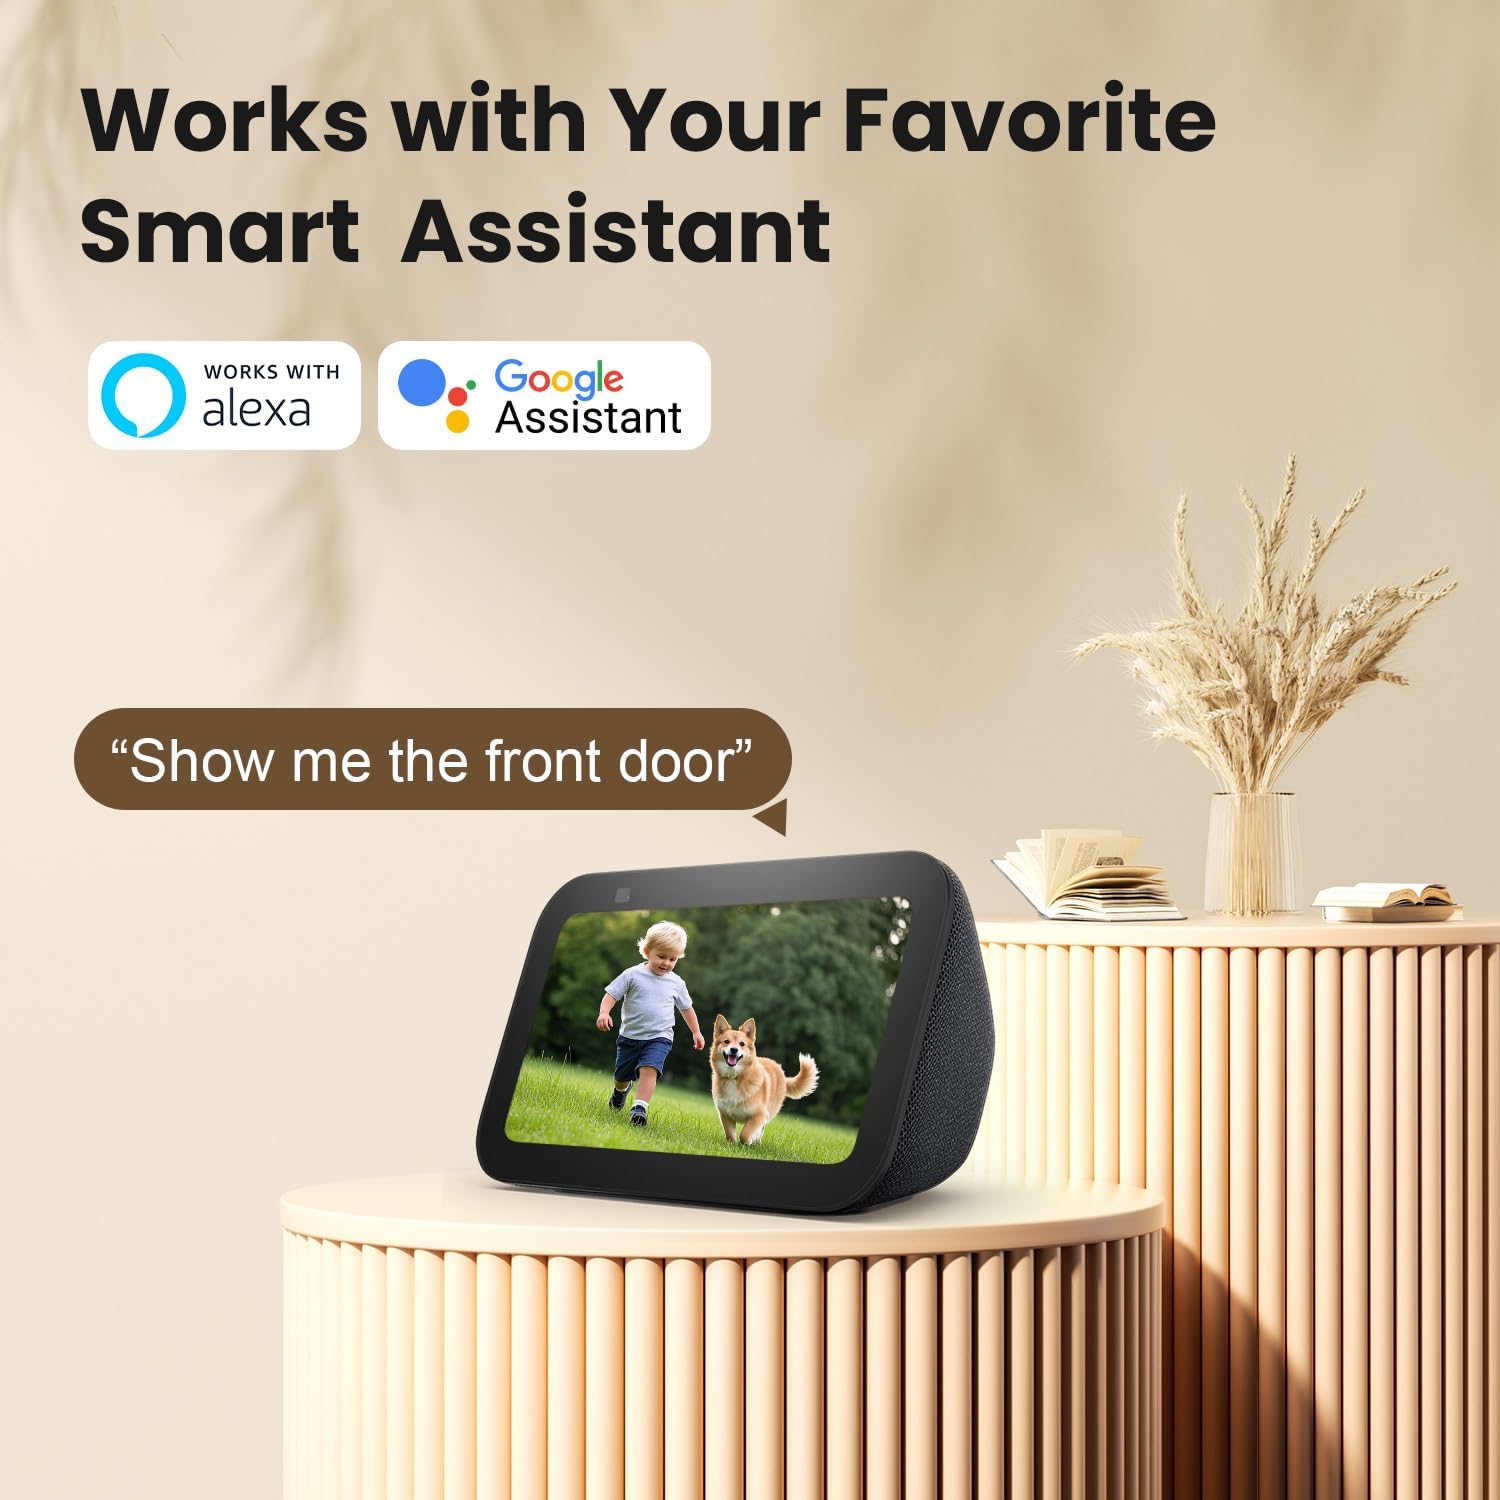
Image 5.5: Works with Smart Assistants.
This image features a smart display device showing a live camera feed of a child and a dog. Above the display, the logos for "Works with Alexa" and "Google Assistant" are prominently displayed. A speech bubble contains the command "Alexa, show me the front door," illustrating the camera's compatibility with popular smart home ecosystems for voice-activated view주고받음.
5.6 카메라 접근 권한 공유
You can share live view access with other users through the AJCloud app.

Image 5.6: Share Camera with Loved Ones.
The image shows a SACUMURT CL31 camera centrally, with a smartphone displaying its live feed of two children playing. Around this central image, several smaller circular insets show different individuals (a woman, an elderly woman, a man, and a couple) also viewing the camera feed on their respective smartphones. Arrows indicate that the camera feed can be easily shared with multiple users worldwide.
6. 유지관리
- 렌즈와 태양광 패널을 청소하세요: 카메라 렌즈와 태양광 패널은 부드러운 천으로 정기적으로 닦아주세요.amp 선명한 이미지와 효율적인 충전을 위해 천을 사용하세요.
- 배터리 잔량 확인: Monitor the camera's battery level in the AJCloud app. Ensure the solar panel receives adequate sunlight to keep the battery charged.
- 펌웨어 업데이트: Keep the camera's firmware updated through the AJCloud app for optimal performance and security features.
- 날씨 보호: The camera is IP66 weatherproof, but extreme conditions may require additional checks for debris or ice accumulation.

Image 6.1: IP66 Weatherproof Design.
This image is divided into two sections, both featuring the SACUMURT CL31 camera and its solar panel mounted outdoors. The top section shows the camera enduring rain, with icons for "Rainproof," "Snowproof," and "Sunproof." The bottom section illustrates the camera operating in a snowy, cold environment, with a temperature scale indicating its operational range from -4°F to 122°F. This highlights the camera's robust IP66 weatherproof rating.
7. 문제 해결
| 문제 | 가능한 원인 | 해결책 |
|---|---|---|
| 카메라가 WiFi에 연결되지 않음 | 와이파이 비밀번호가 잘못되었습니다. 5GHz 와이파이 네트워크입니다. 신호가 약합니다. |
|
| 배터리가 충전되지 않음 | Insufficient sunlight on solar panel; faulty cable/panel. |
|
| 모션 감지 알림 없음 | Motion detection disabled; incorrect sensitivity settings; app notifications off. |
|
| 밤에는 화질이 좋지 않습니다 | 렌즈에 이물질이 끼어 야간 시야 모드가 최적화되지 않았습니다. |
|
8. 사양
| 특징 | 세부 사항 |
|---|---|
| 모델 | CL31 |
| 비디오 캡처 해상도 | 3MP (2K 울트라 HD) |
| 연결 기술 | 무선(2.4GHz Wi-Fi만 해당) |
| 전원 | Solar Powered & Battery Powered (1 Lithium Ion battery included) |
| 나이트 비전 범위 | 최대 50피트 |
| View잉 각도 | 110도 |
| 날씨 보호 | IP66 비바람에 잘 견디는 |
| 작동 온도 | -4°F ~ 122°F(-20°C ~ 50°C) |
| 저장 옵션 | 마이크로 SD 카드(최대 128GB, 별도 구매), 클라우드 저장소 |
| 호환 장치 | iPhone, iPad, Android Phone/Pad |
| 스마트 어시스턴트 지원 | 알렉사, 구글 어시스턴트 |
| 재료 | 아크릴로니트릴 부타디엔 스티렌(ABS) |
| 치수(길이 x 너비 x 높이) | 2.4 x 2.2 x 3.8 인치 |
| 품목 무게 | 2.12파운드 |
| 한국어: | 716032704112 |
9. 보증 및 지원
SACUMURT provides a 2년 보증 for the CL31 Solar Wireless Security Camera. This warranty covers manufacturing defects and ensures peace of mind for your purchase.
For technical assistance, troubleshooting, or warranty claims, please contact SACUMURT customer support. Refer to the contact information provided on the product packaging or the official SACUMURT web연중무휴 24시간 기술 지원을 제공하는 사이트입니다.
관련 문서 - CL31
 |
AJCloud 배터리 보안 카메라 사용 설명서 AJCloud 배터리 보안 카메라의 사용 설명서에는 제품 소개, 소프트웨어 설치, 페어링 프로세스, 문제 해결 및 중요한 규정 준수 정보가 포함되어 있습니다. |
 |
Reznor CL31/CL32 Relay Kit Installation Guide for Multiple Heater Control Comprehensive installation guide for Reznor CL31 and CL32 relay kits, enabling multiple heater control for models APD, F, B, UDAP, UDAS, UDBP, UDBS, UEAS, and VR. Includes component lists, safety precautions, and wiring specifications. |
 |
Reznor 릴레이 키트 다중 장치 제어용 설치 가이드(CL31/CL32) Reznor CL31 및 CL32 릴레이 키트의 종합 설치 가이드로, 다양한 Reznor 전기 및 가스 히터의 다중 장치 제어를 가능하게 합니다. 구성품 목록, 자세한 설치 단계 및 배선 사양이 포함되어 있습니다. |
 |
Updating CL31/CL51 Firmware Technical instructions for updating the firmware on Vaisala CL31 and CL51 ceilometers, including step-by-step procedures and troubleshooting guidelines. |
 |
Reznor Relay Kit Installation Guide for Multiple Heater Control (CL31/CL32) Installation instructions for the Reznor CL31 and CL32 Relay Kits, designed for multiple heater control with LDAP model heaters. This guide is intended for qualified electricians and covers safety precautions and component installation. |
 |
Reznor Relay Kit Installation for Multiple Heater Control (CL31/CL32) Installation guide for Reznor CL31/CL32 relay kits, enabling multi-heater control for UBX, UBZ, UDX, UDZ, and UEZ models. Covers safety, components, and wiring. |
Ask a question about this manual
Ask about setup, troubleshooting, compatibility, parts, safety, or missing instructions. Manuals+ will review the question and use this page’s manual context to help answer it.