AMZASA AS9027-4AB

AMZASA AS9027-4AB Plug-in Crystal Chandelier Instruction Manual

Model: AS9027-4AB | Brand: AMZASA

소개

구매해주셔서 감사합니다asing the AMZASA AS9027-4AB Plug-in Crystal Chandelier. This manual provides essential information for the safe and correct assembly, operation, and maintenance of your new lighting fixture. Please read all instructions carefully before installation and retain this manual for future reference.

중요한 안전 정보

  • 설치, 청소 또는 유지관리를 하기 전에는 항상 전원을 분리하세요.
  • 본 제품은 실내에서만 사용하도록 설계되었습니다.
  • 장착 표면이 고정물의 무게를 지탱할 수 있는지 확인하세요.
  • Use only E12 base bulbs, maximum 40W per bulb (bulbs not included).
  • If using a dimmer switch, ensure bulbs are dimmable and compatible with the switch.
  • Handle glass crystals with care to prevent breakage.
  • 포장재료를 어린이의 손이 닿지 않는 곳에 보관하세요.
  • 설치 과정에 대해 확신이 없다면 자격을 갖춘 전기 기술자에게 문의하세요.

패키지 내용

조립을 시작하기 전에 모든 구성품이 포함되어 있고 손상되지 않았는지 확인하세요. 부품이 누락되었거나 손상된 경우 고객 지원 센터에 문의하세요.

  • Chandelier Frame with 4 E12 Sockets
  • Glass Crystal Strings (various sizes and shapes, labeled A, B, C, D, E, F)
  • Glass Decorative Saucers
  • Power Cord with In-line ON/OFF Switch
  • 매달려 체인
  • 천장 후크
  • 케이블 관리 클립
  • 장착 하드웨어(나사, 앵커)
Image showing all components of the AMZASA Plug-in Crystal Chandelier, including the main frame, various crystal strings, glass saucers, power cord with switch, and hanging hardware.

Figure 1: Chandelier Components Overview

설치 및 조립 지침

Follow these steps to assemble and install your AMZASA Plug-in Crystal Chandelier. It is recommended to wear the provided gloves to avoid fingerprints on the crystals. Refer to the assembly video for visual guidance on each step.

Video: AMZASA Plug-in Crystal Chandelier Assembly Guide. This video demonstrates the complete assembly process from unboxing to final installation.

1단계: 구성 요소 준비

Carefully unbox all components and lay them out on a clean, soft surface. Identify the different crystal types (A, B, C, D, E, F) as shown in the video.

Step 2: Assemble Crystal Saucers (A Crystals)

Attach the 'A' crystals to the small holes around the edge of the glass decorative saucers. Ensure they are securely fastened.

Step 3: Attach Top Crystal Chains (B Crystals)

Connect the 'B' crystal chains between the top center part of the chandelier frame and the light bulb sockets. There are four 'B' chains for the four arms.

Step 4: Attach Arm Crystal Chains (C Crystals)

Attach the 'C' crystal chains to the arms of the chandelier, connecting them from one arm to the central base. Ensure even distribution.

Step 5: Attach Bottom Center Crystals (E Crystals)

Secure the 'E' crystals to the bottom center of the chandelier frame. These are typically shorter, individual crystal drops.

Step 6: Attach Saucer Crystals (F Crystals)

Attach the 'F' crystals to the bottom of the glass decorative saucers that were assembled in Step 2.

Step 7: Attach Hanging Chain

Connect the provided hanging chain to the top loop of the chandelier. Ensure the connection is secure.

Step 8: Install Ceiling Hook and Hang Chandelier

Screw the ceiling hook into a secure ceiling joist or use appropriate anchors for drywall. Hang the chandelier chain from this hook. Adjust the chain length to achieve the desired hanging height.

Image showing the chandelier hanging from a ceiling hook with the power cord routed along the ceiling using clips.

Figure 2: Chandelier Hanging and Cable Management

Step 9: Route Power Cord and Attach Remaining Crystals (D Crystals)

Route the power cord along the ceiling to a power outlet using the provided cable management clips. Once the chandelier is hung, attach the 'D' crystal chains to the arms, connecting them to the central base or other designated points as shown in the video.

Step 10: Install Light Bulbs

Screw 4 E12 base bulbs (max 40W each, not included) into the chandelier sockets. Ensure bulbs are fully seated.
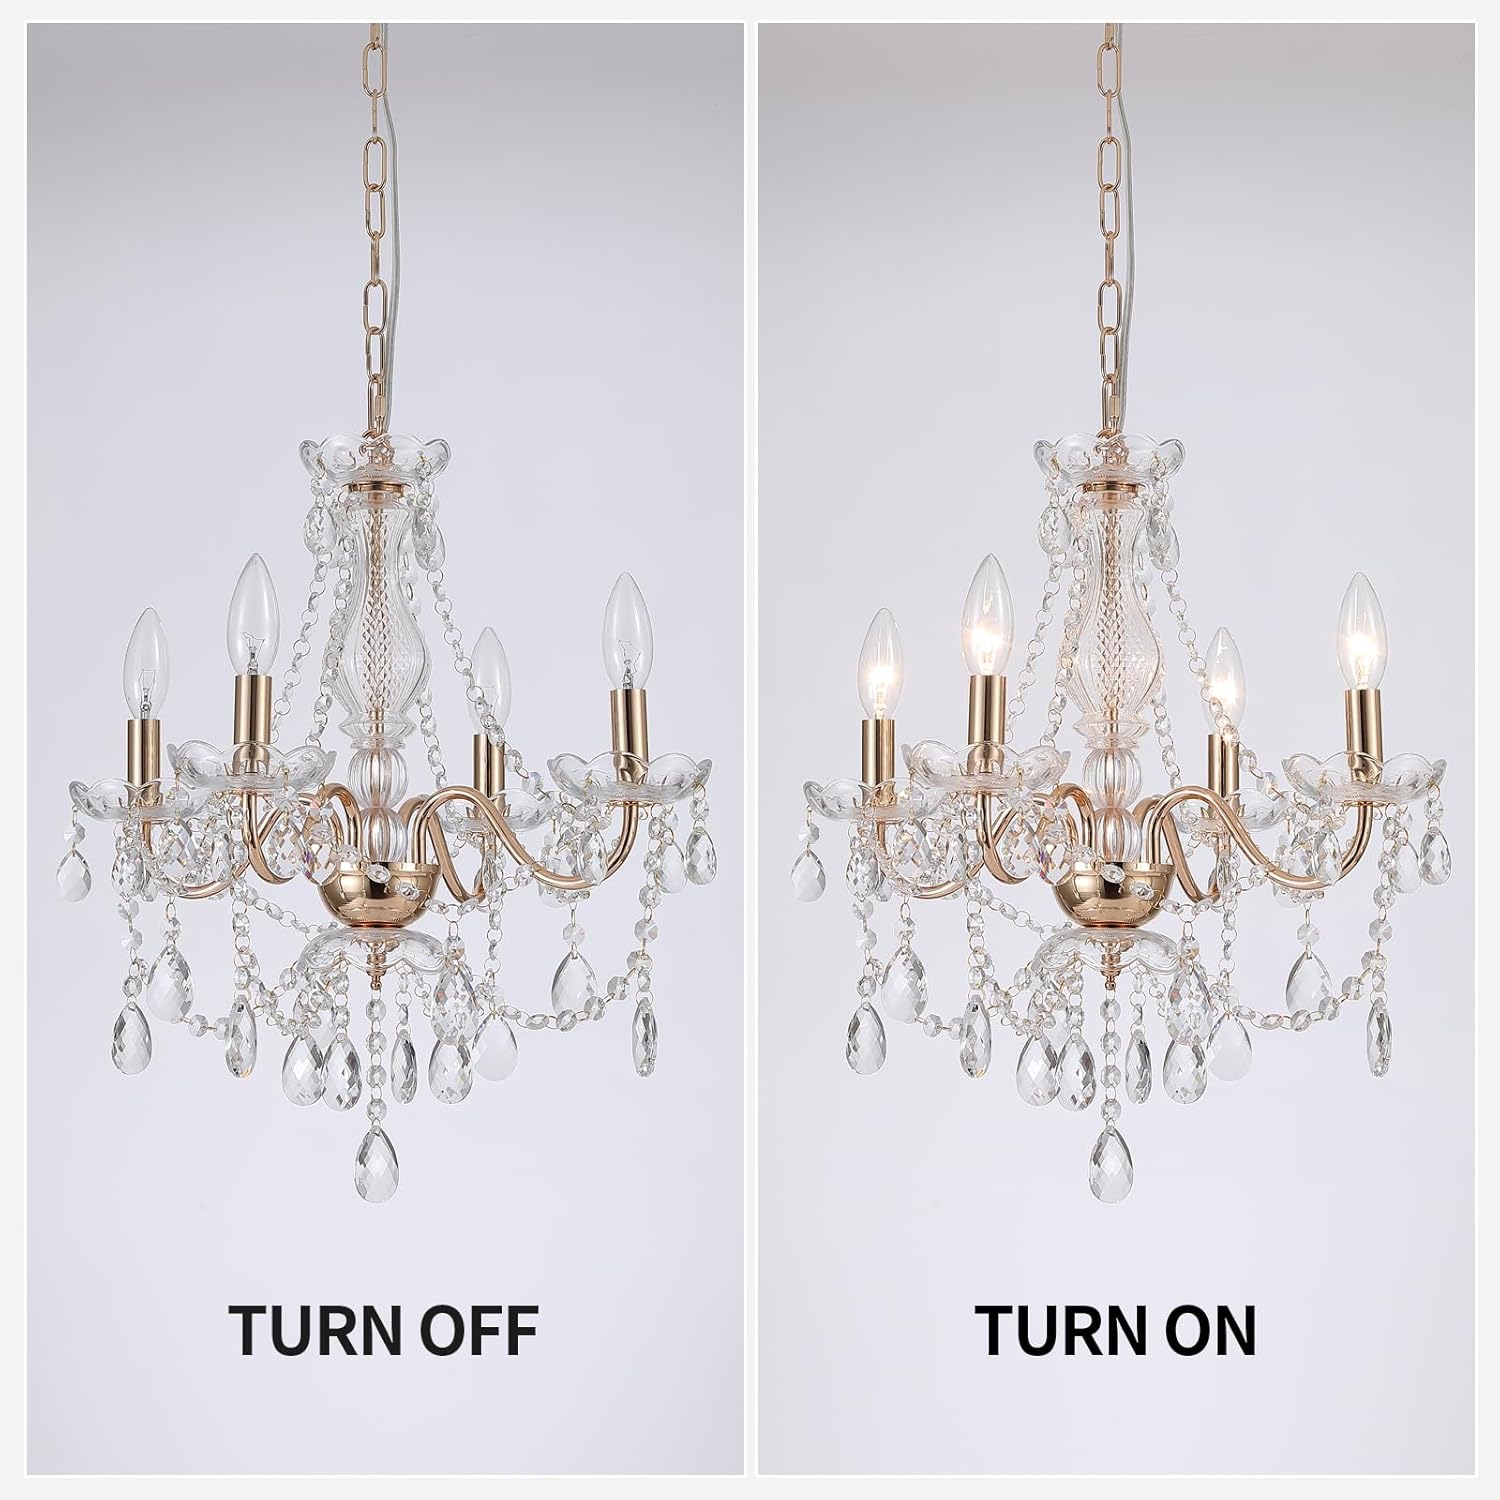
작동 지침

  1. 전원 연결: Plug the chandelier's power cord into a standard 110V AC wall outlet.
  2. 켜기/끄기: Use the in-line ON/OFF switch located on the power cord to control the light.
  3. 조광 기능: If you are using dimmable E12 bulbs and have a compatible dimmer switch installed in your wall outlet, the chandelier's brightness can be adjusted. The chandelier itself does not include a dimmer.
Close-up of the in-line ON/OFF switch on the chandelier's power cord.

Figure 3: In-line ON/OFF Switch

유지

  • 청소: To clean the chandelier, first ensure it is unplugged. Use a soft, dry cloth to gently wipe the metal frame and glass crystals. For stubborn dust or smudges on crystals, a slightly damp cloth with mild glass cleaner can be used, followed by a dry cloth. Avoid abrasive cleaners or harsh chemicals.
  • 전구 교체: Ensure the chandelier is unplugged and bulbs are cool before attempting to replace them. Unscrew the old bulb and screw in a new E12 base bulb (max 40W).
  • 크리스탈 케어: Handle crystals with care. If any crystal strings become detached, reattach them using the small metal rings.

문제 해결

문제가능한 원인해결책
Chandelier does not light up.1. 전원 코드가 꽂혀 있지 않습니다.
2. ON/OFF switch is off.
3. Faulty bulb(s).
4. 전원을 끄다tag회로 차단기가 트립되었습니다.
1. 전원 코드가 제대로 작동하는 콘센트에 제대로 꽂혀 있는지 확인하세요.
2. Flip the ON/OFF switch to the 'ON' position.
3. Replace bulb(s) with new E12 bulbs.
4. Check your home's circuit breaker and ensure power is restored.
불빛이 깜빡인다.1. 전구 연결이 느슨합니다.
2. Incompatible dimmer switch or dimmable bulbs.
1. Ensure all bulbs are screwed in tightly.
2. Verify that both your bulbs and dimmer switch are compatible. If not, replace bulbs or dimmer.
Crystals appear dull or dirty.Dust or smudges on crystals.Clean crystals as described in the Maintenance section.
샹들리에가 비뚤어지게 걸려 있습니다.Improper installation of ceiling hook or chain.Re-check the installation of the ceiling hook and ensure the chain is securely and evenly attached.

명세서

모델 번호:AS9027-4AB
상표:암자사
치수(길이 x 너비 x 높이):19.9" x 18.1" x 79.7" (Adjustable Height: 59.8" max)
재료:Glass, Iron, Crystal
전원:AC(플러그인)
권tage:110 볼트
조명의 수:4
최대 와트tag전구당 e:40 와트
전구베이스:E12
특별 기능:Adjustable Height, Dimmable (with compatible bulbs/switch)
설치 유형:Plug-in Chandelier
품목 무게:6.82파운드
Diagram showing the dimensions of the AMZASA Plug-in Crystal Chandelier, including height, width, and adjustable cord length.

그림 4: 제품 치수

보증 및 고객 지원

AMZASA is committed to providing high-quality products and excellent customer service. If you encounter any issues such as color deviation, missing parts, or difficulties with installation, please contact us directly via email. We aim to provide a response within 24 hours.

추가 지원이 필요하면 다음을 방문하세요. AMZASA Store on Amazon.

© 2026 AMZASA. All rights reserved.

Ask a question about this manual

Ask about setup, troubleshooting, compatibility, parts, safety, or missing instructions. Manuals+ will review the question and use this page’s manual context to help answer it.