
1. 서론
This manual provides essential information for the safe and effective installation, operation, and maintenance of your Treeligo 12V Universal Under Dash Air Conditioner. Please read all instructions thoroughly before beginning installation or use to ensure optimal performance and longevity of the unit.
2. 제품 오버view
The Treeligo 12V Universal Under Dash Air Conditioner is a versatile climate control system designed for various vehicles, offering both rapid cooling and comfortable heating. Its upgraded 3-in-1 design integrates the receiver dryer, condenser fan, and condenser into a compact unit, simplifying installation. The system features a 20CC electric scroll compressor for efficient operation and a low-noise design for enhanced comfort.
주요 특징:
- Upgraded 3-in-1 Electric AC Unit: Combines receiver dryer, condenser fan, and condenser for compact installation.
- 난방 및 냉방 기능: Provides both fast cooling and comfortable heating.
- Efficient Cooling Capability: Equipped with a 20CC electric scroll compressor, operating efficiently on 12V power.
- Low-noise Design: Operates at less than 45 dB for a quiet environment.
- 범용 적용: Compatible with a wide range of vehicles including classic cars, RVs, vans, trucks, and agricultural equipment.
포함된 구성 요소:
패키지에는 다음 품목이 포함됩니다.
- 증발기 어셈블리
- 콘덴서
- 냉각 팬
- 압축기 어셈블리
- Refrigerant Pipeline
- 나사 피팅
- Main Power Cord & Blower Power Cord
- Cooling Fan Power Cord
- 원격
- 사용자 설명서

그림 2.1: 패키지에 포함된 모든 구성품.
3. 안전 정보
- 전기 작업을 수행하기 전에 항상 차량의 배터리를 분리하세요.
- 냉매를 다룰 때는 적절한 환기를 확보하십시오.
- 안전 안경과 장갑 등 적절한 개인 보호 장비(PPE)를 착용하세요.
- Refrigerant charging should only be performed by qualified personnel.
- Verify that the battery current meets the system requirements (12V system requires approximately 65A output).
- Ensure sufficient space for installation and proper routing of all pipes and wires to prevent damage.
4. 설치 지침
Careful installation is crucial for the performance and safety of your air conditioner. Refer to the following steps and accompanying visual aids.
4.1 구성 요소 치수

그림 4.1: 설치 공간 계획을 위한 제품 치수.
4.2 Evaporator Unit Installation
- Fix the Evaporator: Secure the evaporator unit at its four corners using the provided brackets and screws.
- Connect Evaporator Pipes: Take out the necessary accessories for the evaporator. Connect the low-pressure pipe (13mm) and the high-pressure pipe (8mm) to the corresponding interfaces on the evaporator. Ensure a secure connection.
- Insulate Pipes: Cover the thick pipe with a sponge and wrap both pipelines with waterproof tape to prevent condensation and improve efficiency.
Video 4.1: Detailed steps for evaporator pipe connections and insulation.
4.3 Compressor and Condenser Connections
- Connect Low-Pressure Pipe to Compressor: Connect the other end of the 13mm low-pressure pipe to the compressor.
- Connect High-Pressure Pipe to Condenser: Connect one end of the 8mm high-pressure pipe to the small interface of the condenser.
- Connect Short Pipe to Compressor: Connect the 10.5mm short pipe to the designated position on the compressor.
- Connect Short Pipe to Condenser: Connect the other end of the 10.5mm short pipe to the larger interface of the condenser.
Video 4.2: Visual guide for connecting pipes to the compressor and condenser.
4.4 전기 연결
- Evaporator Wiring: Connect the evaporator cable plug to the evaporator.
- 디스플레이 연결: Connect the connection cable for the evaporator screen display directly to the monitor. An extension cable can be used if needed.
- 전원 코드: Connect the power cord (red for positive, black for negative) to the car battery.
Video 4.3: Comprehensive under-dash AC installation, including electrical connections.
4.5 배수관 연결
Connect the drain pipe of the evaporator to the designated position. Ensure it is routed to allow proper drainage.
4.6 Refrigerant Charging Precautions
- The compressor is pre-filled with refrigeration oil; no additional oil is needed.
- After installation, vacuum the system for 15-20 minutes.
- Add approximately 560g of R-134a refrigerant.
- If the installation fails to start, check the fault code on the display panel for troubleshooting.
5. 사용 설명서
The control panel allows you to manage the air conditioner's functions:
- 온도 조절: Use the TEMP knob to adjust the desired temperature for heating or cooling.
- 공기 속도 제어: Use the AIR knob to select one of the 3 adjustable fan speeds.
- 모드 선택: Switch between heating and cooling modes as needed.
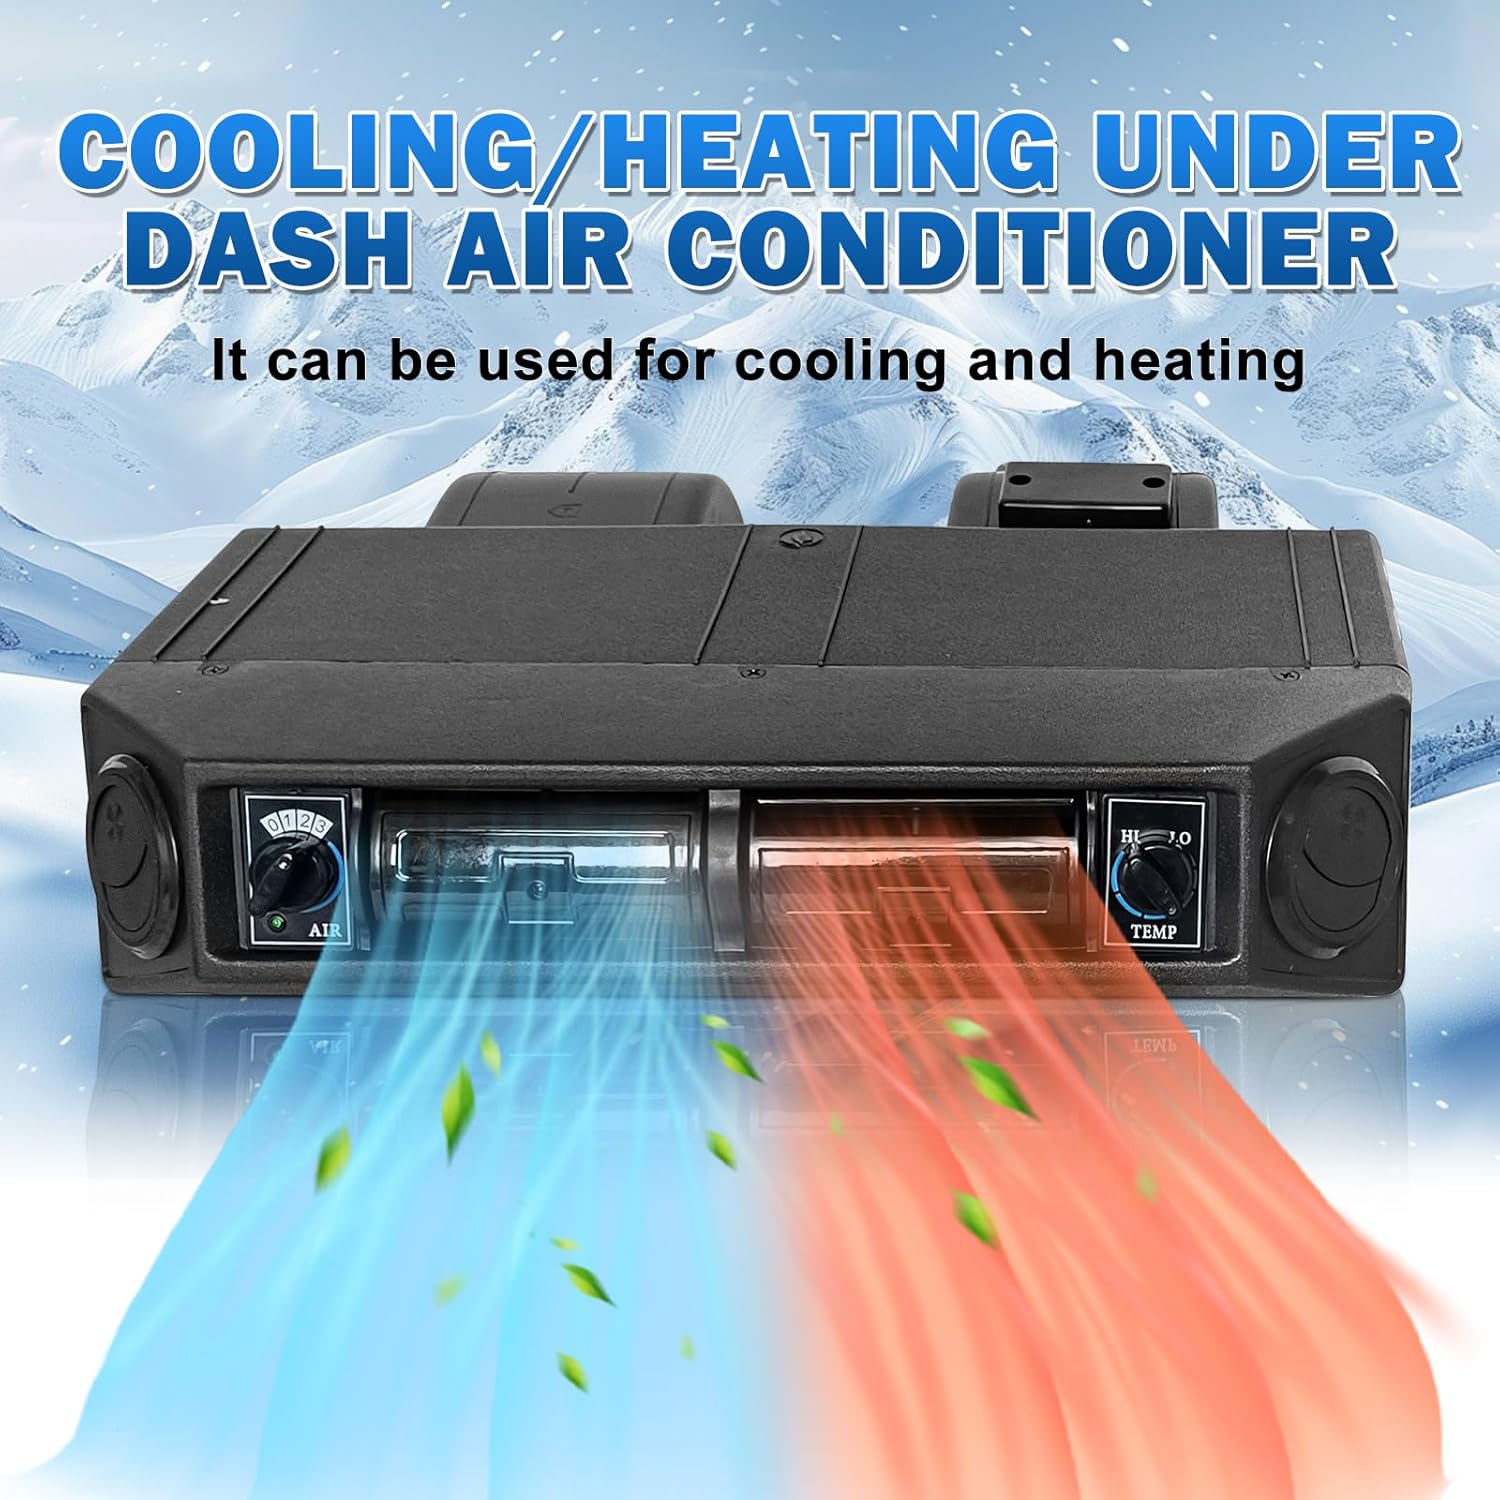
Figure 5.1: Control panel for adjusting temperature and fan speed.
6. 유지관리
- Regularly inspect all hose connections for leaks or damage.
- Keep the condenser and evaporator coils clean to ensure efficient heat exchange.
- Check the refrigerant level periodically. If the cooling performance decreases, consult a qualified technician for inspection and recharging.
- Ensure the drainage pipe is clear of obstructions to prevent water buildup.
7. 문제 해결
에어컨에 문제가 발생하면 다음의 일반적인 문제와 해결 방법을 참조하세요.
- 전원 없음:
- 배터리 연결을 확인하고 제대로 연결되었는지 확인하세요.
- Verify the car battery voltage is sufficient (12V).
- Inspect fuses in the wiring harness.
- 냉방/난방이 잘 안됨:
- Check refrigerant level; low refrigerant can cause poor performance.
- Ensure condenser and evaporator coils are clean and free of debris.
- Verify that the fan is operating at the correct speed.
- Check for any kinks or blockages in the refrigerant lines.
- 비정상적인 소음:
- 팬에 이물질이나 느슨한 부품이 있는지 점검하십시오.
- Ensure the unit is securely mounted to prevent vibrations.
- 물 누출:
- Check the drain pipe for blockages or improper routing.
- Ensure the evaporator unit is installed horizontally to allow proper drainage.
8. 사양
| 특징 | 사양 |
|---|---|
| 브랜드 이름 | 트리리고 |
| 모델 정보 | BEU404-SET-03-3 |
| 품목 무게 | 50파운드 |
| 제품 치수 | 25 x 26 x 10 인치 |
| 능률 | 고효율 |
| 용량 | 50 파운드 |
| 연간 에너지 소비량 | 800킬로와트시 |
| 소음 수준 | 45데시벨 |
| 설치 유형 | 분할 시스템 |
| 특별 기능 | Fast Cooling, Heating & Cooling Function, Remote Controlled |
| 색상 | Black - Square Vent |
| 권tage | 12 볼트 |
| 왓tage | 792 와트 |
| 냉각 전력 | 12000 영국 열 단위 |
| 냉각제 | R-134A |
9. 보증 및 지원
This product includes a user manual. For specific warranty details and technical support, please refer to the documentation provided with your purchase or contact Treeligo customer service directly. Keep your purchase receipt for warranty claims.