
1. 서론
This manual provides essential information for the safe and effective operation of your GEPRC Cinelog30 V3 O4 Air Unit Pro FPV Drone. Please read this manual thoroughly before operating the drone to ensure proper setup, flight, and maintenance procedures are followed.
The Cinelog30 V3 O4 Air Unit Pro is equipped with an O4 Pro Air Unit for ultra-sharp 4K/120fps footage, offering superior color accuracy and enhanced low-light performance. Its aluminum-reinforced frame, dust-proof port covers, and impact-resistant camera canopy provide robust protection. The TAKER F722 45A AIO flight system, optimized PID tuning, 1404 3850KV motors, and HQprop triple-blade propellers ensure smooth and responsive handling. An integrated PDB with anti-spark circuitry, modular receiver bays, and tool-free canopy swaps facilitate customization and maintenance. The advanced structural design isolates camera vibration for smooth 4K footage even during aggressive maneuvers.
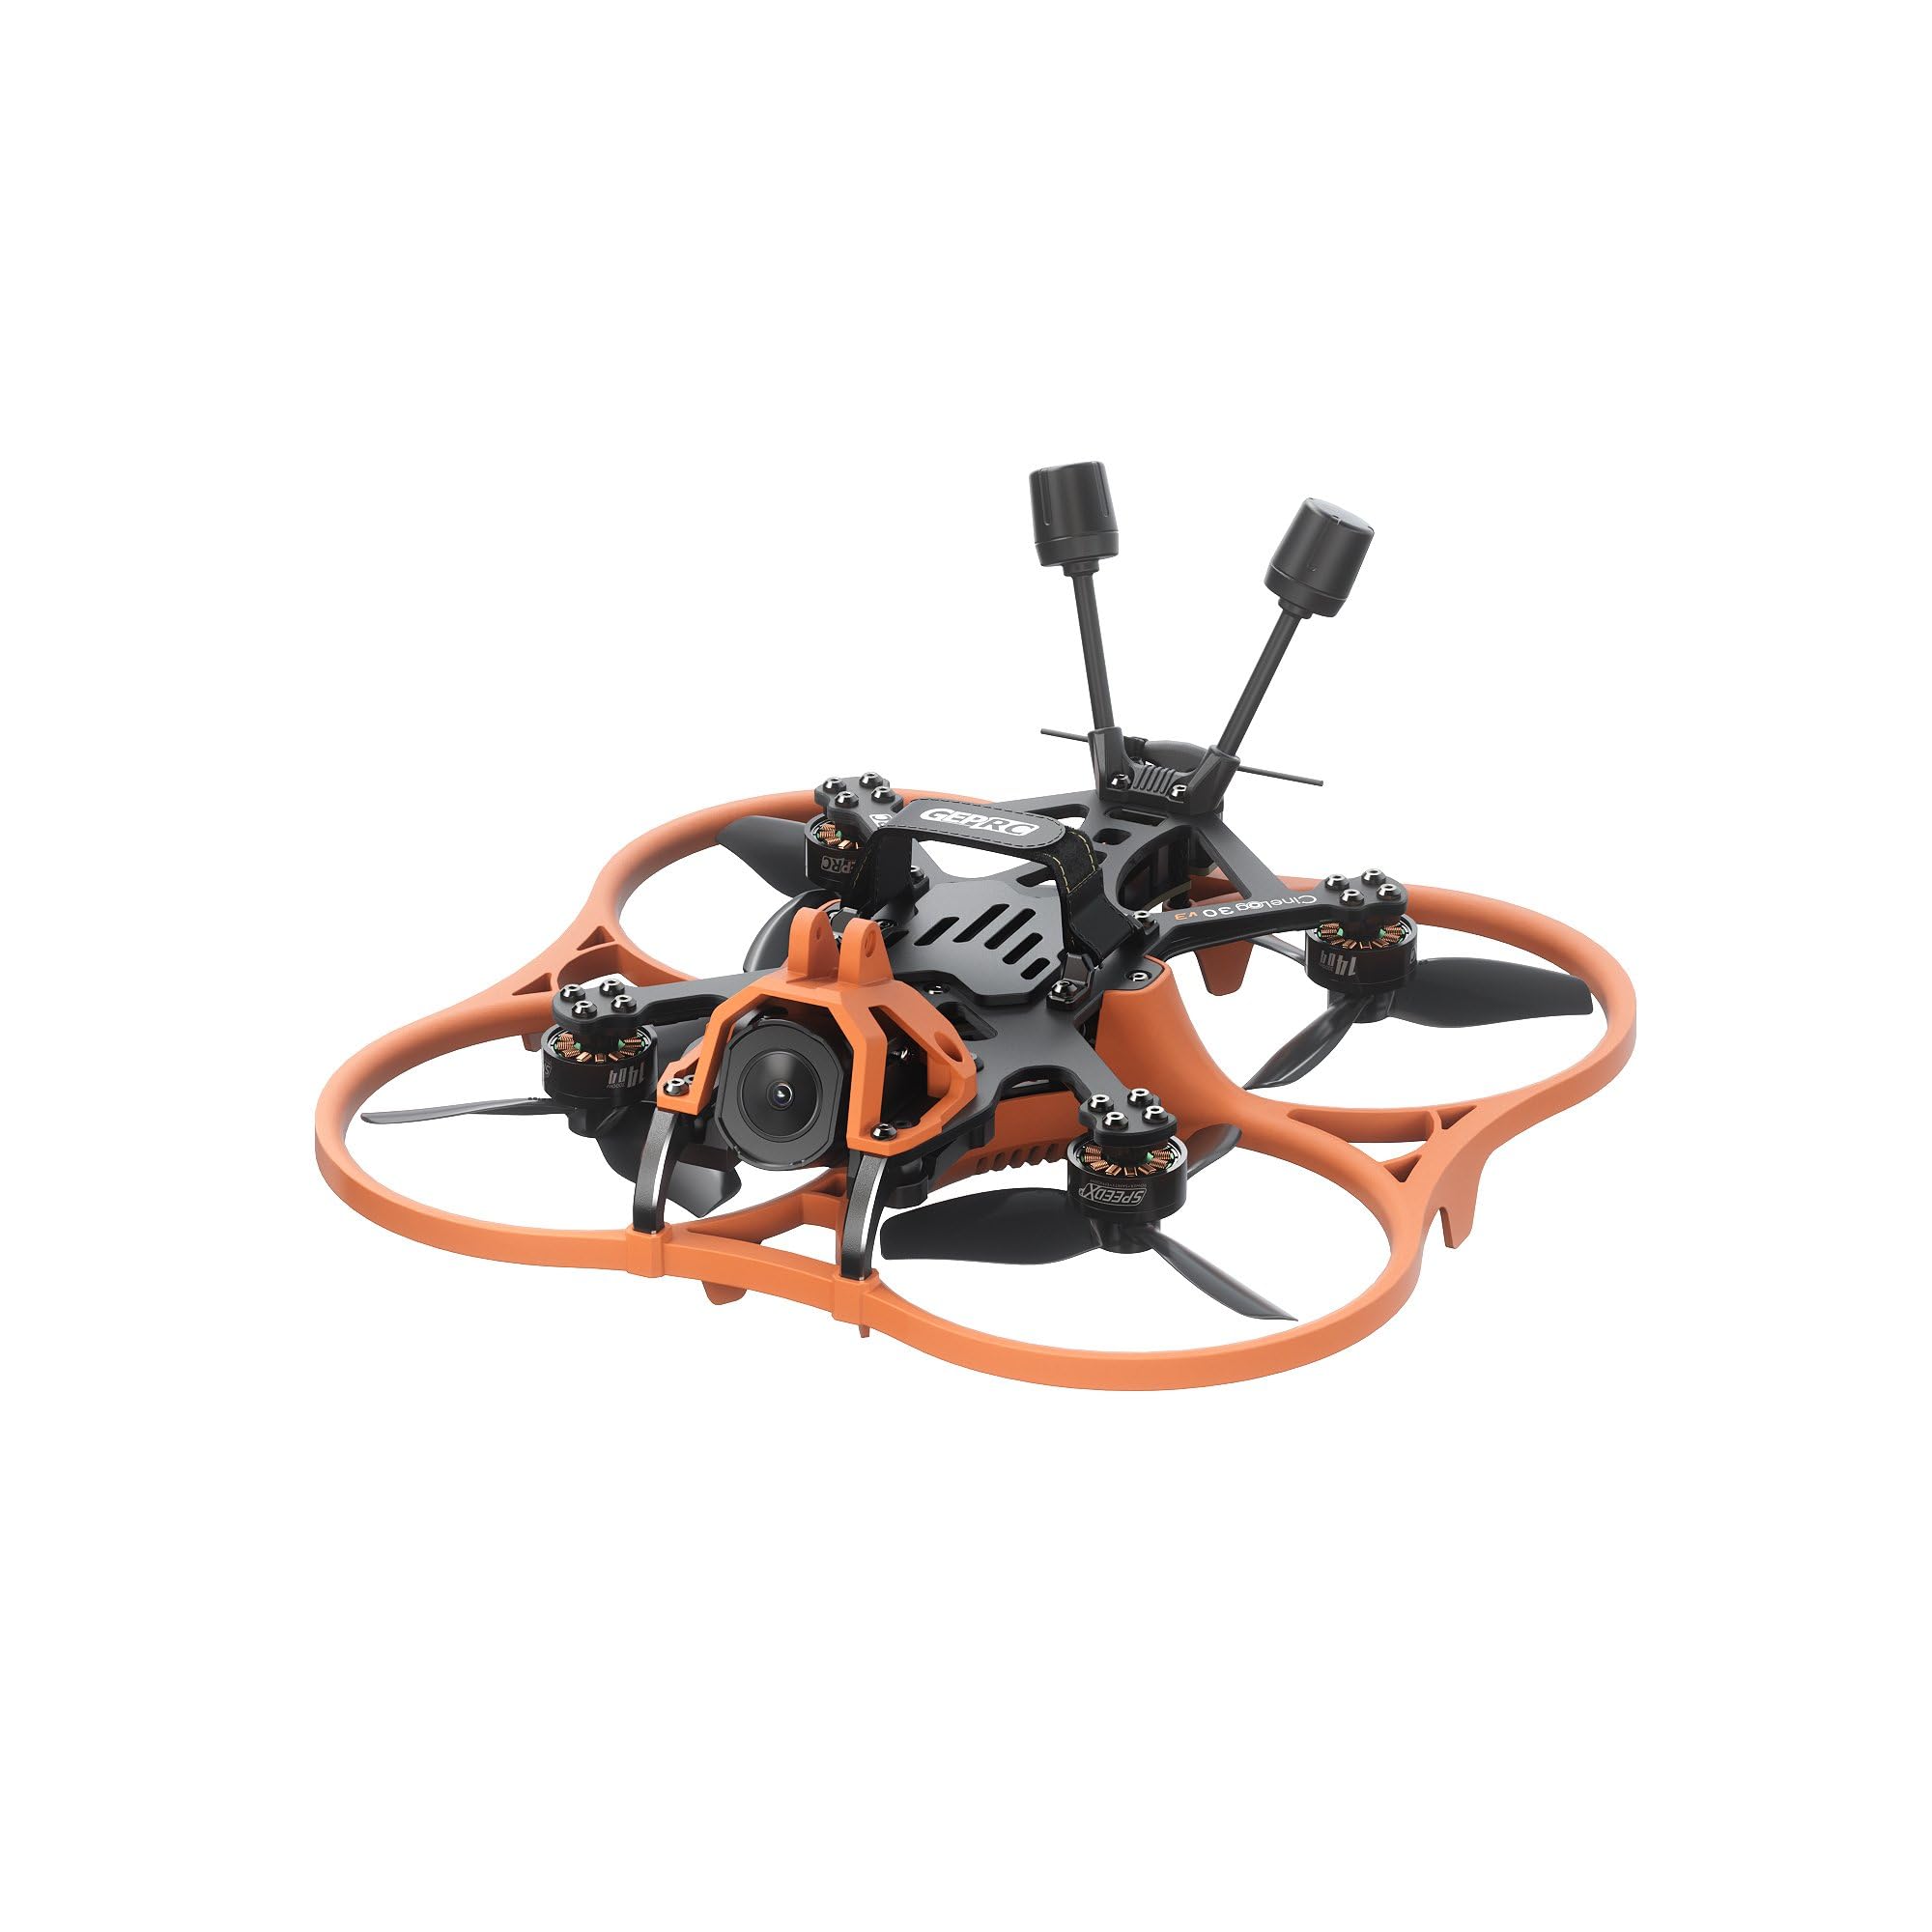
그림 1.1: 상향식 view of the GEPRC Cinelog30 V3 O4 Air Unit Pro FPV Drone.
2. 패키지 내용
아래 나열된 모든 품목이 패키지에 들어 있는지 확인하세요.
- 1 x Cinelog30 V3 Quadcopter
- 1 x Protective Frame (transparent black)
- 2 x HQprop DT76mmx3 V2 (pair)
- 1 x 15*150mm 배터리 스트랩
- 1 x L자형 드라이버 1.5mm
- 1 x Grey Canopy
- 1 x Black Canopy
- 1 x Spare Screw Pack (includes 1 x M2 rivet nut, 4 x M2*4.5 button-head hex socket screw, 4 x M2*6 button-head hex socket screw, 4 x M2*4 button-head hex socket screw, 1 x M2*12 button-head screw)
- 1 x Battery Anti-slip Pad
- 1 x 깊이amping Ball Puncher
- 1 x Frequency Pairing Ejector pin
- 2 x 깊이amp잉볼
3. 설정
3.1 프로펠러 설치
Carefully attach the HQprop DT76mmx3 V2 propellers to the motors. Ensure each propeller is oriented correctly according to the motor rotation direction. Incorrect installation can lead to unstable flight or damage.

그림 3.1: 전면 view of the drone with propellers installed.
3.2 배터리 연결
Connect a compatible LiHV 4S 660mAh-720mAh battery to the XT30 connector. Secure the battery using the provided battery strap and anti-slip pad to prevent movement during flight. Always ensure the battery is fully charged before flight.
3.3 Receiver Binding (ELRS 2.4G)
For the ELRS 2.4G version, follow the standard ExpressLRS binding procedure for your specific radio transmitter. Typically, this involves powering on the drone three times consecutively, waiting for the LED to flash rapidly, then initiating the binding process on your transmitter. Refer to your ExpressLRS module manual for detailed instructions.
3.4 초기 점검
Before the first flight, perform the following checks:
- 모든 나사가 단단히 조여졌는지 확인하십시오.
- Ensure propellers are securely attached and free from damage.
- Confirm the flight controller (FC) is properly configured and calibrated using Betaflight or a similar configurator.
- Check that the O4 Air Unit Pro is functioning and transmitting video feed.
- Perform a range check with your radio transmitter.
4. 사용 설명서
4.1 비행 전 체크리스트
- 배터리 용량 확인tage on both drone and radio transmitter.
- Inspect propellers for any cracks or damage.
- 비행 구역에 장애물이나 사람이 없는지 확인하십시오.
- Confirm GPS lock (if applicable and configured) and home point set.
- Verify video feed quality from the O4 Air Unit Pro.
4.2 이륙 및 착륙
Arm the motors using the designated switch on your radio transmitter. Slowly increase throttle to lift off. Maintain a stable hover before proceeding with flight maneuvers. For landing, slowly decrease throttle while maintaining control, aiming for a soft touchdown. Disarm motors immediately after landing.

Figure 4.1: Rear-top view of the drone, showing antenna placement.
4.3 비행 모드
The drone supports various flight modes configurable via Betaflight. Familiarize yourself with these modes and their functions before attempting advanced maneuvers. Start with stable modes for beginners and progress to acrobatic modes as your skills develop.
4.4 Recording with O4 Air Unit Pro
The O4 Air Unit Pro allows for high-quality video recording. Refer to the O4 Air Unit Pro manual for specific instructions on recording settings, storage, and file transfer. Ensure sufficient storage is available before flight.
5. 유지관리
5.1 정기 점검
After each flight, inspect the drone for any signs of damage, loose screws, or worn components. Pay close attention to the frame, propellers, motors, and wiring.

그림 5.1: 측면 view of the drone, highlighting the camera and frame structure.
5.2 청소
Keep the drone clean from dust, dirt, and debris. Use a soft brush or compressed air to clean motors and electronic components. Avoid using liquids directly on electronics.
5.3 프로펠러 교체
Replace any bent, cracked, or chipped propellers immediately. Damaged propellers can cause vibrations, reduce flight efficiency, and lead to unstable flight. Use only genuine HQprop DT76mmx3 V2 propellers or approved alternatives.
5.4 펌웨어 업데이트
Periodically check the GEPRC official website for firmware updates for the flight controller and O4 Air Unit Pro. Keeping your firmware updated ensures optimal performance and access to new features.
6. 문제 해결
6.1 Unstable Flight / Loss of Control
- 프로펠러 확인: Ensure all propellers are undamaged and correctly installed.
- 제본: Re-verify that the drone is properly bound to your radio transmitter.
- 비행 컨트롤러 구성: Incorrect PID tuning or sensor calibration can cause instability. Connect to Betaflight and check settings.
- Motor/ESC Issues: Inspect motors for damage or debris. Check ESCs for proper function.
6.2 No Video Feed from O4 Air Unit Pro
- 힘: Ensure the O4 Air Unit Pro is receiving power.
- 안테나: Check that the O4 antenna is securely connected and undamaged.
- 편성: Confirm the O4 Air Unit Pro is correctly paired with your FPV goggles.
- 케이블 : Inspect all video transmission cables for secure connections.
6.3 Propeller Interference with Frame
In rare cases, propellers may come into contact with the frame or camera plate, especially after impacts or hard landings. Inspect the area between the propellers and the frame/camera for any signs of rubbing or obstruction. Ensure all damping balls and frame components are correctly seated and not deformed. If the issue persists, contact support.

그림 6.1: 클로즈업 view of the drone's front, showing the camera and propeller clearance.
7. 사양
| 특징 | 사양 |
|---|---|
| 모델 | Cinelog30 V3 O4 Pro Quadcopter |
| 프레임 모델 | GEP-CL30 V3 Carbon Fiber Plate |
| Carbon Fiber Plate Thickness | 2.5mm |
| 휠베이스 | 128mm |
| 비행 시스템 | TAKER F722 45A 32Bit AIO |
| MCU | STM32F722RET6 |
| 자이로 | ICM 42688-P |
| FC 펌웨어 | GEPRC_F722_AIO |
| 플래시 | 16MB |
| 키보드 | 32Bit 45A |
| 모터 | SPEEDK2 1404 3850KV |
| 추진자 | HQprop DT76mmx3 V2 |
| 배터리 커넥터 | 엑스티30 |
| 비티엑스 | O4 AIR Unit Pro |
| 카메라 | O4 |
| 안테나 | O4 original |
| 수화기 | PNP (digital built-in VTS receiver) / ELRS2.4G / TBS NanoRX |
| 무게 | 187±2g |
| 추천 배터리 | LiHV 4S 660mAh-720mAh |
| 비행 시간 | 8'10" (Tested at slow cruising speeds; actual times may vary) |
| 비디오 캡처 해상도 | 4K |
| 연결 기술 | USB |
| 품목 무게 | 190그램 |
| 배터리 용량 | 660밀리amp 시간 |
| 비디오 캡처 형식 | MP4 |
| 제어 유형 | 원격 제어 |
| 무선 통신 기술 | 익스프레스LRS |
| 품목 치수 L x W x H | 7.99인치 길이 x 7.99인치 너비 x 3.54인치 높이 |
8. 보증 정보
GEPRC products are covered by a manufacturer's warranty against defects in materials and workmanship. The specific terms and duration of the warranty may vary by region and product. For detailed warranty information, including coverage, limitations, and how to make a claim, please refer to the official GEPRC website or contact your local distributor. Keep your proof of purchase for warranty service.
9. 지원
For technical assistance, troubleshooting, or general inquiries regarding your GEPRC Cinelog30 V3 O4 Air Unit Pro FPV Drone, please visit the official GEPRC support page on their website. You can often find FAQs, firmware downloads, and contact information for customer service. Online communities and forums dedicated to FPV drones can also be valuable resources for peer support and tips.

그림 9.1: 상단 view of the drone, showing internal component layout.