
1. 제품 오버view
This manual provides instructions for the DatsenAAA 18-inch replacement chainsaw chains, designed for compatibility with various Greenworks chainsaw models, including GCS80420, GCS80421, GCS80450, 20332, and 2000002. These chains are engineered for efficient cutting and durability.
주요 특징은 다음과 같습니다.
- 내마모성: Japanese chrome-plated technology enhances cutter durability.
- 윤활 시스템: Built-in automatic oiling system extends chain life by delivering oil to critical parts.
- 내구성과 신뢰성: Designed for long-lasting sharpness and reduced kickback, utilizing a balanced combination of materials and manufacturing processes.
- Smooth Cutting: Constructed from German steel with controlled heating and punching for improved toughness and flatness. Rivets are hardened and quenched to resist wear and enhance strength.
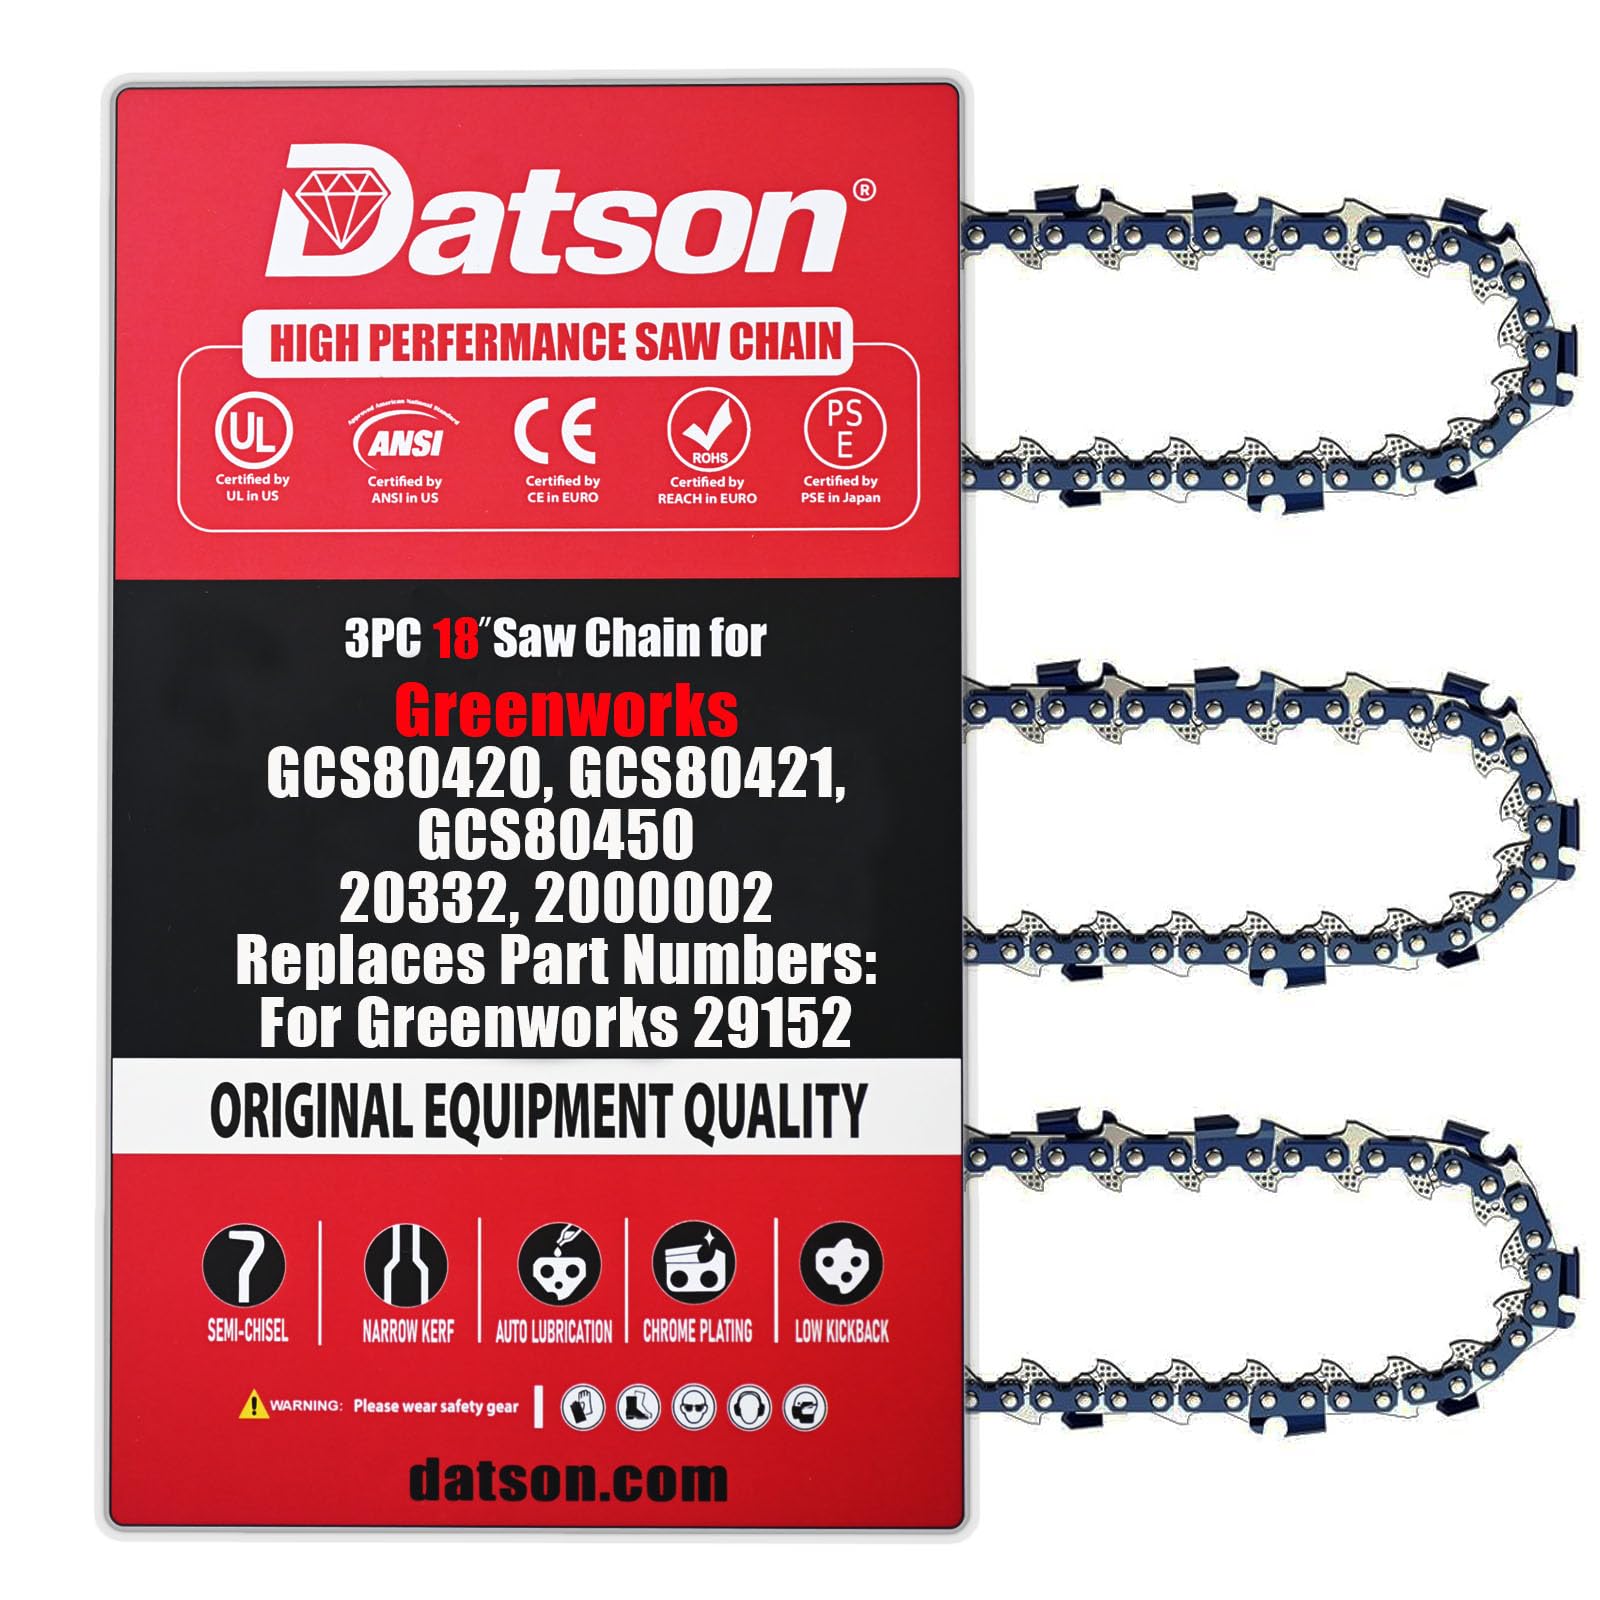
Figure 1: Three DatsenAAA 18-inch replacement chainsaw chains, packaged together.
2. Installation (Chain Replacement)
안전이 최우선입니다. Before attempting any installation or maintenance, ensure your chainsaw is turned off, unplugged (if electric), or has its battery removed (if cordless). Always wear appropriate personal protective equipment, including heavy-duty gloves and eye protection.
Refer to your specific Greenworks chainsaw's original instruction manual for detailed, model-specific chain replacement procedures. The following are general steps:
- 바 너트를 풀어주세요: Use a wrench to loosen the bar nuts that secure the clutch cover. Do not remove them completely yet.
- 클러치 커버를 제거하세요: Carefully remove the clutch cover. This will expose the sprocket and the guide bar.
- 기존 체인과 바를 제거하세요: Lift the guide bar and chain off the sprocket. Remove the old chain from the guide bar.
- 새 체인 설치: Place the new DatsenAAA chain onto the guide bar, ensuring the cutters are facing the correct direction (usually indicated by an arrow on the chain or bar). The sharp edge of the cutters should face forward, away from the chainsaw body.
- Position Chain and Bar: Fit the chain around the drive sprocket and slide the guide bar back into position, ensuring the chain is seated correctly in the bar groove.
- 클러치 커버 교체: Reinstall the clutch cover and hand-tighten the bar nuts.
- 체인 장력 조정: Adjust the chain tension screw until the chain is snug against the bottom of the guide bar, but can still be pulled freely by hand. There should be no slack on the underside of the bar, but not so tight that it binds.
- 바 너트를 조이세요: 장력이 적절해지면 바 너트를 완전히 조이십시오.
- 윤활 상태 점검: 전기톱의 오일 저장통에 적절한 바 오일과 체인 오일이 채워져 있는지 확인하십시오.

Figure 2: Diagram of DatsenAAA chain components and parameters.
3. 운영 지침
Proper operation of your chainsaw with the DatsenAAA replacement chain ensures safety and optimal cutting performance.
- 사전 작업 확인: Always inspect the chain for proper tension, sharpness, and lubrication before each use. A loose chain can derail, and a dull chain can cause kickback and inefficient cutting.
- 매끄럽게 하기: Ensure the chainsaw's automatic oiling system is functioning and the oil reservoir is adequately filled. The DatsenAAA chain's built-in lubrication system relies on this for extended life.
- 절단 기술: Use a firm grip with both hands. Maintain balance and a stable stance. Avoid cutting with the tip of the guide bar to minimize kickback.
- Low Kickback Design: The DatsenAAA saw chain features a guarded drive link design to reduce kickback, enhancing user safety. However, always be aware of potential kickback and operate the chainsaw with caution.

Figure 3: Close-up of DatsenAAA chainsaw chain links.
4. 유지관리
Regular maintenance of your DatsenAAA chainsaw chain will ensure its longevity and consistent performance.
- 청소: After each use, clean the chain and guide bar to remove sawdust, sap, and debris. A stiff brush and appropriate cleaning solution can be used. Ensure the chain is dry before storage.
- 매끄럽게 하기: While the chain has a built-in lubrication system, always ensure your chainsaw's oiler is working correctly and the bar and chain oil reservoir is full. Proper lubrication prevents premature wear and overheating.
- 장력 확인: Periodically check chain tension during operation, especially when the chain is new or after extended use. Adjust as necessary to prevent stretching and derailment.
- 날카롭게 하기: Although DatsenAAA chains are designed for long-lasting sharpness, all chainsaw chains eventually require sharpening. Use a round file of the correct diameter for your chain's pitch, or consult a professional. Consistent sharpening maintains cutting efficiency and reduces strain on the chainsaw.
- 점검: Regularly inspect the chain for damaged or missing links, cracks, or excessive wear. Replace the chain if any significant damage is found.

Figure 4: Close-up of DatsenAAA chain with blue rigid components.
5. 문제 해결
이 섹션에서는 전기톱 체인에서 발생할 수 있는 일반적인 문제에 대해 설명합니다.
| 문제 | 가능한 원인 | 해결책 |
|---|---|---|
| Chain not cutting efficiently or binding | Dull chain, incorrect chain tension, insufficient lubrication, incorrect chain installation. | Sharpen the chain, adjust tension, check oil reservoir and oiler function, verify chain direction. |
| 연쇄 흡연 또는 과열 | 윤활 부족, 체인 장력 불량(너무 팽팽함), 체인 무뎌짐. | Check oiler, loosen chain tension slightly, sharpen or replace chain. |
| 체인이 막대에서 분리됩니다 | 체인 장력 부족, 가이드 바 마모, 구동 링크 손상. | Adjust chain tension, inspect and replace guide bar if worn, inspect chain for damage. |
| 과도한 진동 | Dull chain, damaged chain links, improper chain tension. | Sharpen or replace chain, adjust tension. |
6. 제품 사양
The following specifications apply to the DatsenAAA 18-inch replacement chainsaw chain:
| 특징 | 세부 사항 |
|---|---|
| 상표 | DatsenAAA |
| 체인 유형 | 풀 치즐 |
| 품목 길이 | 18인치 |
| 체인 길이 | 18인치 |
| 호환 장치 | Greenworks GCS80420, GCS80421, GCS80450, 20332, 2000002 |
| 항목 수 | 3개의 체인 |
| 포함된 구성 요소 | 3개의 체인 |
| 품목 유형 이름 | 톱 체인 |
7. 보증 및 지원
For warranty information regarding your DatsenAAA replacement chainsaw chains, please refer to the product packaging or contact the seller directly. Warranty terms typically cover manufacturing defects.
If you encounter any issues or have questions not covered in this manual, please reach out to the retailer or manufacturer's customer support for assistance. Keep your purchase receipt as proof of purchase for any warranty claims.