소개
This manual provides comprehensive instructions for the setup, operation, maintenance, and troubleshooting of your KOORUI GN10 27-inch QHD 240Hz Mini-LED Gaming Monitor. Please read this manual thoroughly before using the product to ensure proper functionality and to prevent damage.
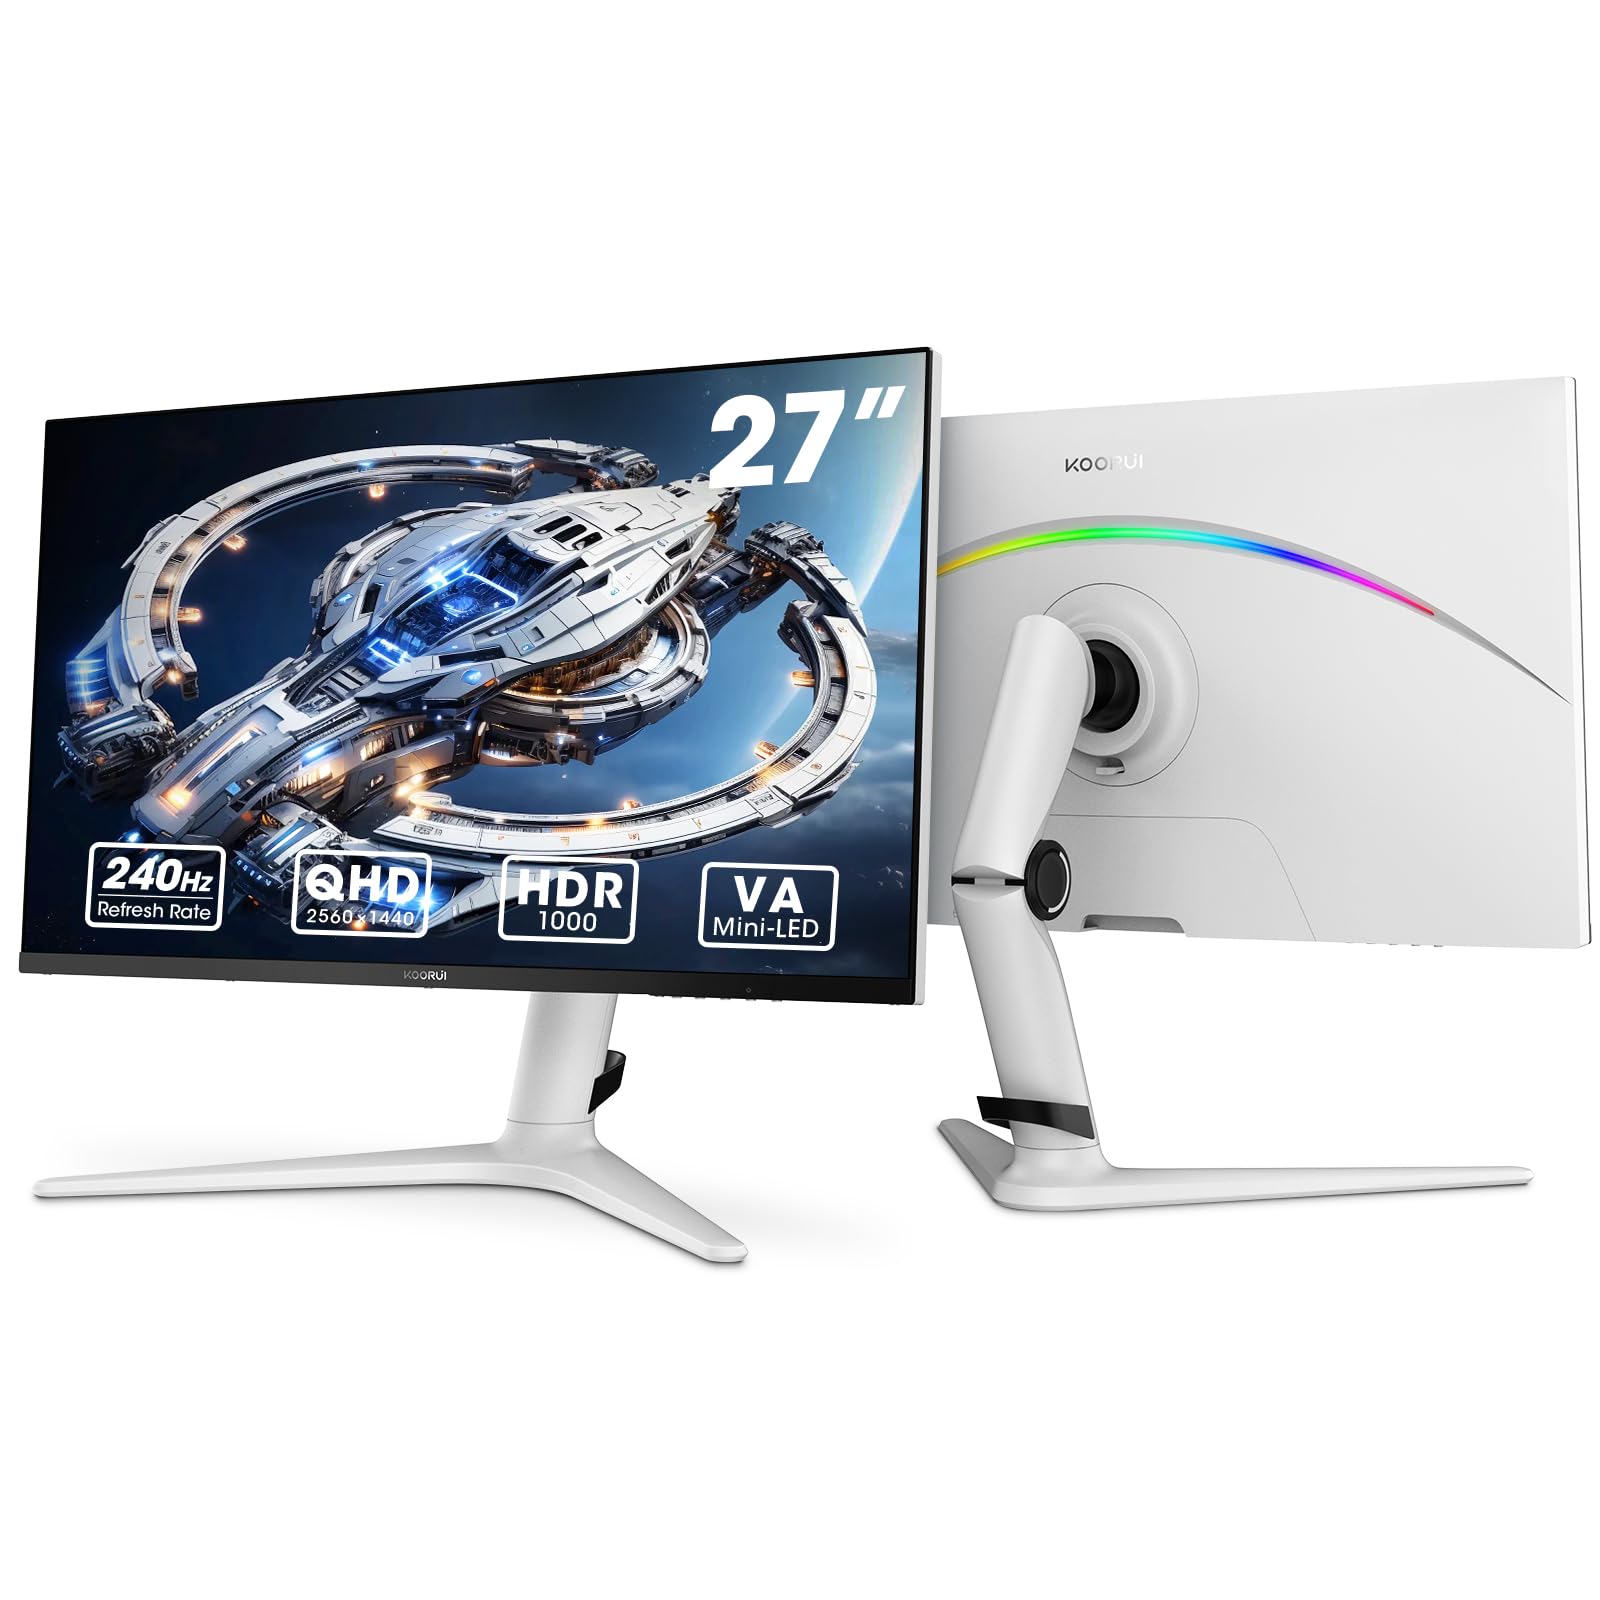
Figure 1: KOORUI GN10 27-inch QHD 240Hz Mini-LED Gaming Monitor.
1. 설정
1.1 언박싱 및 패키지 구성품
모든 구성품을 포장에서 조심스럽게 꺼내세요. 아래 나열된 모든 품목이 있는지 확인하세요.
- KOORUI GN10 Monitor
- 모니터 스탠드 (받침대 및 암)
- 전원 케이블
- HDMI 케이블(x2)
- DisplayPort(DP) 케이블
- 사용 설명서 (본 문서)
1.2 스탠드 조립
모니터 스탠드를 조립하려면 다음 단계를 따르세요.
- Attach the stand arm to the monitor panel. Ensure it clicks securely into place or is fastened with screws if provided.
- Connect the stand base to the stand arm. Tighten any screws to secure the base.
- 조립된 모니터를 안정적이고 평평한 표면에 놓으세요.

Figure 2: Monitor stand showing height, tilt, swivel, and pivot adjustments.
The ergonomic stand allows for height, tilt, swivel, and pivot adjustments to optimize your view잉 각도.

그림 3: 배치 계획을 위한 모니터 치수.
1.3 장치에 연결하기
The monitor supports multiple input sources. Connect your computer or gaming console using the provided cables.
- 디스플레이포트(DP): For optimal performance, especially at 240Hz refresh rate and QHD resolution, use the DisplayPort cable.
- HDMI : Two HDMI 2.0 ports are available for connecting other devices such as gaming consoles (PS5, Xbox, Switch) or additional computers.
- 오디오 출력: 외부 스피커 또는 헤드폰을 3.5mm 오디오 출력 잭에 연결하십시오.

그림 4: 후면 view of the monitor showing available ports (Audio Out, DP 1.4, HDMI 2.0 x2) and VESA mount points.
1.4 초기 전원 켜기
- 전원 케이블을 모니터에 연결한 다음 전원 콘센트에 꽂으세요.
- Press the power button, usually located on the back or bottom of the monitor, to turn it on.
- The monitor will automatically detect the input source. If not, use the OSD menu to select the correct input.
2. 사용 설명서
2.1 온스크린 디스플레이(OSD) 메뉴
The OSD menu allows you to adjust various monitor settings. Access the OSD menu using the joystick or buttons typically located on the back or bottom of the monitor.
Common OSD menu options include:
- 사진 설정: Brightness, Contrast, Sharpness, Gamma.
- 색상 설정: Color Temperature, Hue, Saturation, Color Space (sRGB, DCI-P3).
- 입력 선택: DisplayPort와 HDMI 입력 간에 수동으로 전환합니다.
- 오디오: 오디오 출력 볼륨 조절 기능.
- 게임 기능: Adaptive Sync, Response Time (Overdrive), Game Modes.
- OSD 설정: 언어, OSD 타임아웃, 투명도.
2.2 디스플레이 설정
The KOORUI GN10 monitor offers advanced display features for an enhanced visual experience.
- 해결: The native resolution is QHD (2560 x 1440). Ensure your connected device is set to this resolution for optimal clarity.
- 새로 고침 빈도: Supports up to 240Hz. Configure your graphics card settings to utilize this high refresh rate for smoother motion.
- 응답 시간: Features a 1ms (GtG) response time, reducing motion blur and ghosting in fast-paced content.
- HDR 1000: High Dynamic Range 1000 provides superior contrast and color depth. Enable HDR in your operating system and monitor settings for compatible content.

Figure 5: Visual comparison illustrating the enhanced contrast and detail with HDR 1000 enabled.
Figure 6: Comparison of QHD (2560x1440) and FHD (1920x1080) resolutions, highlighting increased detail with QHD.
2.3 게임 기능
The monitor includes features designed to enhance your gaming experience:
- Adaptive Sync (G-Sync Compatible): Synchronizes the monitor's refresh rate with your GPU's frame rate to eliminate screen tearing and stuttering. Ensure this feature is enabled in both the monitor OSD and your graphics card control panel.
- Game Display Modes: Access specific on-screen overlays via the OSD menu, such as:
- 조준선: 조준 정확도를 높이기 위해 화면에 십자선을 표시합니다.
- 시간제 노동자: Displays a countdown timer.
- FPS 카운터: Shows your current frames per second.
- RTS Counter: A specific counter for Real-Time Strategy games.

Figure 7: Illustration of various exclusive game display modes and Adaptive Sync functionality.

Figure 8: Visual representation of smooth gaming experience with 240Hz refresh rate and 1ms response time.
2.4 RGB 조명
The monitor features a crescent RGB light strip on the back. This lighting can be customized through the OSD menu to match your preference or gaming setup.

그림 9: 후면 view of the monitor highlighting the customizable RGB light strip.
3. 유지관리
3.1 모니터 청소
모니터의 외관과 성능을 유지하려면 다음 청소 지침을 따르세요.
- 청소하기 전에는 항상 모니터의 전원을 끄고 전원 케이블을 뽑으세요.
- 부드럽고 털이 없는 천을 살짝 사용하세요.amp물이나 비연마성 화면 세척제로 세척하세요.
- 세척제를 화면에 직접 뿌리지 마세요. 천에 먼저 묻혀 사용하세요.
- 알코올, 암모니아 또는 연마성 세척제는 화면 표면을 손상시킬 수 있으므로 사용을 피하십시오.
- 화면을 부드럽게 닦아 먼지와 얼룩을 제거하세요.
- 모니터를 청소하세요asin부드럽고 마른 천으로 닦으세요.
3.2 일반 관리
- 모니터나 케이블 위에 무거운 물건을 올려놓지 마세요.
- 모니터를 직사광선, 과도한 열, 극한의 추위에 노출시키지 마세요.
- 모니터를 액체나 습도가 높은 환경에서 멀리 두십시오.
- 과열을 방지하려면 모니터 주변에 적절한 환기가 이루어지도록 하세요.
4. 문제 해결
모니터에 문제가 발생하면 다음의 일반적인 문제와 해결 방법을 참조하세요.
| 문제 | 가능한 원인 | 해결책 |
|---|---|---|
| 화면에 이미지가 없습니다. |
|
|
| 깜빡이거나 왜곡된 이미지 |
|
|
| 오디오 출력에서 소리가 나지 않습니다. |
|
|
| 어댑티브 싱크가 작동하지 않습니다 |
|
|
이러한 해결 방법을 시도한 후에도 문제가 지속되면 고객 지원팀에 문의하세요.
5. 사양
| 특징 | 세부 사항 |
|---|---|
| 상표 | 쿠루이 |
| 모델 번호 | GN10 |
| 화면 크기 | 27 인치 |
| 해결 | QHD 와이드 1440p (2560 x 1440) |
| 종횡비 | 16시 9분 |
| 화면 표면 | 매트 |
| 대비율 | 20,000,000시 1분 |
| 새로 고침 빈도 | 240Hz |
| 디스플레이 기술 | 미니 LED |
| View잉 각도 | 178도 |
| 명도 | 350 칸델라 |
| 색상 영역 | 100% sRGB, 95% DCI-P3 |
| 응답 시간 | 1밀리초(GtG) |
| HDMI 포트 | 2(HDMI 2.0) |
| 디스플레이포트 | 1 (DP 1.4) |
| 오디오 아웃 | 예 |
| 적응형 동기화 | G-Sync 호환 |
| 추가 기능 | Flicker-Free, Frameless, Height Adjustable, Tilt Adjustable, Swivel Adjustable, Rotatable |
| 색상 | 화이트/그레이 |
| 장착 유형 | Desk Mount, VESA 75x75mm compatible |
6. 보증 및 지원
6.1 보증 정보
The KOORUI GN10 monitor comes with a 3년 한정 보증. The display screen is backed for 1 year, and other accessories for 3 years. A 12-month replacement service is also provided for eligible issues.
본 보증은 정상적인 사용 조건에서 발생하는 제조상의 결함 및 오작동에 적용됩니다. 단, 오용, 사고, 무단 개조 또는 외부 요인으로 인한 손상은 보증 대상에서 제외됩니다.
6.2 고객 지원
For technical assistance, warranty claims, or inquiries regarding missing accessories, please contact KOORUI customer support. Have your product model (GN10) and purchase information ready when contacting support.
Contact information can typically be found on the KOORUI official web사이트나 소매업체의 지원 채널을 통해서도 가능합니다.
7. 제품 영상 시연
영상 1: 공식 제품 영상 쇼asing the KOORUI GN10 Gaming Monitor's features and design.