
1. 서론
This manual provides detailed instructions for the installation, operation, and maintenance of your Alomejor Electric Scooter Controller Kit. This kit is specifically designed for the MI4 electric scooter model, enhancing its performance with a 36V 350W motor controller and a clear LCD display dashboard.
The kit includes essential components for upgrading or replacing your scooter's control system, ensuring seamless integration and optimal functionality.
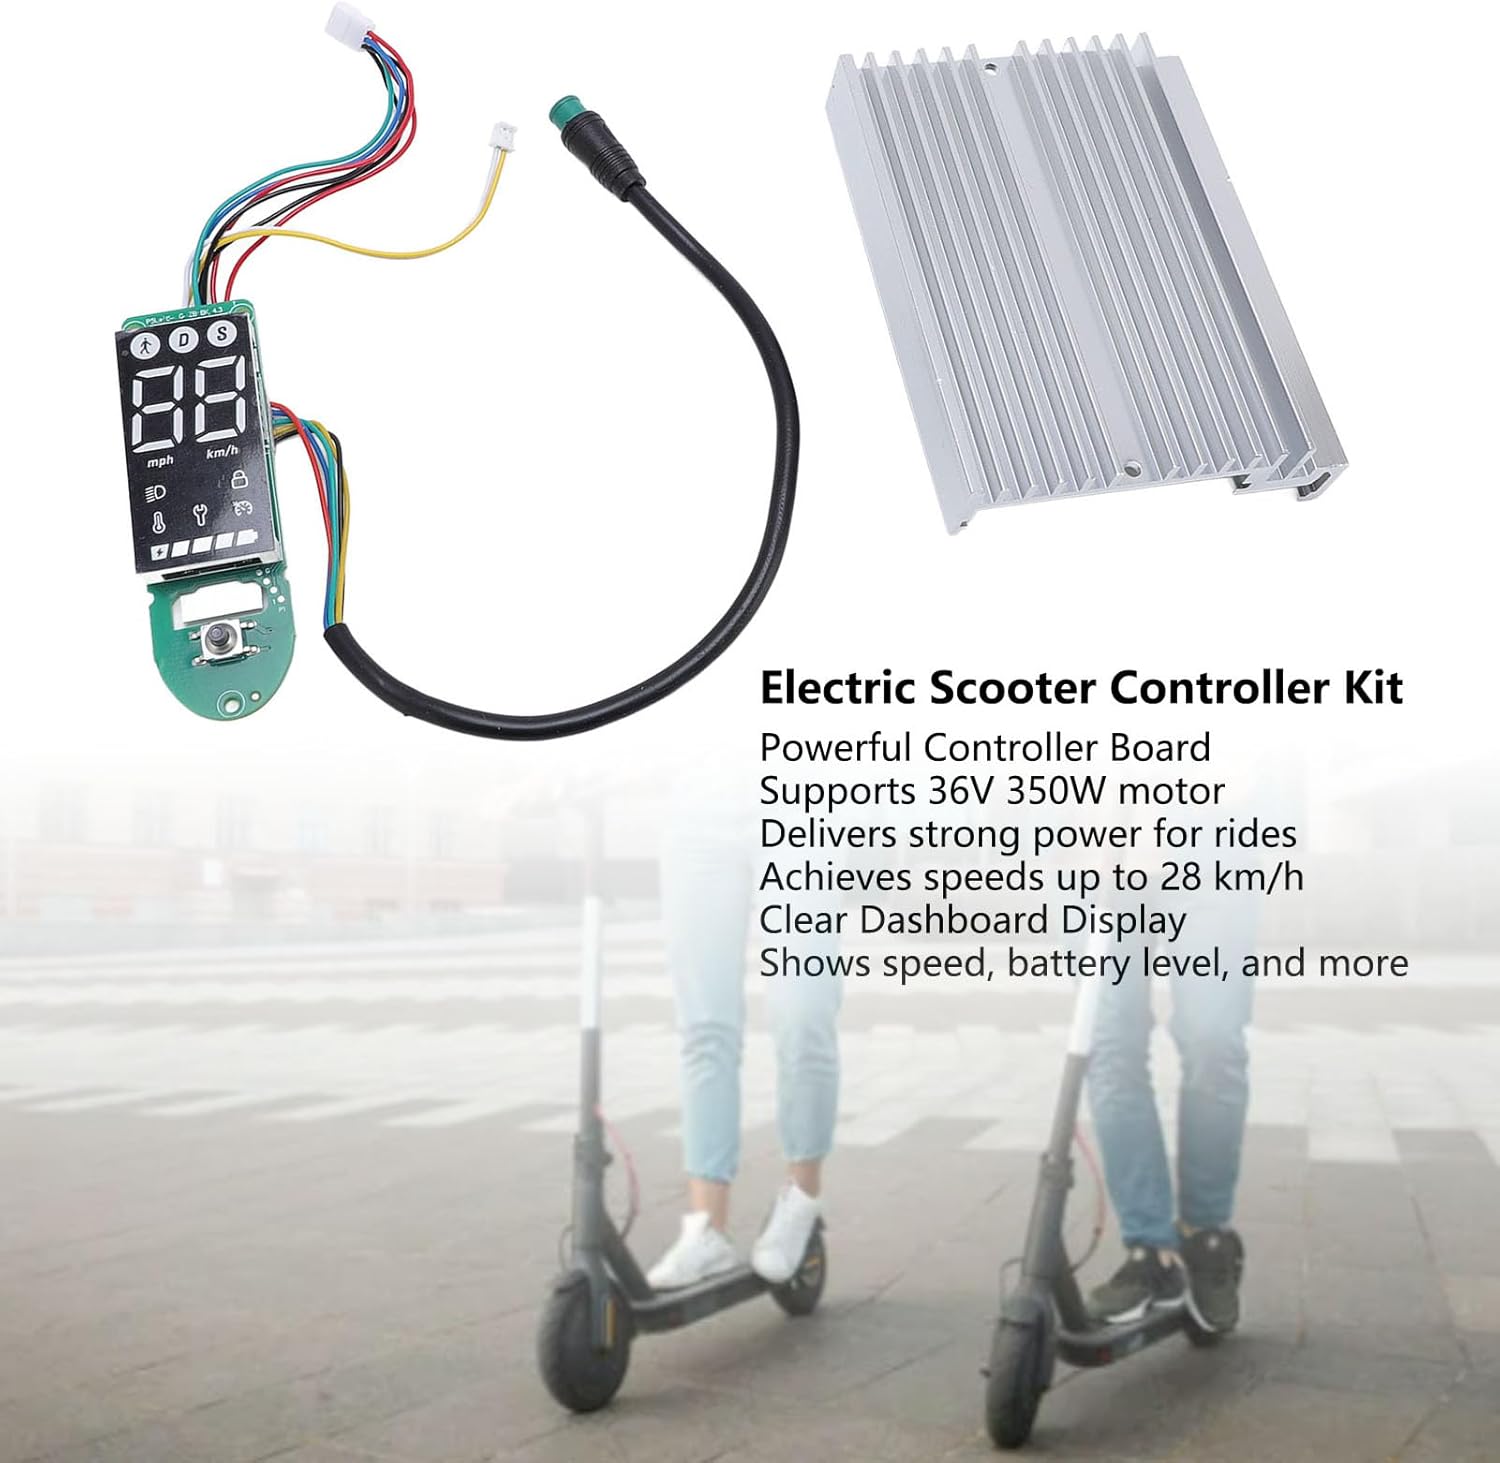
그림 1.1: 위에view of the Alomejor Electric Scooter Controller Kit, including the controller board, LCD display, and heat sink, shown with electric scooters in the background.
패키지 내용:
- 1 x Electric Scooter Controller
- 1 x LCD Display Dashboard
2. 안전 정보
Before proceeding with installation or operation, please read and understand all safety instructions. Failure to follow these instructions may result in injury, damage to the product, or damage to your electric scooter.
- 전문 설치 권장: If you are not familiar with electric scooter electronics, it is highly recommended to seek professional assistance for installation.
- 전원 차단: Always ensure the electric scooter's power is completely off and the battery is disconnected before attempting any installation, removal, or maintenance.
- 올바른 볼륨tage: This kit is designed for 36V systems. Do not use it with other voltag전자 시스템.
- 물에 노출되지 않도록 하십시오: Keep the controller and display away from water and moisture to prevent electrical shorts and damage.
- 보안 연결: 단락을 방지하기 위해 모든 전기 연결부가 단단히 고정되어 있고 적절하게 절연되어 있는지 확인하십시오.
3. 호환성 및 설치
3.1 호환성
This Electric Scooter Controller Kit is precisely designed for the MI4 electric scooter model. Its components ensure a perfect fit and seamless integration with your scooter's existing system, providing optimal performance and reliability.

그림 3.1: The controller kit components, highlighting their specific design for MI4 electric scooters to ensure compatibility.
3.2 설치 과정
The installation of this electric scooter controller kit is designed to be straightforward, facilitating convenient replacements and maintenance. Follow these general steps for installation:
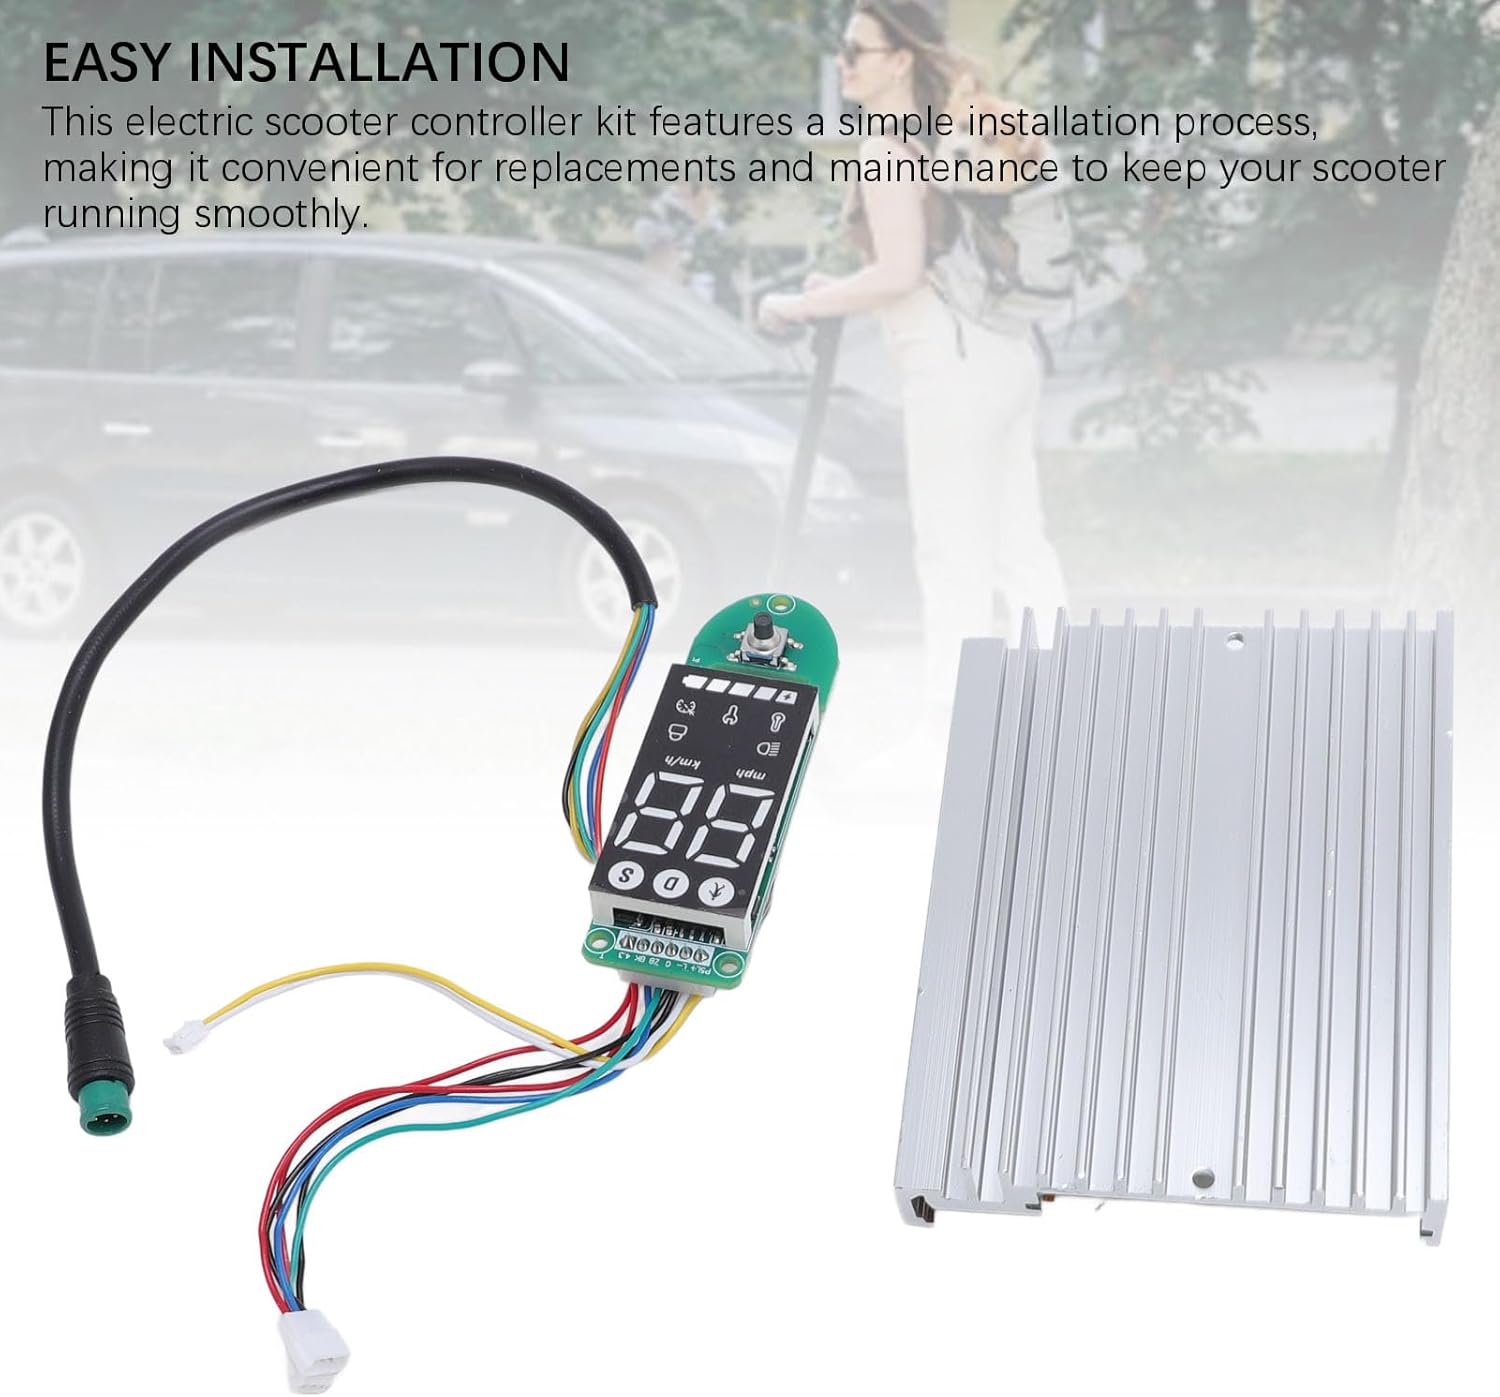
그림 3.2: The controller and dashboard components, emphasizing the ease of installation for replacement or upgrade.
- 스쿠터를 준비하세요: Ensure the electric scooter is powered off and the battery is disconnected. Remove any covers or panels necessary to access the existing controller and dashboard wiring.
- Remove Old Components (if replacing): Carefully disconnect all wires from the old controller and dashboard. Note the position and color of each wire for correct re-connection.
- 새 컨트롤러 설치: Mount the new controller board in the designated compartment. Connect the motor wires, battery wires, and other accessory wires (e.g., brake, throttle) to the new controller. Refer to your scooter's specific wiring diagram if available.
- Install New Dashboard: Connect the dashboard display to the controller using the provided cable. Secure the dashboard in its housing on the handlebars.
- 안전한 배선: Ensure all connections are firm and wires are routed safely, away from moving parts or pinch points.
- 테스트 기능: Reconnect the battery and power on the scooter. Verify that the display lights up, shows correct information, and the motor responds to throttle input.
- 재조립: Once functionality is confirmed, reattach all covers and panels.
4. 사용 설명서
The LCD display dashboard provides real-time information about your scooter's status, allowing for effortless monitoring during operation.
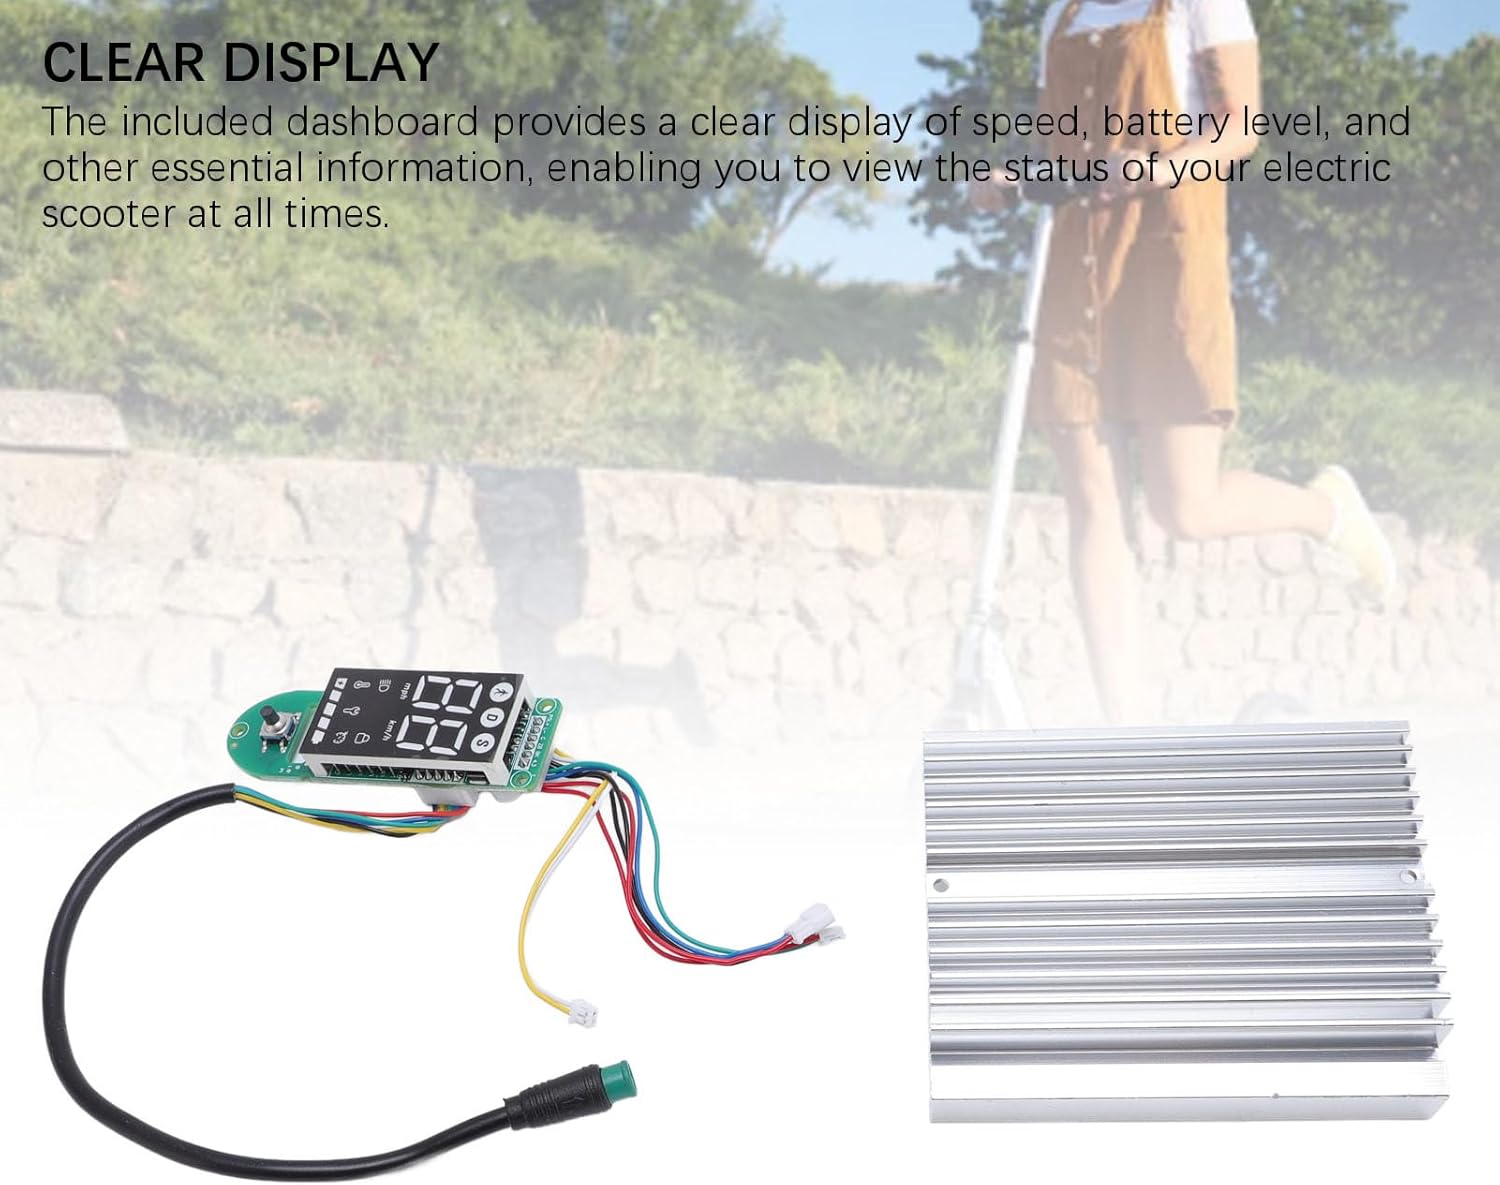
그림 4.1: The LCD display dashboard, showing its clear interface for monitoring scooter status.
4.1 전원 켜기/끄기
- 전원을 켜려면: Press and hold the power button on the dashboard until the display illuminates.
- 전원을 끄려면: 디스플레이가 꺼질 때까지 전원 버튼을 다시 길게 누릅니다.
4.2 디스플레이 이해
The LCD dashboard provides the following key information:
- 속도: Displays current riding speed (km/h or mph).
- 배터리 수준: 배터리 잔량을 나타냅니다.
- 모드/기어: Shows the current riding mode or speed gear.
- 헤드라이트 표시기: Illuminates when the scooter's headlights are active.
- Bluetooth/Connectivity: May indicate connection status if applicable.
Refer to your MI4 scooter's specific user manual for detailed explanations of all dashboard icons and functions.
5. 유지관리
Proper maintenance ensures the longevity and optimal performance of your electric scooter controller kit. The components are crafted from durable aluminum alloy and PCB, designed for robust performance.

그림 5.1: The controller and dashboard, highlighting their construction from robust aluminum alloy and PCB for enhanced durability.
- 청소: Use a soft, dry cloth to wipe down the display and controller housing. Avoid using harsh chemicals or abrasive materials.
- 점검: 배선 연결부가 안전하고 부식이나 손상이 없는지 정기적으로 점검하십시오.
- 환경 보호: Store your scooter in a dry environment, away from extreme temperatures and direct sunlight, to protect the electronic components.
- 충격 방지: Protect the controller and display from physical impacts, which can damage internal components.
6. 문제 해결
If you encounter issues with your controller kit, refer to the following common problems and solutions:
- 디스플레이가 켜지지 않음:
- 배터리 연결 및 충전 수준을 확인하세요.
- Ensure the dashboard cable is securely connected to the controller.
- Scooter Not Responding to Throttle:
- Verify all motor and throttle connections to the controller.
- Check for any error codes displayed on the dashboard (refer to your scooter's manual for code meanings).
- Inaccurate Speed/Battery Reading:
- Ensure all sensor wires are correctly connected.
- A full power cycle (turn off, disconnect battery, reconnect, turn on) may resolve temporary glitches.
문제가 지속되는 경우 고객 지원팀이나 자격을 갖춘 기술자에게 문의하세요.
7. 사양
The Alomejor Electric Scooter Controller Kit provides robust power and reliable performance for your MI4 electric scooter.
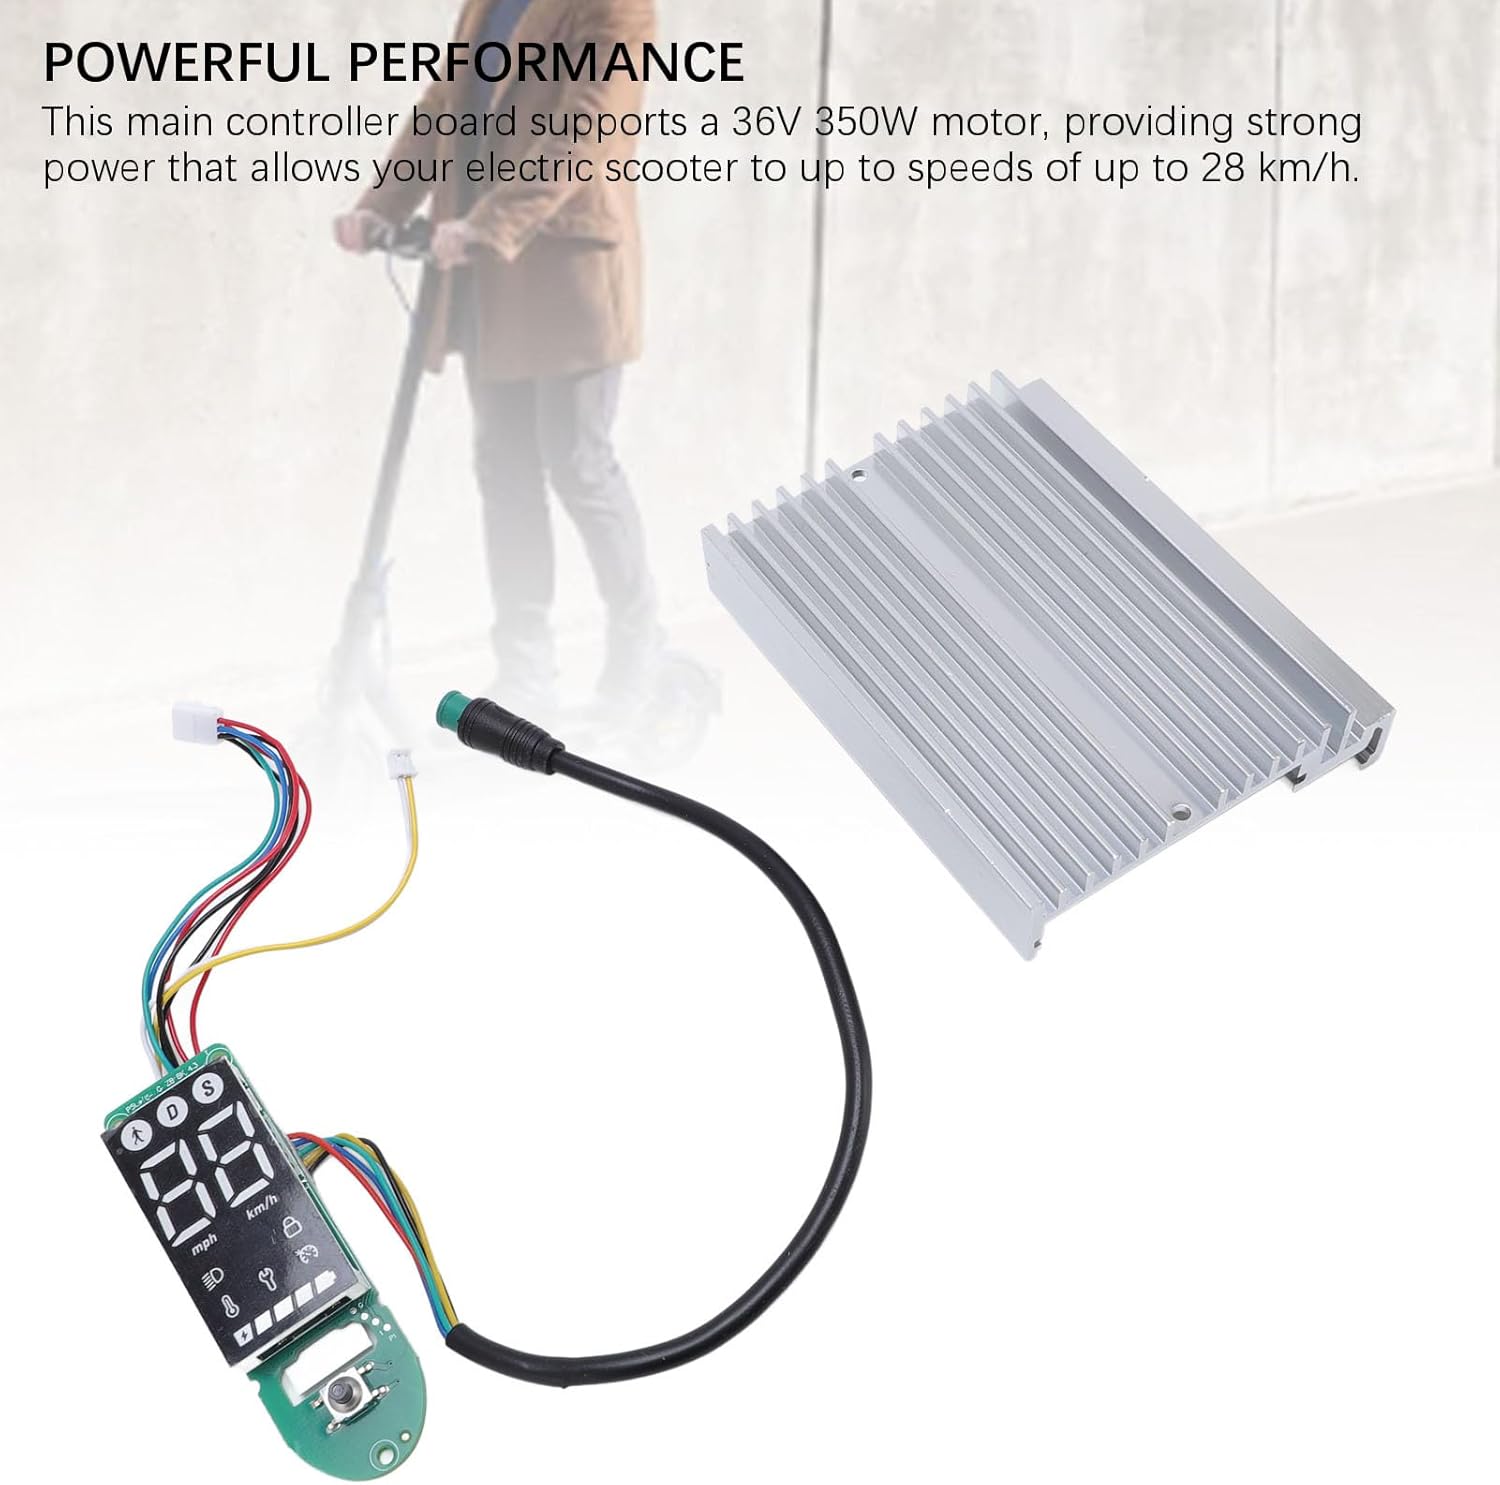
그림 7.1: The controller kit, illustrating its capability to deliver powerful performance for electric scooters.
| 특징 | 사양 |
|---|---|
| 품목 유형 | Electric Scooter Dashboard and Controller |
| 애플리케이션 | For MI4 electric scooter |
| 모터 지원 | 36V 350와트 |
| 최대 속도 | 28 km / h까지 |
| 재료 | 알루미늄 합금 + PCB |
| 패키지 치수(L x W x H) | 7.09 x 5.12 x 1.57 인치 |
| 패키지 무게 | 167그램 |
| 상표 | 알로메호르 |
| Model Name (Internal) | Alomejorzhvy51os3n |
8. 보증 및 지원
This product comes with a standard manufacturer's warranty. Please refer to the product packaging or the seller's terms and conditions for specific warranty details and duration.
기술 지원, 문제 해결 지원 또는 보증 청구 관련 문의는 판매자 또는 제조업체에 직접 연락하십시오. 구매 영수증을 보관하여 구매 증빙 자료로 활용하시기 바랍니다.