
Ashfly inskam380B
Ashfly 500X 휴대용 디지털 현미경 사용 설명서
Model: inskam380B
1. 서론
This manual provides comprehensive instructions for the safe and effective use of your Ashfly 500X Handheld Digital Microscope. Please read this manual thoroughly before operating the device and retain it for future reference.
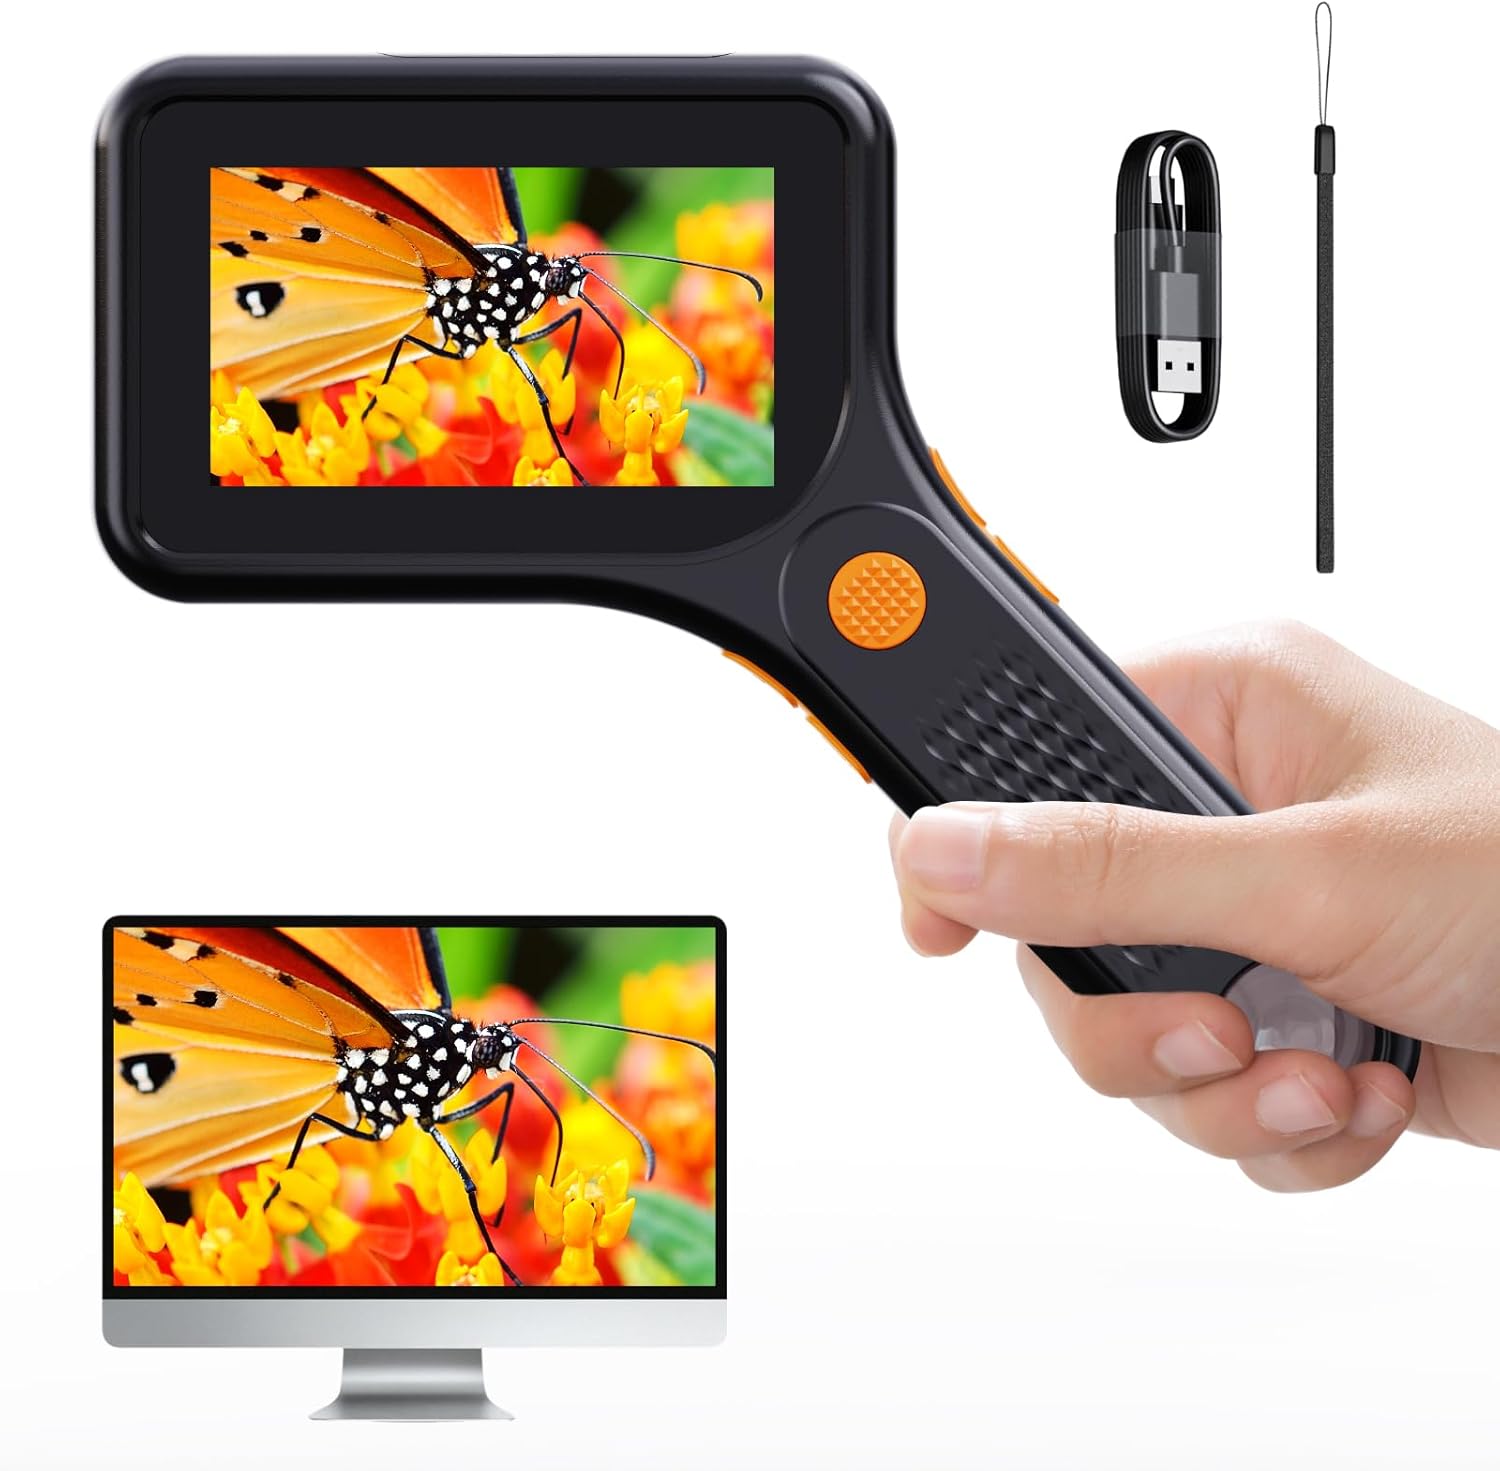
Figure 1: Ashfly 500X Handheld Digital Microscope. This image displays the microscope being held, with its integrated screen showing a magnified butterfly. A computer monitor below also shows the magnified image, illustrating PC compatibility.
2. 패키지 내용
아래 나열된 모든 품목이 패키지에 들어 있는지 확인하세요.
- 1 x Ashfly Handheld Digital Microscope
- 1 x 유형 C 충전 케이블
- 1 x 사용자 설명서
- 휴대용 스트랩 1개

Figure 2: Package Contents. This image shows the Ashfly Digital Microscope, its retail box, a Type C charging cable, a portable strap, and the user manual, indicating all included accessories.
3. 사양
| 특징 | 세부 사항 |
|---|---|
| 모델명 | inskam380B |
| 확대 | 최대 500배 |
| 화면 | 3인치 HD LCD |
| 조명 | 8 조정 가능한 LED 조명 |
| 배터리 | 900mAh 리튬 이온(포함) |
| 배터리 수명 | 최대 150분(약 2.5시간) |
| 충전 시간 | 약 2시간 |
| PC 호환성 | Windows Vista/XP/7/8/10/11, MacOS X 11.0 or higher |
| 저장 | Internal (100 photos), supports up to 64GB TF card (not included) |
| 재료 | 플라스틱 |
| 색상 | 검은색 |
| 치수(길이 x 너비 x 높이) | 15.6cm x 13cm (약 6.14 x 5.12인치) |
| 무게 | 약 0.17kg (0.25파운드) |

Figure 3: Product Dimensions. This image illustrates the length and width of the microscope, providing a visual reference for its compact size.

Figure 4: Battery Performance. This diagram highlights the 2-hour charging time and approximately 2.5 hours of working time provided by the 900mAh battery.
4. 설정
4.1 장치 충전
Before first use, fully charge the microscope. Connect the supplied Type C charging cable to the microscope's charging port and a compatible USB power source (e.g., computer USB port, USB wall adapter). The charging indicator will show the charging status.
4.2 TF 카드 삽입 (선택 사항)
The microscope has internal storage for approximately 100 photos. For extended storage of photos and videos, insert a TF (microSD) card (up to 64GB, not included) into the designated slot. Ensure the card is inserted correctly to avoid damage.
5. 사용 설명서
5.1 전원 켜기/끄기
- 전원을 켜려면 화면이 켜질 때까지 전원 버튼을 길게 누르세요.
- 전원 끄기: 화면이 꺼질 때까지 전원 버튼을 길게 누르세요.
5.2 기본 관찰
Place the microscope flat on the surface of the object you wish to observe. Ensure the object is stable. The microscope features a fixed magnification up to 500X. Avoid touching the lens with your hands during observation.

Figure 5: Optimal Imaging Distance. This image demonstrates the recommended 0.2-inch manual-focus imaging distance from the object for clear observation.
5.3 LED 조명 조정
The microscope is equipped with 8 adjustable LED lights to provide optimal illumination. Use the designated buttons (refer to device controls) to cycle through brightness levels (high, medium, low, off) to suit your observation needs and reduce glare.
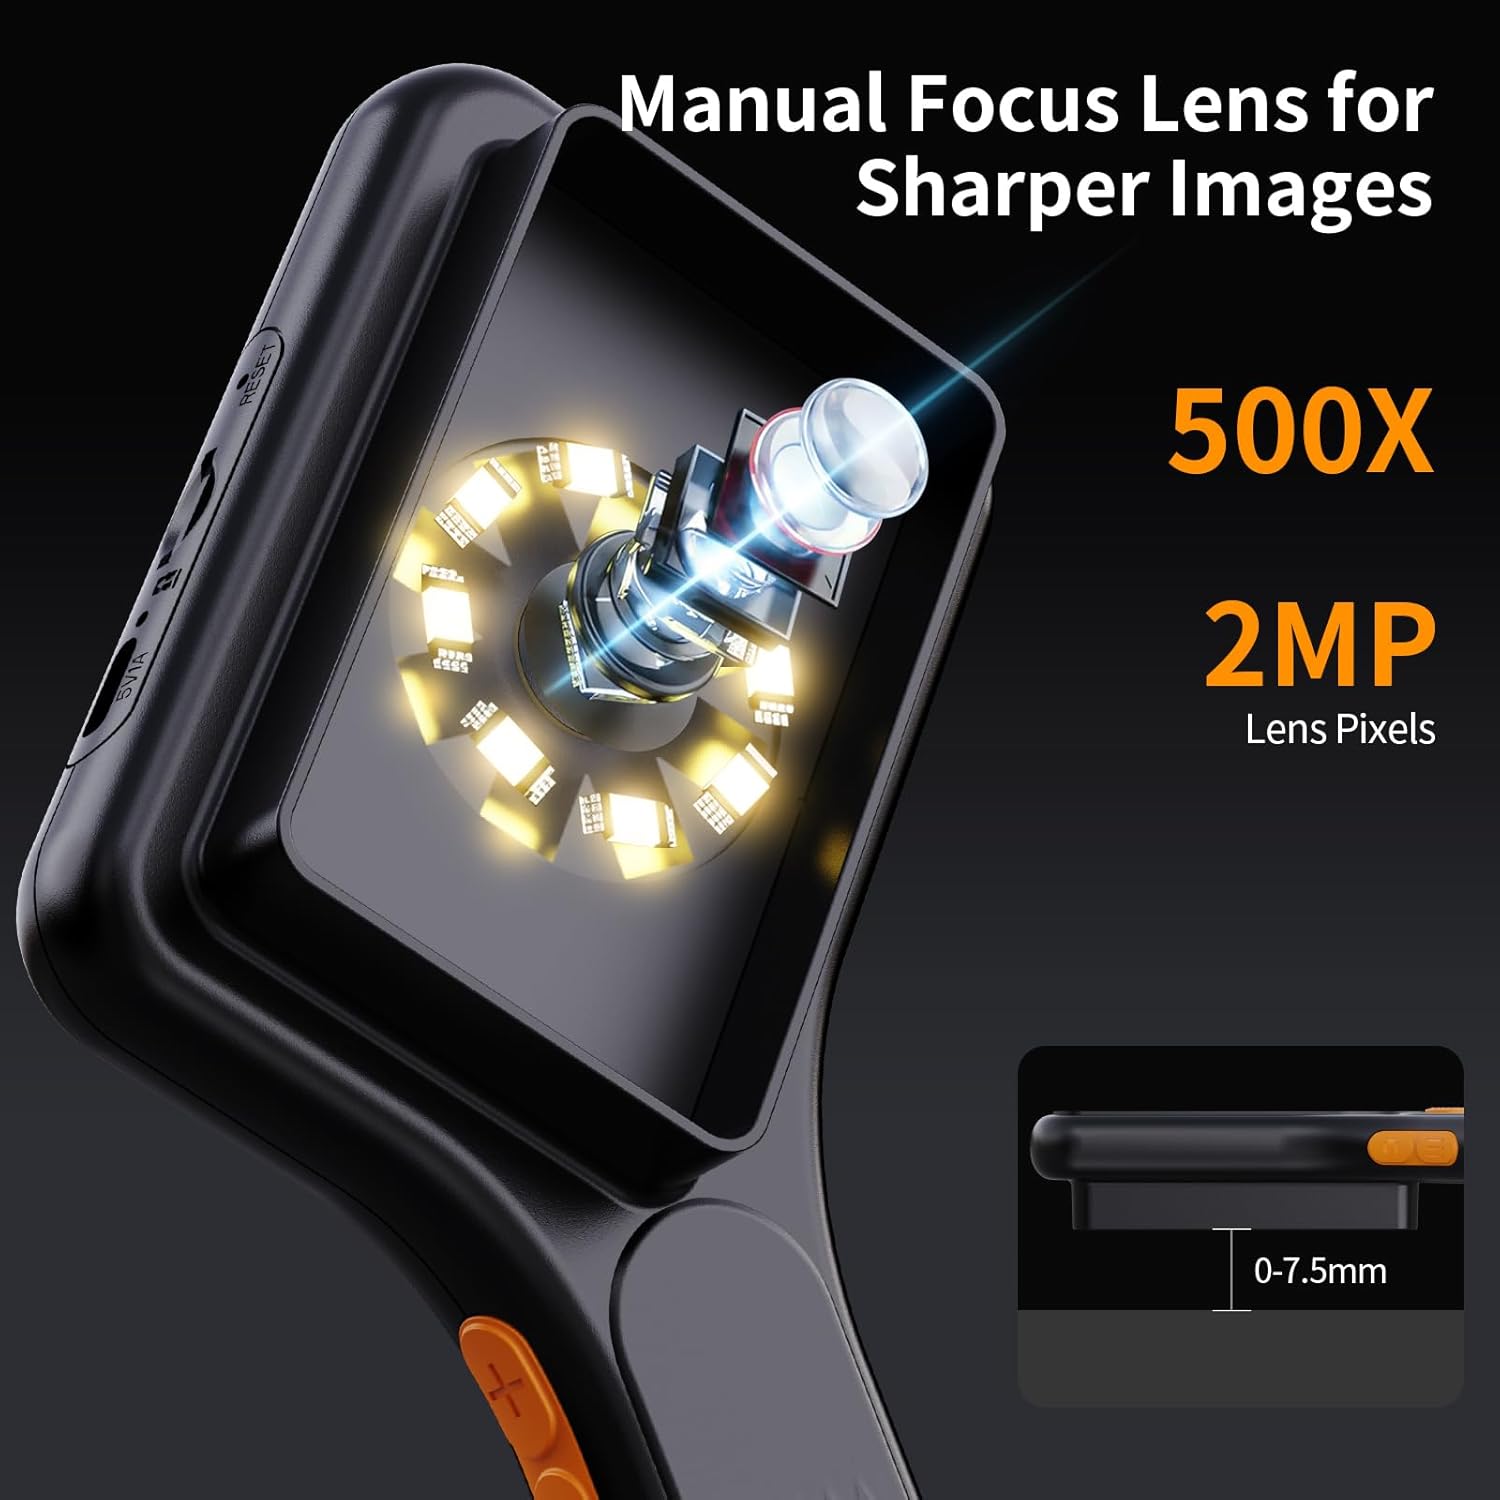
Figure 6: LED Illumination System. This image provides a detailed view of the microscope's lens and the surrounding 8 adjustable LED lights, crucial for illuminating specimens.
5.4 사진 및 비디오 촬영
Use the dedicated capture button on the device to take photos or record videos. Images and videos will be saved to the internal storage or the inserted TF card.
5.5 PC 연결
에게 view magnified images on a larger screen or transfer files, connect the microscope to your computer using the Type C USB cable. The device is compatible with Windows Vista/XP/7/8/10/11 and MacOS X 11.0 or higher. It will be recognized as a webcam or removable storage device, allowing you to access live feed or saved media.
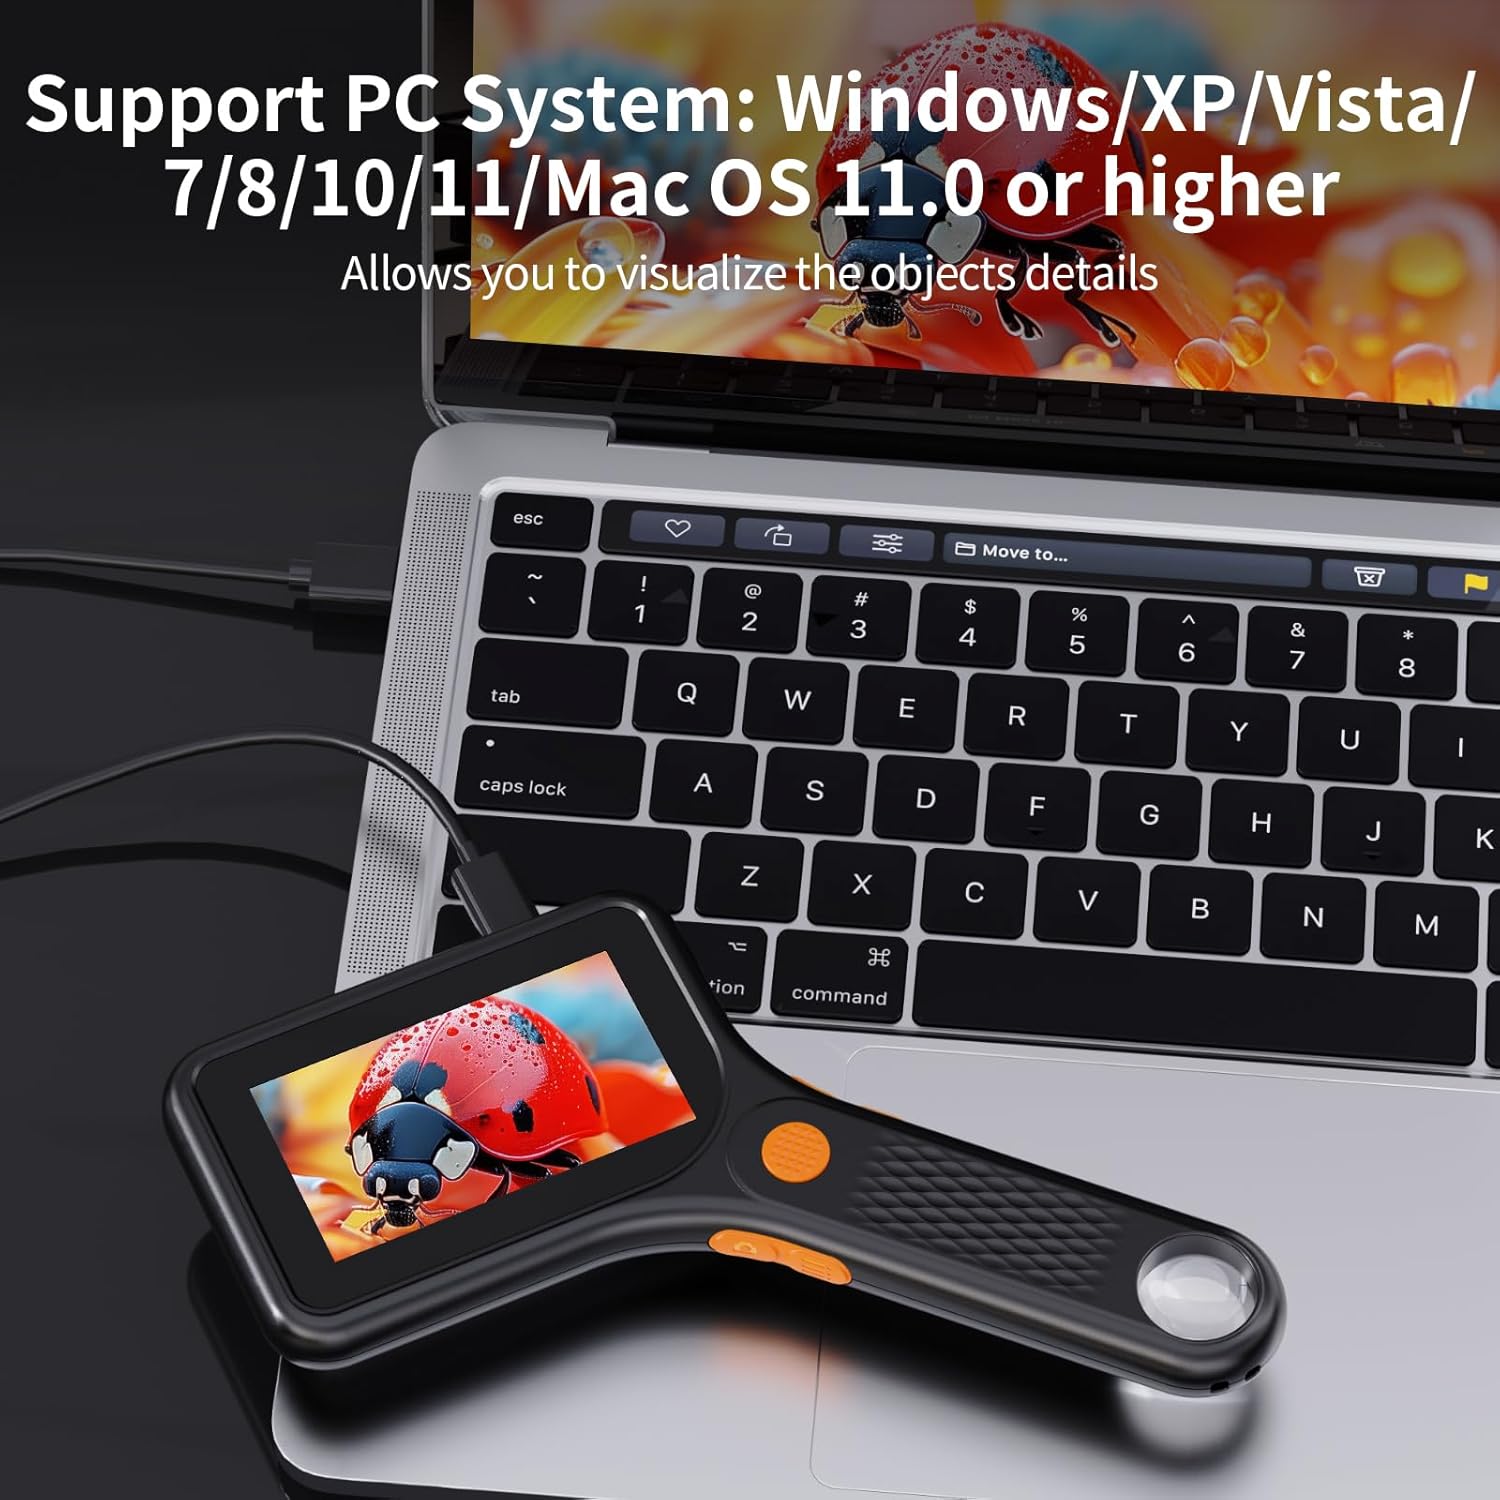
Figure 7: PC Connectivity. This image shows the microscope connected to a laptop via USB, demonstrating its capability to display magnified views on a larger computer screen.

Figure 8: Multi-Purpose Use. This image illustrates the microscope's versatility, showing its PC view capability, and examples of captured video (water droplets on a leaf) and photo (ladybug on a flower).
6. 응용 프로그램 시나리오
The Ashfly Handheld Digital Microscope is suitable for a wide range of applications, including but not limited to:
- 회로 기판 검사: Examine circuit board damage, soldering, and repairs.
- Coin and Stamp 수집: Observe fine details on currency and philatelic items.
- Jewelry and Gemstone Appraisal: Inspect intricate designs and characteristics of precious items.
- 생물학적 관찰: Study plant structures, insects, and other small organisms.
- Textile and Material Analysis: Examine fabric weaves and material integrity.
- 교육 목적: Ideal for classroom use and fostering scientific curiosity.

Figure 9: Diverse Applications. This collage showcases the microscope's utility across various fields, from inspecting electronics and currency to observing natural specimens like plants and insects.

Figure 10: Circuit Board Inspection. This image demonstrates the microscope's use for detailed visual inspection of electronic circuit boards, useful for repair and analysis.
7. 유지관리
7.1 렌즈 및 화면 청소
Gently wipe the lens and screen with a soft, lint-free cloth. For stubborn smudges, use a specialized lens cleaning solution. Avoid abrasive materials or harsh chemicals that could scratch the surfaces.
7.2 보관
Store the microscope in a cool, dry place away from direct sunlight and extreme temperatures. When not in use for extended periods, ensure the battery is partially charged (around 50%) to prolong its lifespan.
8. 문제 해결
| 문제 | 가능한 원인 | 해결책 |
|---|---|---|
| 장치의 전원이 켜지지 않습니다. | 배터리가 부족합니다. | Charge the device fully using the provided Type C cable. |
| 이미지가 흐릿합니다. | 물체와의 거리가 부적절하거나 렌즈가 더러워졌습니다. | Adjust the microscope's distance to the object (approx. 0.2 inches). Clean the lens with a soft cloth. |
| PC에 연결할 수 없습니다. | Incorrect cable; driver issue; incompatible OS version. | Ensure you are using the correct Type C USB cable. Try a different USB port. Verify your operating system meets the minimum requirements (Windows Vista/XP/7/8/10/11, MacOS X 11.0 or higher). |
| 사진/동영상을 저장할 수 없습니다. | TF card full or not inserted correctly; internal storage full. | TF 카드 삽입 여부를 확인하세요. 기존 파일을 삭제하세요. files or replace TF card. If no TF card, ensure internal storage is not full. |
| LED 조명이 작동하지 않습니다. | Lights turned off or low battery. | Adjust LED brightness settings. Charge the device. |
9. 보증 및 지원
Ashfly provides technical support for this product. For any issues not covered in this manual or for further assistance, please contact Ashfly customer service. Refer to your purchase documentation for specific warranty terms and contact information.
보증 설명: Provide technical support.
Ask a question about this manual
Ask about setup, troubleshooting, compatibility, parts, safety, or missing instructions. Manuals+ will review the question and use this page’s manual context to help answer it.