
Teskee LX30-7KW-APP
Teskee Wallbox Type 2 Single-Phase 7.4 kW EV Charging Station User Manual
Model: LX30-7KW-APP
1. 서론
This manual provides essential instructions for the safe and efficient installation, operation, and maintenance of your Teskee Wallbox Type 2 Single-Phase 7.4 kW EV Charging Station. Please read this manual thoroughly before using the product and retain it for future reference.
2. 안전 정보
부상이나 제품 및 재산 피해를 방지하기 위해 항상 다음 안전 수칙을 준수하십시오.
- 설치는 모든 지역 및 국가 전기 규정 및 법규에 따라 자격을 갖춘 전기 기술자가 수행해야 합니다.
- Do not attempt to open, disassemble, repair, or modify the charging station. This may cause electric shock, fire, or other hazards.
- 충전 케이블과 커넥터에 손상이 없는지 매번 사용 전에 확인하십시오. 손상된 경우 사용하지 마십시오.
- Keep the charging station away from flammable, explosive, or corrosive materials.
- Do not immerse the charging station or its components in water or other liquids.
- This product is designed for charging electric vehicles equipped with a Type 2 charging port.
3. 제품 오버view
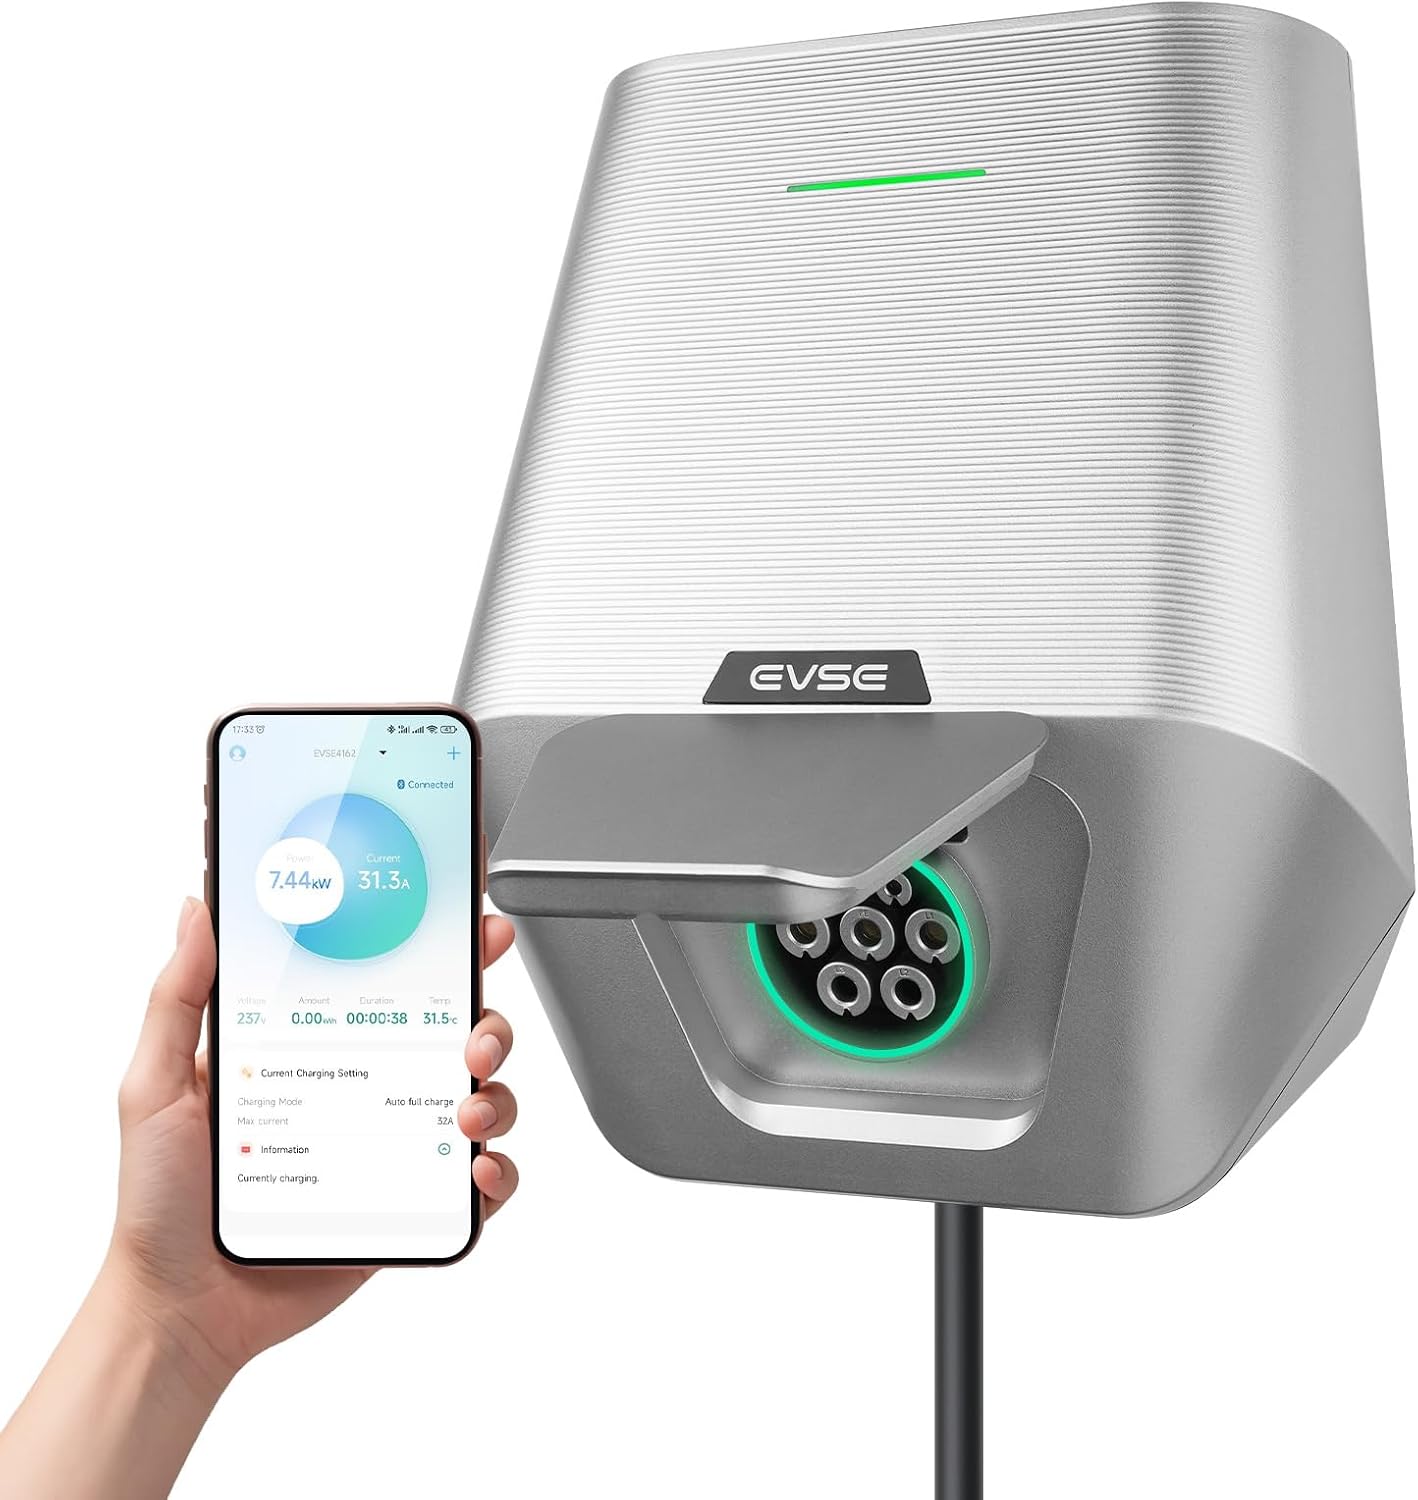
The Teskee Wallbox is a robust and efficient EV charging solution designed for home use, offering a maximum charging power of 7.4 kW. It features app control for adjustable current and scheduling, ensuring safe and reliable charging for all Type 2 electric and plug-in hybrid vehicles.
주요 특징:
- Fast and Stable Charging: Maximum 7.4 kW power, 32 Amp output, single-phase, Type 2 EV cable connection.
- 충전 전류 조절 가능: Set current from 6 A to 32 A via mobile application.
- 견고하고 내구성 있는 디자인: IP65 protection against dust and water, suitable for outdoor and indoor installation.
- 포괄적인 안전 메커니즘: 과전압에 대한 보호 기능 내장tage, overcurrent, leakage, overtemperature, and lightning. CE and FCC certified.
- 앱 제어: Remote adjustment of current and charging duration.

4. 설정 및 설치
The Teskee Wallbox is designed for easy installation, but electrical connections must be handled by a certified professional to ensure safety and compliance.
4.1 패키지 내용
모든 구성 요소가 있는지 확인하세요.
- Teskee Wallbox Charging Station
- 장착 브래킷
- 설치 가이드
- Necessary accessories for installation (screws, anchors)
4.2 벽면 박스 설치
- Choose a suitable location for installation, ensuring it is within reach of your vehicle's charging port and a power source. The location should be flat and sturdy enough to support the weight of the unit.
- 제공된 장착 브래킷을 본떠서 벽에 드릴로 구멍을 뚫을 위치를 표시하십시오.
- 구멍을 뚫고 벽 앵커를 삽입합니다.
- 제공된 나사를 사용하여 장착 브래킷을 벽에 고정합니다.
- Carefully attach the Teskee Wallbox to the mounted bracket.

4.3 전기 연결
WARNING: Electrical installation must be performed by a qualified and licensed electrician.
- 설치 구역의 주 전원이 차단기에서 차단되었는지 확인하십시오.
- Connect the single-phase power supply cables (L1, N, and PE) to the corresponding terminals inside the Wallbox. Refer to the internal wiring diagram.
- 모든 연결이 안전하고 적절하게 절연되어 있는지 확인하십시오.
- Close the Wallbox cover securely.
- Restore power to the circuit. The Wallbox should power on and indicate readiness.

5. 사용 설명서
The Teskee Wallbox offers convenient charging controlled via its dedicated mobile application.
5.1 초기 설정 및 앱 연결
- Download the Teskee EV charging app from your smartphone's app store.
- Open the app and follow the on-screen instructions to create an account and pair your Wallbox via Bluetooth. Ensure your phone's Bluetooth is enabled and you are within range of the Wallbox.
- Once connected, the app will display the Wallbox status and charging options.
5.2 전기차 충전하기
- Ensure your vehicle is parked safely and the Wallbox is powered on.
- Connect the Type 2 charging cable from the Wallbox to your vehicle's charging port. Ensure a secure connection.
- Open the Teskee app. You can initiate charging directly or adjust settings.
- 현재 조정: Within the app, navigate to the current settings. You can select a desired charging current between 6 A and 32 A to match your vehicle's needs or your home's electrical capacity.
- 충전 예약: The app allows you to set custom charging schedules, including start/stop times and repeated charging days. This is useful for taking advantag비수요 시간대 전기 요금.
- Once charging is complete, safely disconnect the cable from your vehicle first, then from the Wallbox.


6. 유지관리
Regular maintenance ensures the longevity and optimal performance of your Teskee Wallbox.
- 청소: Periodically wipe the exterior of the Wallbox with a soft, damp 천을 사용하십시오. 연마성 세제나 용제를 사용하지 마십시오. 청소하기 전에 제품의 전원을 끄십시오.
- 케이블 검사: Regularly inspect the charging cable and connector for any signs of wear, cuts, cracks, or damage. If any damage is found, discontinue use immediately and contact customer support.
- 연결 확인: Occasionally check that the Wallbox is securely mounted and that all visible connections are tight.
7. 문제 해결
If you encounter issues with your Teskee Wallbox, refer to the following common problems and solutions:
| 문제 | 가능한 원인 | 해결책 |
|---|---|---|
| Wallbox does not power on | 전원 공급 없음; 차단기가 작동했습니다 | Check the main power supply and circuit breaker. Ensure proper electrical installation. |
| 차량이 충전되지 않음 | Cable not properly connected; charging schedule active; vehicle fault | Ensure cable is securely connected. Check app for active charging schedules. Consult vehicle manual. |
| App cannot connect to Wallbox | Bluetooth off; out of range; app issue | Ensure phone Bluetooth is on. Move closer to Wallbox. Restart app or phone. |
| 충전이 예기치 않게 중단됨 | Overtemperature protection; power fluctuation; vehicle fault | Allow Wallbox to cool down. Check power supply stability. Consult vehicle manual. |
If the problem persists after attempting these solutions, please contact Teskee customer support.
8. 사양
Detailed technical specifications for the Teskee Wallbox Model LX30-7KW-APP:
| 사양 | 값 |
|---|---|
| 모델 | LX30-7KW-APP |
| 제조업체 | Jiangsu Wissenergy Technology Co., Ltd |
| 충전 전력 | 7.4kW(최대) |
| 정격 전류 | 32 Amp에레스 |
| 단계 | 단상 |
| 커넥터 유형 | 2형 |
| 보호 등급 | IP65(방진 및 방수) |
| 인증 | CE, FCC |
| 제품 무게 | 2.8kg |
| 치수(길이 x 너비 x 높이) | 약. 23.6cm x 19cm x 26.5cm |

9. 보증 및 지원
Teskee products are manufactured to high-quality standards. For warranty information, technical support, or service inquiries, please refer to the warranty card included with your product or visit the official Teskee website. Please have your product model number (LX30-7KW-APP) and purchase details ready when contacting support.
Ask a question about this manual
Ask about setup, troubleshooting, compatibility, parts, safety, or missing instructions. Manuals+ will review the question and use this page’s manual context to help answer it.