
소개
Welcome to the ULTRICS Digital Multimeter D2 user manual. This device is designed for precise and reliable electrical measurements, suitable for professionals and DIY enthusiasts. It accurately measures AC/DC voltage, DC current, resistance, continuity, and diodes. This manual provides essential information for safe and effective operation, helping you to maximize the utility of your new multimeter.
안전 정보
경고: Always exercise extreme caution when working with electrical circuits. Improper use of this multimeter can result in electric shock, personal injury, or damage to the device.
- 어떠한 범위에서도 최대 입력 값을 초과하지 마십시오.
- Do not use the multimeter if it or the test leads appear damaged. Inspect them before each use.
- Ensure the function switch is in the correct position before making measurements. Changing ranges while connected to a live circuit can cause damage.
- Disconnect power to the circuit before measuring resistance, continuity, or diodes.
- 볼륨을 사용할 때는 주의하세요tag30V AC RMS, 42V 피크 또는 60V DC 이상입니다. 이러한 볼륨tages pose a significant shock hazard.
- Always connect the common (COM) test lead first, then the live lead. Disconnect the live lead first, then the common lead.
- Replace the battery when the low battery indicator appears to ensure accurate readings and proper device function.
This multimeter is rated CAT II 600V, indicating its suitability for measurements on circuits directly connected to the low-voltag전자 설치.
패키지 내용
패키지에 모든 품목이 들어 있는지 확인하세요.
- 1 x ULTRICS Digital Multimeter D2
- 테스트 리드 2개 (빨간색과 검은색)
- 1 x 9V 배터리
- 1 x 사용자 매뉴얼(이 문서)
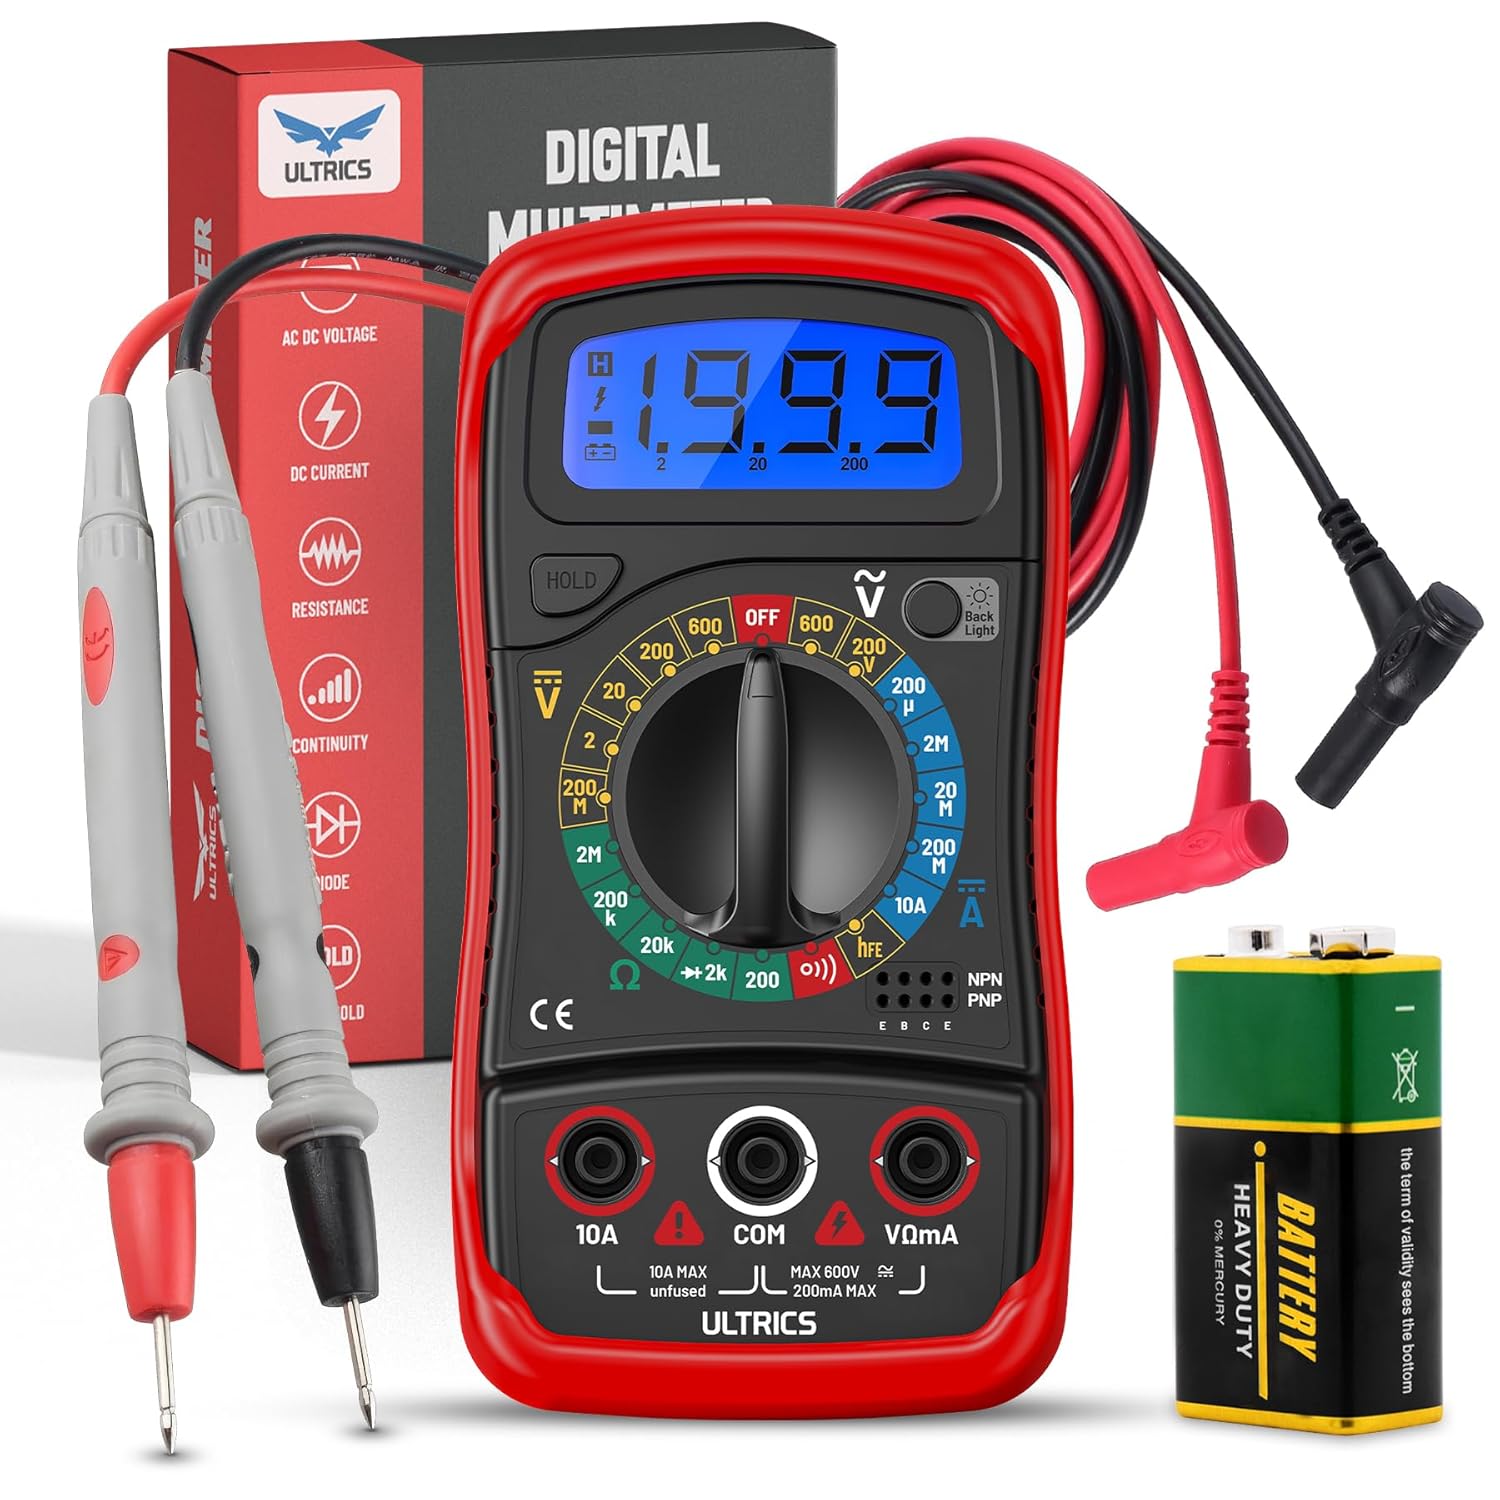
Image: Contents of the ULTRICS Digital Multimeter D2 package, including the multimeter, red and black test leads, and a 9V battery.
제품 끝view
Familiarize yourself with the components of your ULTRICS Digital Multimeter D2.

Image: Detailed diagram of the ULTRICS Digital Multimeter D2, highlighting its key components such as the LCD display, data hold button, backlight button, function switch, test lead jacks, and protective rubber shell.
- LCD 디스플레이: Shows measurement readings, units, and polarity. Features a bright backlight for low-light conditions.
- 데이터 홀드 버튼: Freezes the current reading on the display for easier recording.
- 백라이트 버튼: 디스플레이 백라이트를 활성화하거나 비활성화합니다.
- Function Switch (Rotary Dial): 원하는 측정 기능과 범위를 선택합니다.
- 10A 입력 잭: Used for measuring DC current up to 10 Amp에레스.
- COM (Common) Input Jack: The negative (-) input for all measurements. Always connect the black test lead here.
- VΩmA 입력 잭: The positive (+) input for voltage, 저항, 그리고 밀리ampere current measurements. Connect the red test lead here.
- Transistor Test Jacks (hFE): Used for testing NPN and PNP transistors.
- Protective Rubber Shell: Provides durability and protection against minor impacts and splashes.
- 접이식 킥스탠드: Allows for hands-free operation and easy view잉 각도.
설정
배터리 설치
The ULTRICS Digital Multimeter D2 requires one 9V battery (included).
- 멀티미터 뒷면에서 배터리함을 찾으세요.
- 드라이버를 사용하여 배터리 덮개를 고정하는 나사를 제거합니다.
- 배터리 덮개를 조심스럽게 제거합니다.
- 9V 배터리를 배터리 클립에 연결할 때, 극성이 올바른지 확인하십시오(+는 +에, -는 -에).
- 배터리를 수납공간 안에 넣으세요.
- 배터리 커버를 교체하고 나사로 고정합니다.
테스트 리드 연결
측정을 하기 전에 테스트 리드가 단단히 연결되어 있는지 항상 확인하십시오.
- Insert the black test lead's banana plug into the 코. (공통) 입력 잭.
- 대부분의 측정(voltage, resistance, continuity, diode, small current), insert the red test lead's banana plug into the VΩmA 입력 잭.
- For high current measurements (up to 10A DC), insert the red test lead's banana plug into the 10A 입력 잭.
작동 지침
This section details how to perform various measurements using your multimeter.
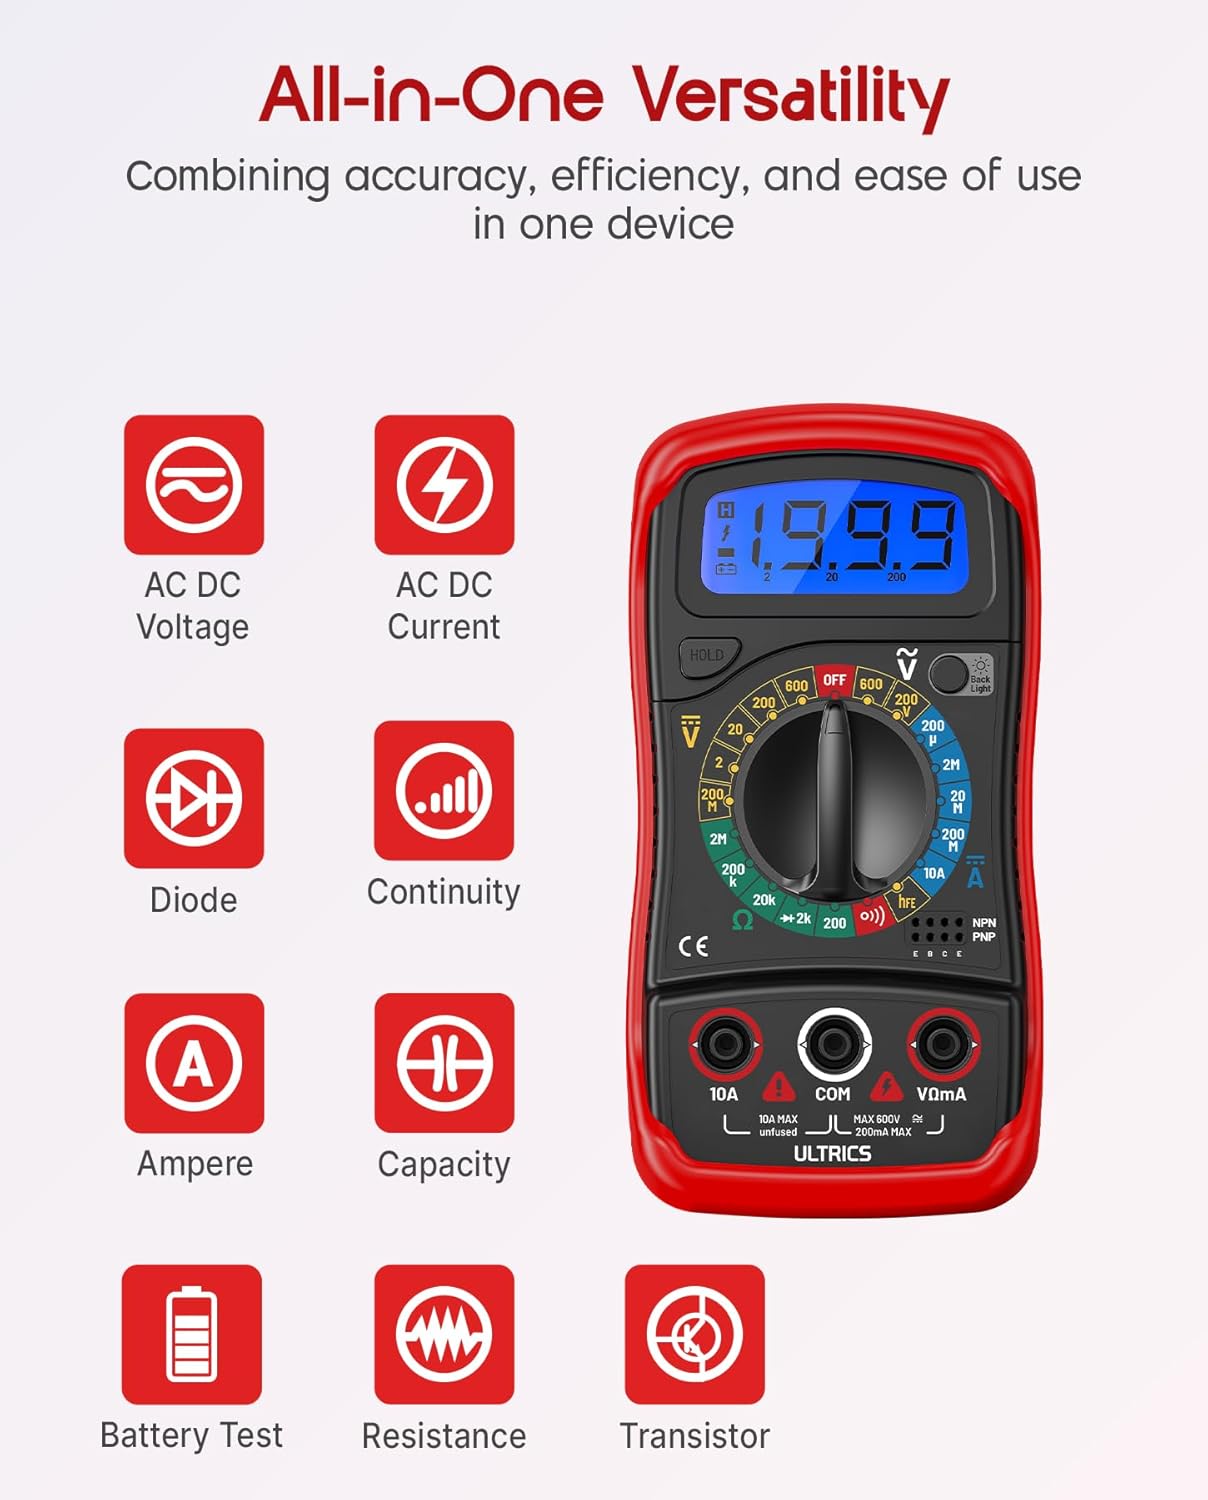
Image: Visual representation of the multimeter's versatile functions, including AC/DC Voltage, AC/DC Current, Diode, Continuity, Ampere, Capacity, Battery Test, Resistance, and Transistor measurements.
DC Vol 측정tage(VDC)
- 검정색 테스트 리드를 코. 잭과 빨간색 테스트 리드 VΩmA 잭.
- Turn the function switch to the desired VDC range (e.g., 200mV, 2V, 20V, 200V, 600V). If unsure, start with the highest range and decrease as needed.
- 측정하려는 부품이나 회로에 테스트 리드를 병렬로 연결하십시오.
- vol을 읽어보세요tagLCD 디스플레이의 e 값.
AC Vol 측정tag전자(VAC)
- 검정색 테스트 리드를 코. 잭과 빨간색 테스트 리드 VΩmA 잭.
- Turn the function switch to the desired 진공 range (e.g., 200V, 600V).
- 테스트 리드를 교류 전압에 병렬로 연결하십시오.tag출처.
- vol을 읽어보세요tagLCD 디스플레이의 e 값.
Measuring DC Current (ADC)
주의: Never connect the multimeter in parallel when measuring current. Always connect it in series with the circuit. Improper connection can damage the multimeter or the circuit.
- 회로의 전원을 끕니다.
- For currents up to 200mA, connect the black test lead to the 코. 잭과 빨간색 테스트 리드 VΩmA 잭.
- For currents up to 10A, connect the black test lead to the 코. 잭과 빨간색 테스트 리드 10A 잭.
- Turn the function switch to the desired 애드디씨 range (e.g., 200µA, 2mA, 20mA, 200mA, 10A).
- Break the circuit and connect the multimeter in series with the circuit.
- 회로에 전원을 켭니다.
- LCD 디스플레이의 현재 값을 읽습니다.
- Turn off power to the circuit before disconnecting the multimeter.
저항 측정 (Ω)
주의: Ensure the circuit is completely de-energized before measuring resistance. Measuring resistance on a live circuit can damage the multimeter.
- 검정색 테스트 리드를 코. 잭과 빨간색 테스트 리드 VΩmA 잭.
- Turn the function switch to the desired Ω range (e.g., 200Ω, 2kΩ, 20kΩ, 200kΩ, 2MΩ, 20MΩ).
- 저항을 측정하려는 부품에 테스트 리드를 연결하십시오.
- LCD 디스플레이에서 저항값을 읽으세요.
연속성 테스트
The continuity test checks for a complete circuit path. An audible buzzer will sound if continuity is detected.
- 검정색 테스트 리드를 코. 잭과 빨간색 테스트 리드 VΩmA 잭.
- 기능 스위치를 연속성 (buzzer) position.
- 테스트 리드를 회로 또는 부품에 연결하십시오.
- 저항값이 약 50Ω 미만이면 부저가 울려 회로가 연결되어 있음을 알려줍니다.
다이오드 테스트
다이오드 테스트는 순방향 볼륨을 측정합니다.tag다이오드의 한 방울.
- 검정색 테스트 리드를 코. 잭과 빨간색 테스트 리드 VΩmA 잭.
- 기능 스위치를 다이오드 위치.
- Connect the red test lead to the anode (+) and the black test lead to the cathode (-) of the diode.
- 앞으로 vol 읽기tage drop on the LCD display. Reverse the leads; the display should show "OL" (Overload) for a good diode.
트랜지스터 hFE 테스트
This function tests the DC current gain (hFE) of NPN and PNP transistors.
- 기능 스위치를 인간 위치.
- 트랜지스터의 이미터(E), 베이스(B), 컬렉터(C) 단자를 확인하십시오.
- Insert the transistor leads into the corresponding holes in the 인간 socket on the multimeter, ensuring correct NPN or PNP type.
- LCD 디스플레이에서 hFE 값을 읽으십시오.
데이터 홀드 기능
를 누르세요 잡고 있다 버튼을 누르면 디스플레이에 현재 측정값이 고정됩니다. 다시 누르면 고정이 해제되고 실시간 측정이 재개됩니다.
백라이트 기능
를 누르세요 백라이트 button to turn the LCD backlight on or off, improving visibility in dim environments.

이미지: 클로즈업 view of the multimeter's LCD display, demonstrating its bright backlight feature for enhanced readability in various lighting conditions.
유지
청소
멀티미터를 청소하려면 케이스를 광고로 닦으세요.amp cloth and a mild detergent. Do not use abrasives or solvents, as these may damage the casing 또는 디스플레이.
배터리 교체
When the low battery indicator appears on the display, replace the 9V battery as described in the "Installing the Battery" section to ensure continued accurate readings.
퓨즈 교체
If the current measurement function stops working, the fuse may need replacement. This multimeter is equipped with internal fuses for protection.
- Ensure the multimeter is OFF and all test leads are disconnected.
- 배터리 덮개와 배터리를 제거합니다.
- Carefully open the main casing (this may require removing additional screws, typically located under the rubber shell).
- Locate the fuse(s) on the circuit board. This model typically uses a 200mA/250V fuse for the mA range and a 10A/250V fuse for the 10A range.
- Replace the blown fuse with a fuse of the same type and rating. Never use a fuse with a different rating.
- Reassemble the multimeter, ensuring all screws are tightened and the casing는 제대로 밀봉되었습니다.
저장
If the multimeter is not used for a long period, remove the battery to prevent leakage and store the device in a cool, dry place, away from direct sunlight and extreme temperatures.
문제 해결
| 문제 | 가능한 원인 | 해결책 |
|---|---|---|
| 디스플레이가 없거나 어둡습니다 | 배터리가 방전되었거나 배터리가 부족합니다 | 9V 배터리를 교체하십시오. |
| "OL"(과부하) 표시 | Input value exceeds selected range; open circuit (for resistance/continuity) | 더 높은 범위를 선택하고 회로 또는 부품에 단선이 있는지 확인하십시오. |
| 잘못된 판독 | 잘못된 기능/범위 선택; 테스트 리드 연결 불량; 배터리 부족 | Verify function switch position and range; ensure leads are firmly connected; replace battery. |
| 현재 측정이 작동하지 않습니다 | 퓨즈가 끊어짐 | 해당 퓨즈를 교체하십시오(유지보수 섹션 참조). |
| No continuity buzzer | Open circuit; resistance too high | Ensure circuit is closed; check resistance value (buzzer typically activates below 50Ω). |
명세서
| 특징 | 세부 사항 |
|---|---|
| 모델 | Digital Multimeter D2 |
| 표시하다 | 3 ½ digit LCD, 1999 counts, with backlight |
| DC 볼륨tage | 200mV / 2V / 20V / 200V / 600V |
| AC 볼륨tage | 200V / 600V |
| 직류 전류 | 200μA / 2mA / 20mA / 200mA / 10A |
| 저항 | 200Ω / 2kΩ / 20kΩ / 200kΩ / 2MΩ / 20MΩ |
| 다이오드 테스트 | 예 |
| 연속성 버저 | 예 |
| 트랜지스터 hFE 테스트 | 예 |
| 데이터 보류 | 예 |
| 전원 | 9V 배터리 |
| 안전 등급 | IEC CAT II 600V, CE, RoHS compliant |
| 치수(길이 x 너비 x 높이) | 14.6 x 10 x 5cm(5.75 x 3.94 x 1.97인치) |
| 무게 | 240그램(0.53파운드) |
보증 및 지원
ULTRICS provides a 12-month warranty for this product, covering manufacturing defects from the date of purchase. Please retain your proof of purchase for warranty claims.
For technical support, warranty claims, or any questions regarding your ULTRICS Digital Multimeter D2, please contact ULTRICS customer service through the retailer's platform or the official ULTRICS website. Please have your purchase details and model number ready when contacting support.
제조업체: 울트라릭스
모델 번호: Digital Multimeter D2
ASIN: B0DYP62MW7