
소개
This manual provides detailed instructions for the installation, operation, and maintenance of your Zyyini B150M V3 Computer Motherboard. Please read this manual thoroughly before proceeding with installation to ensure proper setup and to prevent damage to the components. This motherboard is designed for desktop computers, supporting LGA 1151 CPUs and DDR4 memory, offering a stable and efficient platform for various computing needs.
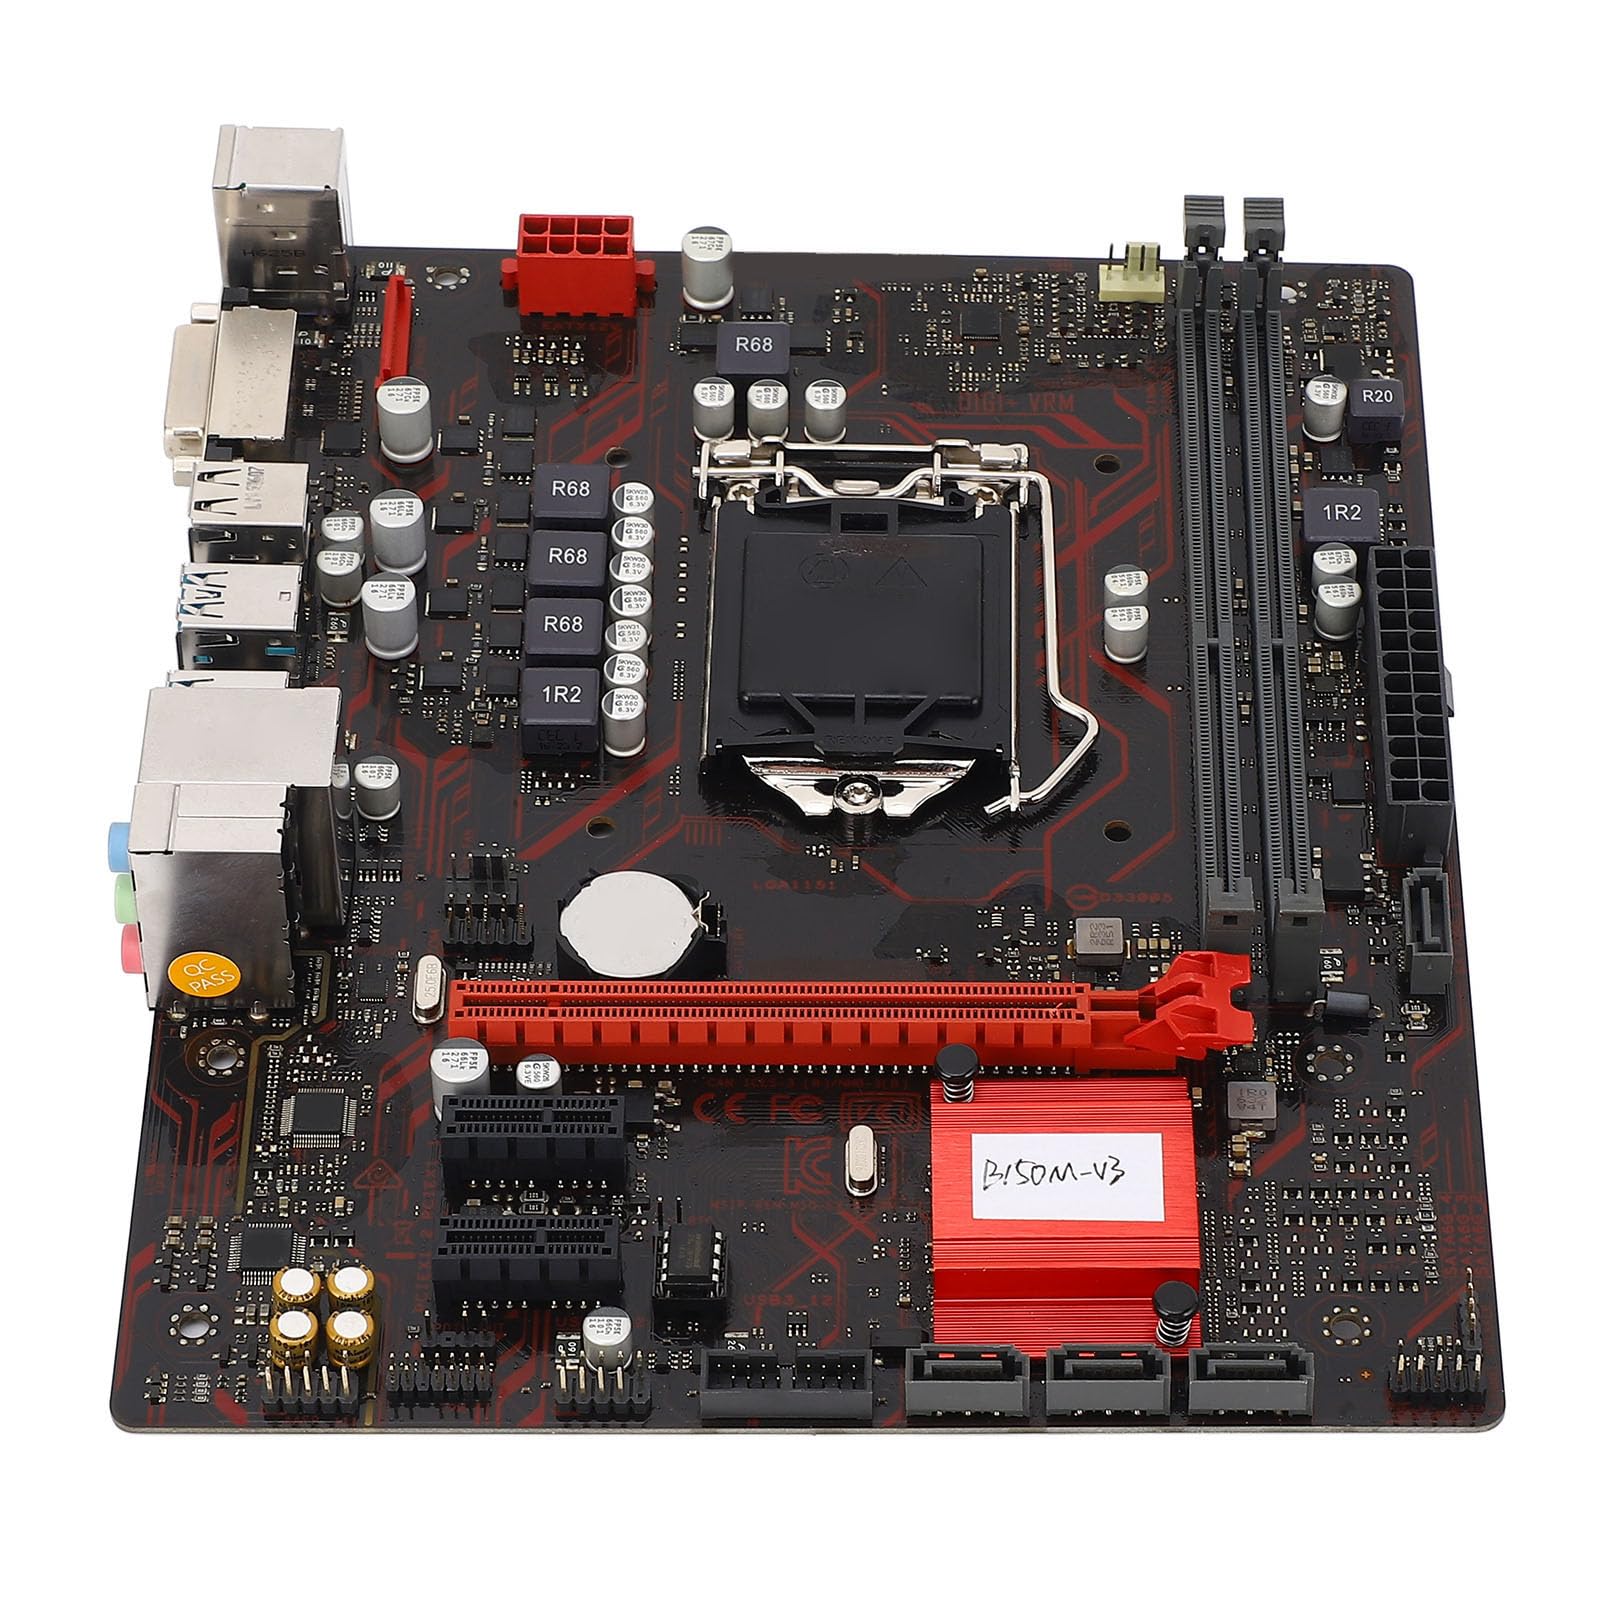
그림 1: 이상view of the Zyyini B150M V3 Motherboard.
설정 및 설치
Before beginning installation, ensure your workspace is clean and static-free. It is recommended to wear an anti-static wrist strap to prevent electrostatic discharge (ESD) damage to components.
1. 안전수칙
- 구성 요소를 설치하거나 제거하기 전에 항상 벽면 콘센트에서 전원 공급 장치를 분리하세요.
- 민감한 회로에 닿지 않도록 부품의 가장자리를 잡고 다루십시오.
- Ensure proper grounding to prevent ESD.
- Refer to the CPU, memory, and other component manuals for specific installation instructions.
2. 마더보드 레이아웃

그림 2: 상향식 view highlighting key components and connectors on the motherboard.
Familiarize yourself with the locations of the CPU socket, memory slots, PCI-E slots, SATA ports, and power connectors before installation.
3. CPU 설치 (LGA 1151)
- 마더보드에서 LGA 1151 CPU 소켓을 찾으세요.
- 부하 레버를 살짝 아래로 누른 다음 옆으로 당겨 CPU 소켓 덮개를 여십시오.
- Carefully align the notches on your Intel Core i7/i5/i3/Pentium/Celeron (14nm) processor with the corresponding keys on the socket. Ensure the gold triangle on the CPU matches the triangle on the socket.
- CPU를 소켓에 무리하게 힘을 주지 않고 조심스럽게 끼워 넣으십시오.
- 적재판을 닫고 적재 레버를 딸깍 소리가 날 때까지 제자리로 밀어 넣으십시오.

그림 3: 클로즈업 view of the LGA 1151 CPU socket, ready for processor installation.
4. Memory Installation (DDR4 DIMM)
The motherboard features two DDR4 DIMM slots, supporting dual-channel DDR4 2133MHz memory up to a maximum of 32GB.
- DIMM 슬롯의 양쪽 끝에 있는 클립을 엽니다.
- DDR4 메모리 모듈의 노치를 DIMM 슬롯의 키에 맞춥니다.
- 메모리 모듈을 클립이 제자리에 고정될 때까지 슬롯에 단단히 삽입하십시오. 두 클립이 모두 닫혔는지 확인하십시오.

Figure 4: The two DDR4 DIMM slots for memory installation.
5. Storage Device Installation (SATA III & M.2)
The motherboard provides 4 x Serial ATA III interfaces and 1 x M.2 slot for storage devices.
- SATA 장치: Connect one end of a SATA data cable to a SATA III port on the motherboard and the other end to your SATA hard drive or SSD. Connect the SATA power cable from your power supply to the drive.
- M.2 장치: Insert your M.2 SSD into the M.2 slot, securing it with the provided screw.
6. 확장 카드 설치(PCI-E)
The motherboard includes 1 x PCI-E x16 graphics card slot and 2 x PCI-E x1 slots for expansion cards.
- Align your PCI-E expansion card (e.g., graphics card, sound card, network card) with the desired PCI-E slot.
- Press the card firmly into the slot until it is fully seated. Secure the card with a screw to the chassis.
7. 주변기기 및 전면 패널 연결
Connect your USB devices, DVI display, audio devices, and Ethernet cable to the rear I/O panel. Connect the front panel connectors (power button, reset button, USB ports, audio jacks) from your PC case to the corresponding headers on the motherboard.

그림 5: 상세 view of the rear I/O panel, showing USB, DVI, Ethernet, and audio ports.
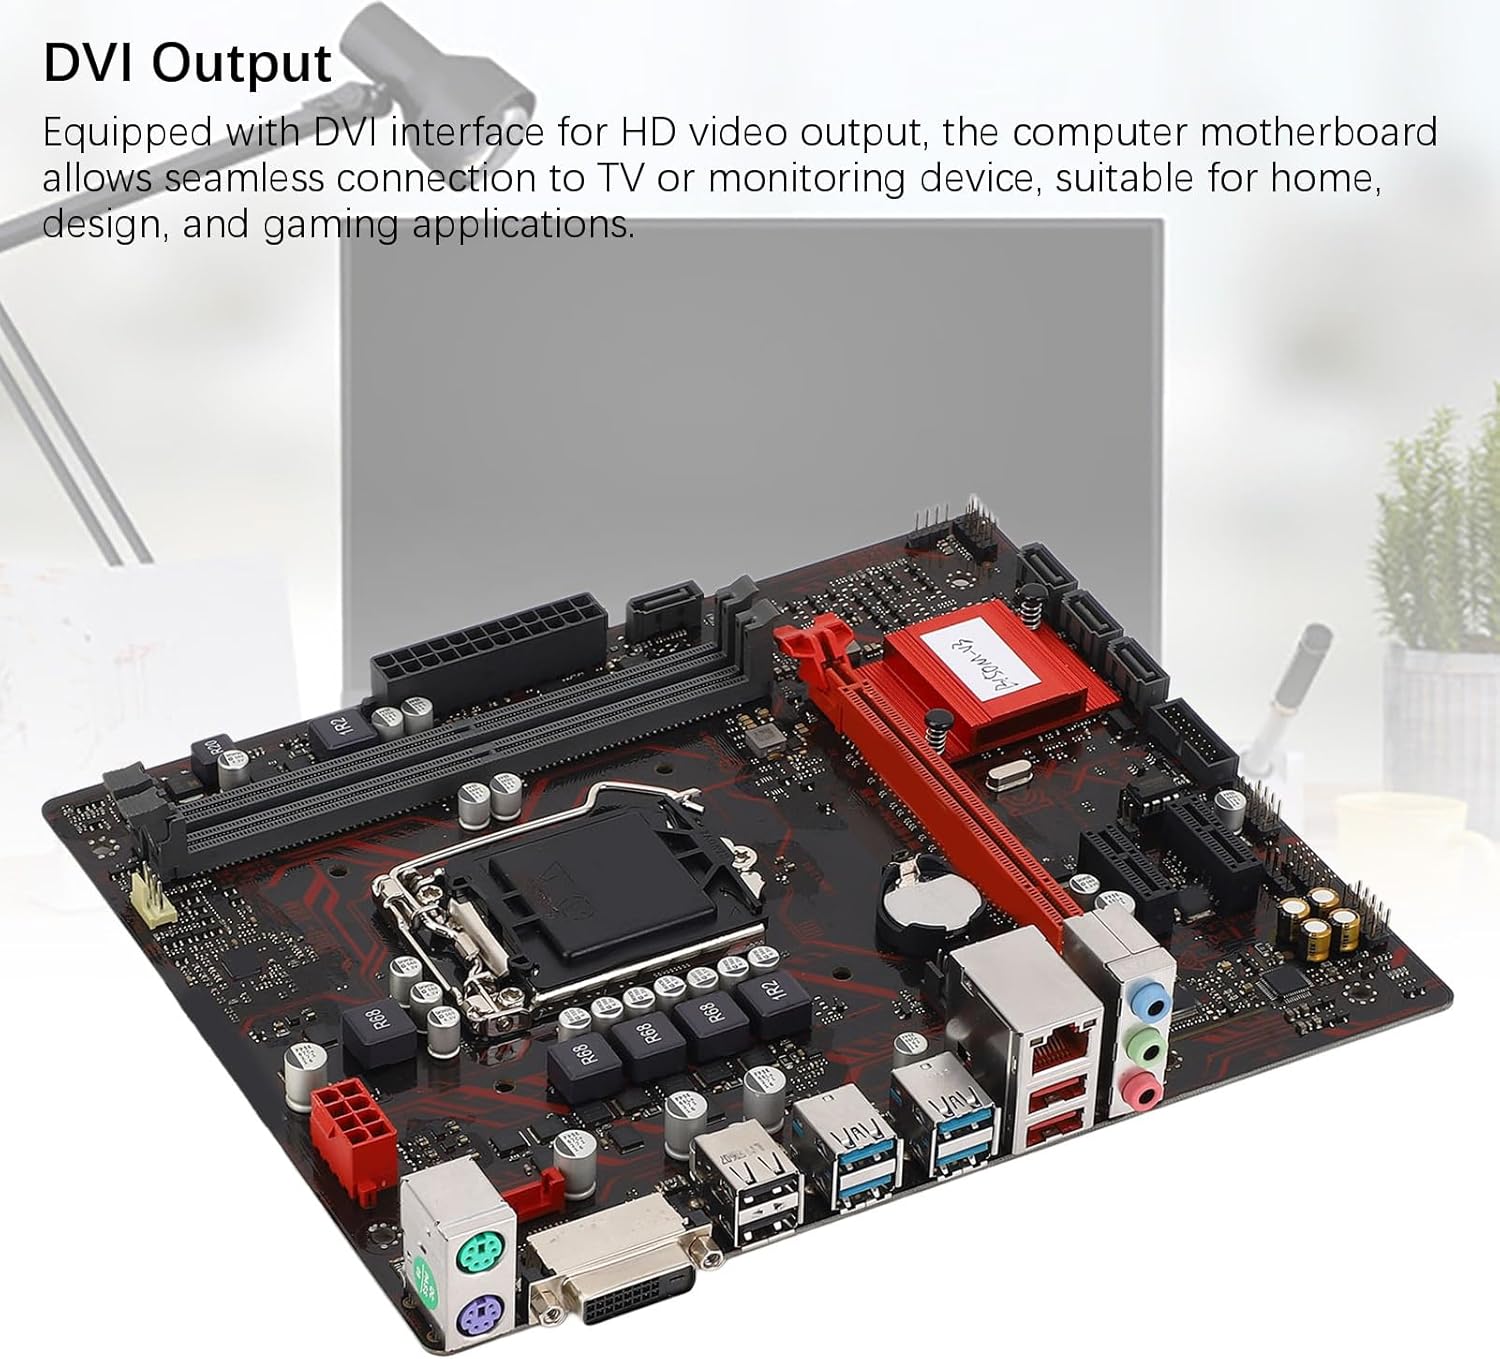
Figure 6: The DVI interface for connecting a display.
8. 전원 연결
Connect the 24-pin ATX power connector and the 8-pin CPU power connector from your power supply to the respective ports on the motherboard. Ensure they are firmly seated.

그림 7: 각도 view showing the location of power connectors and other ports.
작동 지침
1. 초기 부팅
After all components are installed and connected, power on your system. The system should initiate the boot process. If no display appears, refer to the troubleshooting section.
2. BIOS/UEFI 구성
During boot-up, press the designated key (usually 델 or F2) to enter the BIOS/UEFI setup. Here you can configure boot order, system time, and other advanced settings. Save changes before exiting.
3. 드라이버 설치
After installing your operating system, install the necessary drivers for the motherboard chipset, network, and audio. These are typically provided on a driver CD or available for download from the manufacturer's web대지.
유지
1. 먼지 청소
Regularly clean the inside of your computer case to prevent dust buildup, which can lead to overheating and component failure. Use compressed air to gently remove dust from fans, heatsinks, and motherboard surfaces.
2. BIOS 업데이트
정기적으로 제조업체를 확인하십시오 webBIOS 업데이트 사이트입니다. BIOS 업데이트는 시스템 안정성을 향상시키고, 새로운 하드웨어 지원을 추가하며, 버그를 수정할 수 있습니다. 마더보드 손상을 방지하려면 업데이트 지침을 주의 깊게 따르세요.
문제 해결
1. 힘이 없다
- Ensure the power supply is connected to the wall outlet and switched on.
- Verify that the 24-pin and 8-pin power connectors are securely attached to the motherboard.
- 전면 패널 전원 스위치와 마더보드의 연결 상태를 확인하십시오.
2. 디스플레이 없음
- Confirm that the monitor is connected to the correct video output (DVI) on the motherboard or graphics card and is powered on.
- Reseat the memory modules. Try booting with only one memory module installed.
- 그래픽 카드를 다시 장착하십시오(해당되는 경우).
- Ensure the CPU is properly installed and the CPU cooler is securely attached.
3. 시스템 불안정성/충돌
- Check for overheating. Ensure all fans are working and heatsinks are clean.
- Verify that all components (CPU, RAM, storage) are properly seated.
- 메모리 진단 도구를 실행하여 RAM에 오류가 있는지 확인하십시오.
- 모든 드라이버가 최신 상태인지 확인하세요.
명세서

Figure 8: The motherboard's robust construction ensures stable performance and longevity.
| 특징 | 세부 사항 |
|---|---|
| 마더보드 모델 | B150M-V3 |
| 칩셋 | B150 칩셋 |
| CPU 소켓 | LGA 1151 |
| Compatible CPU Type | Intel Core i7, i5, i3, Pentium, Celeron (14nm processors) |
| 메모리 유형 | DDR2 DIMM 4개 (듀얼 채널) |
| 메모리 속도 | 2133MHz |
| 최대 메모리 용량 | 32GB |
| PCI-E 표준 | PCI-E 3.0 |
| PCI-E x16 Slots | 1 |
| PCI-E x1 Slots | 2 |
| 스토리지 인터페이스 | 4 x Serial ATA III, 1 x M.2 |
| USB Interfaces (Rear) | 4 X USB3.0, 4 X USB2.0 |
| USB Interfaces (Internal) | 1 x USB3.0 header, 1 x USB2.0 header |
| 비디오 인터페이스 | 1개의 HDMI |
| Network Chip | Realtek RTL8111GR Gigabit Ethernet |
| 사운드 칩 | Realtek ALC887 8-Channel |
| 전원 인터페이스 | One 8-Pin, One 24-Pin |
| 폼 팩터 | M-ATX |
| 전원 공급 모드 | 5단계 |
| 기타 인터페이스 | RJ45, Chassis Fan, Internal Speaker, System Panel, Sound, PS/2 Mouse, PS/2 Keyboard, COM |
보증 정보
For specific warranty terms and conditions, please refer to the documentation provided with your purchase or visit the official Zyyini web해당 사이트. 보증 범위는 일반적으로 정상적인 사용 조건에서 발생하는 재료 및 제조상의 결함을 포함합니다.
고객 지원
If you encounter any issues that cannot be resolved using this manual, please contact your retailer or visit the Zyyini official support channels for assistance. Have your product model number (B150M-V3) and purchase details ready when seeking support.