
1. 서론
This user manual provides detailed instructions for the GKU D900JP Dual Dash Cam. Please read this manual thoroughly before using the product to ensure proper operation and to maximize its features. Keep this manual for future reference.
The GKU D900JP is designed to record driving footage in high definition, offering both front and rear camera views. It incorporates advanced features such as a Sony IMX335 STARVIS sensor, 5GHz WiFi connectivity, integrated GPS, High Dynamic Range (HDR) for improved image clarity, 24-hour parking monitoring, G-sensor emergency recording, and continuous loop recording.
2. 제품 오버view
2.1. 패키지 내용
아래 나열된 모든 품목이 패키지에 포함되어 있는지 확인하세요.
- GKU D900JP Main Unit
- 후방 카메라
- 사용자 설명서
- 보증 카드
- Charging Cable (Cigarette Lighter Power Cable)
- 64GB SD 카드
- 3M 양면 테이프
- Electrostatic Protection Film
- Wiring Removal Tool
- 배선 클립

2.2. 제품 특징
- 고해상도 녹음: Front 4K (800W pixels) and Rear 2.5K Full HD simultaneous recording.
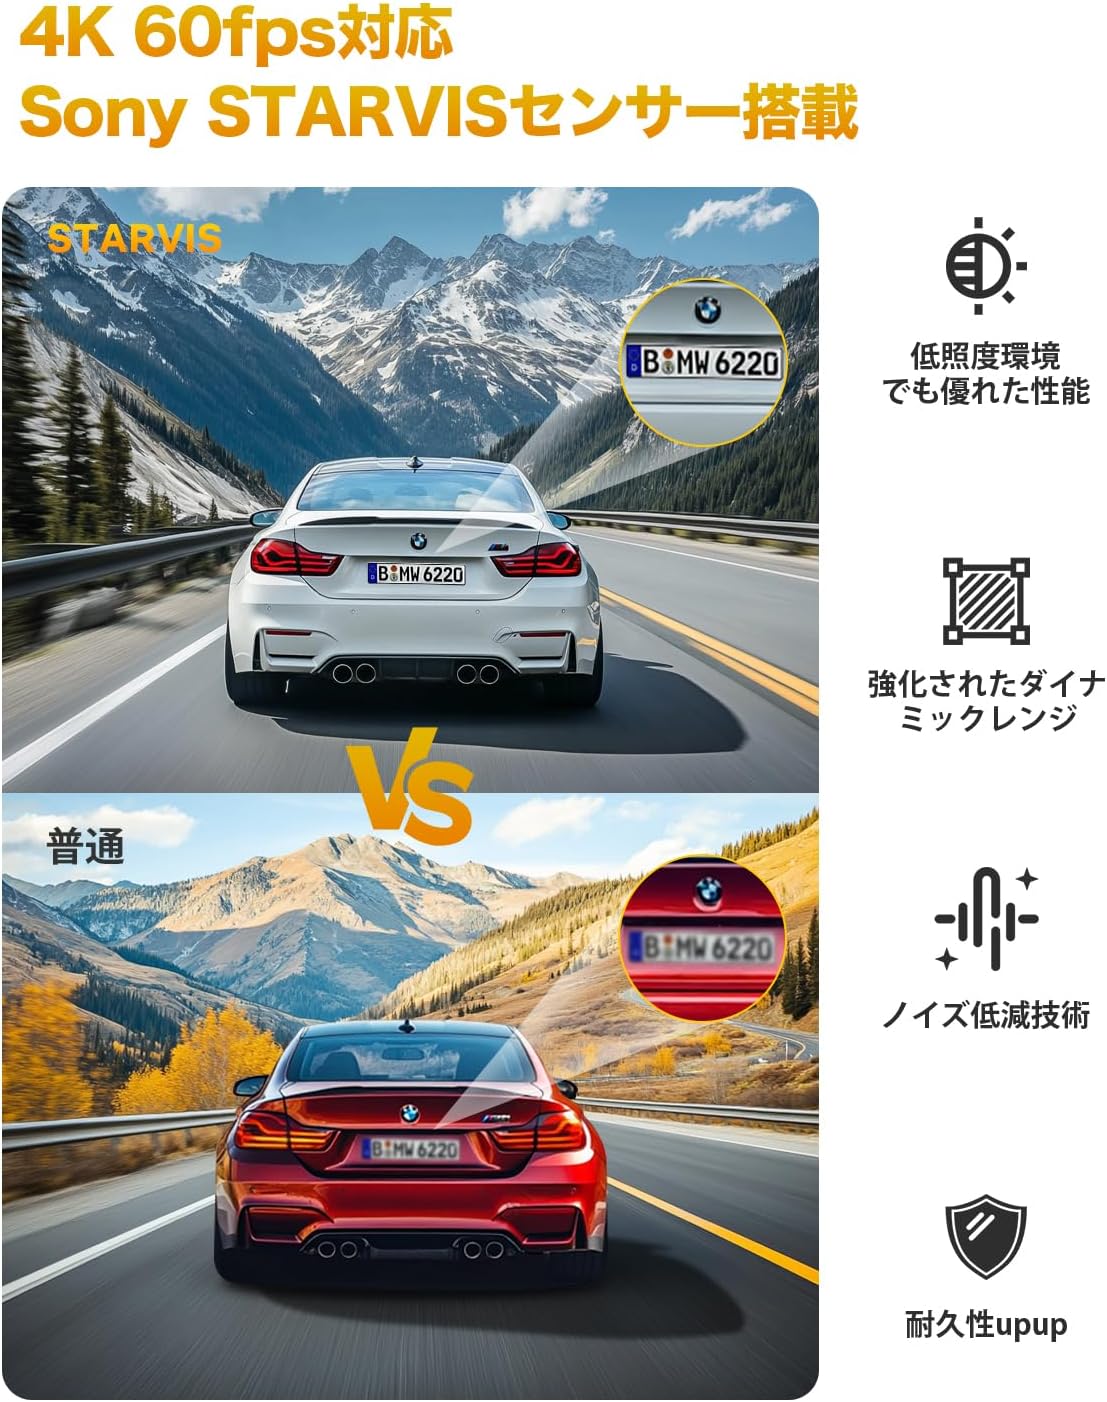
- Sony IMX335 Sensor & STARVIS Technology: Ensures clear and vivid images day and night, suppressing noise in low-light conditions.
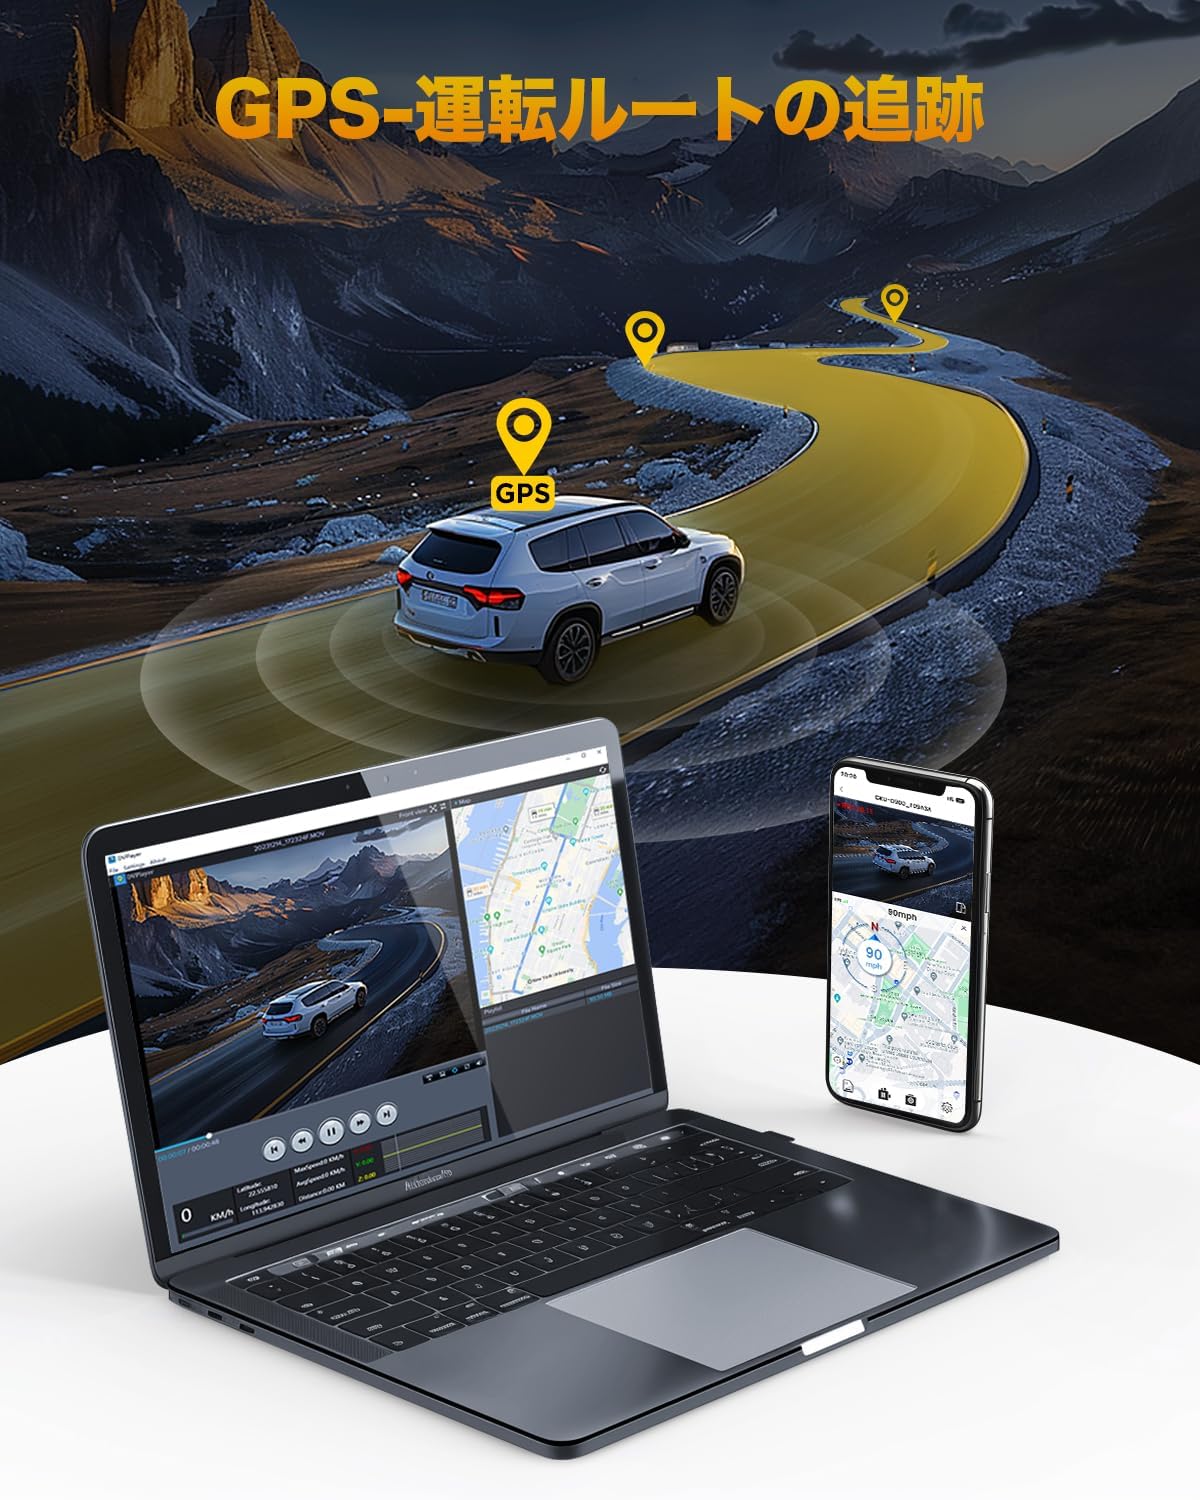
- 통합 GPS: Accurately records driving route, location, and speed data.
- 1.47인치 LCD 화면: 실시간 허용 viewing of recorded footage.
- 5GHz Wi-Fi & App Control: High-speed data transfer to smartphones for viewing, downloading, and sharing videos via the GKU GO app.
- HDR Function: Optimizes images in strong backlight or high contrast scenes, preventing overexposure and underexposure.
- 회전식 카메라: Front camera rotates 340°, rear camera rotates 360° for flexible angle adjustment.
- 슈퍼 커패시터: Provides stable power supply and enhanced durability in extreme temperatures (-20°C to 70°C).
- 루프 녹음: 기존 파일을 자동으로 덮어씁니다. files SD 카드가 가득 찼을 때.
- G-센서 긴급 녹화: 자동으로 foo를 잠급니다tage upon detecting impacts or sudden braking to prevent overwriting.
- 24시간 주차 모니터링: Utilizes G-sensor and time-lapse recording (requires dedicated ACC step-down cable, sold separately).
3. 설정
3.1. SD 카드 삽입
- 대시캠의 전원이 꺼져 있는지 확인하세요.
- Locate the SD card slot on the main unit.
- Insert the provided 64GB SD card (or a compatible U3 standard SD card up to 512GB) into the slot until it clicks into place.
- Upon first use, it is recommended to format the SD card through the dash cam's settings menu to ensure optimal performance.

4. 설치
4.1. Mounting the Front Camera
- 대시캠이 장착될 앞유리 부분을 청소하세요.
- Apply the electrostatic protection film to the chosen area on the windshield. This allows for easier removal later.
- Attach the 3M double-sided tape to the dash cam's mounting bracket.
- Press the bracket firmly onto the electrostatic film on the windshield.
- Attach the main unit to the bracket. The front camera can be rotated 340° to adjust the view잉 각도.
4.2. Mounting the Rear Camera
- 뒷유리 부분을 깨끗하게 닦으세요.
- Attach the rear camera using the provided 3M double-sided tape.
- Connect the rear camera cable to the main unit. The rear camera can be rotated 360° for optimal positioning.

4.3. 전원 연결 및 케이블 정리
- Connect the charging cable to the main unit and plug the other end into your car's cigarette lighter socket.
- Route the power cable and rear camera cable neatly along the edges of the windshield and interior trim using the provided wiring removal tool and clips.
- For 24-hour parking monitoring, a dedicated ACC step-down cable (sold separately) is required for direct wiring to the car's fuse box.

5. 사용 설명서
5.1. 전원 켜기/끄기
- 차량의 시동을 걸면 대시캠이 자동으로 켜지고 녹화를 시작합니다.
- 시동을 끄면 자동으로 전원이 꺼집니다.
5.2. 기본 녹음
Once powered on, the dash cam will automatically start recording. The 1.47-inch LCD screen will display the live view 카메라에서 나온 영상입니다.
5.3. 메뉴 탐색
Use the physical buttons on the dash cam to navigate through the menu options. Refer to the on-screen prompts for specific functions like formatting the SD card, adjusting recording settings, or changing display modes.
6. App and Connectivity
6.1. Connecting to the GKU GO App
- Download the "GKU GO" app from the Apple App Store or Google Play Store.
- Turn on the dash cam's Wi-Fi function (refer to the dash cam's menu).
- On your smartphone, go to Wi-Fi settings and connect to the dash cam's Wi-Fi network (SSID and password can be found on the dash cam screen or in the manual).
- Open the GKU GO app. You can now view 라이브 푸tag예, 녹화된 영상을 탐색하고 다운로드합니다 files를 클릭하고 휴대폰에서 직접 설정을 조정할 수 있습니다.
Note: For optimal connection, temporarily disable your phone's cellular data and Bluetooth when connecting to the dash cam's Wi-Fi.

6.2. High-Speed 5GHz Wi-Fi
The GKU D900JP supports 5GHz Wi-Fi, enabling faster data transfer speeds compared to standard 2.4GHz connections. This facilitates quick viewing and downloading of high-resolution video file스마트폰에 연결하세요.
7. 고급 기능
7.1. GPS 추적
The integrated GPS module accurately records your vehicle's driving route, location, and speed. This data can be view동영상과 함께 edtage using the dedicated GKU GO app or PC player, providing crucial evidence in case of an incident and enhancing your travel records.

7.2. HDR Night Vision
The High Dynamic Range (HDR) function optimizes video quality in challenging lighting conditions, such as strong backlight or low light. It captures details in both bright and dark areas simultaneously, reducing overexposure and underexposure to produce clear and balanced footage, especially during night driving.

7.3. 24시간 주차 감시
When connected to a dedicated ACC step-down cable (sold separately), the dash cam can monitor your vehicle for 24 hours. It supports G-sensor emergency recording and time-lapse recording modes to capture events while parked.
7.4. G-센서 비상 녹화
The built-in G-sensor detects sudden impacts or rapid acceleration/deceleration. When triggered, it automatically locks the current video segment, protecting it from being overwritten by loop recording. These locked videos are stored in a separate folder on the SD card.

7.5. 루프 레코딩
The dash cam continuously records video in short segments (e.g., 1, 2, or 3 minutes). When the SD card reaches its storage limit, the oldest unlocked file기존 파일은 새로운 녹음 파일로 자동으로 덮어쓰여집니다. 따라서 수동 개입 없이 지속적인 녹음이 가능합니다.

8. 유지관리
8.1. SD 카드 관리
- Regularly format the SD card (e.g., once a month) to prevent data corruption and ensure smooth recording.
- 중요한 비디오를 백업하세요 files to a computer or cloud storage before formatting.
- 녹화 오류가 발생하거나 성능 저하가 나타나는 경우 SD 카드를 교체하십시오.
8.2. 장치 청소
- Use a soft, dry cloth to clean the camera lenses and the device body.
- 장치를 손상시킬 수 있는 연마성 세척제나 용매의 사용을 피하세요.
9. 문제 해결
If you encounter any issues with your GKU D900JP Dash Cam, please refer to the following common solutions:
| 문제 | 가능한 원인 | 해결책 |
|---|---|---|
| 대시캠 전원이 켜지지 않습니다. | No power supply; faulty cable; car's power outlet issue. | Check power cable connection; test with another power source; ensure car's ignition is on. |
| 녹음이 중지되거나 정지됩니다. | SD card error; incompatible SD card; full SD card. | Format the SD card; use a U3 standard SD card; replace the SD card. |
| 비디오 품질이 좋지 않습니다. | 렌즈가 더럽습니다. 렌즈에 보호 필름이 여전히 붙어 있습니다. 설정이 잘못되었습니다. | Clean the lens; remove any protective film; check resolution settings in the menu. |
| Wi-Fi 연결 문제. | Incorrect password; interference; phone settings. | Verify Wi-Fi password; disable cellular data/Bluetooth on phone; restart dash cam and phone. |
| GPS가 작동하지 않습니다. | 위성 신호 불량; GPS 모듈 오류. | 명확한 보장 view of the sky; check GPS settings in the menu; contact support if issue persists. |
If the problem persists after attempting these solutions, please contact GKU customer support for assistance.
10. 사양
The following table outlines the technical specifications of the GKU D900JP Dash Cam:
| 특징 | 사양 |
|---|---|
| 화면 크기 | 1.47인치 |
| 호환 장치 | 스마트폰, PC |
| 색상 | D900JP |
| 브랜드 이름 | GKU |
| 제조업체 | GKU |
| 제품 모델 번호 | D900-JP |
| 기타 기능 | LED Signal Light Compatible, Sony IMX335 Sensor, STARVIS, Parking Monitor, Night Vision |
| 크기 | 작은 |
| 디스플레이 유형 | 액정표시장치 |
| 조립 방법 | 전면 유리 마운트 |
| 제품 치수 | 4.2 x 10.6 x 5.4 cm; 550g |
| 비디오 캡처 해상도 | 4K + 2.5K |
| 장착 유형 | 전면 유리 마운트 |
| 분야 View | 340도 |
| 제어 방법 | 앱 |
11. 보증 및 지원
11.1. 보증 정보
The GKU D900JP Dash Cam comes with a 12-month warranty from the date of purchase. This warranty covers manufacturing defects and ensures that the product meets its specified performance standards. Please retain your proof of purchase for warranty claims.
11.2. 고객 지원
GKU provides dedicated customer support. If you have any questions, require technical assistance, or need to make a warranty claim, please contact our support team. Our Japanese-speaking support center and specialized customer service team are available to assist you.
Contact information can be found on the GKU official website or through the contact details provided with your product packaging.


