
1. 중요한 안전 정보
설치를 시작하기 전에 모든 지침을 읽고 이해하십시오. 이 지침을 따르지 않을 경우 감전, 화재 또는 부상을 입을 수 있습니다.
- 설치나 유지관리를 하기 전에 회로 차단기의 전원이 꺼져 있는지 확인하세요.
- 모든 배선은 국가 및 지역 전기 규정을 준수해야 합니다.
- 천장 선풍기는 최소 35파운드(15.9kg)의 무게를 지탱할 수 있는 구조물에 설치해야 합니다.
- 날개나 하우징이 손상된 팬은 작동하지 마세요.
- 선풍기 작동 중에는 손, 옷, 기타 물체가 선풍기 날개에 닿지 않도록 하십시오.
- 이 팬은 실내에서만 사용하도록 설계되었습니다.
2. 패키지 내용
Verify that all components listed below are included in your package. If any parts are missing or damaged, contact LEDLUX customer support before proceeding with installation.
- 모터 하우징 어셈블리
- 선풍기 날개 (8개)
- Downrods (4.5", 12", 24" options)
- 장착 브래킷
- 원격 제어 및 수신기
- 하드웨어 팩(나사, 와셔, 와이어 너트)
- 사용 설명서
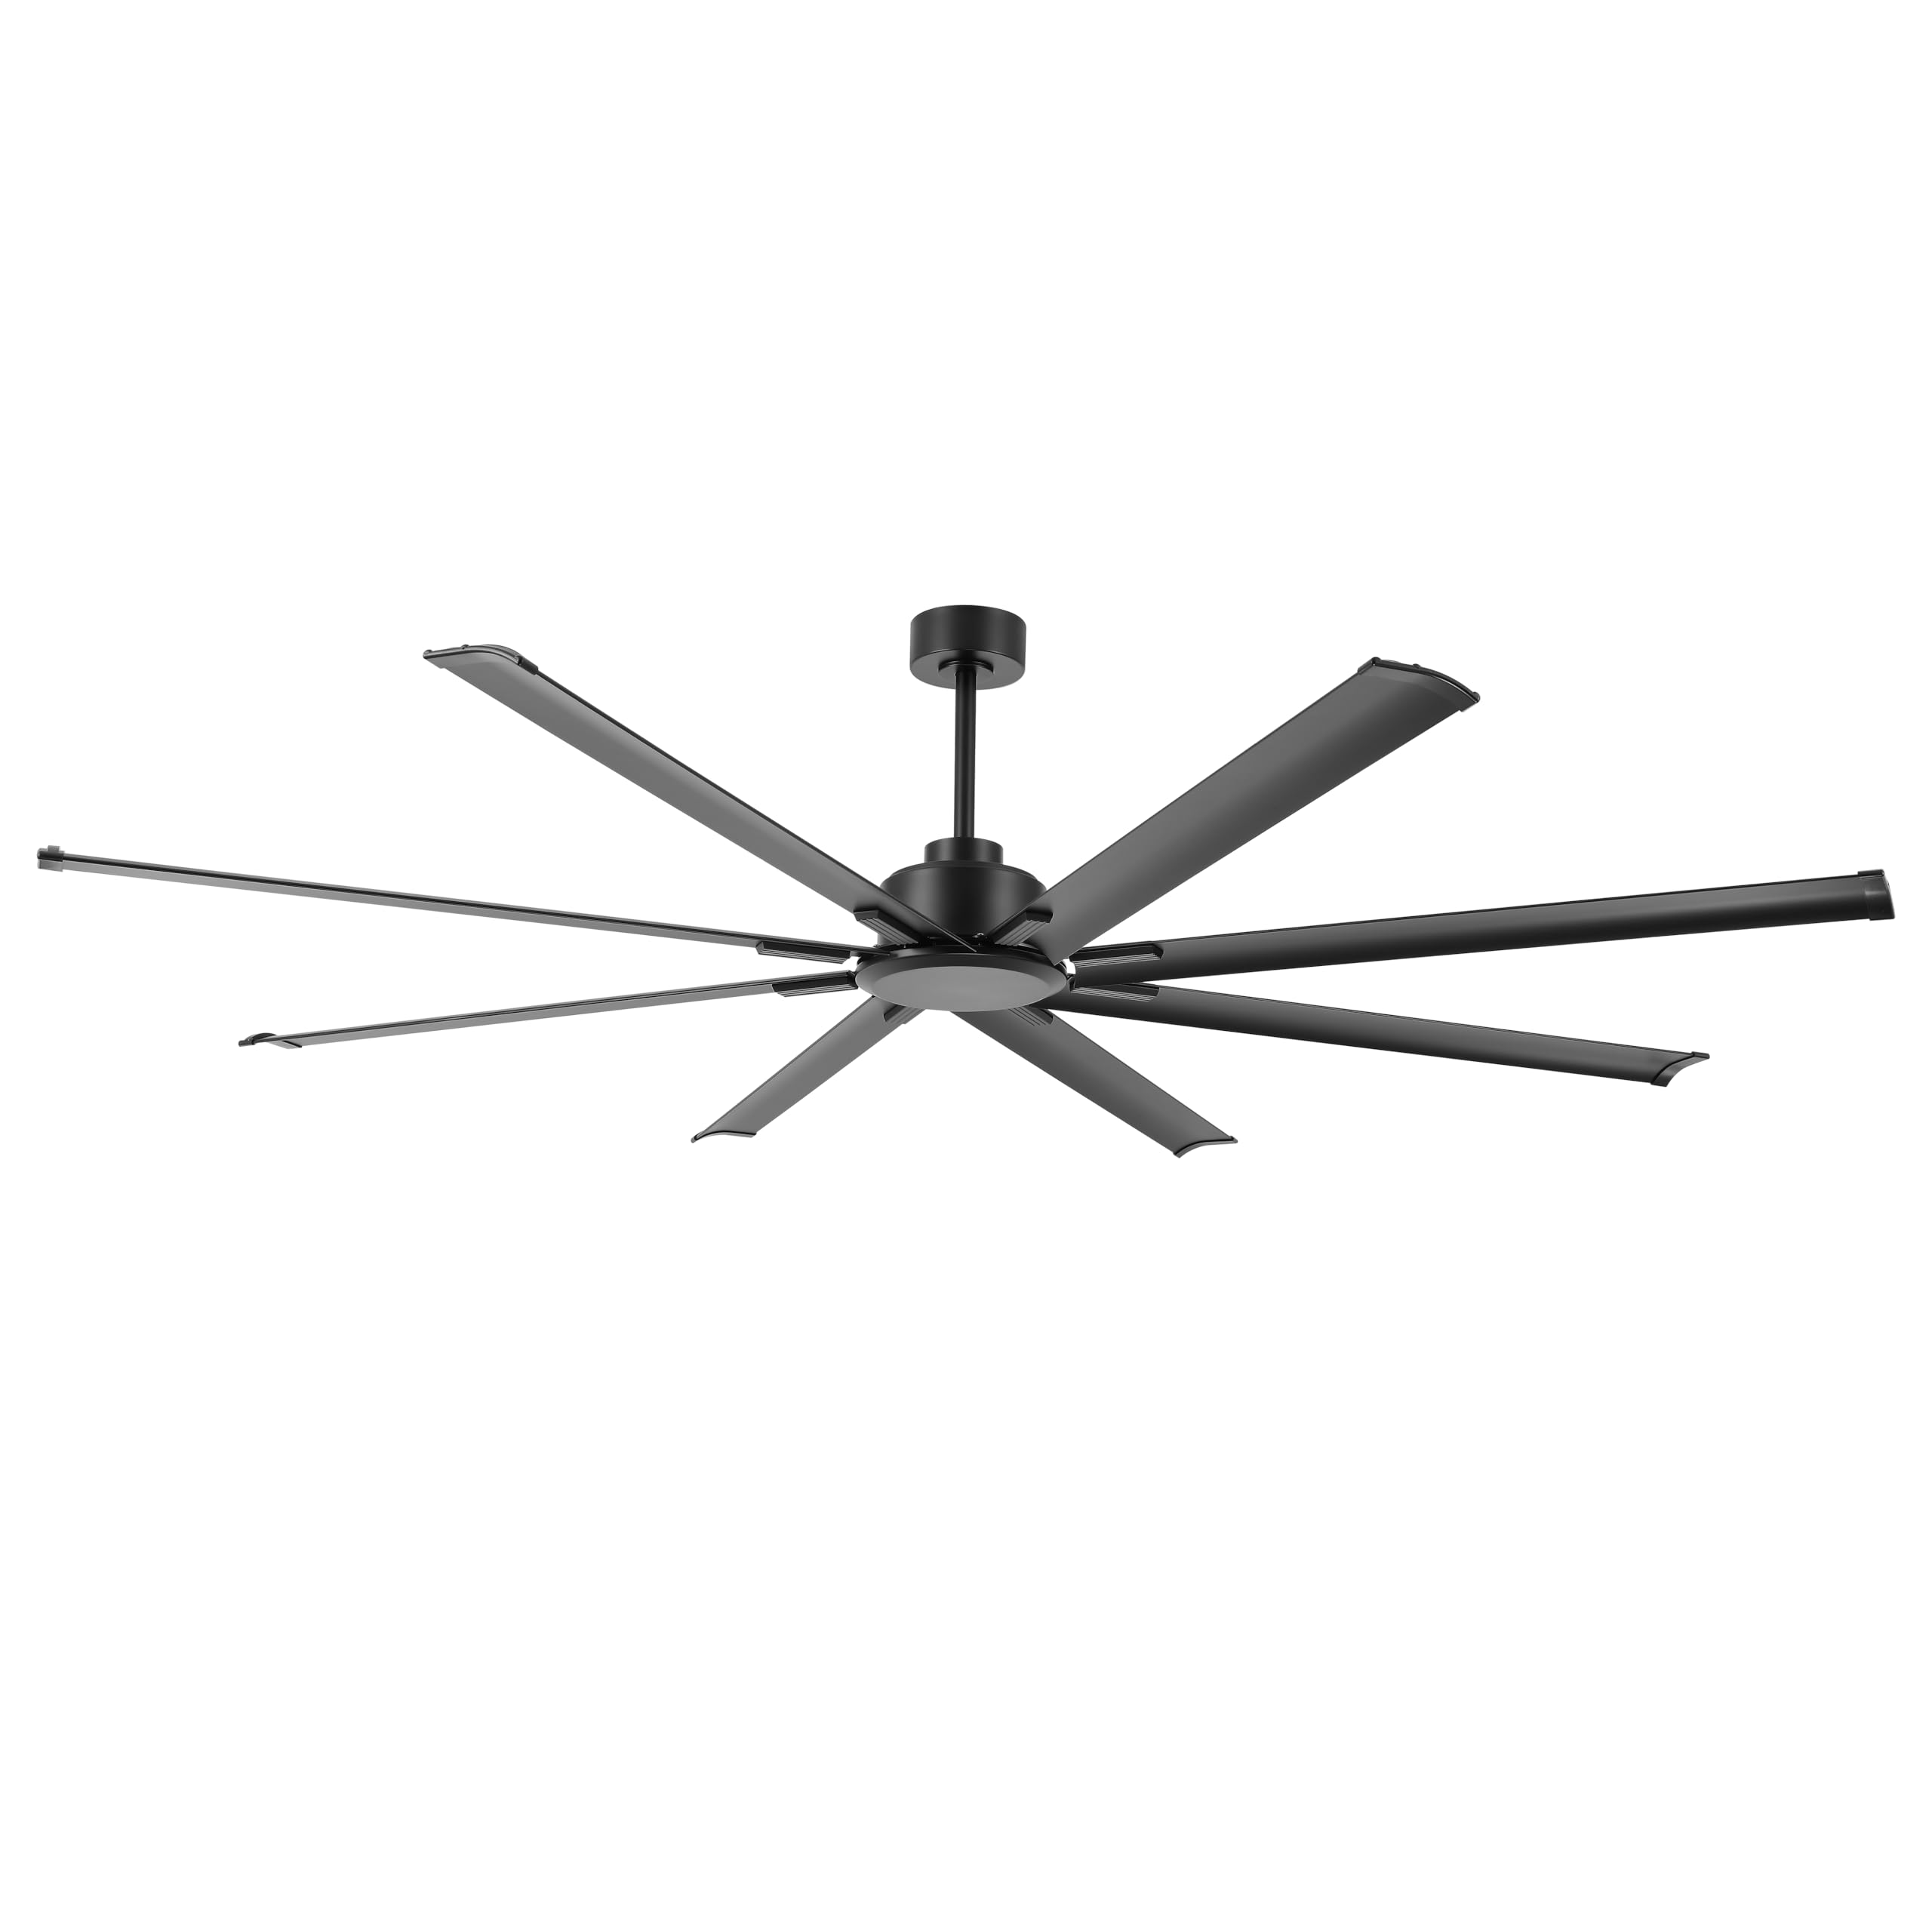
Image: The LEDLUX 96-inch ceiling fan, showcasing its eight black aluminum blades, central motor housing, and the included remote control. This image provides an overview of the main product components.
3. 설정 및 설치
Follow these steps carefully for proper installation of your LEDLUX ceiling fan.
3.1 설치 전 체크리스트
- 주 회로 차단기의 전원을 끕니다.
- 설치 장소가 팬의 무게를 견딜 수 있는지 확인하십시오.
- 필요한 도구(드라이버, 전선 피복 벗기는 도구, 사다리 등)를 준비하세요.
3.2 팬 장착
- Attach the mounting bracket to the ceiling junction box. Ensure it is securely fastened to a structural beam.
- Select the appropriate downrod (4.5", 12", or 24") for your ceiling height.
- 선택한 다운로드에 팬 전선을 통과시키세요.
- Secure the downrod to the motor housing.
- 팬 어셈블리를 조심스럽게 들어 올려 장착 브래킷에 걸어 놓습니다.

Image: A diagram illustrating the overall dimensions of the 96-inch ceiling fan, including its width and height with different downrod lengths (12.7", 20.3", 32.5"). It also shows how the fan can be mounted on both flat and sloped ceilings, along with the three included downrod sizes (4.5", 12", 24").

Image: This image displays the LEDLUX ceiling fan installed in three different room settings: a high ceiling, a low ceiling, and a slanted ceiling, demonstrating its versatility for various architectural styles.
3.3 배선 연결
- Connect the fan's wires to the household wiring according to the wiring diagram provided in the full manual. Use wire nuts to secure connections.
- Install the remote receiver into the mounting bracket canopy.
- Connect the receiver wires to the fan and household wires as instructed.
3.4 날 부착
- Attach each of the 8 fan blades to the motor housing using the provided screws and washers. Ensure all screws are tightened securely.
4. 사용 설명서
Your LEDLUX ceiling fan is controlled by the included remote control. Ensure batteries are installed correctly in the remote.
4.1 리모콘 기능

이미지: 자세한 view of the remote control for the LEDLUX ceiling fan, highlighting buttons for speed adjustment (1-6), fan on/off, forward/reverse function, natural wind mode, and timer settings (1H/2H/4H/8H).
- 켜기/끄기 버튼: 선풍기를 켜거나 끕니다.
- 속도 버튼(1-6): 팬 속도를 낮음(1)에서 높음(6)으로 조절합니다.
- 앞으로/뒤로 버튼: 블레이드 회전 방향을 변경합니다.
- Timer Buttons (1H/2H/4H/8H): 선택한 시간이 지나면 팬이 자동으로 꺼지도록 설정합니다.
- Natural Wind Button: Simulates a natural breeze by cycling through various speeds.
4.2 가역 기능 (여름/겨울 모드)
The fan features a reversible DC motor, allowing for year-round use to optimize air circulation.
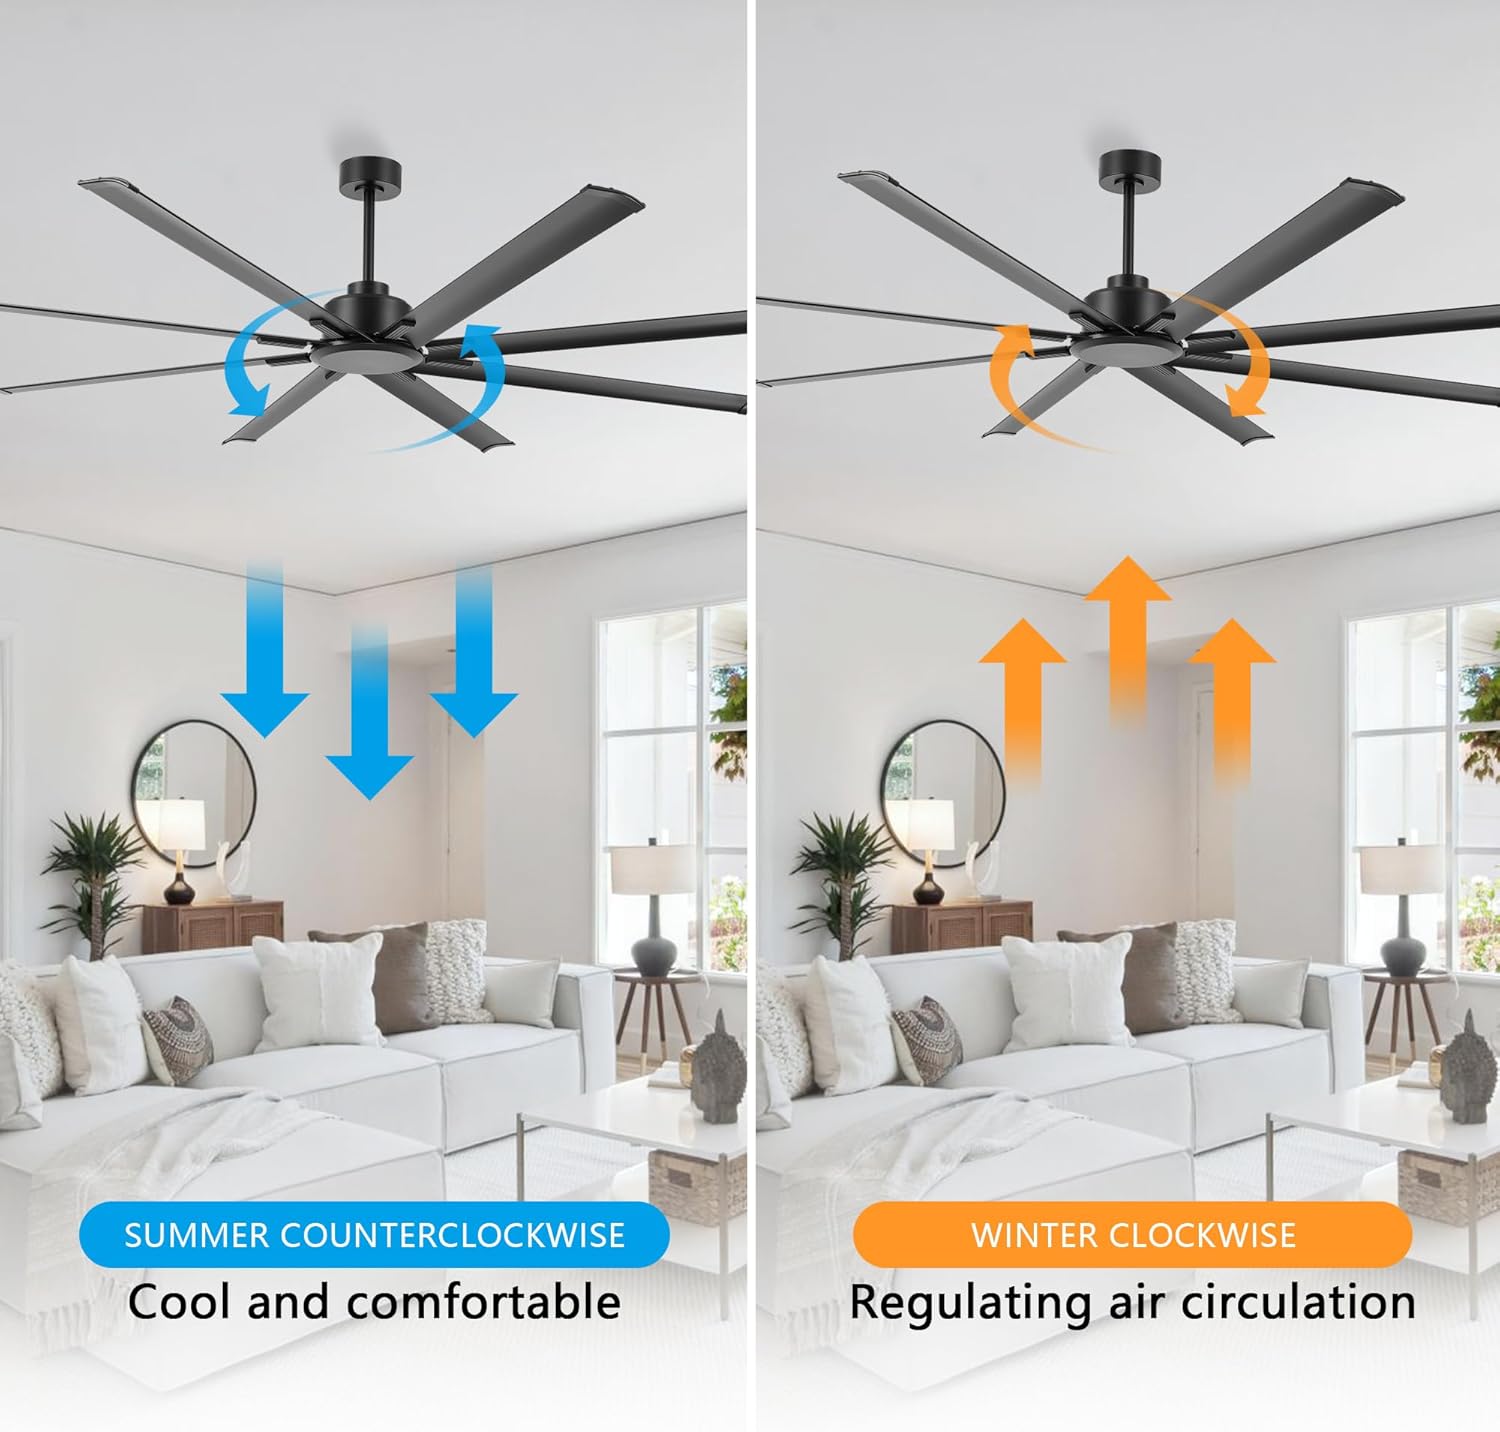
Image: This image illustrates the reversible function of the ceiling fan. On the left, blue arrows indicate counter-clockwise rotation for a cooling downdraft in summer. On the right, orange arrows show clockwise rotation for an updraft to circulate warm air in winter.
- 여름 모드(반시계 방향): Press the reverse button to make the blades rotate counter-clockwise, creating a downward airflow that produces a cooling effect.
- 겨울 모드(시계 방향): Press the reverse button again to make the blades rotate clockwise, creating an upward airflow that helps circulate warm air trapped near the ceiling.
4.3 타이머 기능
Use the timer buttons on the remote control to set the fan to operate for a specific duration before automatically turning off.

Image: This graphic highlights the silent operation of the fan, stating sound is less than 35dB, and illustrates the available timer settings: 1 hour, 2 hours, 4 hours, and 8 hours.
- Press the 1H, 2H, 4H, or 8H button to activate the timer. The fan will run for the selected time and then shut off.
- To cancel the timer, press the fan On/Off button or select a different timer setting.
5. 유지관리
정기적인 유지관리를 통해 천장선풍기의 최적의 성능과 수명을 보장할 수 있습니다.
- 청소: 팬 날개와 모터 하우징을 주기적으로 부드러운 천으로 닦아주세요.amp 천. 연마성 세척제나 용매를 사용하지 마십시오.
- 나사 조이기: 팬 날개와 장착 하드웨어의 모든 나사가 단단히 고정되어 있는지 매년 점검하십시오.
- 블레이드 밸런스: If the fan wobbles, ensure all blades are securely attached and consider using a blade balancing kit (not included) if necessary.
6. 문제 해결
팬에 문제가 발생하면 다음의 일반적인 문제와 해결 방법을 참조하세요.
| 문제 | 가능한 원인 | 해결책 |
|---|---|---|
| 팬이 시작되지 않음 | 팬에 전원이 들어오지 않습니다 | 차단기와 벽 스위치를 점검하십시오. 모든 배선 연결이 단단히 고정되어 있는지 확인하십시오. |
| 리모컨이 작동하지 않습니다 | Dead batteries or incorrect pairing | 리모컨 배터리를 교체하십시오. 리모컨 페어링 방법은 전체 설명서를 참조하십시오. |
| 팬이 너무 심하게 흔들린다 | Loose blades or unbalanced blades | Ensure all blade screws are tight. Check for bent blades. Use a blade balancing kit if needed. |
| 시끄러운 작동 | Loose screws or motor issues | Tighten all screws. If noise persists, contact customer support. |
7. 사양
| 특징 | 세부 사항 |
|---|---|
| 상표 | LED럭스 |
| 모델 번호 | SYCF9605 |
| 색상 | 검은색 |
| 장착 유형 | 천장 마운트 |
| 속도의 수 | 6 |
| 권tage | 12볼트(DC) |
| 실내/실외 사용 | 실내 |
| 제어 방법 | 원격 |
| 능률 | 고효율성 |
| 블레이드 수 | 8 |
| 블레이드 소재 | 알류미늄 |
8. 보증 및 지원
LEDLUX는 자사 제품의 품질을 보장합니다.

Image: A graphic detailing the LEDLUX "Worry-Free Promise," which includes a 3-Year Full Warranty on all parts and a 10-Year Motor Warranty.
- 모터 보증: The DC motor is covered by a 10-year free replacement warranty.
- 부품 보증: All other parts of the fan are covered by a full 3-year warranty.
For warranty claims, technical assistance, or missing parts, please contact LEDLUX customer support through the retailer where the product was purchased or visit the official LEDLUX web대지.