
1. 서론
This manual provides essential instructions for the safe and efficient operation of your EPEVER Tracer4210ANG3 MPPT Solar Charge Controller. This device is designed to manage power flow from your solar panels to your battery bank, ensuring optimal charging and extending battery life. Please read this manual thoroughly before installation and use.
2. 안전 정보
설치 및 작동 중에는 다음 안전 예방 조치를 준수하세요.
- Ensure all wiring is correctly polarized and securely connected to prevent damage to the controller or other components.
- 배터리를 먼저 연결하고, 그 다음 태양광 패널을 연결한 후, 마지막으로 부하를 연결하십시오. 분리할 때는 역순으로 하십시오.
- 컨트롤러를 직접 분해하거나 수리하려고 하지 마십시오. 자격을 갖춘 전문가에게 서비스를 의뢰하십시오.
- 컨트롤러는 통풍이 잘 되는 곳에 설치하고, 가연성 물질과 직사광선을 피하세요.
- Use appropriate circuit breakers or fuses for all connections to protect against overcurrent.
- 배터리를 다룰 때는 반드시 눈 보호 장비를 착용하세요.
3. 제품 오버view
The EPEVER Tracer4210ANG3 is an advanced Maximum Power Point Tracking (MPPT) solar charge controller designed for off-grid solar systems. It automatically identifies 12V or 24V system voltages and supports various battery types, including Lithium. Key features include high tracking and conversion efficiency, and comprehensive electronic protections.
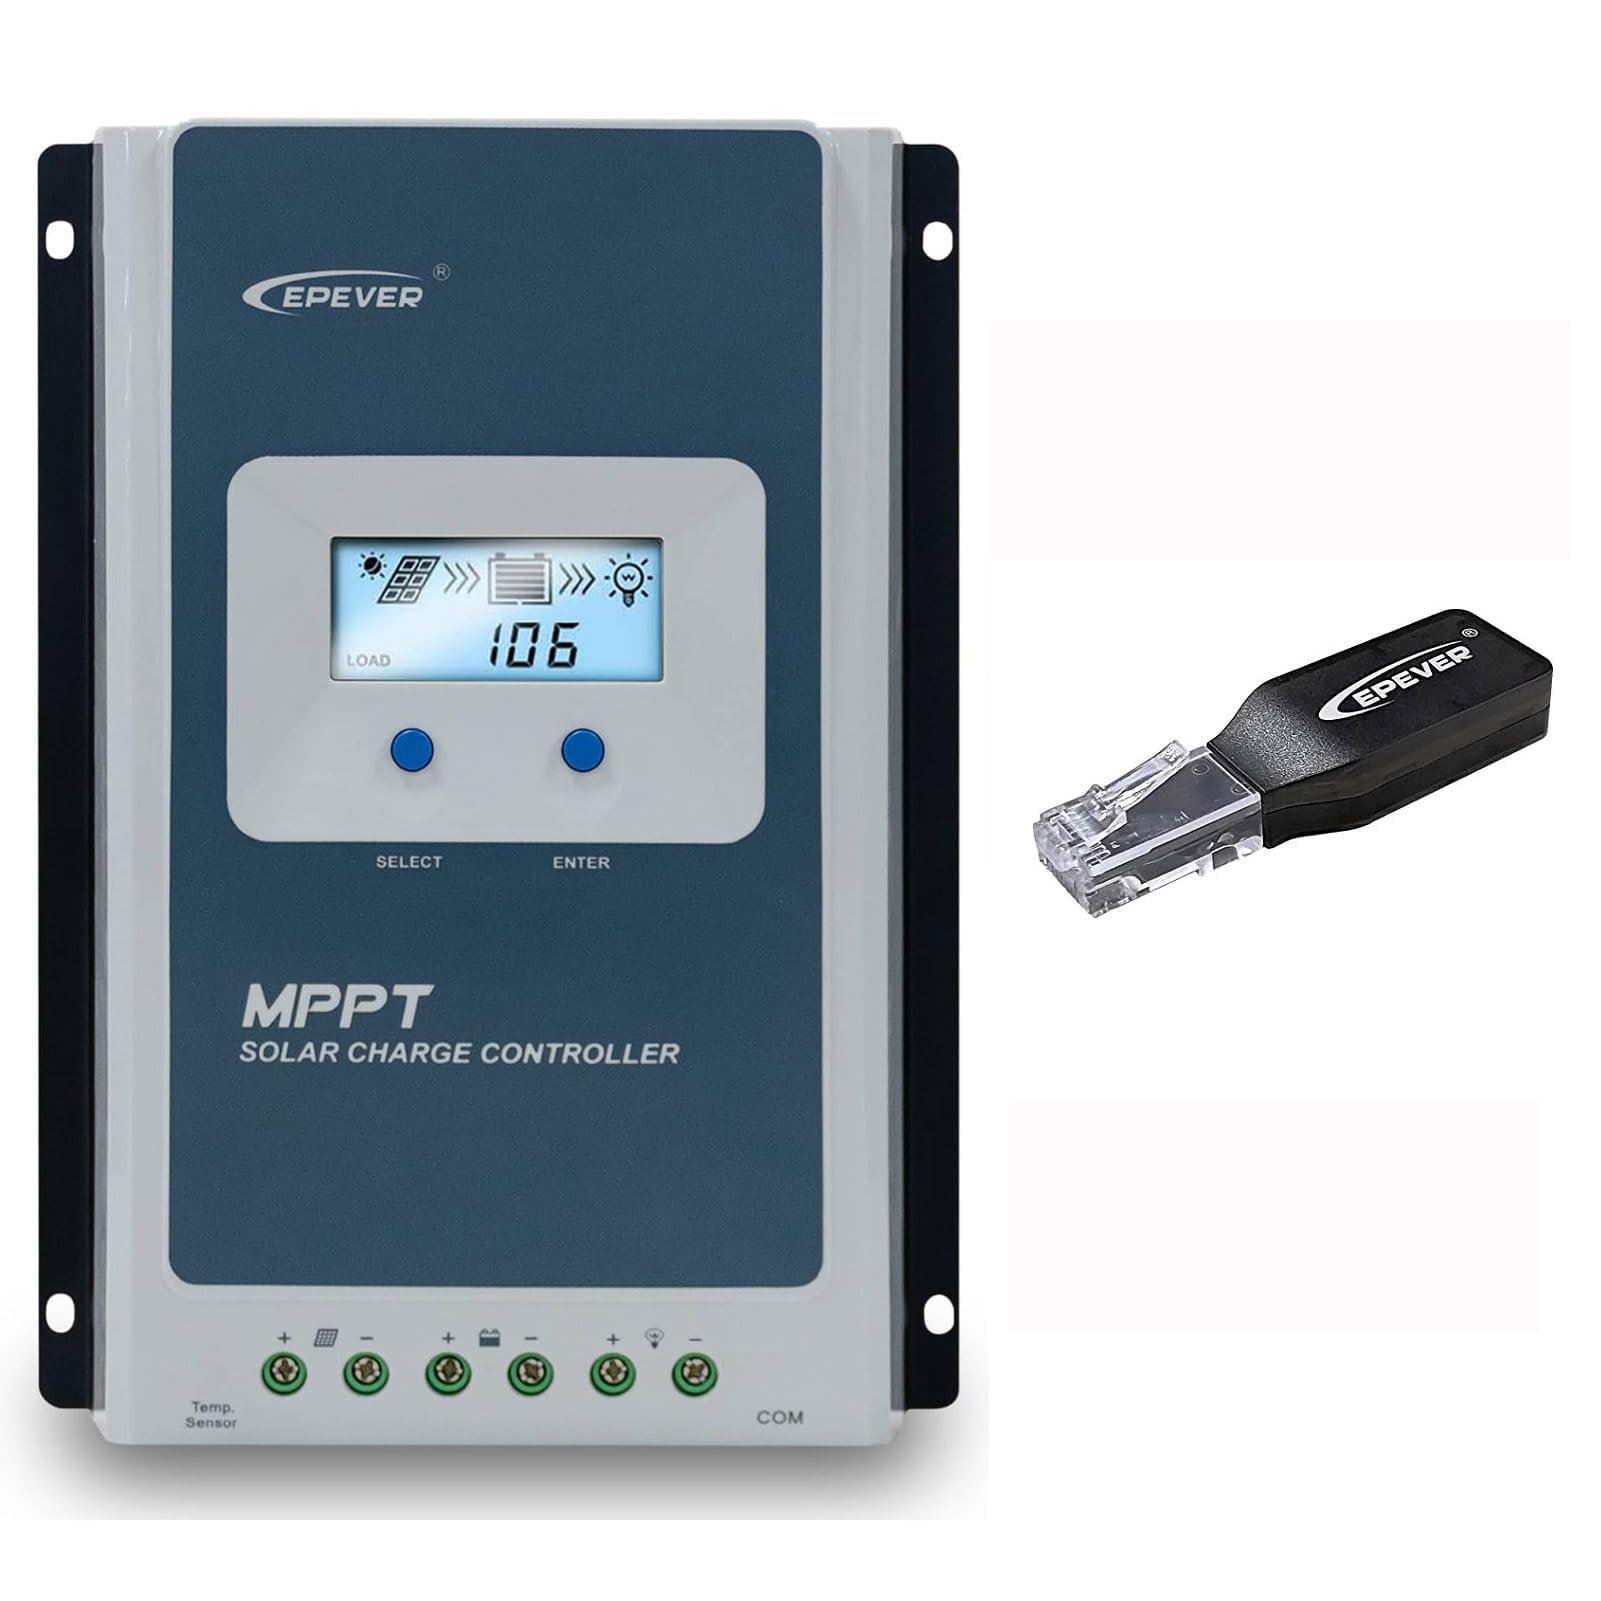
Figure 3.1: EPEVER Tracer4210ANG3 MPPT Solar Charge Controller with LCD display and connection terminals.
3.1 주요 특징
- 자동 12V/24V 시스템 볼륨tag식별.
- Advanced MPPT technology with tracking efficiency above 99.5% and conversion efficiency up to 98%.
- XNUMX초tage charging (Bulk, Boost, Float, Equalization) to optimize battery health and lifespan.
- Supports various battery types including Sealed, Gel, Flooded, and Lithium.
- Comprehensive electronic protection functions: PV over current, short-circuit, reverse polarity, night reverse charging, battery reverse, over voltage, over-discharging, overheating, Lithium battery low temperature, load short circuit/overload, device overheating, and TVS high voltag과도 현상 보호.
- Remote control and monitoring capabilities via BLE (Bluetooth Low Energy) module (included with this model).

Figure 3.2: The Tracer4210ANG3 controller is compatible with multiple battery types, including Lithium (LI), Sealed (SLD), Flooded (FLD), Gel, and AGM, automatically identifying 12V/24V battery voltage.

Figure 3.3: System diagram illustrating the high tracking efficiency (above 99.5%) and conversion efficiency (98%) of the MPPT solar charge controller within a typical solar power setup for a home.

Figure 3.4: The controller offers real-time monitoring via a mobile application using BLE (Bluetooth Low Energy) or an optional MT50 remote meter. Note: BLE module is included with this model, while MT50 or WiFi modules are sold separately.
4. 설정 및 설치
4.1 컨트롤러 장착
- Choose a dry, well-ventilated location, protected from direct sunlight, high temperatures, and moisture.
- 컨트롤러 주변에 열 방출을 위한 충분한 공간을 확보하십시오.
- Mount the controller vertically on a wall or suitable surface using appropriate fasteners.
4.2 배선 연결
중요한: Always connect in the following order: Battery → Solar Panel → Load. Disconnect in the reverse order.
- 배터리를 연결하십시오: Connect the positive and negative terminals of the battery to the corresponding battery terminals on the controller. Ensure correct polarity. The controller will automatically detect the system voltage (12V 또는 24V).
- 태양광 패널 연결: Connect the positive and negative terminals of the solar panel array to the corresponding PV terminals on the controller. Ensure correct polarity.
- 부하 연결: Connect the positive and negative terminals of the DC load to the corresponding load terminals on the controller.
After all connections are made, the controller's LCD display should illuminate, indicating proper power-up.
5. 사용 설명서
5.1 LCD 디스플레이 및 버튼
The controller features an LCD display for real-time system status and parameters, along with buttons for navigation and settings adjustment.
- 선택 버튼: Used to cycle through display screens and menu options.
- 입력 버튼: 선택 사항을 확인하거나 매개변수 편집 모드로 진입하는 데 사용됩니다.
Refer to the detailed user manual (available for download from the manufacturer's website) for a complete guide on LCD navigation and parameter settings.
5.2 배터리 유형 선택
It is crucial to select the correct battery type in the controller's settings to ensure proper charging algorithms and prevent battery damage. The Tracer4210ANG3 supports various battery types, including:
- 밀봉됨(SLD)
- 젤라틴
- 홍수(FLD)
- 리튬(LI)
- User-defined (for custom parameters)
Access the battery settings via the LCD menu and select the type that matches your connected battery bank. For Lithium batteries, ensure the correct voltage and charging parameters are set, especially if using user-defined settings.
5.3 Remote Monitoring (BLE)
This model includes a Bluetooth Low Energy (BLE) module, allowing you to monitor and configure the controller wirelessly via a smartphone application. Download the official EPEVER app from your device's app store, connect to the controller via Bluetooth, and follow the in-app instructions for monitoring system data and adjusting parameters.
6. 유지관리
정기적인 유지관리를 통해 태양광 충전 컨트롤러의 최적의 성능과 수명을 확보할 수 있습니다.
- 연결 확인: Periodically inspect all wiring connections for tightness and corrosion. Tighten any loose connections.
- 컨트롤러 청소: Keep the controller clean and free of dust and debris. Use a dry cloth for cleaning. Do not use liquids.
- 통풍: 적절한 열 방출을 위해 환기구가 막히지 않도록 하십시오.
- 배터리 검사: Regularly check your battery bank for signs of damage, corrosion, or electrolyte levels (for flooded batteries).
7. 문제 해결
If you encounter issues with your Tracer4210ANG3 controller, refer to the following common problems and solutions:
| 문제 | 가능한 원인 | 해결책 |
|---|---|---|
| 컨트롤러 디스플레이가 꺼져 있습니다. | No power from battery or solar panel; reversed battery polarity. | 배터리 연결 및 용량 확인tage. Ensure solar panels are receiving sunlight. Verify battery polarity. |
| 배터리가 충전되지 않습니다. | Solar panel not connected; low solar input; incorrect battery type setting; faulty wiring. | Check solar panel connections and ensure sufficient sunlight. Verify battery type setting. Inspect all wiring. |
| 로딩이 작동하지 않습니다. | 부하 연결 해제됨; 배터리 전압tage too low; load overcurrent protection activated. | Check load connections. Allow battery to charge. Reduce load or check for short circuits. |
| 과열 경고. | Poor ventilation; excessive ambient temperature; overloaded system. | Ensure adequate airflow around the controller. Reduce load if possible. Relocate to a cooler environment. |
For more complex issues, please contact EPEVER customer support.
8. 사양
| 매개변수 | 값 |
|---|---|
| 시스템 명목 볼륨tage | 12V / 24V Auto Identify |
| 정격 충전 전류 | 40A |
| 최대 PV 입력 Voltage | 100V |
| 최대 PV 입력 전력 | 520W (12V 시스템) / 1040W (24V 시스템) |
| MPPT 추적 효율성 | >99.5% |
| Charge Conversion Efficiency | 최대 98% |
| 지원되는 배터리 유형 | Sealed, Gel, Flooded, Lithium, User-defined |
| 충전 중 Stages | Bulk, Boost, Float, Equalization |
| 통신 포트 | RS485 (for BLE module, MT50, or PC connection) |
| 포함된 구성 요소 | MPPT Solar Controller, BLE Module |
9. 보증 및 지원
EPEVER products are designed for reliability and performance. For warranty information, please refer to the warranty card included with your product or visit the official EPEVER website. If you have any questions, require technical assistance, or need to report an issue, please contact EPEVER customer support directly. Contact details can typically be found on the manufacturer's web사이트 또는 제품 포장.
또한 방문할 수 있습니다 아마존에서 EPEVER 스토어를 만나보세요 추가 제품 정보 및 지원 리소스를 확인하세요.