소개
This manual provides detailed instructions for the installation, operation, and maintenance of your Nilight 4-Gang Rocker Switch 16AWG Wiring Harness Kit. Please read this document thoroughly before attempting installation or use to ensure proper function and safety.
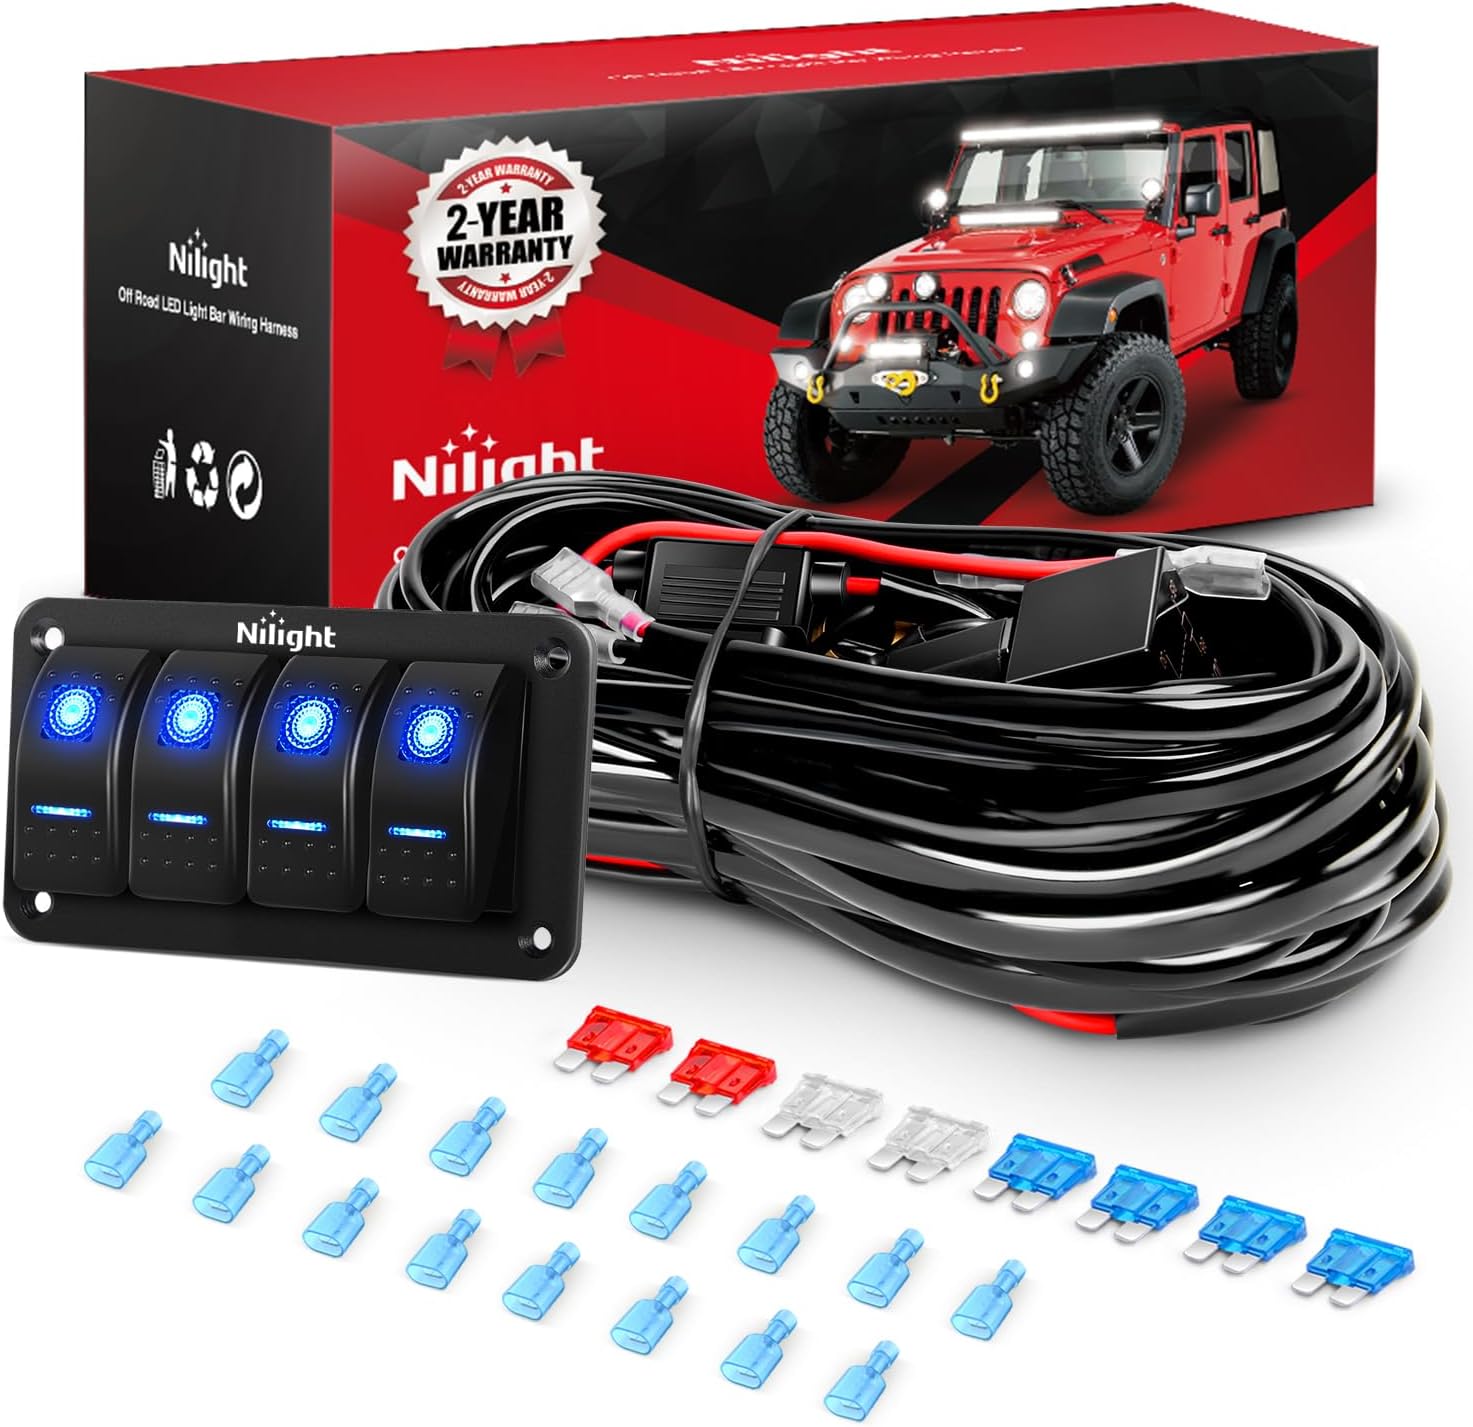
이미지: 이상view of the Nilight 4-Gang Rocker Switch 16AWG Wiring Harness Kit, showing the switch panel, wiring, relays, and connectors.
안전 정보
- 단락 및 감전을 방지하기 위해 전기 작업을 하기 전에 항상 차량의 배터리를 분리하십시오.
- Ensure all connections are secure and properly insulated to prevent arcing or shorting.
- 최대 와트를 초과하지 마십시오tage capacity of the harness (1110W total) or individual wire gauges.
- If your power supply is 24V, replace the original 12V relay with a compatible 24V relay.
- 설치 과정에 대해 확신이 서지 않는 부분이 있으면 전문가에게 문의하십시오.
패키지 내용
패키지에 모든 구성품이 들어 있는지 확인하세요.
- 1 x 4-Gang Wiring Harness Kit
- Blade Fuses (various amp(erages)
- 스페이드 커넥터

Image: Components of the 8-lead wiring harness kit, including the 4-gang switch panel, wiring, and various connectors.
명세서
| 상표 | 나이라이트 |
| 모델 | 10304와트 |
| 재료 | 아크릴로 니트릴 부타디엔 스티렌 |
| 와이어 게이지 | 16AWG, 14AWG, 12AWG |
| 최대 와트tage 용량 | 최대 1110W |
| 스위치 유형 | 4-Gang Rocker Switch, 5-Pin Toggle |
| 권tage | 12V (24V compatible with relay replacement) |
| Leads Available | 8 leads (2 per switch) |
| 보호 | Power Relay, Inline Blade Fuse |
설정 및 설치
Follow these steps for proper installation of the wiring harness kit:
- 레이아웃 계획: Determine the mounting location for the 4-gang rocker switch panel and the placement of your LED lights or other accessories. Consider wire routing to ensure sufficient length and protection from heat or moving parts.
- 배터리 분리: Before starting any wiring, disconnect the negative terminal of your vehicle's battery to prevent electrical hazards.
- Mount the Switch Panel: Install the 4-gang rocker switch panel in your desired location. Ensure it is securely fastened and accessible.
- 전원에 연결: Connect the main power input wires of the harness to your vehicle's 12V battery. The harness includes a power relay and inline blade fuse for protection. Ensure the positive (+) and negative (-) connections are correct.
- Connect Relays: The harness is pre-wired with relays. These relays manage the power distribution to your accessories, protecting the switches from high current loads.
- 액세서리 연결: Each switch on the panel controls two leads. Connect your LED lights or other 12V accessories to the corresponding leads. For example, you can connect up to 8 lights, with each switch controlling a pair of lights.
- 안전한 배선: Route all wiring safely, away from hot engine components, sharp edges, and moving parts. Use zip ties or cable clamp하네스를 고정하기 위해.
- 배터리를 다시 연결하십시오: Once all connections are made and secured, reconnect the negative terminal of your vehicle's battery.
- 테스트 기능: Turn on each switch to verify that your connected accessories function correctly.

Image: Detailed wiring diagram illustrating connections for the 4-gang rocker switch panel, relays, fuses, and multiple light bar outputs. Includes wire lengths for different sections.
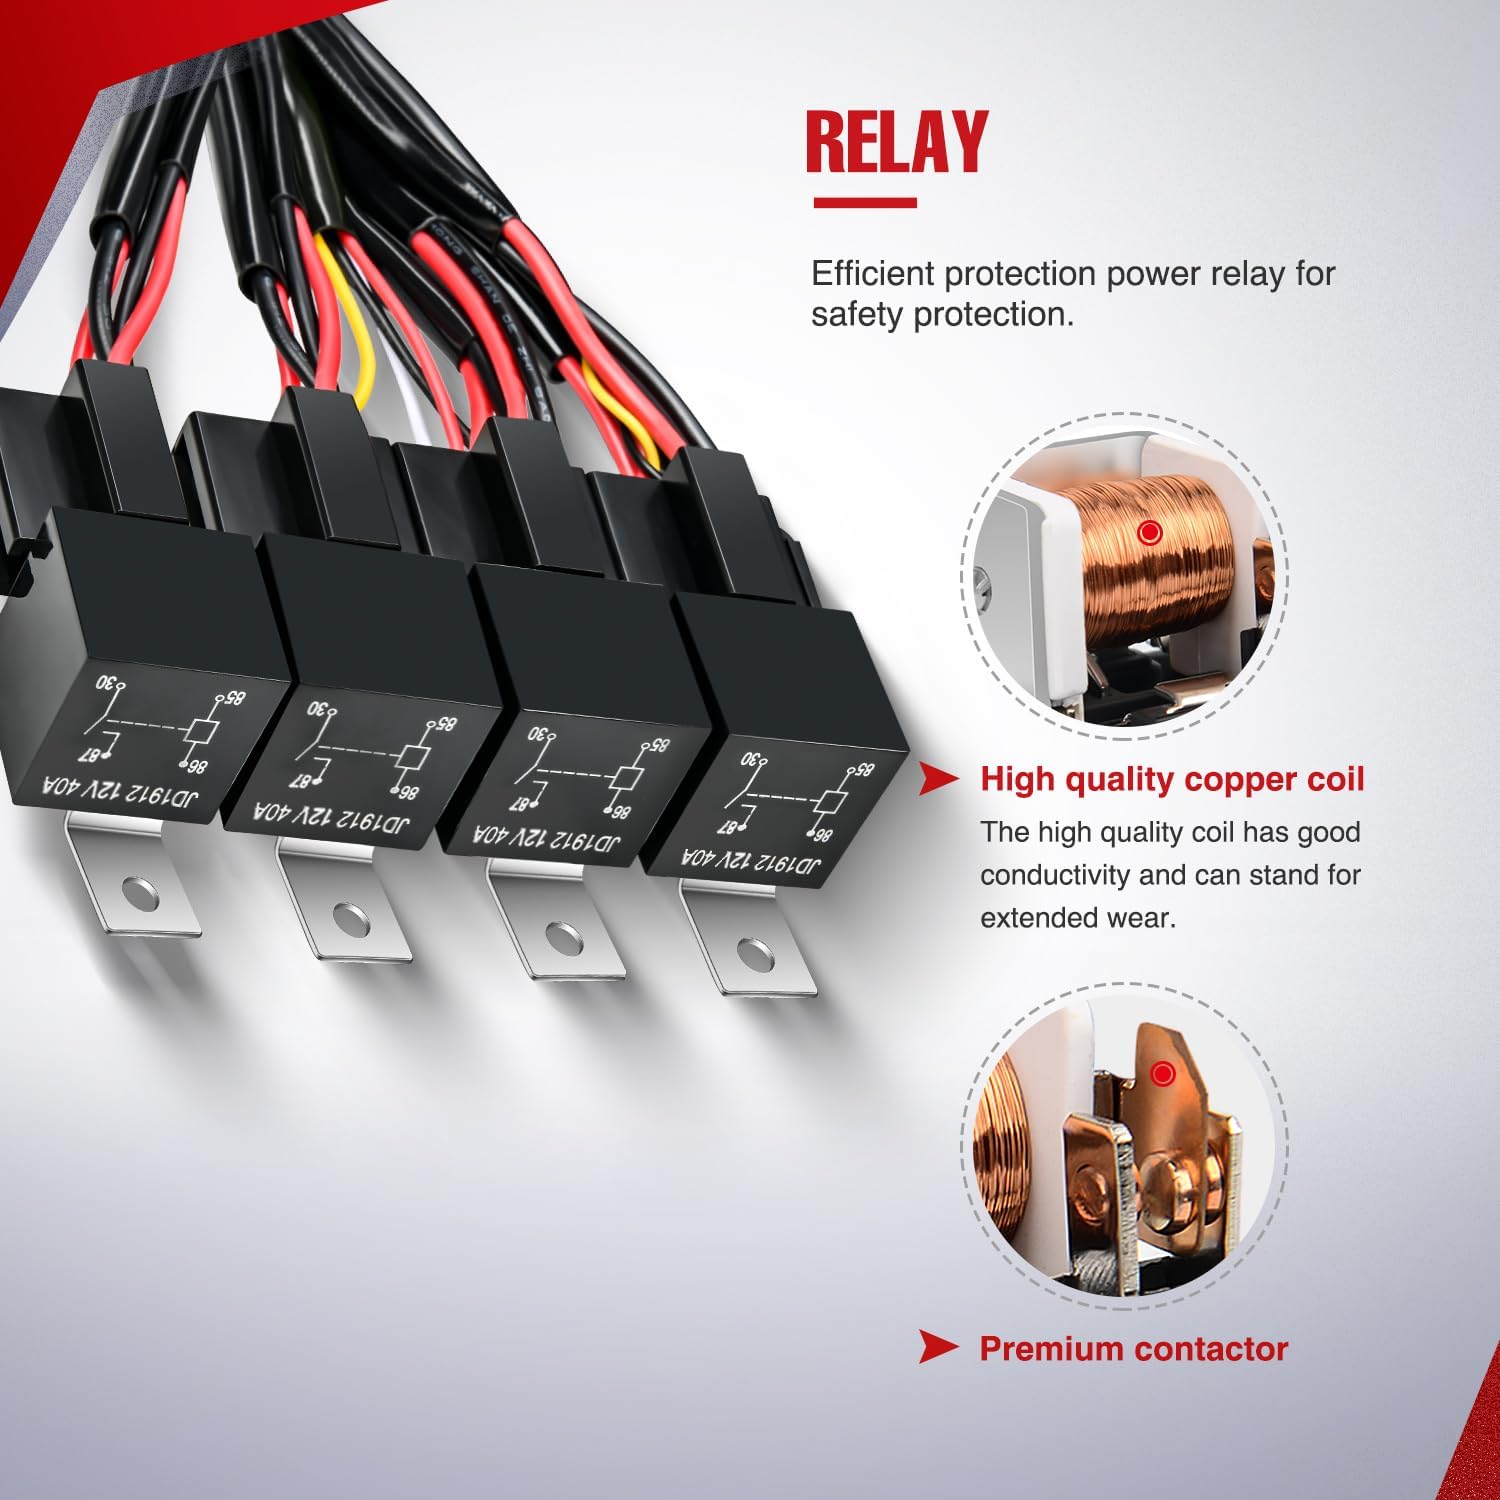
이미지: 클로즈업 view of the automotive relays included in the wiring harness, highlighting the high-quality copper coil and premium contactor for efficient protection.
작동 지침
The 4-gang rocker switch panel allows independent control of up to four separate circuits (eight leads).
- 스위치 작동: Each rocker switch has an ON/OFF position. Press the top part of the switch to turn it ON, and the bottom part to turn it OFF.
- LED 표시등: When a switch is in the ON position, a blue indicator light will illuminate, confirming the circuit is active.
- Customizing Switches: The kit includes DIY labels to customize the function of each switch. Apply the appropriate sticker to the switch face to easily identify its purpose.

Image: Illustration of the LED lighting effect on the rocker switch panel, showing both ON and OFF states with blue illumination when active.

Image: Display of the included DIY stickers for customizing the rocker switches, allowing users to label each switch according to its connected function.
유지
Regular maintenance ensures the longevity and safe operation of your wiring harness kit.
- 배선 검사: Periodically check all wiring for signs of wear, fraying, or damage. Ensure connections remain tight and secure.
- 퓨즈 교체: The harness is protected by inline blade fuses. If an accessory stops working, check the corresponding fuse. Replace blown fuses only with fuses of the same amperage rating. The kit includes spare fuses (15A, 25A, 40A).
- 깨끗한 구성 요소: Keep the switch panel and connectors clean and free from dirt or debris.

Image: Illustration of the safe fuse box with various blade fuses (15A, 25A, 40A) for overvoltage, 과부하 및 단락 보호.

Image: Diagram explaining the function of fuses in protecting against current overload by breaking the circuit when current exceeds a safe limit.
문제 해결
If you encounter issues with your wiring harness kit, consider the following:
- 액세서리에 전원이 공급되지 않습니다:
- Check if the main power connection to the battery is secure.
- Verify that the inline blade fuse is not blown. Replace if necessary.
- Ensure the switch is in the ON position and its indicator light is illuminated.
- Inspect the connections between the harness leads and the accessories.
- 스위치가 작동하지 않습니다:
- Ensure the switch is properly connected to the harness.
- Check for any visible damage to the switch or its terminals.
- Fuses Blowing Repeatedly:
- This indicates an overload or a short circuit. Disconnect accessories and test circuits individually.
- 총 와트를 보장tage of connected accessories does not exceed the harness's capacity or the individual wire gauge limits.
- Inspect wiring for any exposed wires touching metal or other wires.
보증 정보
Nilight products typically come with a manufacturer's warranty covering defects in materials and workmanship. Please refer to the product packaging or the official Nilight website for specific warranty terms and conditions, including duration and claim procedures. Keep your proof of purchase for warranty claims.
지원하다
For further assistance, technical support, or inquiries regarding your Nilight 4-Gang Rocker Switch 16AWG Wiring Harness Kit, please visit the official Nilight web해당 웹사이트를 방문하거나 고객 서비스 부서에 문의하십시오. 연락처 정보는 일반적으로 제품 포장이나 웹사이트에서 찾을 수 있습니다. web대지.