
ScopeAround SA200S
ScopeAround SA200S Digital Otoscope with 1.85-inch IPS Screen User Manual
Model: SA200S | Brand: ScopeAround
1. 서론
This manual provides detailed instructions for the safe and effective use of your ScopeAround SA200S Digital Otoscope. This device is designed for visual inspection of the ear canal and eardrum, featuring an integrated 1.85-inch IPS screen, a 720p HD camera, and adjustable LED lighting. It also supports photo and video capture for documentation.
기기를 작동하기 전에 이 설명서를 자세히 읽고 나중에 참조할 수 있도록 보관하세요.
2. 안전 정보
- 부상을 방지하기 위해 이비경을 귀의 통로에 너무 깊이 삽입하지 마십시오.
- Always use the provided specula to prevent direct contact with the ear canal.
- Clean the lens and accessories thoroughly before and after each use to prevent cross-contamination. Refer to the "Maintenance and Cleaning" section.
- 어린이의 손이 닿지 않는 곳에 보관하십시오. 어린이에게 사용할 경우 반드시 어른의 감독이 필요합니다.
- Do not use the device if you experience pain or discomfort. Consult a medical professional.
- 기기를 극한의 온도, 직사광선 또는 습기에 노출시키지 마세요.
- 기기를 직접 분해하거나 수리하려고 하지 마세요. 도움이 필요하면 고객 지원에 문의하세요.
- The built-in battery pack is non-removable.

Figure 2.1: Safe and Dangerous Ear Canal Insertion
3. 패키지 내용
패키지에 모든 품목이 들어 있는지 확인하세요.
- SA200S Digital Otoscope with Screen
- Ear Picks (x4)
- Specula (x5)
- 알코올 패드
- 큐팁
- 8GB 메모리 카드
- USB 케이블(C형)
- 사용자 설명서

그림 3.1: 패키지 내용물
4. 제품 오버view
The ScopeAround SA200S Digital Otoscope is an all-in-one device designed for convenient ear examination. It features a high-resolution camera and an integrated display for direct view주고받음.

Figure 4.1: ScopeAround SA200S Digital Otoscope
4.1 장치 구성 요소

Figure 4.2: Labeled Components of the Otoscope
- Navigation Buttons UP: Used to navigate menus or adjust settings.
- Navigation Buttons Down: Used to navigate menus or adjust settings.
- 메모리 카드 슬롯: For inserting the 8GB memory card (included).
- 사진/동영상 버튼: Press to capture photos or start/stop video recording.
- Power Button / LED Light Adjustment: 길게 누르면 전원이 켜지거나 꺼집니다. 짧게 누르면 LED 밝기를 순환하며 조절할 수 있습니다.
- 1.85인치 IPS LCD 화면: Integrated display for real-time view주고받음.
- 설정 버튼: 장치 설정에 액세스합니다.
- 확인 버튼: 메뉴에서 선택 사항을 확인하세요.
- Otoscope Camera: The camera probe for ear canal inspection.
- C 형 포트 : 충전 및 데이터 전송용입니다.
5. 설정
5.1 장치 충전
Before first use, fully charge the otoscope. Connect the provided USB Type-C cable to the device's Type-C port and a compatible USB power adapter (not included). The charging indicator will show the charging status. A full charge provides approximately 3 hours of working time.
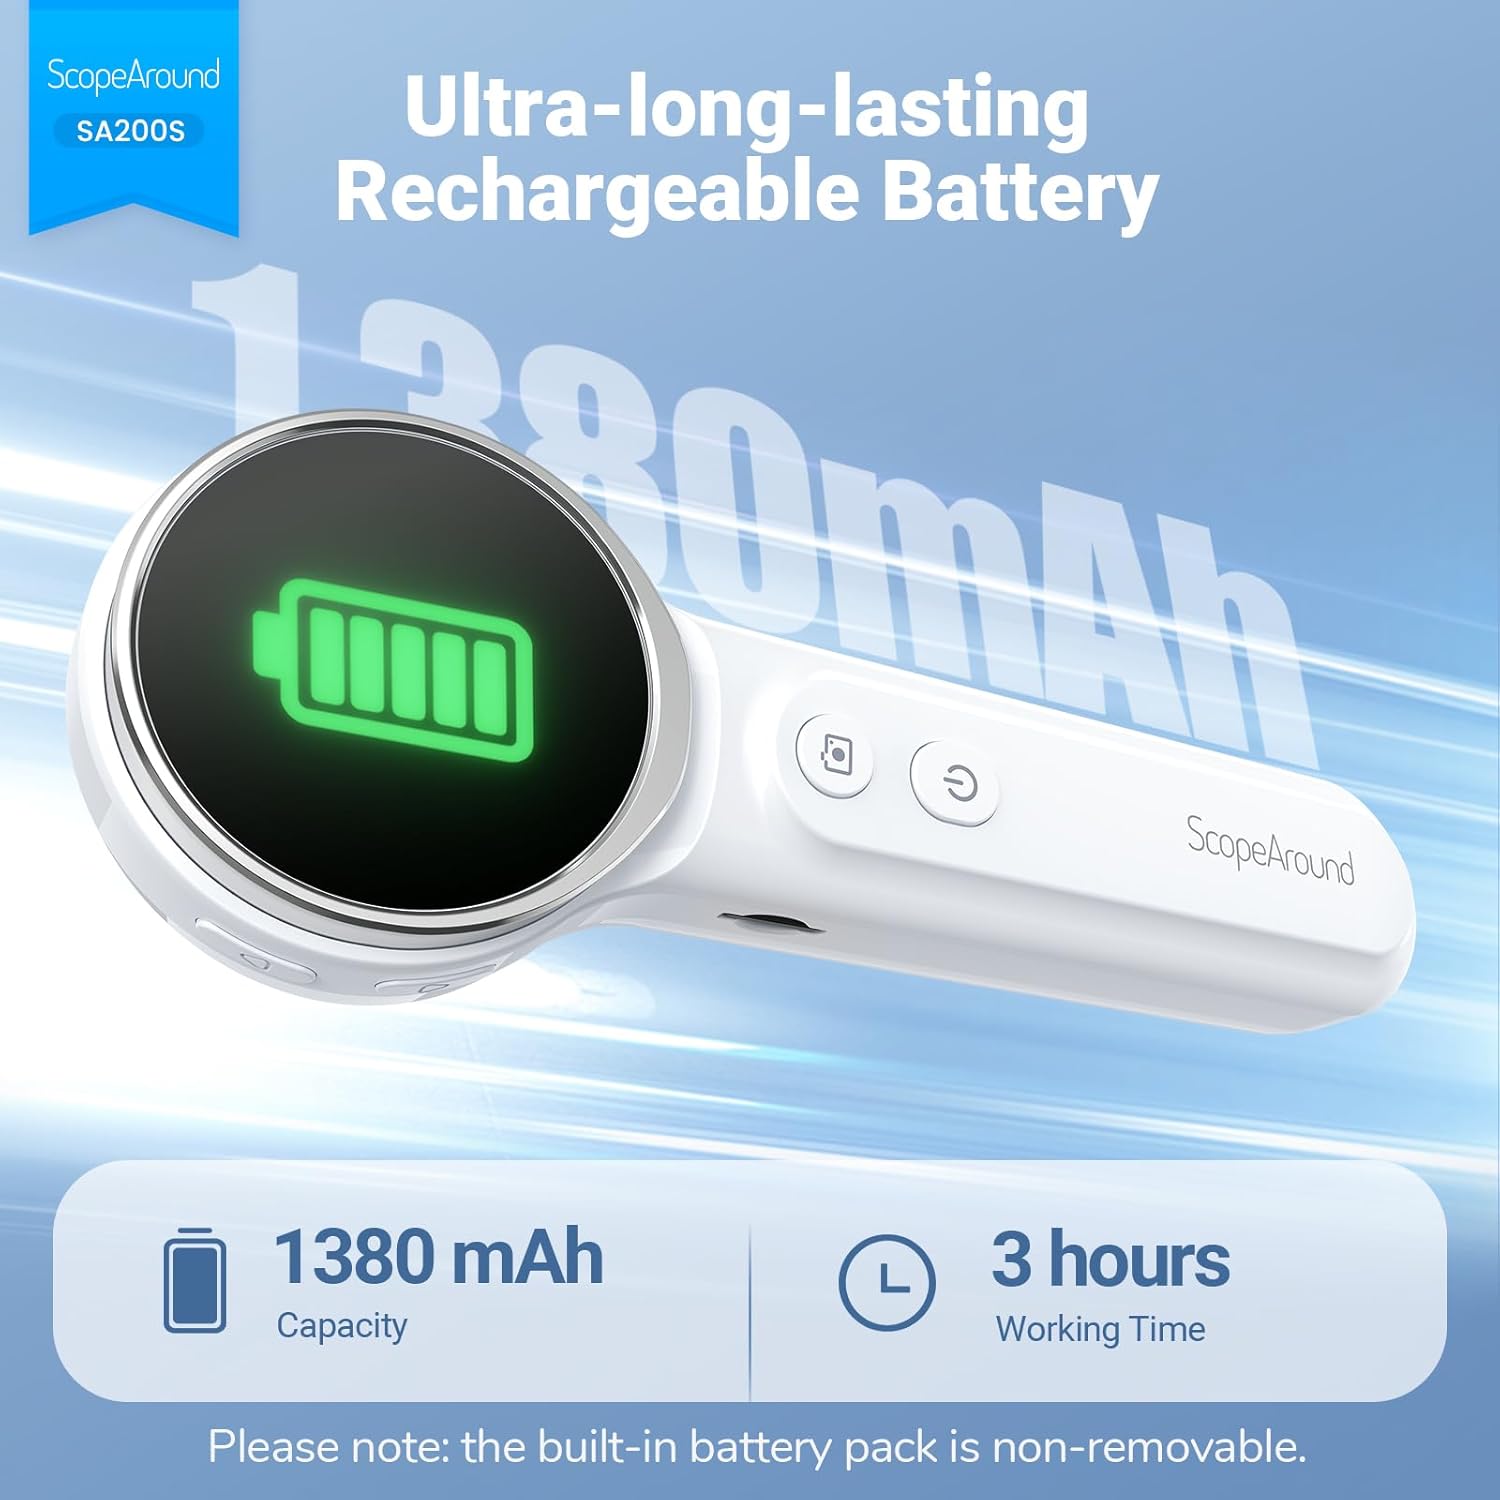
그림 5.1: 충전 및 배터리 수명
5.2 액세서리 부착하기
Select an appropriate speculum and ear pick. Gently attach the chosen speculum to the tip of the otoscope camera. If using an ear pick, ensure it is securely fitted over the camera tip, inside the speculum, before insertion into the ear.
5.3 전원 켜기/끄기
- 전원을 켜려면: 길게 누르세요 전원 버튼 (5) until the screen illuminates.
- 전원을 끄려면: 길게 누르세요 전원 버튼 (5) again until the screen turns off.
5.4 앱 연결 (선택 사항)
For additional features and a larger viewing experience, you can connect the otoscope to your smartphone or tablet via Wi-Fi.
- 앱 다운로드: Scan the QR code provided in the manual or on the device packaging, or search for "Smart Otoscope" in the Apple App Store or Google Play Store. You can also visit gto.so/smart-otoscope.
- Power On Otoscope: Long press the power button on the otoscope to turn it on.
- Wi-Fi 연결: On your smartphone or tablet, go to Wi-Fi settings and connect to the network named "Smart Otoscope_XXX". The default password is 55556666.
- 앱 실행: Open the "Smart Otoscope" app. The live view from the otoscope camera should appear.

Figure 5.2: Wi-Fi Connection Steps
Note: Once connected to the app, you can operate the device and view the feed on your phone.
6. 사용 설명서
6.1 Basic Ear Examination
- Ensure a clean speculum is attached to the otoscope camera.
- Gently pull the outer ear up and back to straighten the ear canal.
- Carefully insert the speculum tip into the ear canal while observing the integrated 1.85-inch IPS screen. Do not force the device.
- 선명한 사진을 얻으려면 각도와 깊이를 천천히 조절하세요. view 외이도와 고막.

Figure 6.1: Self-Examination with Integrated Screen
6.2 Adjusting LED Lights and Brightness
The otoscope features 6 adjustable LED lights with 3 brightness settings for optimal visibility.
- 짧게 누르세요 전원 버튼 (5) to cycle through the 3 brightness levels.

Figure 6.2: Camera Specifications and Brightness Settings
6.3 Magnification Levels
The device supports 3 levels of magnification (1.0x, 1.3x, 1.5x) for detailed viewing. Use the Navigation Buttons UP/DOWN (1, 2) to adjust magnification.

Figure 6.3: Adjustable Magnification and Image Rotation
6.4 사진 및 비디오 캡처
The otoscope allows you to capture images and record videos directly to the included 8GB memory card.
- To take a photo: Press the 사진/동영상 버튼 (4) 한 번.
- To record a video: Long press the 사진/동영상 버튼 (4) to start recording. Long press again to stop recording.
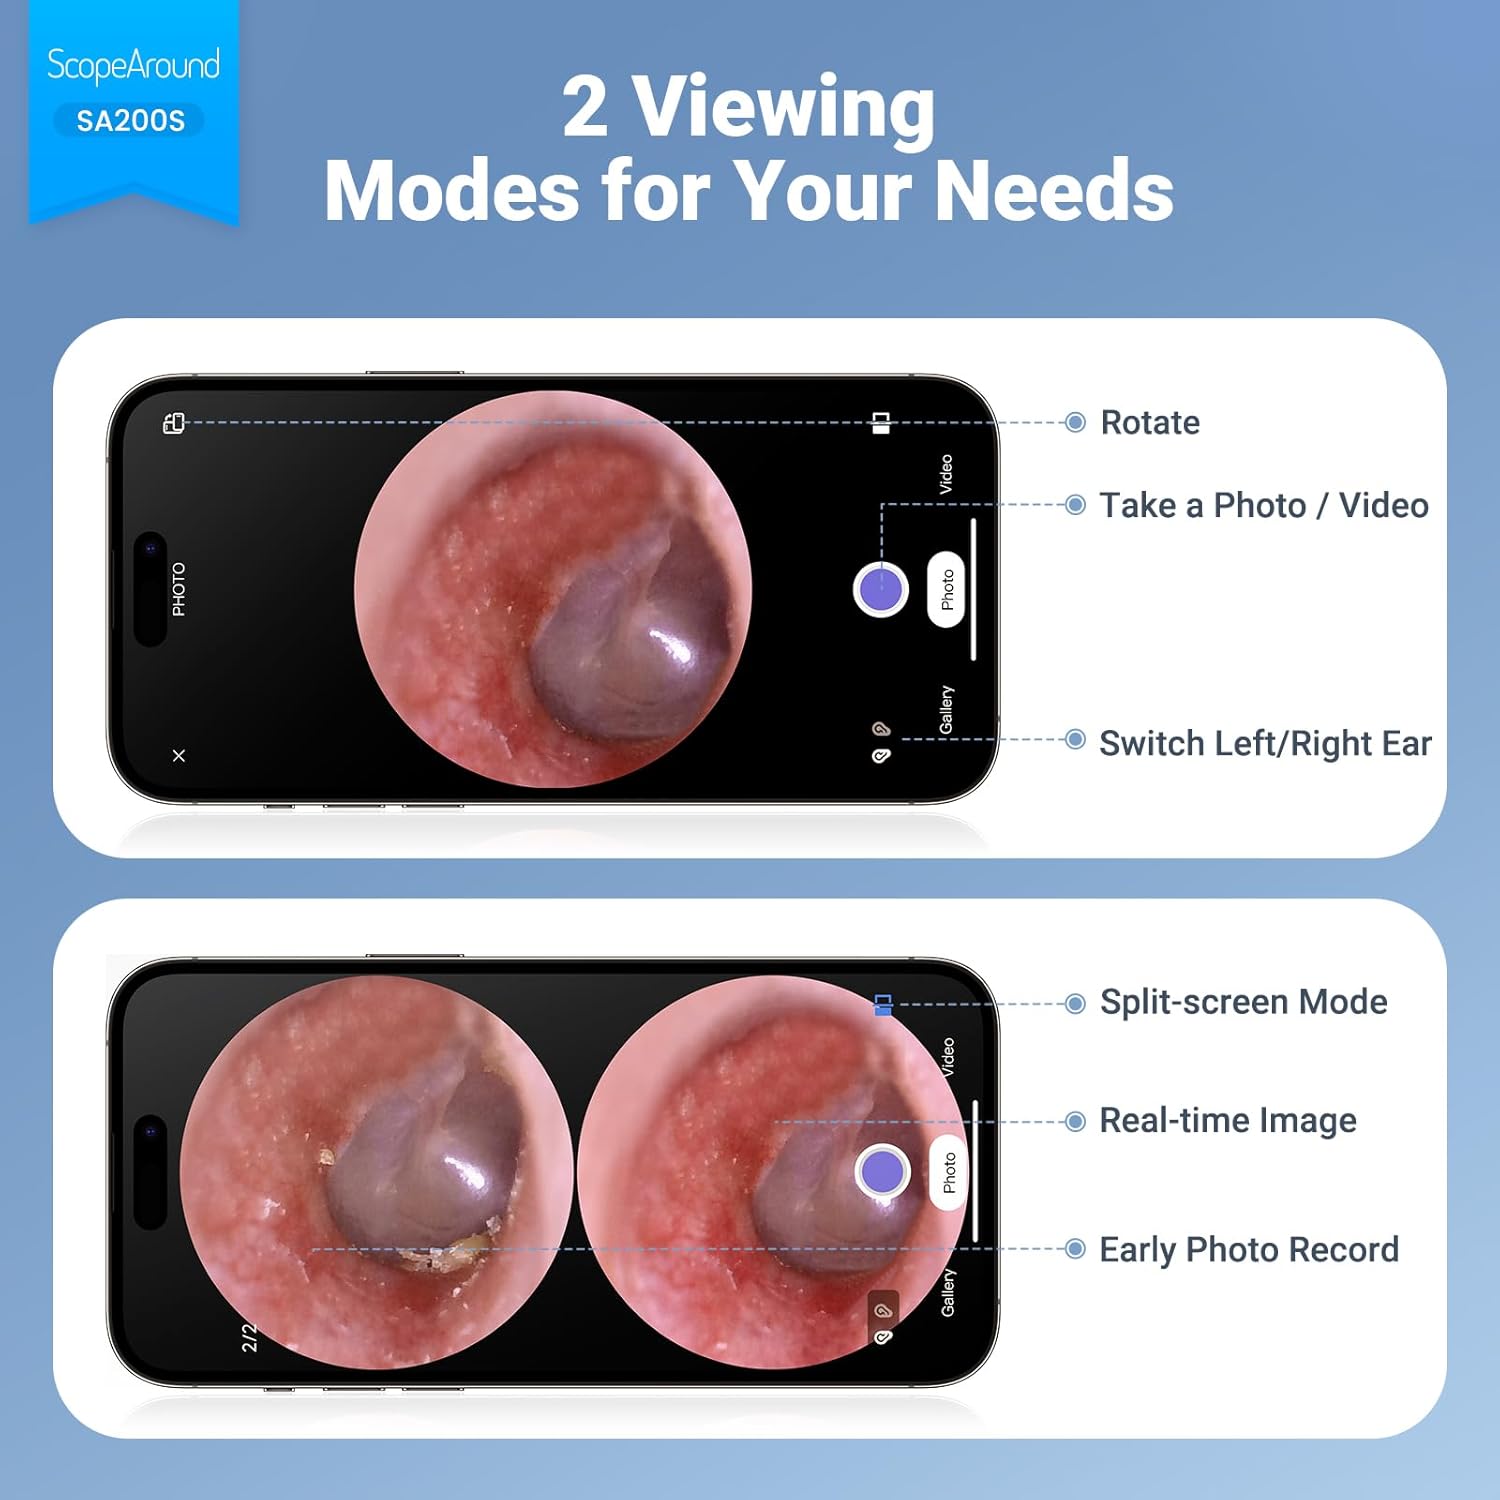
Figure 6.4: Photo and Video Capture Interface (App View)
6.5 전송 Files
To transfer captured photos and videos to a computer:
- Connect the otoscope to your computer using the provided USB Type-C cable.
- The device should appear as a removable storage device. You can then access the files on the 8GB memory card.
- Alternatively, remove the 8GB memory card from the slot (3) and insert it into a compatible card reader connected to your computer.

그림 6.5: File Transfer for Sharing Insights
7. 유지관리 및 청소
Proper maintenance ensures the longevity and hygiene of your otoscope.
- 렌즈 청소: Use the provided Q-tips and alcohol pads to gently clean the camera lens before and after each use. Ensure no residue remains.
- 청소용 액세서리: Wash the reusable ear picks and specula with soap and water, then sterilize them with alcohol pads. Allow them to dry completely before storage or reuse.
- 장치 본체: Wipe the main body of the otoscope with a soft, dry cloth. Do not immerse the device in water.
- 저장: 기기를 서늘하고 건조한 곳에 보관하고, 직사광선과 극한의 온도를 피하세요.

Figure 7.1: Cleaning the Otoscope Lens
8. 문제 해결
| 문제 | 가능한 원인 | 해결책 |
|---|---|---|
| 장치의 전원이 켜지지 않습니다. | 배터리가 부족합니다. | 제공된 USB 케이블을 사용하여 기기를 완전히 충전하세요. |
| 화면에 이미지가 나오지 않습니다. | Device not powered on; Camera lens obstructed. | Ensure device is powered on. Check and clean the camera lens. |
| 이미지가 흐릿하거나 불분명합니다. | Dirty lens; Incorrect focal distance; Magnification setting. | Clean the camera lens. Adjust the distance from the ear canal. Adjust magnification using navigation buttons. |
| Wi-Fi에 연결할 수 없습니다. | Incorrect Wi-Fi password; Device not in pairing mode; App issue. | Ensure the otoscope is powered on. Verify the Wi-Fi password (55556666). Restart the otoscope and your phone/tablet. Reinstall the app if necessary. |
| 사진/동영상을 저장할 수 없습니다. | Memory card full or faulty; Memory card not inserted. | Check if the 8GB memory card is correctly inserted. Ensure there is sufficient space. Try formatting the card (if data is backed up) or using a different card. |
9. 사양
| 특징 | 세부 사항 |
|---|---|
| 모델명 | SA200S |
| 화면 크기 | 1.85인치 IPS LCD |
| 카메라 해상도 | 720p HD |
| 렌즈 직경 | 3.9mm Ultra-thin Lens |
| 광원 | 6 LED Lights (3 brightness settings) |
| 초점거리 | 0.39~1.18인치 |
| 실제 각도 View | 78도 |
| 확대 | Up to 1.5x (1.0x, 1.3x, 1.5x) |
| 배터리 용량 | 1380mAh 리튬 폴리머 |
| 근무시간 | 약 3시간 |
| 연결성 | 와이파이 (앱 연결용) |
| 저장 | 8GB Memory Card (included) |
| 충전 포트 | C타입 |
| 호환 장치 | Android/iPhone smartphones and tablets (Not compatible with Macbook & Windows PC) |
| 품목 무게 | 12 온스 |
| 치수 | 7.52 x 4.61 x 2.68인치(패키지) |
| 재료 | 플라스틱 |
| 색상 | 하얀색 |
10. 보증 및 지원
ScopeAround is committed to providing high-quality products and customer satisfaction. For any questions, technical support, or warranty inquiries, please contact our US-based after-sales support team.
Contact information can typically be found on the product packaging, the official ScopeAround web사이트나 구매 플랫폼을 통해서도 구매할 수 있습니다.
관련 문서 - SA200S
 |
ScopeAround WiFi Otoscope Camera User Manual User manual for the ScopeAround WiFi Otoscope Camera, detailing its features, operation, safety precautions, and maintenance. Compatible with iPhone, iPad, and Android devices. |
 |
ScopeAround SA200 스마트 이비경 사용 설명서 ScopeAround SA200 스마트 이비경 사용 설명서에는 기능, 사양, 작동, 연결성, 데이터 전송, 문제 해결 및 안전 정보가 자세히 설명되어 있습니다. |
 |
ScopeAround SA39W Wireless Otoscope Quick Start Guide A quick start guide for the ScopeAround SA39W Wireless Otoscope, detailing app download, device connection for Android and iOS, ear examination procedures, and after-use care. Includes troubleshooting tips and cautions. |
 |
ScopeAround SA39A 디지털 검이경 사용자 매뉴얼 ScopeAround SA39A 휴대용 비디오 검이경 카메라 사용 설명서입니다. 본 설명서에는 제품 설명, 안전 경고, 작동 절차, 기술 사양, 유지 관리 및 폐기 정보가 포함되어 있습니다. |
 |
ScopeAround SA39W Smart Endoscope Quick Operation Guide Quick operation guide and troubleshooting steps for the ScopeAround SA39W Smart Endoscope. Learn how to set up, connect, and use your device. |
 |
ScopeAround SA39E 디지털 검이경 사용자 매뉴얼 User manual for the ScopeAround SA39E digital otoscope, detailing product description, operation procedures, safety warnings, technical specifications, and FCC compliance. |
Ask a question about this manual
Ask about setup, troubleshooting, compatibility, parts, safety, or missing instructions. Manuals+ will review the question and use this page’s manual context to help answer it.