
Gemmac XLN-297WB
Gemmac Portable Emergency Radio
Model: XLN-297WB
Brand: Gemmac
1. 서론
This manual provides comprehensive instructions for the safe and efficient operation of your Gemmac Portable Emergency Radio (Model XLN-297WB). This multi-functional device is designed for emergency preparedness and outdoor activities, offering radio reception, multiple charging options, illumination, and an SOS alarm. Please read this manual thoroughly before use and retain it for future reference.
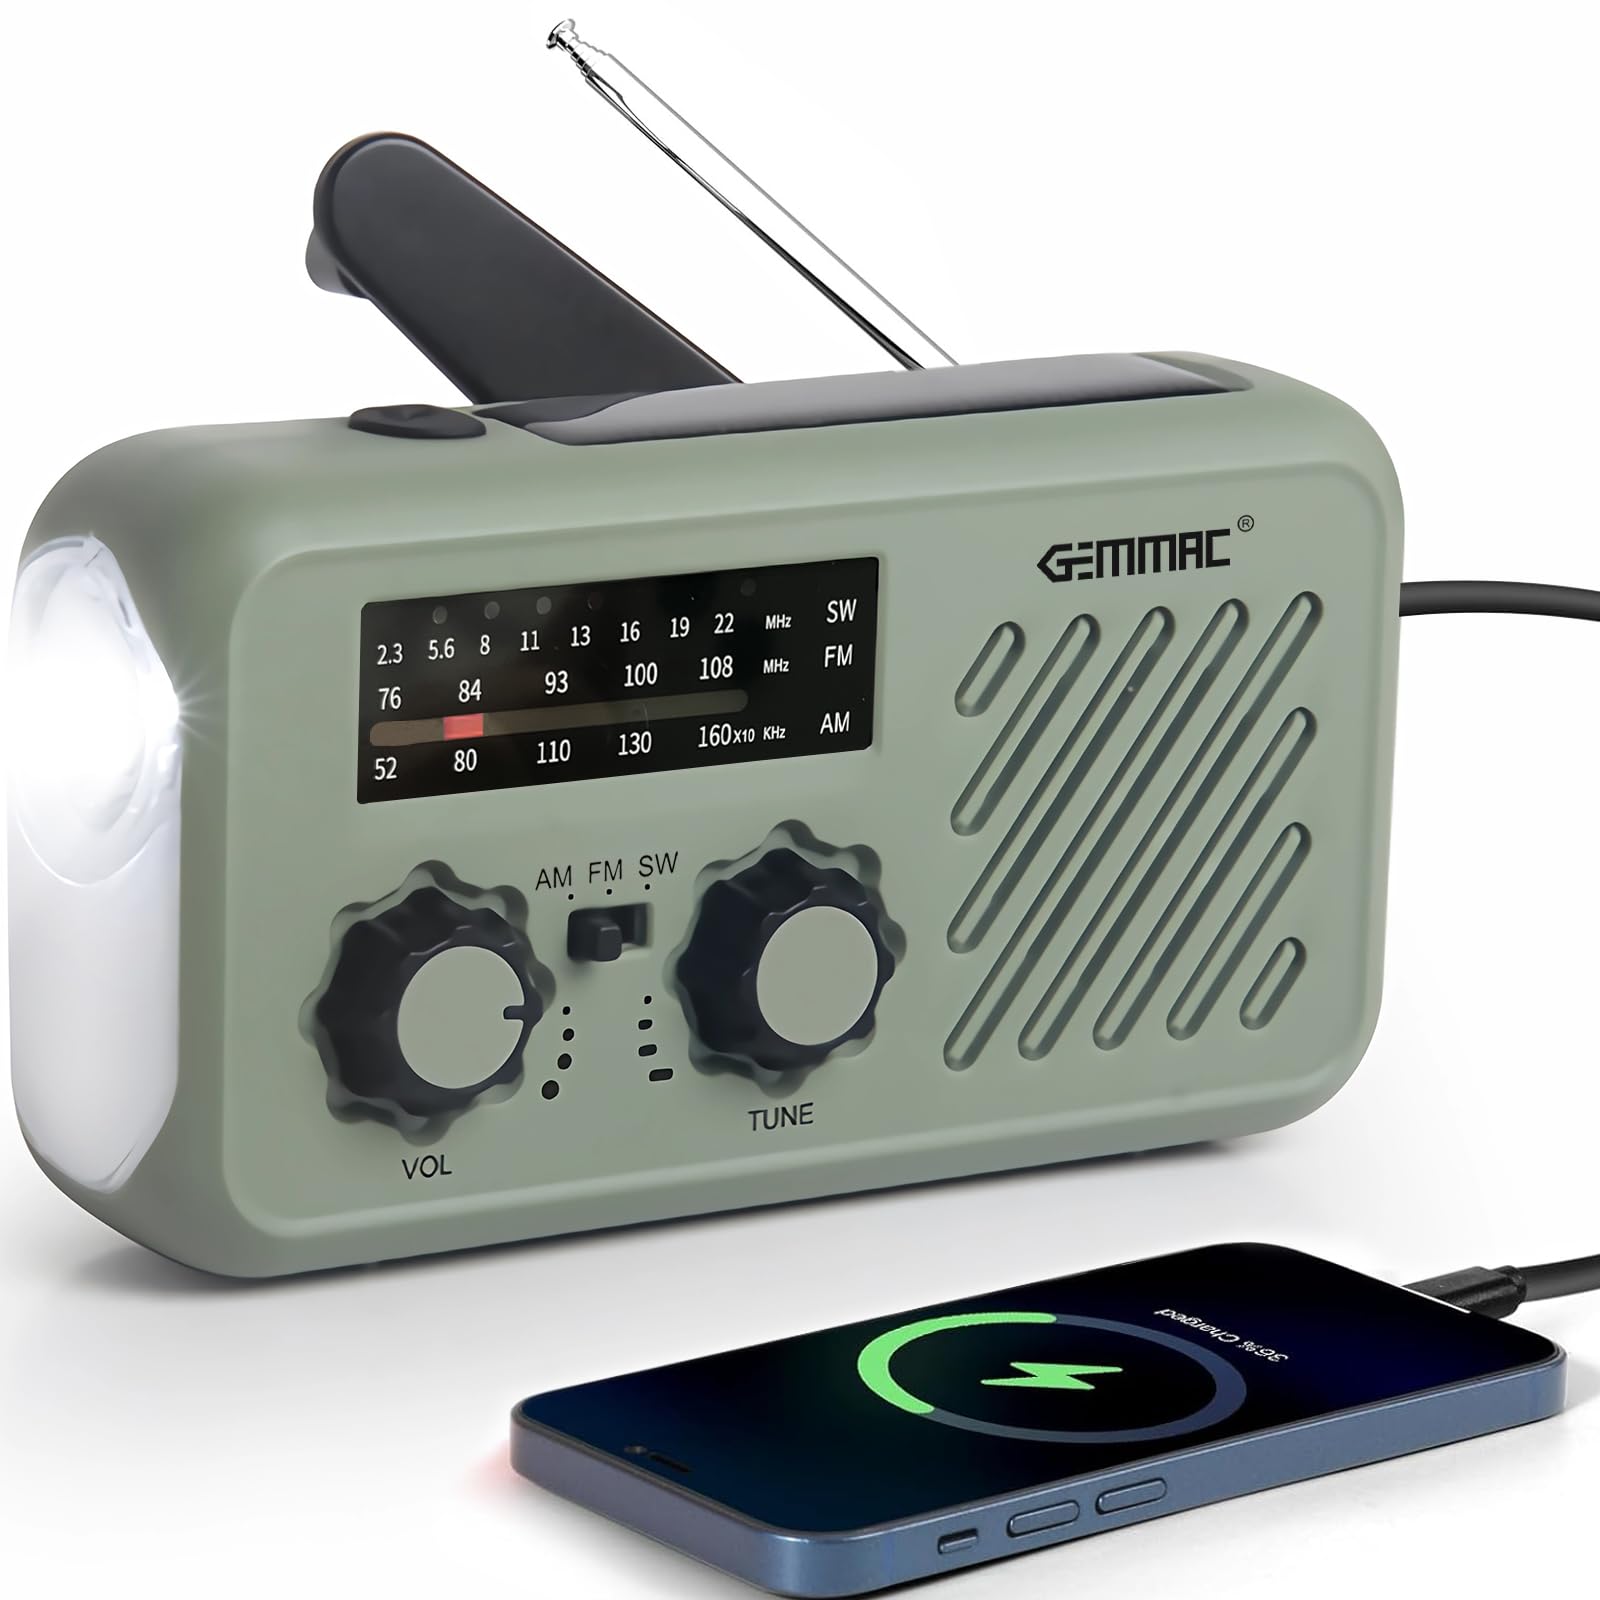
Figure 1: Gemmac Portable Emergency Radio (Model XLN-297WB)
2. 제품 오버view
2.1개의 구성요소

그림 2: 비상 라디오의 구성 요소 표시
- 안테나: 라디오 수신 성능 향상을 위해 확장 가능합니다.
- 태양광 패널: 태양광 충전용입니다.
- Flashlight / SOS Button: Activates flashlight and SOS alarm.
- Volume / Radio Switch: Controls power and volume.
- AM/FM/SW Switch: Selects radio band.
- 튜닝 노브: 라디오 주파수를 조절합니다.
- 주파수 다이얼: Displays current radio frequency.
- 스피커: 오디오 출력.
- Type-C 입력: For USB charging the radio.
- 헤드폰 잭(3.5mm): 개인적으로 듣기 위한 것입니다.
- USB 출력: 외부 장치 충전(파워뱅크 기능)에 사용 가능.
- Battery Container: Houses the removable Lithium-ion battery.
- 크랭크 핸들: For hand-crank charging.
- LED Flood Light: Provides broader illumination.
2.2 주요 특징
- 다중 대역 라디오: Receives AM (530-1710 kHz), FM (87-108 MHz), and SW (7-19 MHz) frequencies.
- 다양한 충전 옵션: Supports USB Type-C input, solar panel, and hand crank dynamo.
- 2000mAh 파워뱅크: Built-in rechargeable battery to charge mobile phones and other USB-compatible devices.
- 비상 조명: Features a bright 3W flashlight and an LED reading lamp.
- 조난 신호: 비상 신호를 보내면 큰 사이렌과 깜박이는 불빛이 작동합니다.
- 휴대성 있는 디자인: Compact, lightweight, and includes a lanyard for easy carrying.
- 방수: 물보라와 가벼운 비를 견딜 수 있도록 설계되었습니다.
3. 설정
3.1 Initial Battery Check and Installation
The radio comes with a pre-installed 2000mAh Lithium-ion battery. Before first use, ensure the battery is securely placed in its compartment. If the battery needs to be installed or replaced, open the battery container cover, insert the battery with correct polarity, and close the cover securely.
3.2 초기 충전
For optimal performance, fully charge the radio before its first use. Use the provided USB Type-C cable to connect the radio to a 5V DC USB power source (e.g., wall adapter, computer USB port). The charging indicator will illuminate. Charging methods are detailed in Section 4.2.
4. 사용 설명서
4.1 무선 작동
- 전원 켜기/끄기 및 볼륨: 회전하다 Volume / Radio Switch clockwise to turn on the radio and increase volume. Rotate counter-clockwise to decrease volume and turn off.
- 밴드 선택: 슬라이드 AM/FM/SW Switch to select your desired frequency band (AM, FM, or SW).
- 튜닝 스테이션: 확장하다 안테나 for better reception. Rotate the 튜닝 노브 to scan for stations. The selected frequency will be indicated on the 주파수 다이얼.
- 헤드폰 사용: Insert 3.5mm headphones into the 헤드폰 잭 개인적인 청취용입니다. 발표자는 자동으로 음소거됩니다.

Figure 3: Radio receiving weather alerts
4.2 충전 방법
The radio offers three ways to recharge its internal battery:

그림 4: 다양한 충전 옵션
- USB 충전: 제공된 USB Type-C 케이블을 연결하세요. Type-C 입력 port and a 5V DC power source. This is the fastest charging method.
- 핸드크랭크 충전: 펼치다 크랭크 핸들 and rotate it clockwise or counter-clockwise at a steady pace (approximately 120-180 cycles per minute). This generates power to charge the internal battery.
- 태양열 충전: Place the radio with the 태양광 패널 facing direct sunlight. This method is ideal for maintaining charge or for slow charging in emergencies. Charging efficiency depends on sunlight intensity.
4.3 손전등 및 독서 Lamp
를 누르세요 Flashlight / SOS Button once to turn on the flashlight. Press again to switch to the LED reading lamp. Press a third time to turn off the light. The flashlight provides focused illumination, while the reading lamp offers broader, softer light.
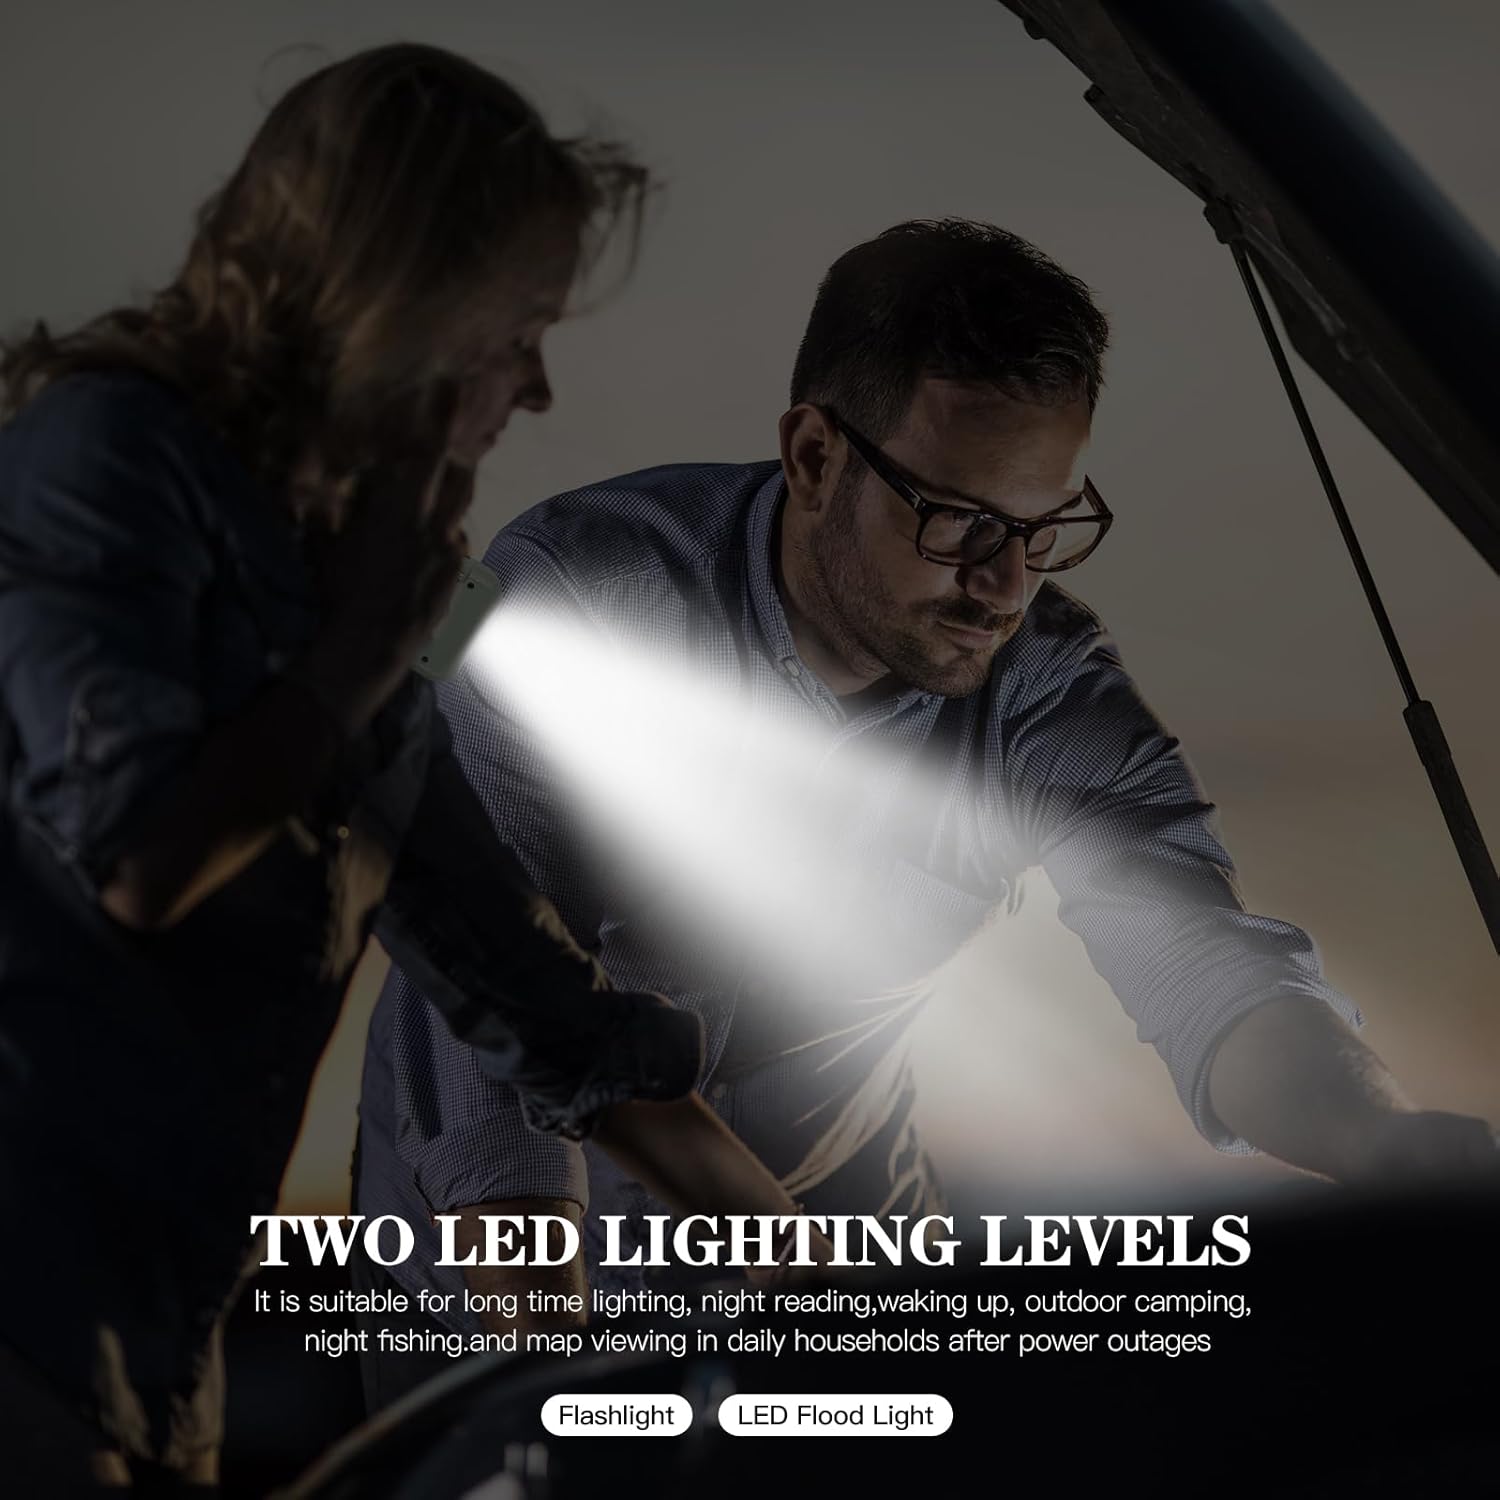
Figure 5: Flashlight and LED Reading Lamp 사용 중
4.4 SOS 알람 기능
긴급 상황 발생 시, 버튼을 길게 누르십시오. Flashlight / SOS Button for 3 seconds to activate the SOS alarm. This will trigger a loud siren and a flashing light to attract attention. Press the button again briefly to deactivate the alarm.
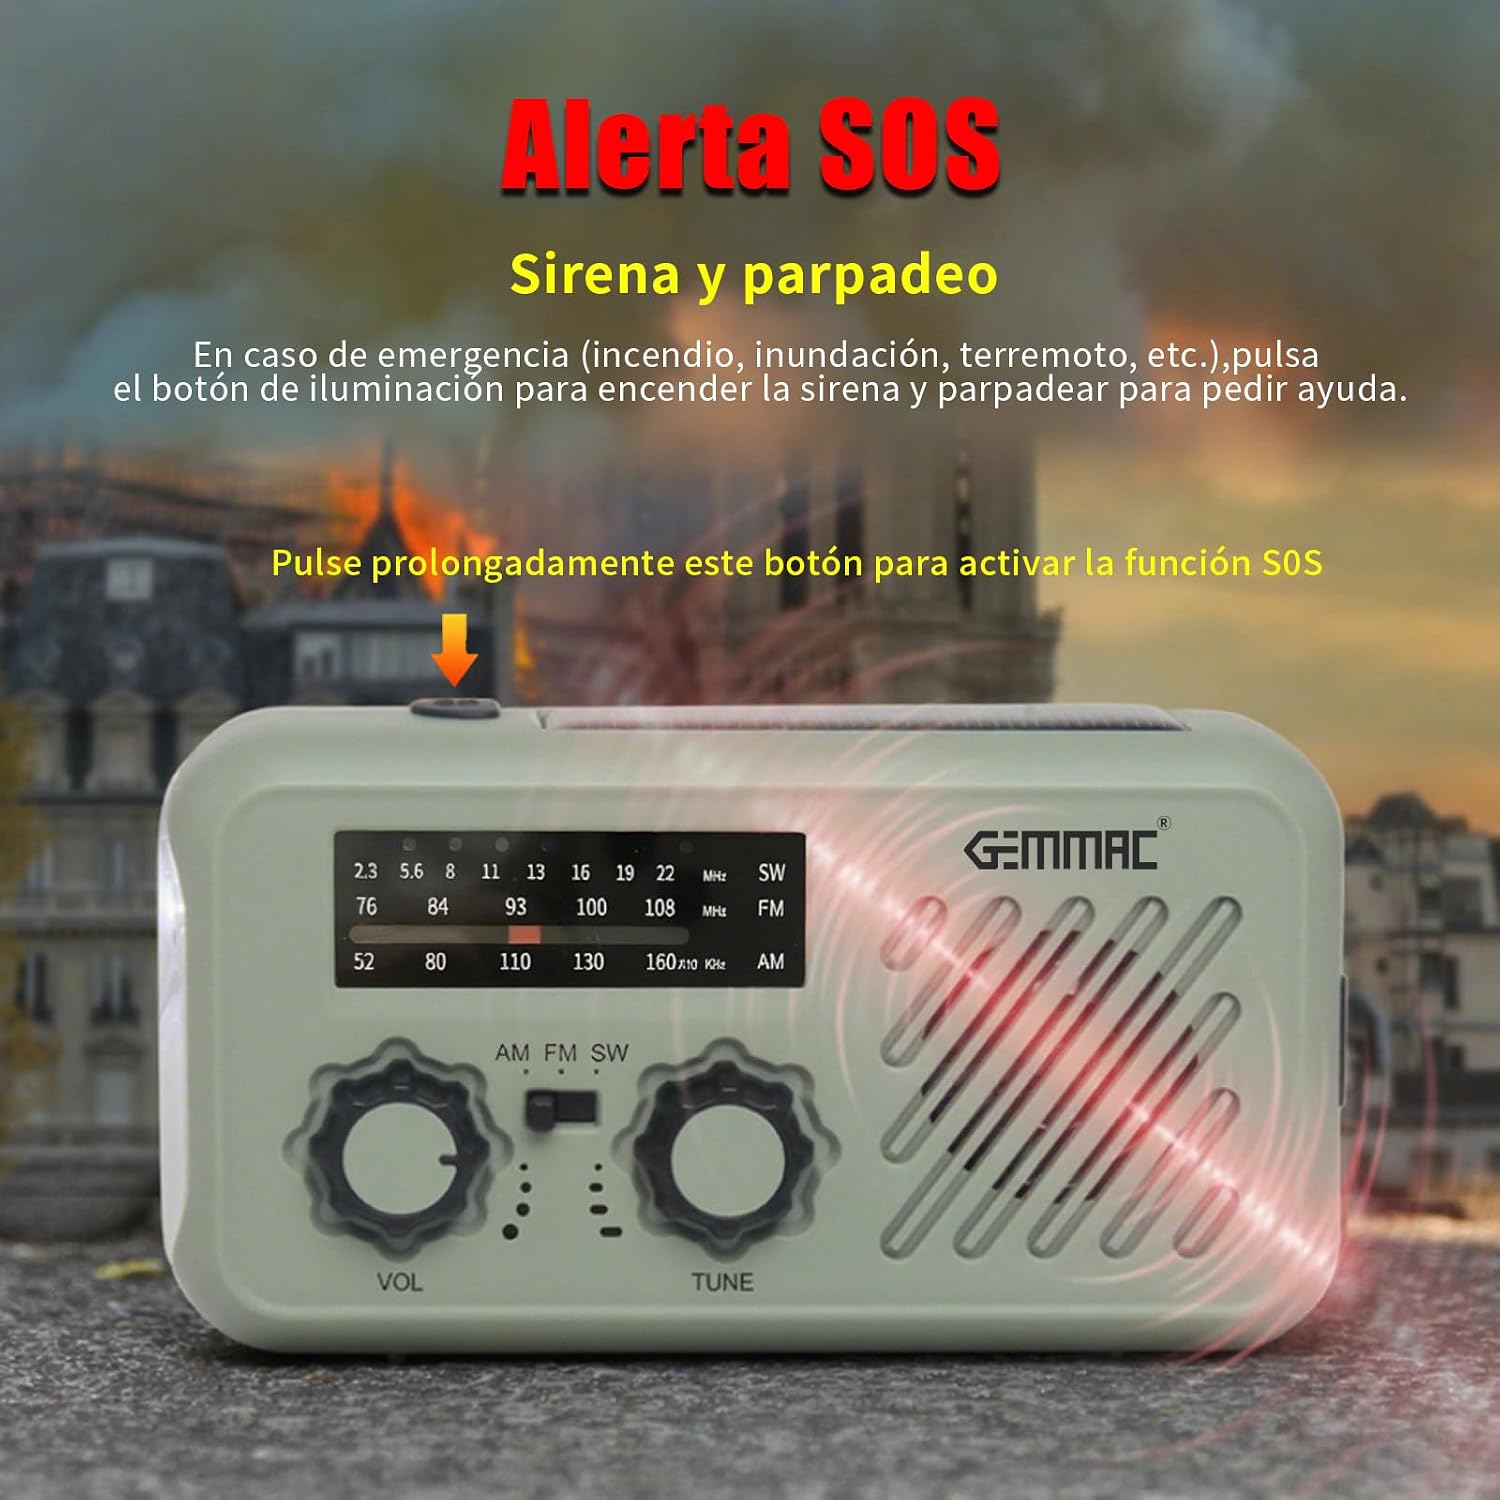
그림 6: SOS 알람 활성화
4.5 파워뱅크 기능
To charge external devices, connect your device's USB charging cable to the USB 출력 port on the radio. The radio's internal 2000mAh battery will begin charging your device. This feature is crucial for keeping your mobile phone powered during outag에스.
5. 유지관리
5.1 청소
부드러운 d로 라디오를 닦으십시오.amp cloth. Do not use abrasive cleaners or solvents, as these can damage the surface. Ensure all ports are dry before charging or using the device.
5.2 보관
Store the radio in a cool, dry place away from direct sunlight and extreme temperatures. If storing for an extended period, fully charge the battery every 3-6 months to maintain battery health.
6. 문제 해결
- 전원 없음: Ensure the radio is turned on. Check the battery level. If low, charge the radio using any of the three methods (USB, hand crank, solar).
- 라디오 수신 불량: Extend the antenna fully. Try repositioning the radio. Ensure you have selected the correct frequency band (AM/FM/SW).
- 손전등/Lamp 작동하지 않는: Check battery level. Ensure the button is pressed correctly.
- 외부 장치가 충전되지 않습니다: Ensure the radio has sufficient battery charge. Verify the USB cable connection. Some devices may require more power than the radio can provide.
- Hand Crank is Stiff: Ensure the crank handle is fully extended and rotates freely. Do not force it.
7. 사양
| 모델 번호 | XLN-297WB |
| 상표 | Gemmac |
| 라디오 대역 | AM (530-1710 kHz), FM (87-108 MHz), SW (7-19 MHz) |
| 배터리 유형 | 2000mAh 리튬 이온 배터리 1개 (포함) |
| 충전 입력 | USB Type-C (DC 5V), Solar Panel, Hand Crank |
| 파워 뱅크 출력 | USB |
| 손전등 전원 | 3W |
| 재료 | 아크릴로니트릴 부타디엔 스티렌(ABS) |
| 치수(길이 x 너비 x 높이) | 40mm x 70mm x 130mm |
| 방수성 | 방수 |
| 인터페이스 | USB 3.0 타입-C |
| 디스플레이 유형 | 액정표시장치 |
8. 보증 및 지원
This product is eligible for return or refund within 30 days of purchase. For any issues or support inquiries, please contact your retailer or the manufacturer directly. Please refer to your purchase documentation for specific contact details.
Ask a question about this manual
Ask about setup, troubleshooting, compatibility, parts, safety, or missing instructions. Manuals+ will review the question and use this page’s manual context to help answer it.