
Gemmac EM03
Gemmac EM03 Emergency Radio User Manual
모델: EM03
소개
The Gemmac EM03 is a versatile emergency radio designed for outdoor activities and emergency situations. It features multiple charging options, an integrated power bank, Bluetooth speaker, LED flashlight, and an SOS alarm. This manual provides detailed instructions for its setup, operation, maintenance, and troubleshooting to ensure optimal performance and safety.
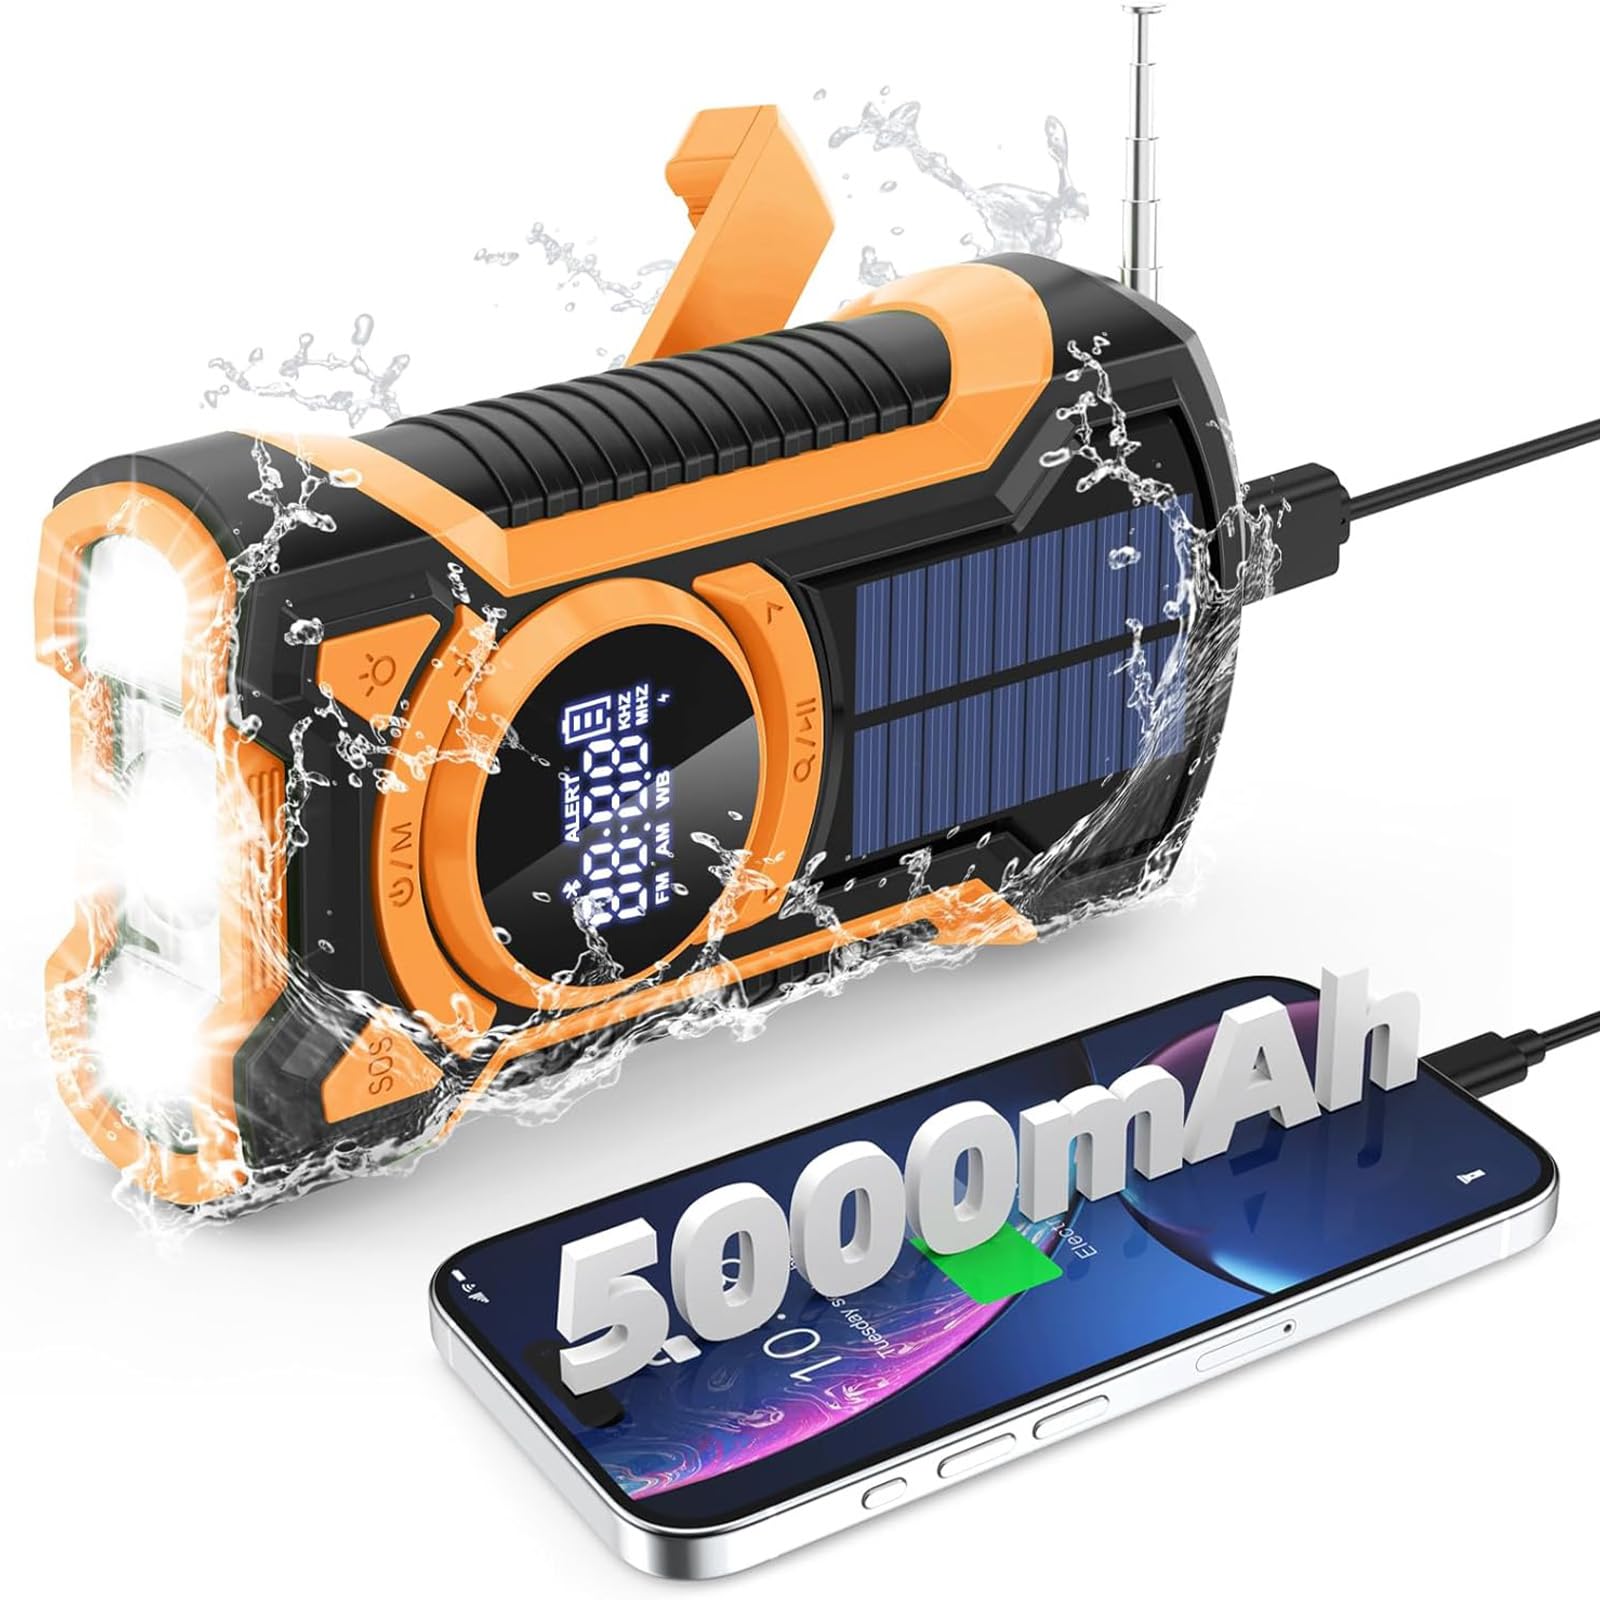
이미지: 앞면 view of the Gemmac EM03 Emergency Radio, showcasin컴팩트한 디자인과 디스플레이를 자랑합니다.
1. 설정
1.1 언박싱 및 패키지 구성품
모든 구성품을 포장에서 조심스럽게 꺼내세요. 다음 품목이 모두 있는지 확인하세요.
- Gemmac EM03 Emergency Radio
- USB 충전 케이블
- 매는 밧줄
- 사용 설명서 (본 문서)
1.2 초기 충전
Before first use, it is recommended to fully charge the device using the USB charging method. This ensures the internal 5000mAh battery is at full capacity for reliable operation.
- Connect the supplied USB cable to the radio's DC 5V input port.
- USB 케이블의 다른 쪽 끝을 표준 USB 전원 어댑터(별도 구매) 또는 컴퓨터의 USB 포트에 연결하십시오.
- The battery indicator on the LCD display will show charging progress.
- 배터리 표시등이 완충을 나타내면 충전이 완료된 것입니다.

Image: Illustration of the three charging methods: hand crank, solar panel, and USB input.
2. 사용 설명서
2.1 전원 켜기/끄기
- 장치의 전원을 켜려면 버튼을 길게 누르세요. Power/Mode (U/M) 단추.
- 장치의 전원을 끄려면 Power/Mode (U/M) 버튼을 다시 누르세요.
2.2 Radio Function (AM/FM/SW)
이 라디오는 AM, FM 및 단파(SW) 대역을 지원합니다.
- 라디오를 켜려면 버튼을 누르세요. Power/Mode (U/M) 단추.
- 를 누르세요 Power/Mode (U/M) button repeatedly to cycle through FM, AM, and SW bands. The selected band will be displayed on the LCD screen.
- Extend the telescopic antenna for better FM/SW reception. For AM, rotate the device for optimal signal.
- 사용하세요 Tuning Up (>) 그리고 Tuning Down (<) 방송국을 수동으로 맞추는 버튼입니다.
- 방송국을 자동으로 스캔하려면 다음을 길게 누릅니다. Tuning Up (>) or Tuning Down (<) button. The radio will stop at the next available strong signal.
- 를 사용하여 볼륨을 조정합니다. 볼륨 업(+) 그리고 볼륨 작게 (-) 버튼.
- For private listening, connect 3.5mm headphones to the headphone jack.
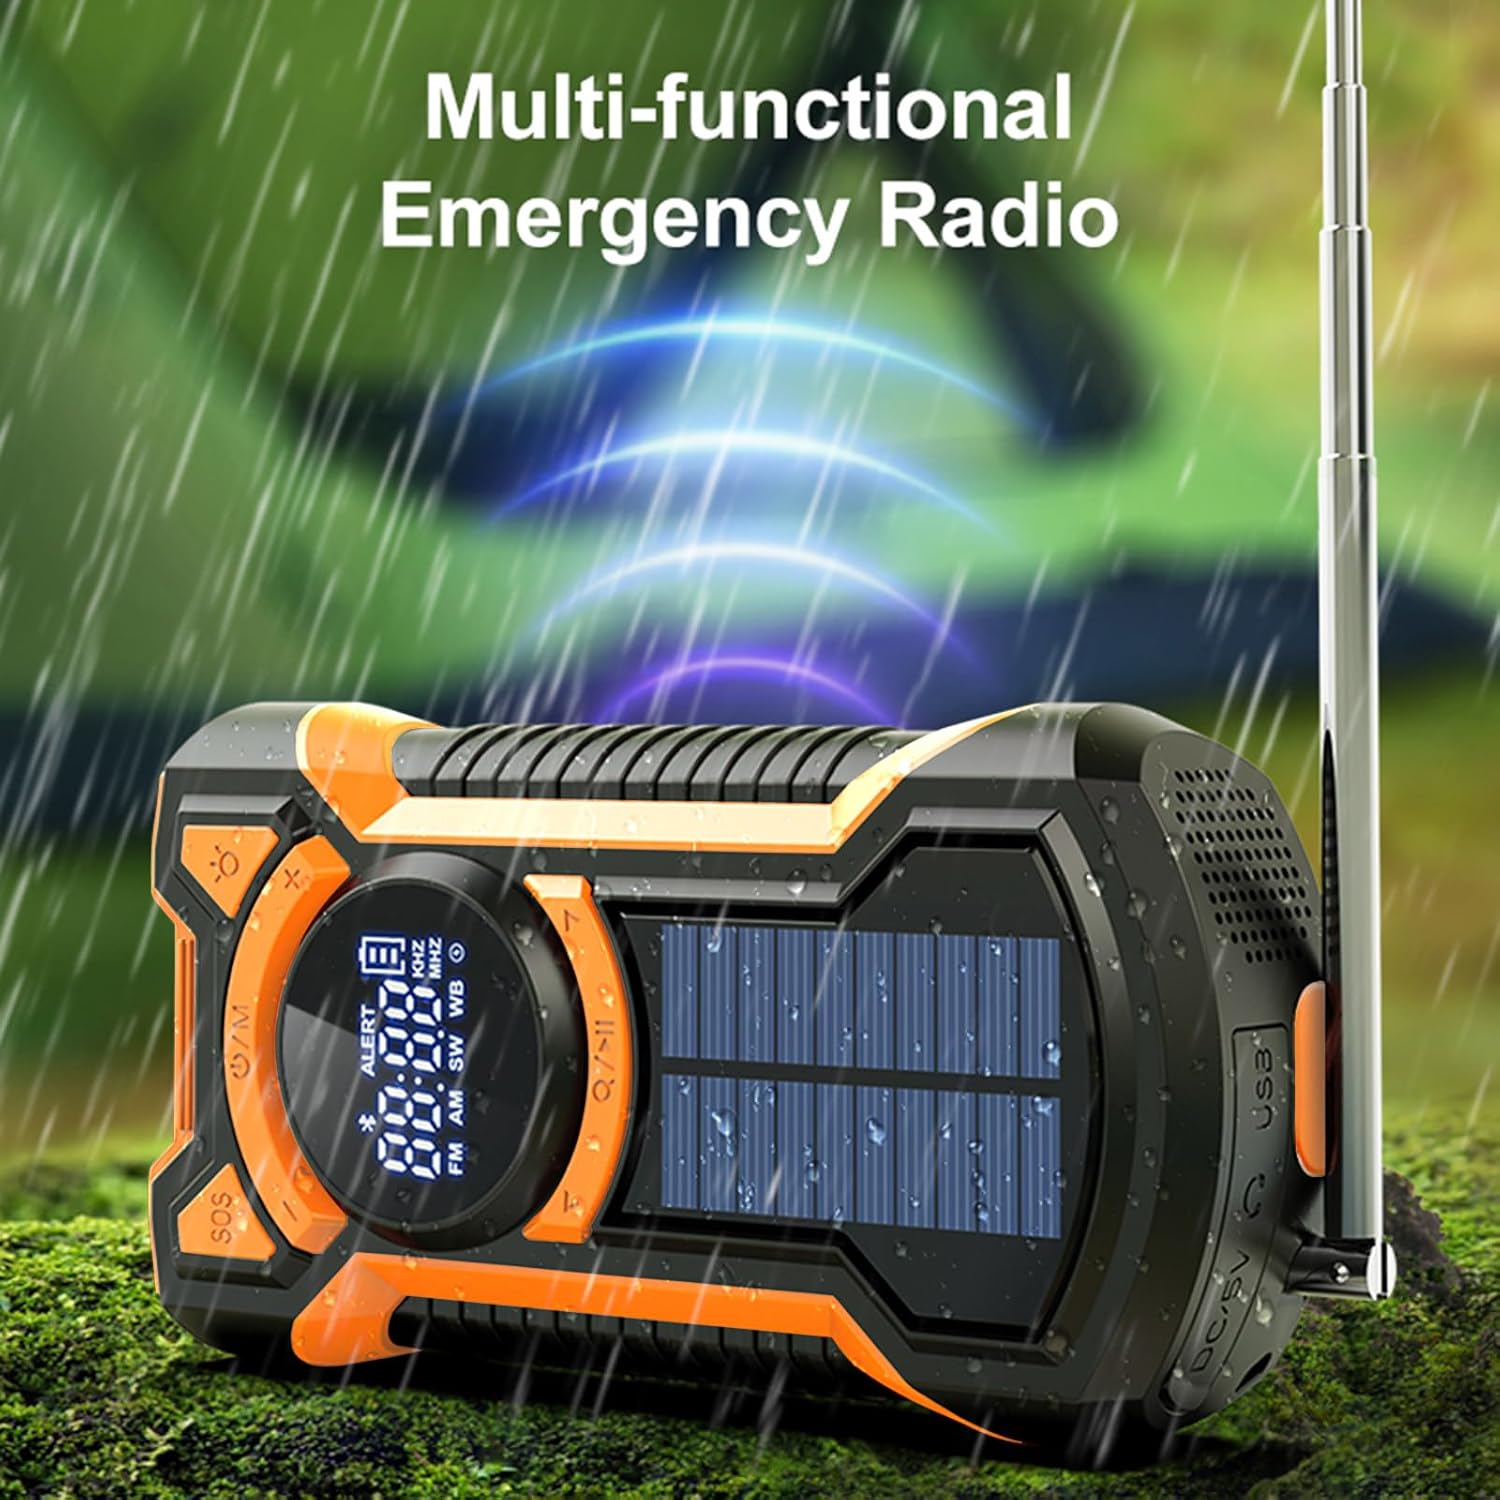
Image: The multi-functional emergency radio shown outdoors, emphasizing its readiness for various conditions.
2.3 블루투스 스피커 기능
The EM03 features an integrated Bluetooth 5.3 speaker for audio playback.
- 장치를 켭니다.
- 를 누르세요 Power/Mode (U/M) button until "BT" or the Bluetooth icon appears on the LCD display, indicating Bluetooth mode.
- 모바일 기기에서 블루투스를 활성화하고 사용 가능한 기기를 검색하세요.
- Select "EM03" from the list of devices to pair.
- Once paired, you can play audio from your mobile device through the radio's speaker.
- Adjust volume using the radio's volume buttons or your connected device.

Image: The radio in Bluetooth mode, demonstrating connection to a smartphone for music playback.
2.4 LED Flashlight and Reading Light
The device includes a powerful LED flashlight and a reading light.
- 손전등을 켜려면 누르세요 Flashlight (Light bulb icon) 단추.
- Press the button again to cycle through different brightness modes (e.g., high beam, low beam) or to turn it off.
- The reading light can be activated by a separate button or by cycling through the flashlight modes, depending on the model. Refer to the icons on the device.

Image: The LED flashlight function of the radio, showing its bright illumination.

Image: Visual representation of the flashlight's far beam, low beam, and SOS light modes.
2.5 SOS 알람
In emergency situations, the SOS alarm can be activated to attract attention.
- To activate the SOS alarm, press the 위급 신호 단추.
- The alarm will emit a loud siren sound and a flashing red light.
- To deactivate the SOS alarm, press the 위급 신호 버튼을 다시 누르세요.

Image: The SOS alarm feature in action, with a red flashing light indicating an emergency signal.

이미지: 클로즈업 view of the dedicated SOS button for emergency alerts.
2.6 비상용 전원 은행
The built-in 5000mAh battery can be used to charge external devices like smartphones.
- 기기의 충전 케이블을 라디오의 USB 출력 포트에 연결합니다.
- The radio will begin charging your connected device.
- 기기의 충전 상태를 모니터링하세요.
- Note that using the power bank function will deplete the radio's internal battery.

Image: The emergency power bank feature, showing the radio connected to and charging a smartphone.
3. 충전 방법
The Gemmac EM03 offers three ways to recharge its internal 5000mAh battery:
3.1 USB Charging (DC 5V Input)
This is the primary and fastest charging method.
- Connect the USB charging cable to the DC 5V input port on the radio and to a USB power source.
- 일반적으로 완전 충전에는 약 3.5시간이 걸립니다.
3.2 수동 크랭크 충전
The hand crank provides power when other charging methods are unavailable.
- Unfold the hand crank located on the back of the radio.
- Rotate the crank clockwise or counter-clockwise at a steady pace (approximately 130-150 RPM) for 3-5 minutes to generate enough power for short-term use (e.g., 15-20 minutes of radio or flashlight).
- Continuous cranking will charge the internal battery.
3.3 태양열 충전
The solar panel is a supplementary charging method, ideal for maintaining battery charge or for slow charging in direct sunlight.
- 라디오의 태양광 패널이 직사광선을 향하도록 놓으세요.
- The solar charging indicator (if available on the display) will illuminate.
- Solar charging is slower than USB or hand crank charging and is most effective for trickle charging or extending battery life.
이미지: 포괄적인 view illustrating the hand crank, solar, and USB charging options for the radio.
4. 유지관리
- 청소: 부드러운 천으로 장치를 닦으십시오. damp 옷감. 강한 화학 물질이나 연마성 세제를 사용하지 마십시오.
- 저장: Store the radio in a cool, dry place away from direct sunlight and extreme temperatures. If storing for extended periods, charge the battery at least once every three months to prolong its lifespan.
- 방수 기능: The device is IPX5 waterproof, meaning it is protected against low-pressure water jets from any direction. Do not immerse the radio in water. Ensure all port covers are securely closed to maintain water resistance.
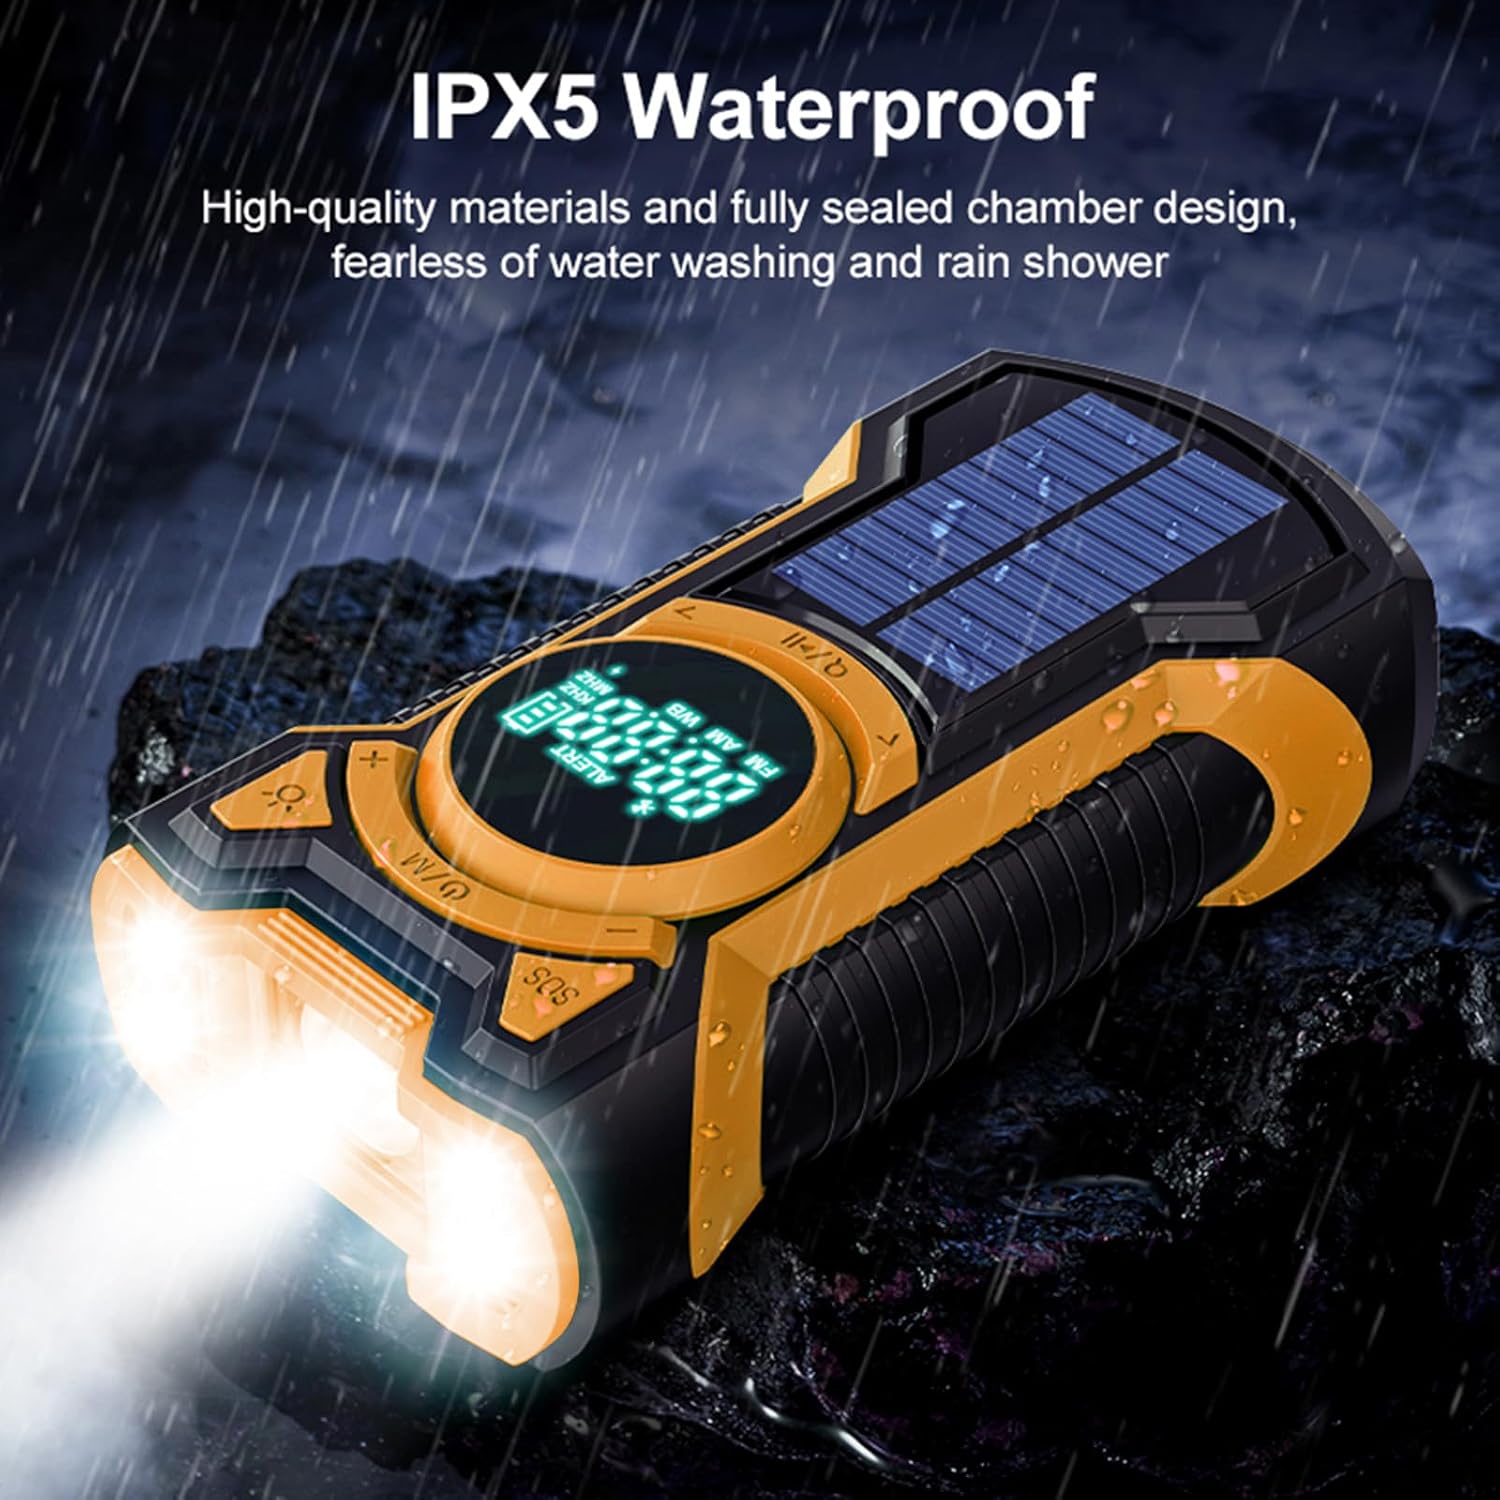
Image: The radio enduring water splashes, illustrating its IPX5 waterproof capability.
5. 문제 해결
5.1 Radio Not Turning On
- Ensure the battery is charged. Connect to a USB power source or use the hand crank to provide initial power.
- Press and hold the Power/Mode button for a few seconds to ensure it registers.
5.2 라디오 수신 불량
- Fully extend the telescopic antenna for FM/SW bands.
- For AM band, try rotating the radio to find the best signal.
- Move to an open area away from buildings, trees, or electronic devices that may cause interference.
5.3 블루투스 페어링 문제
- Ensure the radio is in Bluetooth mode ("BT" or Bluetooth icon displayed).
- Make sure Bluetooth is enabled on your mobile device and it is within range (typically 10 meters).
- Forget "EM03" from your device's Bluetooth list and try pairing again.
- 현재 다른 기기가 블루투스를 통해 라디오에 연결되어 있지 않은지 확인하십시오.
5.4 External Device Not Charging (Power Bank)
- Check if the radio's internal battery has sufficient charge.
- Ensure the USB cable is securely connected to both the radio's output port and your external device.
- Try a different USB cable or external device to rule out cable or device issues.
5.5 Solar Charging is Slow
- Solar charging is designed as a supplementary or emergency charging method. It is inherently slower than USB charging.
- Ensure the solar panel is exposed to direct, strong sunlight. Cloudy conditions or indirect light will significantly reduce charging efficiency.
6. 사양
| 상표 | Gemmac |
| 모델 | EM03 |
| 치수 | 4 x 7 x 14cm |
| 무게 | 340g |
| 배터리 | 5000mAh Lithium Ion (rechargeable, included) |
| 충전 방법 | USB (DC 5V), Hand Crank, Solar Panel |
| 라디오 대역 | AM, FM, Shortwave (SW) |
| 블루투스 버전 | 블루투스 5.3 |
| 방수성 | IPX5 |
| 특별 기능 | Integrated LED Flashlight, SOS Alarm, Emergency Power Bank |
| 재료 | 아크릴로니트릴 부타디엔 스티렌(ABS) |
7. 보증 정보
Warranty information for this product is typically provided at the point of purchase or within specific documentation included with your product. Please refer to your purchase receipt or the warranty card for details regarding coverage period and terms. For any warranty claims, please contact the seller or manufacturer directly.
8. 고객 지원
If you encounter any issues or have questions not covered in this manual, please contact Gemmac customer support through the retailer where you purchased the product. You may also visit the official Gemmac brand store on Amazon for additional resources and contact information.
아마존 브랜드 스토어: Gemmac Store
Ask a question about this manual
Ask about setup, troubleshooting, compatibility, parts, safety, or missing instructions. Manuals+ will review the question and use this page’s manual context to help answer it.