1. 서론
The Scheppach MRS500 Universal Renovation Sander is designed for working on various wooden and metal surfaces. Its versatile design allows access to hard-to-reach areas such as table legs, contoured skirting boards, beams, ramps, and larger surfaces like garage doors. The variable speed control makes it suitable for a wide range of materials and applications. This manual provides essential information for the safe and efficient use of your sander.
2. 일반 안전 지침
경고: 이 전동 공구와 함께 제공된 모든 안전 경고, 지침, 그림 및 사양을 읽으십시오. 아래 나열된 모든 지침을 따르지 않으면 감전, 화재 및/또는 심각한 부상을 입을 수 있습니다.
- 눈 보호구, 귀 보호구, 방진 마스크를 포함한 적절한 개인 보호 장비를 항상 착용하십시오.
- 작업 공간을 깨끗하고 밝게 유지하세요. 어수선하거나 어두운 곳은 사고의 위험이 높습니다.
- 가연성 액체, 가스, 먼지 등 폭발 위험이 있는 환경에서는 전동 공구를 작동하지 마세요.
- 전동 공구를 작동하는 동안 어린이와 주변 사람을 멀리하십시오. 주의가 산만해지면 제어력을 잃을 수 있습니다.
- 전동공구를 조정하거나, 액세서리를 교체하거나, 보관하기 전에 항상 전원 플러그를 콘센트에서 뽑으십시오.
- 용도에 맞는 전동 공구를 사용하십시오. 공구를 무리하게 사용하지 마십시오.
- 전동 공구와 액세서리를 유지 관리합니다. 움직이는 부품의 정렬 불량이나 바인딩, 부품 파손 및 전동 공구 작동에 영향을 줄 수 있는 기타 조건을 점검합니다.
- Refer to the complete safety manual provided with your product for detailed safety information.
3. 제품 오버view 및 구성 요소
Familiarize yourself with the main components of your Scheppach MRS500 sander before operation.

Figure 1: Scheppach MRS500 Universal Renovation Sander with various attachments.

Figure 2: Key features include 10 mm or 60 mm brush width, 300 Watt motor, and variable speed (1600-3000 min⁻¹).

Figure 3: The sander features an Auto-Lock system for quick accessory changes and a Softgrip handle for comfort.
4. 설치 및 조립
4.1 보조 핸들 부착
For enhanced control and precision, attach the auxiliary handle to the designated mounting point on the sander. Ensure it is securely tightened before use.
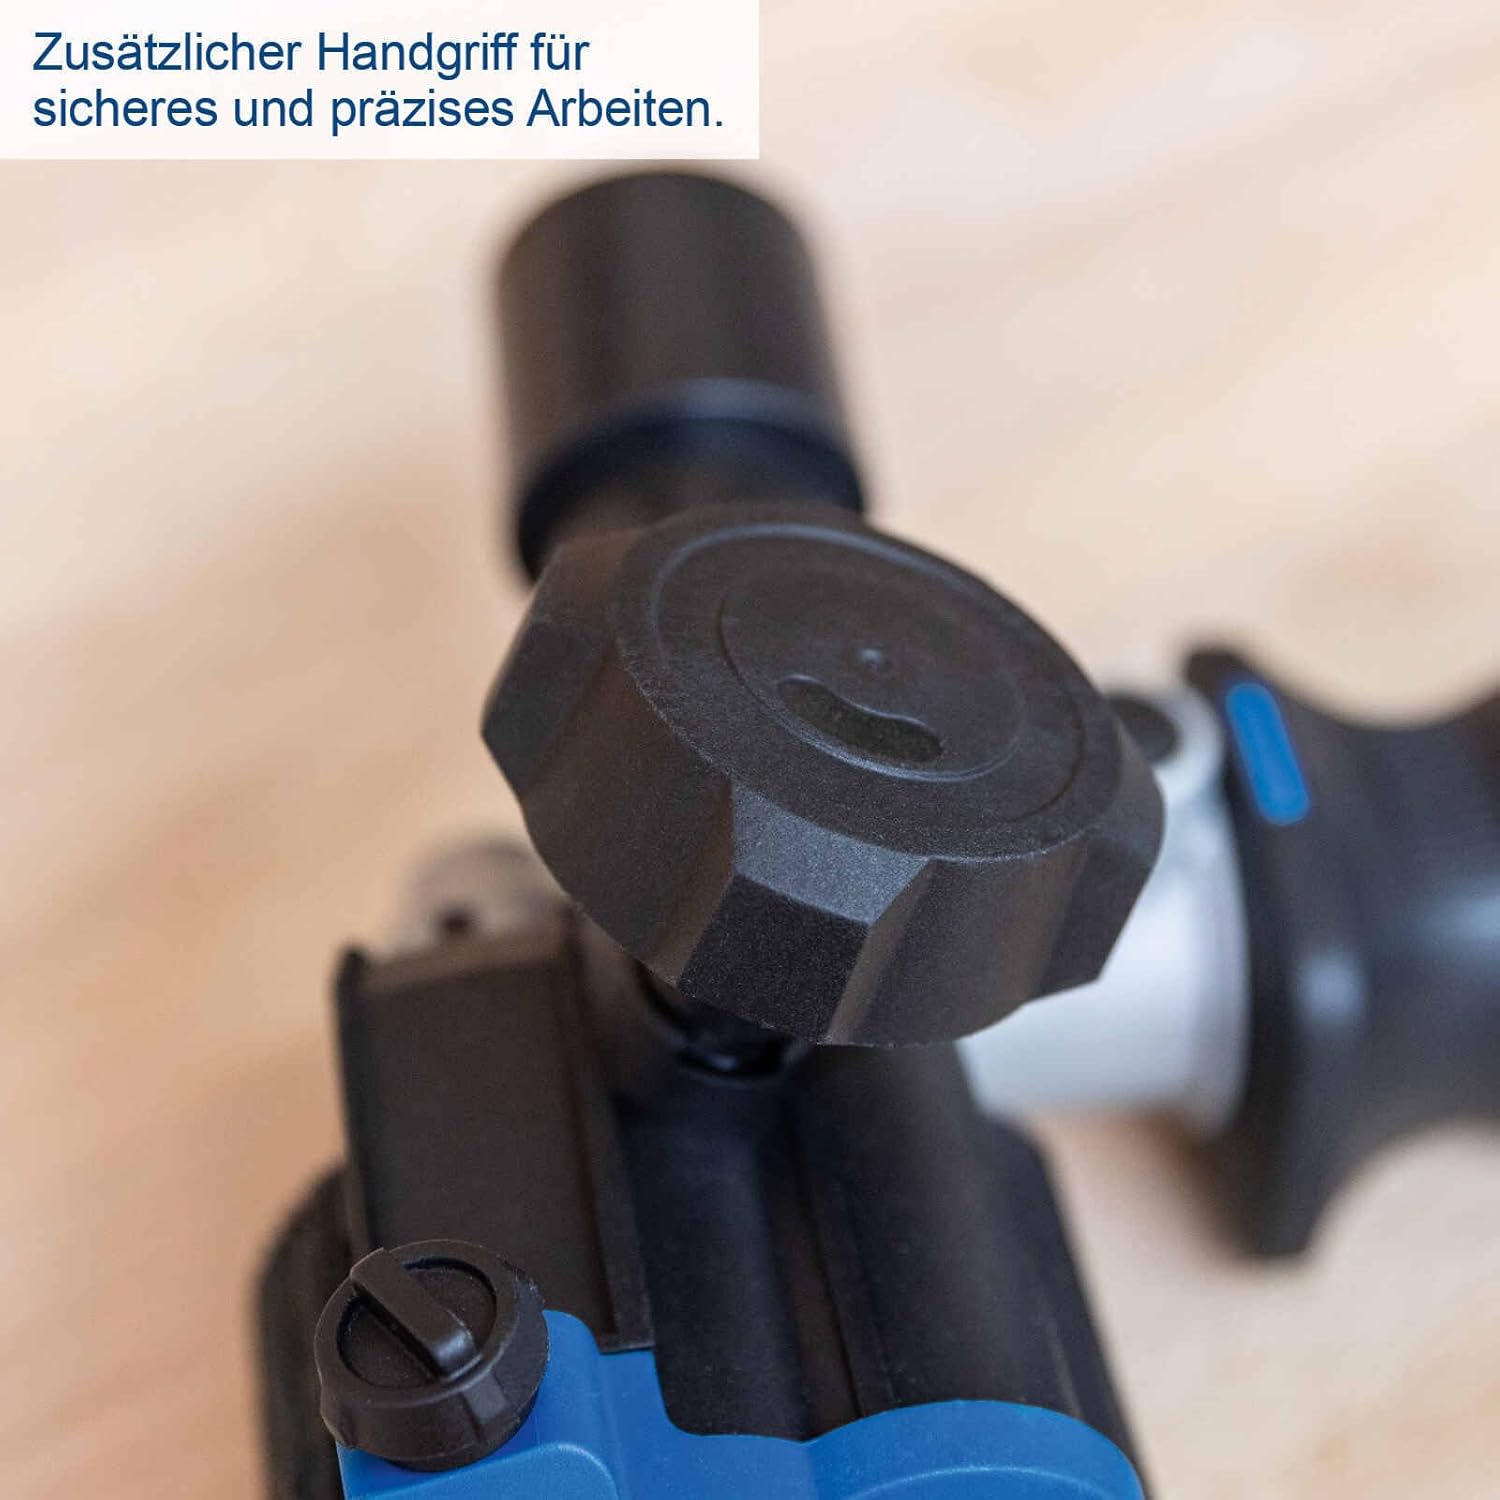
Figure 4: The additional handle provides secure and precise control during operation.
4.2 Changing Sanding Sleeves/Brushes (Auto-Lock System)
The MRS500 features an Auto-Lock system for quick and easy changing of sanding sleeves or brushes.
- 샌더가 전원에서 분리되었는지 확인하세요.
- Press and hold the Auto-Lock button located near the spindle. This locks the spindle in place.
- Unscrew or remove the current sanding sleeve/brush.
- Attach the desired new sanding sleeve or brush, ensuring it is properly seated and secured.
- Release the Auto-Lock button.

Figure 5: Press the Auto-Lock button for quick and easy sanding sleeve changes.
5. 운영
5.1 전원 켜기/끄기
Connect the sander to a suitable power outlet. To turn the sander ON, press the power switch. To turn it OFF, release or press the switch again, depending on the switch type.
5.2 속도 조정
The MRS500 features variable speed control, allowing you to adjust the rotation speed between 1600 and 3200 revolutions per minute. Use the speed dial to select the appropriate speed for your material and application.
- Lower speeds are suitable for delicate work, polishing, or when working with softer materials.
- Higher speeds are ideal for aggressive material removal on harder surfaces.

Figure 6: Adjust the variable speed using the dial for optimal performance on different materials.
5.3 샌딩 기술
Always apply light, even pressure. Let the tool do the work. Avoid pressing too hard, as this can reduce efficiency and damage the workpiece or the tool.
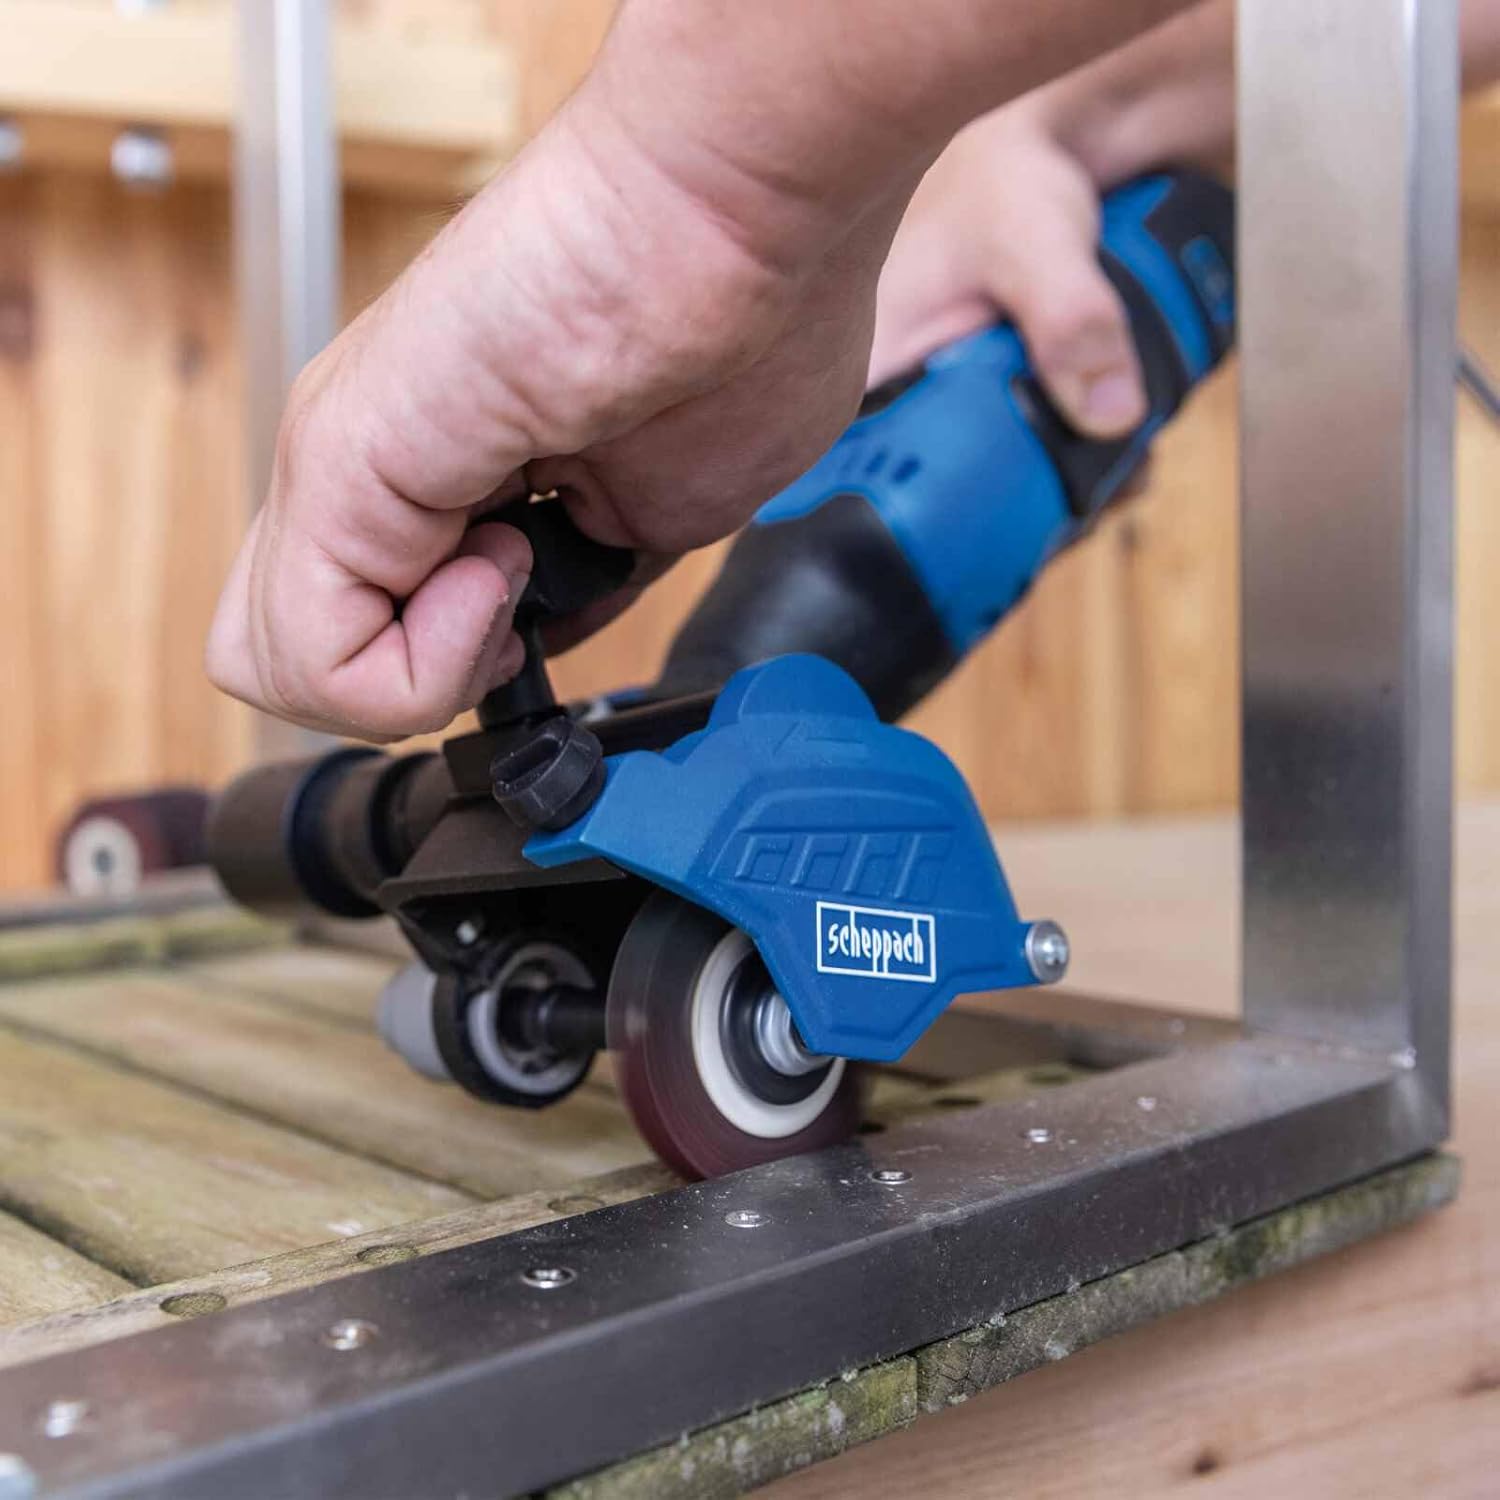
그림 7: 예ample of sanding an untreated wooden beam.

그림 8: 예ample of sanding a contoured wooden surface, such as a table leg.
- For large, flat surfaces: Use the wider sanding sleeves (60 mm) and move the sander in overlapping passes.
- For hard-to-reach areas and contours: Utilize the narrower sanding sleeves (10 mm) or specialized brushes. The compact design allows for precise work in tight spaces.
- Rust removal: With optional accessories, the sander can be used for rust removal on metal surfaces.
6. 유지관리
6.1 청소
정기적인 청소는 최적의 성능을 보장하고 공구의 수명을 연장시켜 줍니다.
- 청소하기 전에는 반드시 샌더를 전원에서 분리하세요.
- Use a soft brush or compressed air to remove dust and debris from the ventilation openings.
- 광고로 하우징을 닦으세요amp 옷감. 강한 세척제나 솔벤트를 사용하지 마십시오.
6.2 카본 브러시 교체
The motor's carbon brushes are wear parts and will need replacement over time. Refer to the full product manual for specific instructions on how to inspect and replace carbon brushes. It is recommended to have this procedure performed by qualified personnel if you are unsure.
7. 문제 해결
If you encounter issues with your MRS500 sander, refer to the following common problems and solutions:
| 문제 | 가능한 원인 | 해결책 |
|---|---|---|
| 샌더는 시작하지 않습니다 | No power supply; Faulty power cord/plug; Defective switch | Check power connection; Inspect cord/plug for damage; Contact service for switch replacement. |
| 샌딩 성능 저하 | Worn sanding sleeve/brush; Incorrect speed setting; Excessive pressure | Replace sanding sleeve/brush; Adjust speed; Apply lighter, even pressure. |
| 과도한 진동/소음 | Damaged sanding sleeve/brush; Loose components | Replace damaged accessory; Check for loose parts and tighten if safe to do so. |
| 부하가 걸리면 모터가 느려집니다 | Overloading the tool; Worn carbon brushes | Reduce pressure; Replace carbon brushes (refer to section 6.2). |
For problems not listed here or if solutions do not resolve the issue, please contact Scheppach customer support or an authorized service center.
8. 기술 사양
| 사양 | 값 |
|---|---|
| 모델 번호 | 5903822901 |
| 상표 | Scheppach |
| 힘 | 300와트 |
| 권tage | 230 볼트 |
| 빈도 | 50Hz |
| 가변 속도 | 1600 - 3200분⁻¹ |
| Sanding Width | 10mm 또는 60mm |
| 전원 | 코드식 전기 |
| 포함된 구성 요소 | 3개의 브러시 |
| 그릿 유형(포함) | 중간 |
| Grit Number (Included) | 180 |
9. 보증 및 지원
For warranty information, technical support, or to purchase additional accessories and replacement parts, please refer to the official Scheppach website or contact your local dealer. Keep your purchase receipt as proof of purchase for any warranty claims.