
U.S. Solid USS-ESM00029
U.S. Solid Electric Strapping Machine USS-ESM00029 User Manual
Model: USS-ESM00029
1. 서론
This manual provides comprehensive instructions for the safe and efficient operation, maintenance, and troubleshooting of your U.S. Solid Electric Strapping Machine. Please read this manual thoroughly before operating the machine to ensure proper usage and to prevent damage or injury.
The U.S. Solid Electric Strapping Machine is a battery-powered automatic banding tool designed for securing various packages and pallets using PP (polypropylene) and PET (polyester) straps. It integrates tensioning, welding, and cutting functions into a single portable device, enhancing work efficiency and reducing manual effort.
2. 상자 안에 무엇이 들어있나요?
포장을 풀 때 다음 품목이 모두 포함되어 있는지 확인하세요.
- 1 x Electric Strapping Machine
- 2mAh 리튬 이온 배터리 4000개
- 1 x 배터리 충전기
- 1 x 사용자 설명서
- Necessary tools for maintenance (e.g., wrench, screwdriver, hex key, spare parts as shown in image)

그림 2.1: The U.S. Solid Electric Strapping Machine along with its two batteries, charger, and various tools including a wrench, screwdriver, and hex key.
3. 제품 특징 및 구성품
The U.S. Solid Electric Strapping Machine is designed with several key features for efficient and reliable operation:
- Adjustable Tensile Force: Manually adjustable from 600N to 2800N, suitable for various strapping materials and applications.
- 배터리 수명 연장: Equipped with two 4000mAh Li-ion batteries, each capable of approximately 250 strapping cycles per full charge.
- Wide Strap Compatibility: Compatible with PP/PET straps ranging from 1/2 to 5/8 inch (12-16mm) in width and 0.4-1.2mm in thickness.
- 고효율성: Combines tensioning, welding, and cutting functions, eliminating the need for separate buckles or seals.
- 내구성 있는 구조: Features a brushless motor and wear parts crafted from durable titanium alloy for extended tool lifespan.
3.1. 구성 요소 식별

그림 3.1: Key operational components including the LED Indicator Light, Tensioning Button, Welding Button, and Handle.

그림 3.2: Adjustment dials for Tightening Force and Welding Time.
4. 기술 사양

그림 4.1: Visual summary of the strapping machine's technical parameters.
| 매개변수 | 값 |
|---|---|
| 모델 번호 | USS-ESM00029 |
| 제품 크기(L x W x H) | 15.35 x 5.12 x 4.72인치(390 x 130 x 120mm) |
| 무게(배터리 포함) | 9.04파운드(4.1kg) |
| Strap Material Compatibility | PP (Polypropylene) / PET (Polyester) |
| 스트랩 너비 | 1/2 - 5/8 inch (12 - 16 mm) |
| 스트랩 두께 | 0.4~1.2mm |
| 인장 강도 | 600 - 2800 N (Adjustable) |
| Tensioning Speed | 100 - 200 mm/s |
| 배터리 유형 | 4000mAh Li-ion (2 included) |
| 배터리 충전 시간 | 완전 충전까지 약 90분 소요 |
| Cycles per Charge | Approximately 250 belts per battery |
| 작동 온도 | 5°C to 45°C (Optimum: 15°C to 20°C) |
5. 안전 정보
Always observe the following safety precautions to reduce the risk of injury or damage to the machine:
- 기계를 작동하기 전에 모든 지침을 읽고 이해하십시오.
- 안전 안경과 장갑 등 적절한 개인 보호 장비(PPE)를 착용하세요.
- 작업 공간이 깨끗하고, 조명이 밝으며, 방해물이 없는지 확인하세요.
- 기계를 d에서 작동하지 마십시오.amp 또는 습한 환경.
- 움직이는 부품에서 손과 헐렁한 옷을 멀리하십시오.
- Only use the specified PP/PET strapping material within the recommended width and thickness ranges.
- Do not attempt to strap objects that are unstable or exceed the machine's capabilities.
- Disconnect the battery before performing any maintenance, adjustments, or when the machine is not in use.
- Use only the charger and batteries supplied or approved by U.S. Solid.
- Store the machine and batteries in a dry, secure location, away from extreme temperatures.
6. 설정
6.1. 배터리 충전
Before first use, fully charge both batteries. The charging process takes approximately 90 minutes per battery.
- 충전기를 표준 전원 콘센트에 연결하세요.
- 배터리를 충전기에 삽입하세요. 충전기의 표시등이 충전 상태를 보여줍니다(예: 빨간색은 충전 중, 녹색은 충전 완료).
- Once fully charged, remove the battery and store it safely. Repeat for the second battery.
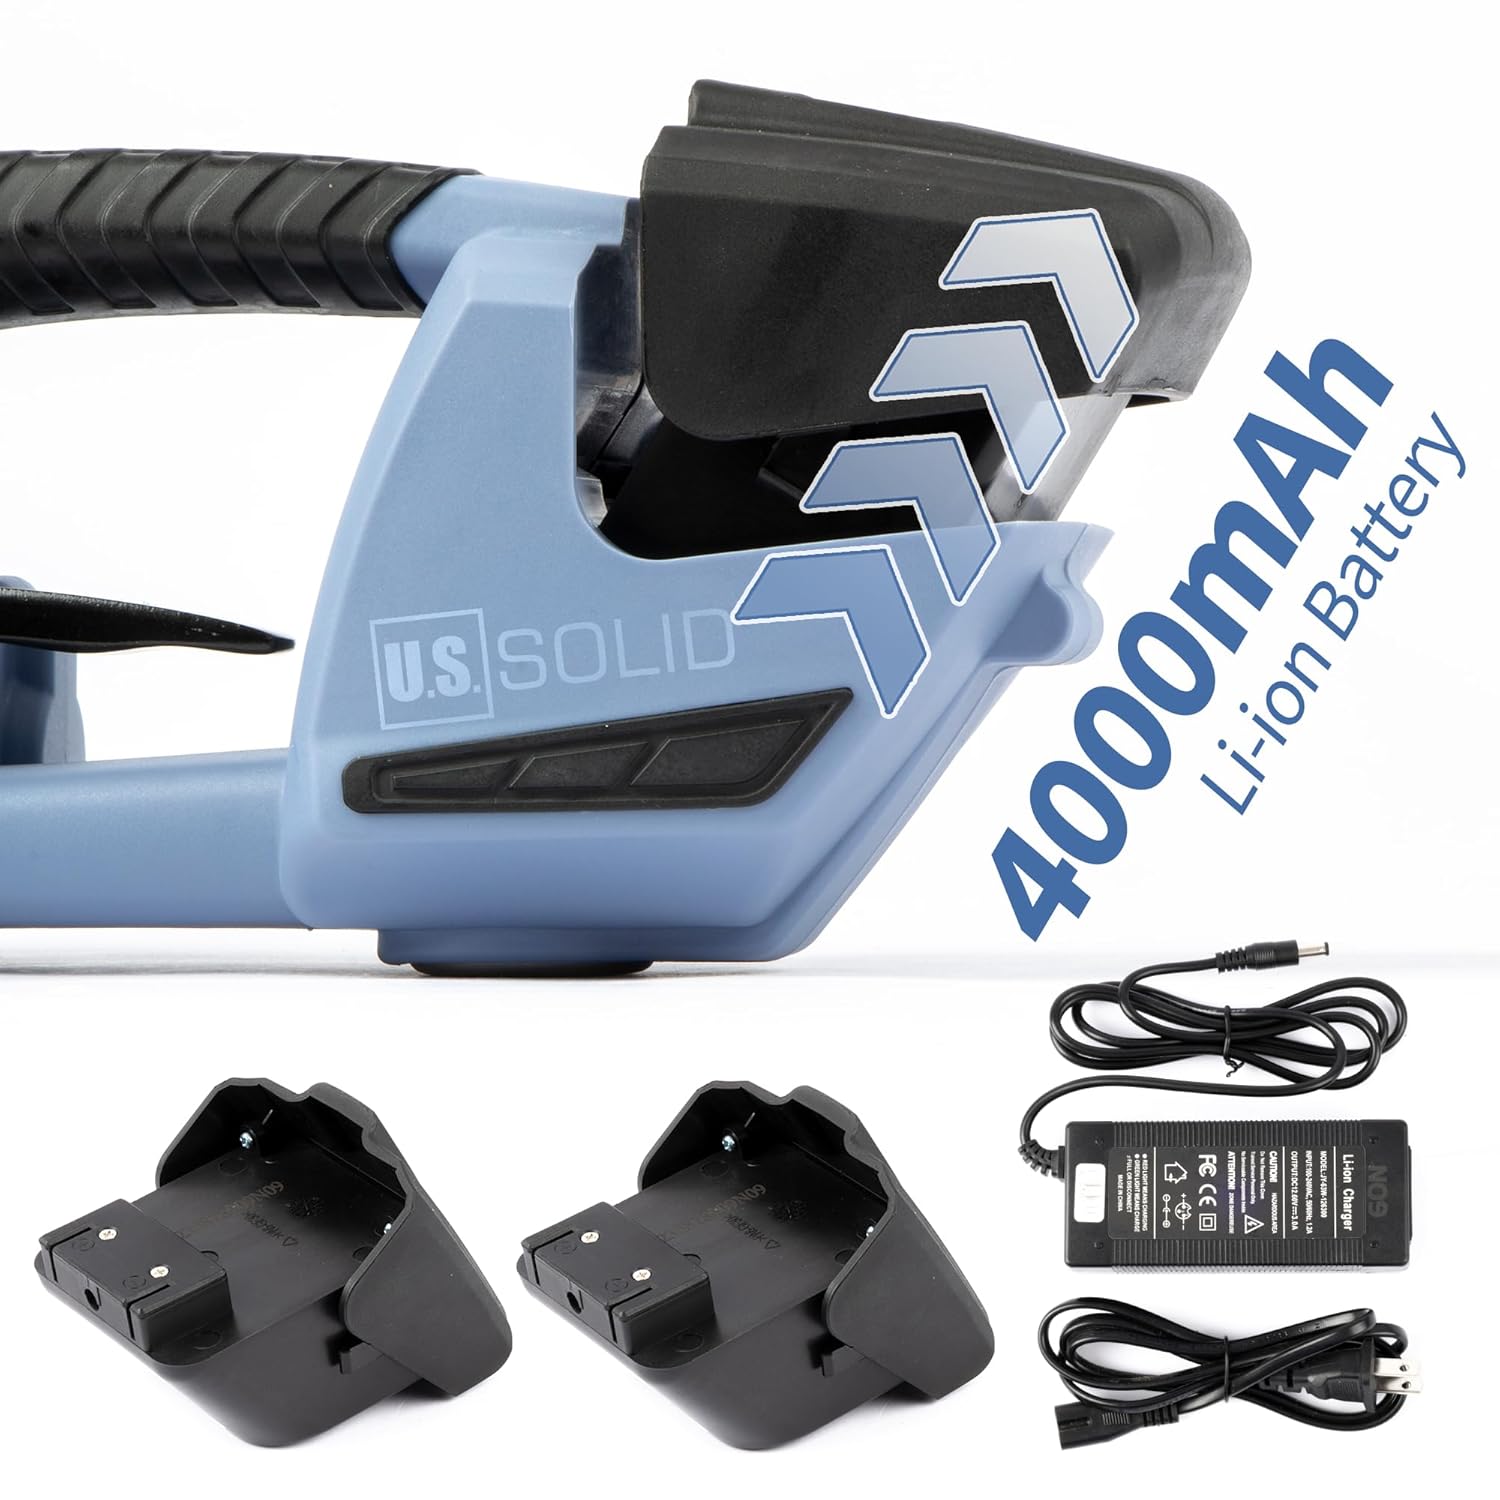
그림 6.1: The 4000mAh Li-ion batteries and charger.
6.2. 배터리 설치
- 기계가 꺼져 있는지 확인하십시오.
- Align the fully charged battery with the battery compartment at the rear of the machine.
- 배터리를 딸깍 소리가 나면서 제자리에 단단히 고정될 때까지 배터리 칸에 밀어 넣으세요.
6.3. Loading the Strap
스트랩을 올바르게 장착하는 것이 효과적인 작업에 매우 중요합니다.
- Ensure the machine is off and the battery is securely installed.
- Open the strap guide lever (if present, typically a small lever near the strap entry point).
- Feed the strap into the machine from the front, ensuring it passes through the tensioning mechanism and under the welding plate.
- Close the strap guide lever to secure the strap in place.
- Pull a sufficient length of strap through the machine to wrap around your package.
7. 운영
7.1. Adjusting Tensioning Force and Welding Time
The machine allows for manual adjustment of both tightening force and welding time to suit different strap types and application requirements.
- 조임력: Use the adjustment dial labeled "Tightening Force" (refer to Figure 3.2) to set the desired tension. Rotate clockwise for increased tension, counter-clockwise for decreased tension. The range is 600N to 2800N.
- 용접 시간: Use the adjustment dial labeled "Welding Time" (refer to Figure 3.2) to set the duration of the heat weld. Adjust based on strap material and thickness. Longer times for thicker straps, shorter for thinner.
메모: Always test settings on a scrap piece of strap before applying to critical packages to ensure optimal weld strength and tension.
7.2. Strapping a Package
- 스트랩 위치를 조정하세요: Wrap the strap around the package, ensuring it is flat and properly aligned. Overlap the two ends of the strap.
- Insert Strap Ends: Insert the bottom strap end into the machine's lower strap guide. Then, insert the top strap end into the machine's upper strap guide, overlapping the lower strap. Ensure both straps are seated correctly.
- 긴장: 를 누르고 계세요 Tensioning Button (refer to Figure 3.1). The machine will begin to pull the strap tight. Release the button once the desired tension is achieved. The LED indicator light may provide feedback during this process.
- 용접: After tensioning, press and hold the Welding Button (refer to Figure 3.1). The machine will perform a heat weld to join the strap ends and then cut the excess strap. Hold the button for the set welding time.
- 풀어 주다: Once the welding and cutting process is complete, release the welding button. Carefully remove the machine from the strapped package.

그림 7.1: Various usage scenarios demonstrating the application of strapping to different types of packages and pallets.
8. 유지관리
정기적인 유지보수는 스트래핑 기계의 수명과 최적의 성능을 보장합니다.
- 청소: Regularly clean the strap guides, welding plate, and cutter blade to remove any strap residue or debris. Use a brush or compressed air. Ensure the battery is removed before cleaning.
- 마모 부품: Inspect the welding base and cutter blade for wear. These parts are made from durable titanium alloy but may require replacement over time depending on usage. Refer to the included tools for replacement.
- 배터리 관리 : Store batteries in a cool, dry place. Avoid fully discharging batteries for extended periods. Charge them periodically if not in use.
- 저장: When not in use, store the machine in its original packaging or a protective case in a dry environment.

그림 8.1: Close-up of the welding mechanism, showing the area that requires regular cleaning and inspection for wear.
9. 문제 해결
This section addresses common issues you might encounter with your strapping machine.
| 문제 | 가능한 원인 | 해결책 |
|---|---|---|
| 기계의 전원이 켜지지 않습니다. | 배터리가 올바르게 설치되지 않았거나 방전되었습니다. | Ensure battery is fully charged and properly seated. Try a different charged battery. |
| Strap does not tension properly. | Incorrect strap loading; tension setting too low; strap material incompatible. | Re-load strap correctly. Increase tension setting. Verify strap type and dimensions. |
| Poor weld quality or strap breaks at weld. | Welding time too short; welding plate dirty; incorrect strap material. | Increase welding time. Clean the welding plate. Ensure correct strap material is used. |
| Strap gets stuck or machine jams. | Strap residue in guides; cutter blade dull or damaged. | Clean strap guides and cutter area. Inspect and replace cutter blade if necessary. |
| 배터리가 빨리 소모됩니다. | Battery nearing end of life; operating in extreme temperatures. | Replace battery if old. Operate within recommended temperature range. |
10. 보증 및 지원
For warranty information, technical support, or to order replacement parts, please contact U.S. Solid customer service. Refer to your purchase documentation or the U.S. Solid official web최신 연락처 정보는 사이트에서 확인하세요.
Please have your model number (USS-ESM00029) and purchase date available when contacting support.
Ask a question about this manual
Ask about setup, troubleshooting, compatibility, parts, safety, or missing instructions. Manuals+ will review the question and use this page’s manual context to help answer it.