
Jaguar 190S 전자 재봉틀 사용 설명서
모델 : 190S
소개
This manual provides comprehensive instructions for the safe and efficient operation, setup, and maintenance of your Jaguar 190S Electronic Sewing Machine. Designed for both beginners and experienced users, the Jaguar 190S offers a wide range of features for various sewing and quilting projects. Please read this manual thoroughly before using the machine to ensure optimal performance and longevity.
1. 설정
1.1 포장 풀기 및 배치
- 기계를 포장에서 조심스럽게 꺼내세요.
- Place the machine on a stable, flat surface. Ensure adequate space around the machine for comfortable operation.
- Connect the foot pedal and power cord to the machine and a suitable power outlet (220 Volts).

그림 1: 전면 view of the Jaguar 190S Electronic Sewing Machine. This image shows the main body of the machine, including the needle area, presser foot, stitch selection panel, and LCD screen.
1.2 보빈 감기
- 실패꽂이에 실패를 놓습니다.
- 윗실 가이드를 통해 실을 넣고, 보빈 감기 장력 디스크 주위로 실을 감습니다.
- 빈 보빈을 보빈 와인더 스핀들에 놓습니다.
- Wrap the thread clockwise a few times around the bobbin.
- 밥빈 와인더 스핀들을 오른쪽으로 밀어 넣으세요.
- Start the machine (using the foot pedal or start/stop button) to wind the bobbin. Stop when the bobbin is full.
- Cut the thread and push the spindle back to the left.
1.3 기계에 실 끼우기
- 노루발 레버를 올립니다.
- 실통을 실핀에 끼웁니다.
- 기계에 표시된 번호가 적힌 실 끼우기 경로를 따라가면서 실이 모든 가이드와 집게 레버를 통과하도록 하세요.
- Use the automatic needle threader for quick and easy needle threading.
- 감겨있는 북실을 북집에 넣고, 실이 장력 스프링을 통해 올바르게 통과하는지 확인하십시오.
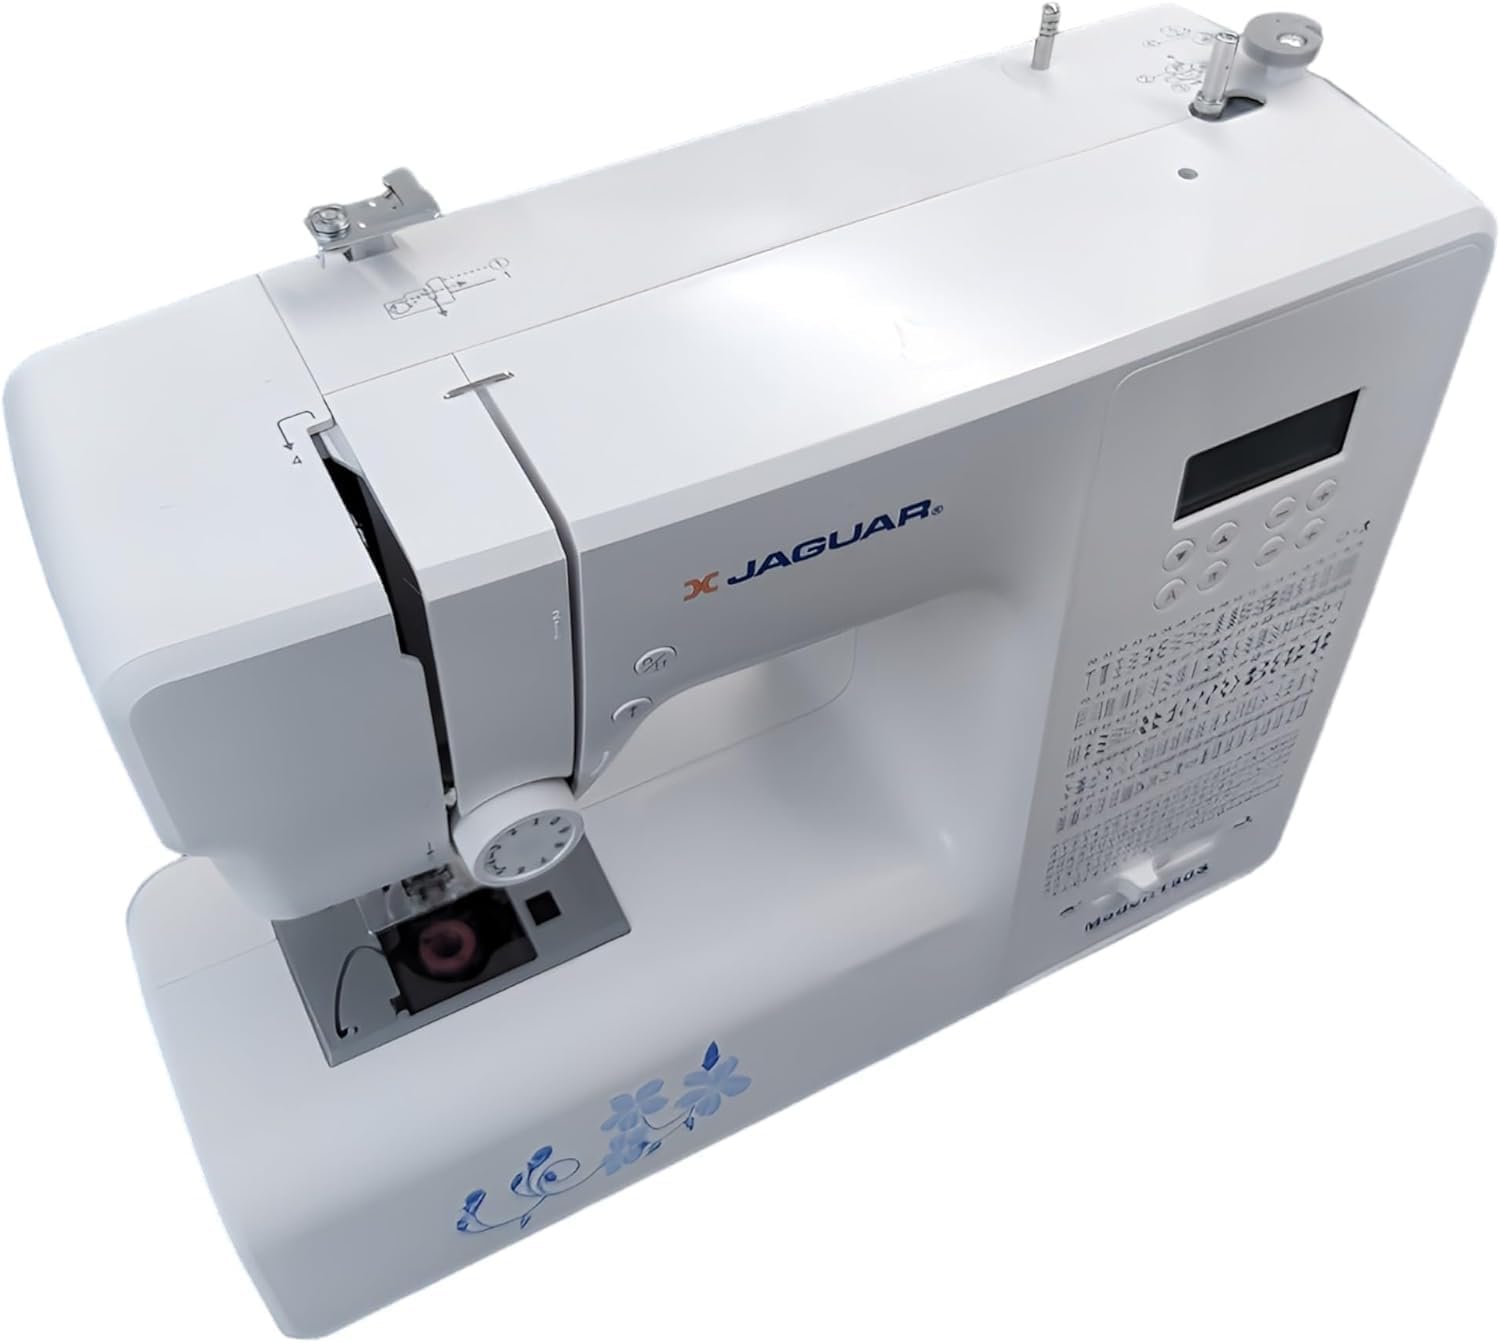
그림 2: 상향식 view of the Jaguar 190S, illustrating the upper threading path and bobbin winding area. This view helps in understanding how to correctly thread the machine.
1.4 Attaching the Needle
- 바늘을 가장 높은 위치로 올리려면 핸드휠을 돌립니다.
- 바늘 cl 풀기amp 나사.
- 새 바늘의 평평한 면이 기계 뒷면을 향하도록 하여 최대한 깊숙이 밀어 넣으세요.
- 바늘을 조여주세요amp 나사를 단단히 조입니다.
1.5 노루발 장착하기
- 노루발 리프터를 올립니다.
- Press the release button on the back of the presser foot holder to remove the current foot.
- Align the desired presser foot with the holder and lower the presser foot lifter until it snaps into place.
2. 사용 설명서
2.1 기본 컨트롤
- LCD 화면: Displays selected stitch number, length, and width.
- 스티치 선택 버튼: Use the '+' and '-' buttons to navigate through the 200 available stitches.
- 속도 제어 슬라이더: Adjusts sewing speed from 150 to 700 stitches per minute.
- 시작/중지 버튼: Operates the machine without the foot pedal.
- 리버스 버튼: 솔기의 시작과 끝 부분의 스티치를 강화하는 데 사용됩니다.
- 바늘 위/아래 버튼: 바늘을 완전히 위쪽 또는 완전히 아래쪽으로 위치시킵니다.
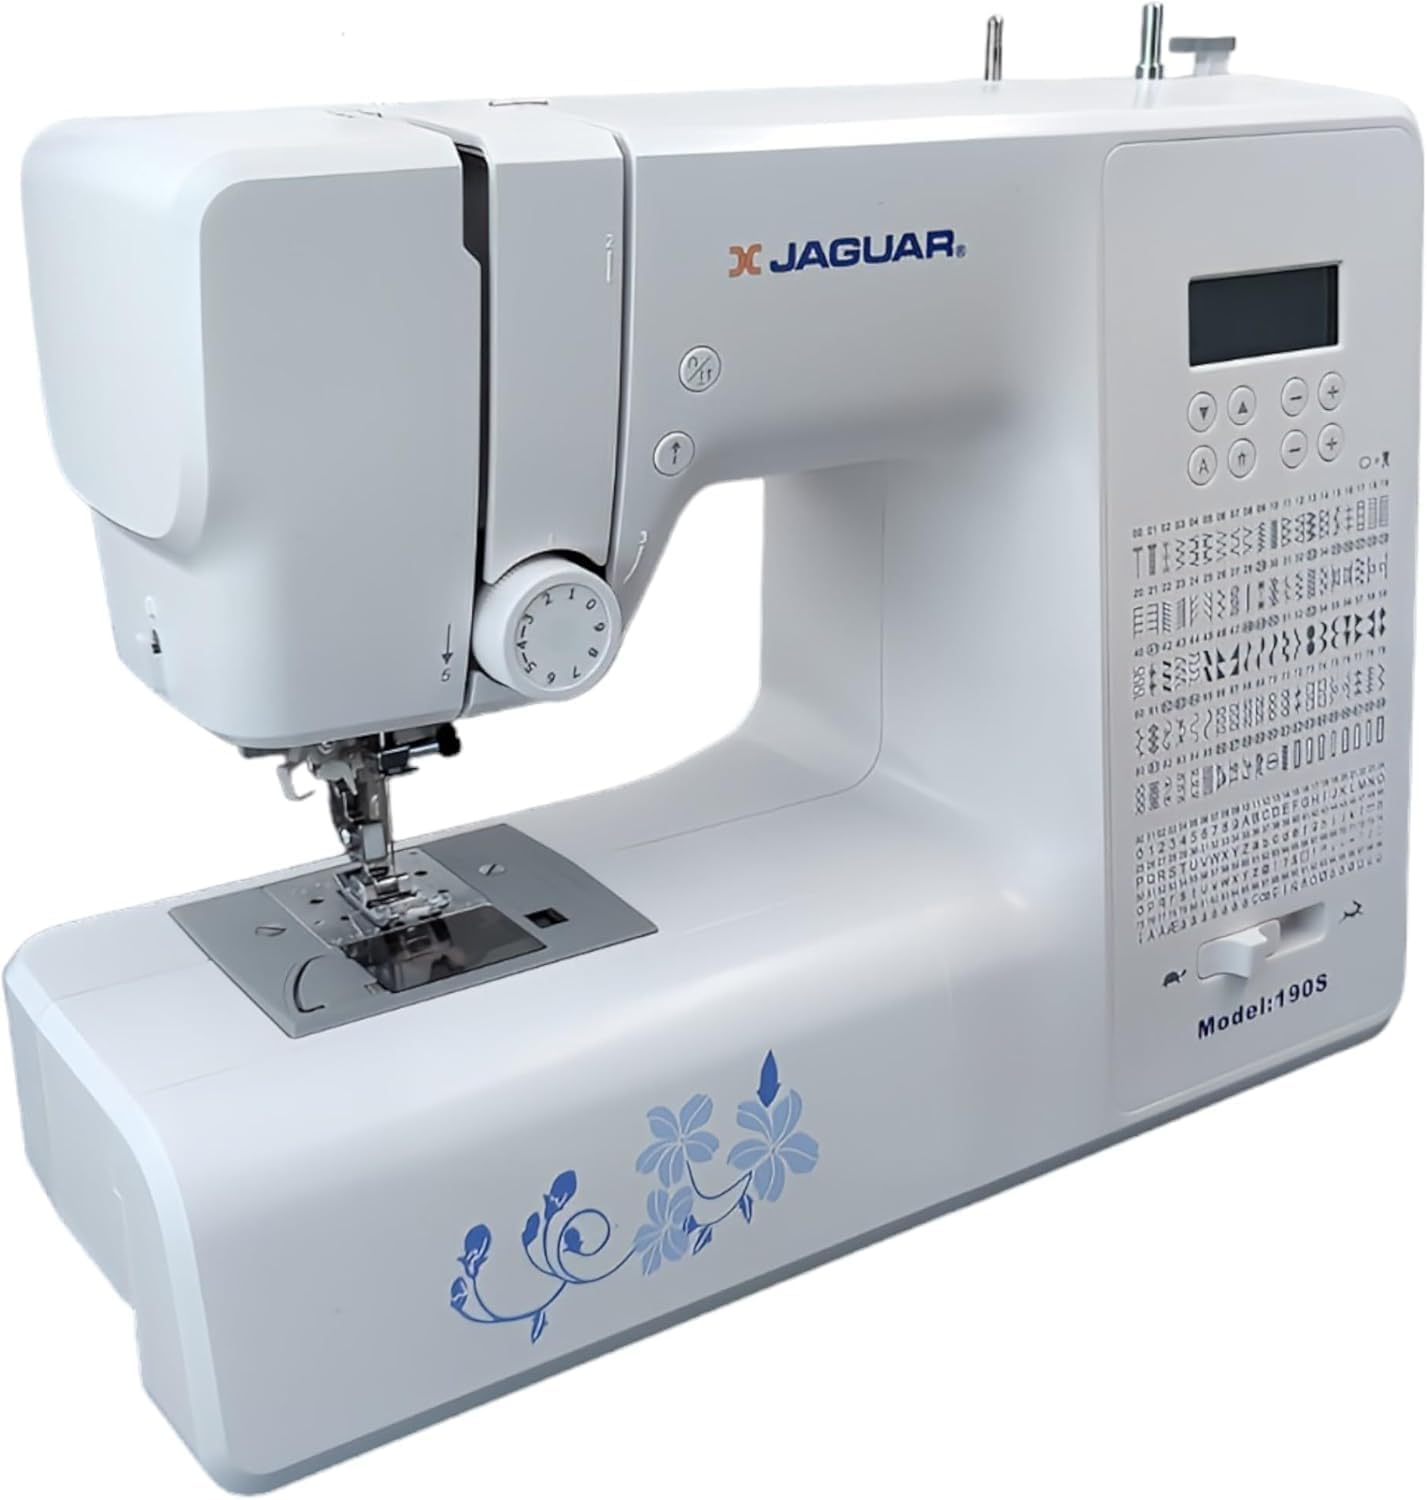
Figure 3: Close-up of the Jaguar 190S control panel and LCD screen. This image highlights the buttons for stitch selection, speed control, and needle positioning.
2.2 스티치 선택 및 조정
- Turn on the machine. The default stitch (usually a straight stitch) will appear on the LCD.
- Use the stitch selection buttons to choose from the 200 built-in stitches, including utility, decorative, and alphanumeric options.
- The machine automatically sets optimal stitch length and width for the selected stitch. These can be manually adjusted using dedicated buttons if desired (Length: 0-7mm, Width: 0-4.5mm).
2.3 자동 바늘 실꿰기 장치
- 바늘이 가장 높은 위치에 있는지 확인하십시오.
- Lower the needle threader lever completely.
- Guide the thread as instructed by the markings near the needle.
- Release the lever slowly; a loop of thread will be pulled through the needle eye.
2.4 자동 단추구멍
- 원스텝 단추구멍 노루발을 부착하세요.
- Place the button you intend to use into the buttonhole foot's size guide.
- Select one of the 8 automatic buttonhole styles from the stitch menu.
- 단추 구멍 레버를 내립니다.
- Start sewing; the machine will automatically create the buttonhole to the correct size.
2.5 Free-Motion Sewing and Quilting
- To engage free-motion sewing or quilting, lower the feed dogs using the lever located at the back of the needle plate area.
- Attach a darning or free-motion quilting foot (not included, may be purchased separately).
- Manually guide the fabric to create your desired stitches.
2.6 실 장력 조절
- The machine features an adjustable thread tension lever.
- Adjust the tension setting based on the fabric type and thread used. Correct tension results in balanced stitches on both sides of the fabric.
- Test on a scrap piece of fabric before sewing your project.
3. 유지관리
3.1 기계 청소
- 청소하기 전에 항상 기기의 플러그를 뽑으십시오.
- Regularly clean lint and dust from the bobbin area, feed dogs, and needle plate using the provided brush.
- 부드럽고 마른 천으로 기기 외부를 닦으세요. 강한 화학 약품은 사용하지 마세요.
3.2 바늘 교체
- Change the needle frequently, especially after 8-10 hours of sewing or if it becomes bent or dull. A dull needle can cause skipped stitches or fabric damage.
- Refer to section 1.4 for detailed instructions on attaching a new needle.
3.3 보관
- 사용하지 않을 때는 먼지가 쌓이지 않도록 기계를 덮어 두십시오.
- 직사광선을 피해 건조하고 서늘한 곳에 보관하세요.
4. 문제 해결
이 섹션에서는 발생할 수 있는 일반적인 문제를 다룹니다. 여기에 나열되지 않은 문제는 고객 지원팀에 문의하세요.
4.1 건너뛴 스티치
- Ensure the needle is inserted correctly and is not bent or dull. Replace if necessary.
- Check that the machine is properly threaded, both upper and bobbin threads.
- 사용하는 원단에 맞는 바늘 종류와 크기를 사용하십시오.
4.2 스레드 끊기
- Verify correct threading and bobbin winding.
- Adjust upper thread tension. Too high tension can cause thread breakage.
- 바늘판이나 바늘통에 거친 부분이나 톱니가 있는지 확인하세요.
- Ensure the needle is not bent or dull.
4.3 Uneven Stitches / Poor Stitch Quality
- Check and adjust thread tension for both upper and bobbin threads.
- Ensure the machine is threaded correctly.
- 좋은 품질의 실을 사용하세요.
- Clean the bobbin area from lint and debris.
5. 사양
| 특징 | 세부 사항 |
|---|---|
| 상표 | 재규어 |
| 모델 번호 | 190S |
| 바느질 프로그램 | 200 (including 100 alphanumeric, 8 automatic buttonholes) |
| 스티치 길이 | 0mm - 7mm |
| 스티치 폭 | 0mm - 4.5mm |
| 바늘 실 | 오토매틱 |
| 보빈 시스템 | Quick-insert horizontal hook with automatic winding |
| 표시하다 | 백라이트 LCD |
| 속도 제어 | Electronic, 150 to 700 stitches/minute |
| 조명 | 통합 LED |
| 힘 | 35 와트 |
| 권tage | 220 볼트 |
| 치수(길이 x 너비 x 높이) | 43 x 23 x 35cm (약 16.9 x 9.1 x 13.8인치) |
| 무게 | 5킬로그램(약 11파운드) |
| 재료 | 플라스틱 |
6. 포함된 액세서리
The Jaguar 190S comes with a comprehensive set of accessories to get you started:
- Standard Zigzag Foot
- One-Step Buttonhole Foot
- 새틴 스티치 발
- 블라인드 밑단 발
- 단추 재봉 발
- Electronic Foot Pedal
- Needles (3 pieces)
- 트윈 니들
- 스풀 캡
- Bobbin Holder
- Screwdrivers (small + for needle plate)
- Bobbins (4 total, one pre-installed)
- 보조 스풀 핀
- Seam Ripper / Brush

Figure 4: A selection of the accessories included with the Jaguar 190S, such as various presser feet, bobbins, needles, and the foot pedal.
7. 보증 및 지원
Your Jaguar 190S Electronic Sewing Machine is covered by a 1년 보증 for parts and manufacturing defects. Please retain your proof of purchase for warranty claims.
For technical assistance, troubleshooting beyond this manual, or warranty service, please contact your retailer or the official Jaguar customer support. Contact information can typically be found on the product packaging or the manufacturer's web대지.