
1. 제품 오버view
The QXNASU Inline Cord Switch, Model 123sh360, is designed for convenient on/off control of table and floor lamps. This switch is a direct replacement for various inline cord switches, including the Ting Shen TS-09C model. It features a simple, tool-free installation process, making it an ideal solution for repairing or upgrading your lamp's power control.
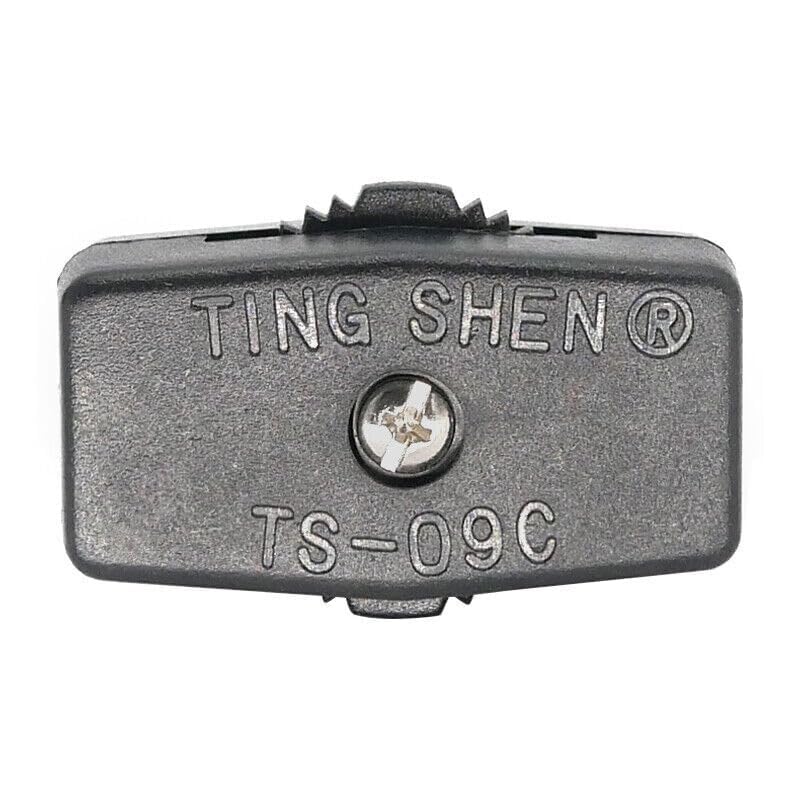
이미지 1.1: The QXNASU Inline Cord Switch, Model 123sh360. This image displays the compact design of the switch, suitable for integration into lamp 전원 코드.
2. 안전 정보
설치 및 사용 전에 모든 안전 지침을 읽어 주십시오. 지침을 따르지 않을 경우 감전, 화재 또는 기타 위험이 발생할 수 있습니다.
- 전원 분리: 항상 l을 보장하십시오.amp is unplugged from the power outlet before attempting any installation or maintenance.
- 실내에서만 사용 가능: This switch is designed for indoor use with household lamps. Do not use in wet or damp 위치.
- 적절한 전선 굵기: l을 확인하세요amp cord's wire gauge is compatible with the switch's design.
- 손상 여부 검사: Before installation, inspect the switch and lamp cord for any signs of damage. Do not use if damaged.
- Adult Installation: Installation should be performed by a competent adult.
3. 설치 지침
The QXNASU Inline Cord Switch features a tool-free, insulation-piercing design for quick and easy installation.
- L 준비amp 코드: l을 분리하세요amp from the power outlet. Identify the section of the cord where you wish to install the switch. This switch is designed for a single-conductor cord or one side of a two-conductor cord.
- Open the Switch Case: Gently pry open the two halves of the switch case.
- 코드 위치: l을 놓으세요amp cord into the designated channel within one half of the switch case. Ensure the cord is seated properly and aligned with the internal piercing pins.
- Close the Switch Case: Carefully bring the two halves of the switch case together. Apply firm, even pressure until the case snaps shut. The internal pins will penetrate the wire's insulation, making contact with the inner copper wire. No wire stripping or tools are required for this step.
- 연결 확인: Ensure the switch case is securely closed and the cord is firmly held in place.
- 시험: l을 꽂으세요amp back into the power outlet and test the switch functionality.
이미지 3.1: Illustration of the switch case opened, showing the internal pins and the channel for the lamp cord. This image helps visualize how the cord is placed before closing the switch.
4. 운영
The QXNASU Inline Cord Switch operates with a simple push-button mechanism.
- 켜기: Press the "ON" side of the rocker switch (or the side that depresses to activate).
- 끄기: Press the "OFF" side of the rocker switch (or the side that depresses to deactivate).
l을 확인하세요amp is plugged into a functional power outlet for the switch to operate correctly.
5. 유지관리
The QXNASU Inline Cord Switch requires minimal maintenance.
- 청소: Disconnect power before cleaning. Wipe the exterior of the switch with a soft, dry cloth. Do not use liquid cleaners or abrasive materials.
- 점검: Periodically inspect the switch and the lamp cord for any signs of wear, damage, or loose connections. If any damage is observed, discontinue use and replace the switch.
6. 문제 해결
| 문제 | 가능한 원인 | 해결책 |
|---|---|---|
| Lamp 켜지지 않습니다. |
|
|
| 스위치가 헐렁하거나 흔들거리는 느낌이 듭니다. |
|
|
7. 사양
| 모델 번호 | 123sh360 |
| 상표 | QXNASU |
| 부품 번호 | 123sh360 |
| 품목 무게 | 0.8 온스 |
| 패키지 크기 | 2.4 x 1 x 1 인치 |
| 재료 | 구리(내부 접점) |
| 마치다 | 구리(내부 접점) |
| 장착 유형 | Inline Cord (for Floor Mount, Tabletop lamps) |
| 특별 기능 | Tool-free installation, Insulation-piercing contacts |
| 필요한 배터리 | 아니요 |
8. 보증 및 지원
Specific warranty details are not provided in the product information. For warranty claims or technical support, please contact the manufacturer, QXNASU, or your retailer directly.
Please retain your proof of purchase for any warranty inquiries.
For further assistance, please visit the QXNASU support page or contact their customer service. (Specific contact information not provided.)