
1. 서론
구매해주셔서 감사합니다asing the SUBSONIC Wireless Controller. This gamepad is designed for use with Nintendo Switch, Switch OLED, and Switch Lite consoles, offering an enhanced gaming experience with its ergonomic design, wireless connectivity, and advanced features.
주요 특징은 다음과 같습니다.
- Wireless Bluetooth connectivity.
- 편안한 그립감을 위한 인체공학적 디자인.
- Motion sensors (6-axis gyroscope and accelerometer).
- Adjustable vibration feedback with 3 intensity levels.
- Programmable LED lighting.
- Programmable M1 and M2 esport buttons.
- Turbo and Auto-fire functions.
- Long-lasting battery life (approximately 9-10 hours).
- Wake-up function for the Nintendo Switch console.
2. 상자 안에 무엇이 들어있나요?
- 1 x SUBSONIC Wireless Controller
- 1 x USB-C 충전 케이블
3. 컨트롤러 레이아웃
Familiarize yourself with the buttons and features of your SUBSONIC Wireless Controller.
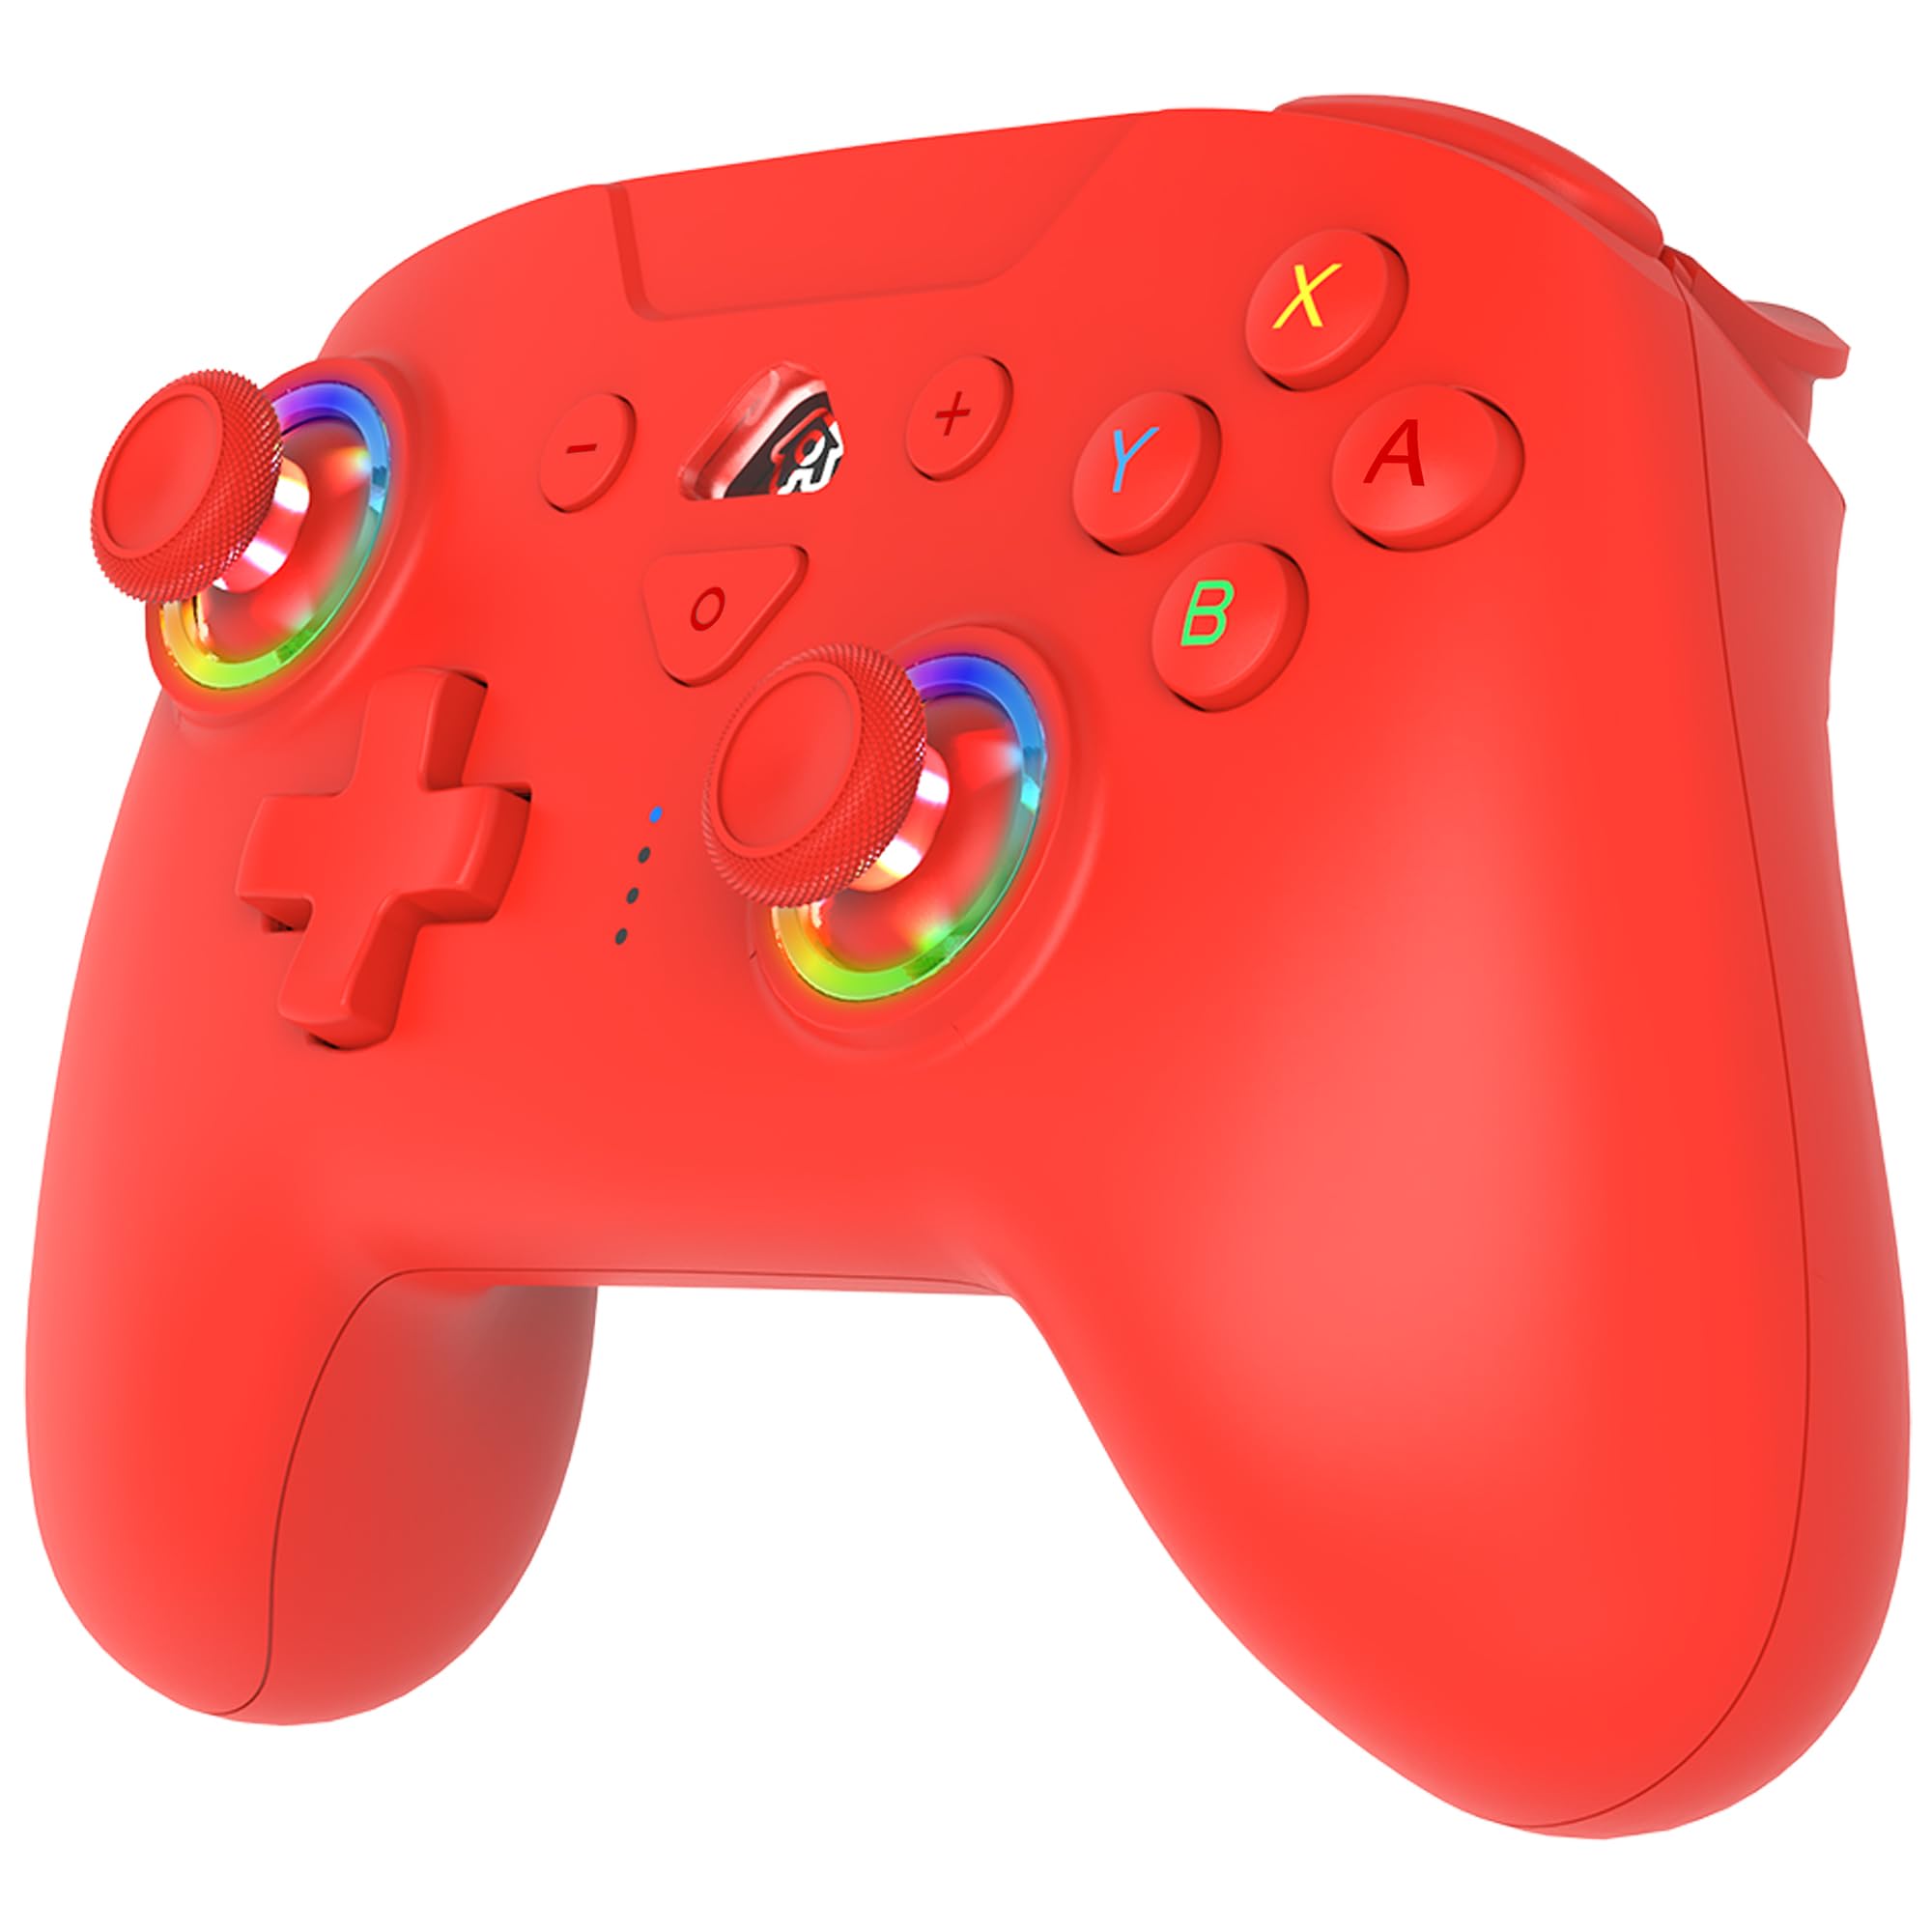
이미지 설명: This image displays the front and back views of the red SUBSONIC Wireless Controller. The front view labels the L button, RGB LED on the left stick, Left Stick (L3), D-Pad, Screen Shot button, LED Indicator lights, Home button, Minus (-) button, Plus (+) button, R button, ABXY buttons, RGB LED on the right stick, and Right Stick (R3). The back view labels the ZR and ZL triggers, M2 and M1 programmable buttons, and the Reset button, along with the Turbo button.
- 왼쪽: L button, Left Analog Stick (L3 push), D-Pad (Up, Down, Left, Right).
- 오른쪽: R button, Right Analog Stick (R3 push), A, B, X, Y buttons.
- 센터: Minus (-) button, Home button, Plus (+) button, Screenshot button, LED Indicator lights.
- Top Triggers: ZL (Left Trigger), ZR (Right Trigger).
- Bottom Paddles: M1 (Right Paddle), M2 (Left Paddle).
- 뒤쪽에: Reset button, Turbo button.
4. 설정 및 페어링
4.1 Nintendo Switch와의 초기 페어링
- Nintendo Switch 콘솔의 전원이 켜져 있고 최신 시스템 소프트웨어로 업데이트되어 있는지 확인하세요.
- 홈 메뉴에서 "컨트롤러" > "그립/순서 변경"을 선택하세요.
- 컨트롤러에서 버튼을 길게 누르세요. 홈 버튼 LED 표시등이 빠르게 깜박일 때까지 3~5초 동안 기다립니다.
- The console will detect the controller. Once paired, the LED indicators on the controller will stop flashing and remain solid on the assigned player number.
- If pairing fails, ensure the controller is charged and try again.
4.2 Reconnecting the Controller
Once paired, simply press the 홈 버튼 on the controller to wake it up and automatically reconnect to your Switch console.
5. 사용 설명서
5.1 Motion Sensors (6-Axis Gyroscope)
The controller is equipped with a 6-axis gyroscope and accelerometer, allowing for motion-controlled gameplay in compatible titles. Simply tilt the controller to interact with games like Mario Kart 8 Deluxe.

이미지 설명: A red wireless controller is shown with purple swirling lines around it, illustrating its 360-degree motion sensing capabilities. Small icons at the top right depict controller movements for motion control.
5.2 조절 가능한 진동 피드백
The controller features three levels of vibration intensity (Weak, Medium, Strong) to enhance your gaming experience. The intensity can be adjusted to suit your preference.

이미지 설명: A red wireless controller is depicted with glowing orange areas on its grips, symbolizing vibration. Below the controller, a horizontal bar graph shows a gradient from "WEAK" to "STRONG" with a slider indicating the current vibration level.
5.3 Programmable RGB LED
The controller includes programmable RGB LEDs around the analog sticks. You can choose between two modes: fixed colors or breathing colors, and adjust the color and brightness.

이미지 설명: A close-up of the red wireless controller highlights the RGB LED rings around both analog sticks. Text labels indicate "PROGRAMMABLE RGB LED" with "2 MODES" (Fix Colors, Breathing Colors), "COLOR ADJUSTMENT" (a color wheel), and "BRIGHTNESS ADJUSTMENT" (a sun icon with 100% brightness).
5.4 Programmable M1 & M2 Keys
The M1 and M2 buttons on the back of the controller are programmable. You can assign various button inputs to these keys for quick access during gameplay.

이미지 설명: The back of the red wireless controller is shown, with the M1 and M2 programmable buttons outlined in blue. Blue arrows point downwards from these buttons to a row of circular icons representing various assignable buttons: D-Pad directions (Up, Down, Left, Right), A, B, X, Y, L, R, ZL, ZR, L3, and R3.
5.5 Turbo & Auto Functions
The controller supports Turbo and Auto-fire functions for rapid button presses. This can be activated for specific buttons (A, B, X, Y, L, R, ZL, ZR) to provide an advantag특정 게임에서.

이미지 설명: 측면 view of the red wireless controller highlights the Turbo button with an orange circle. To the right, two cartoon illustrations depict characters performing rapid attacks, symbolizing the effect of the Turbo function. Below, a speedometer icon and circular icons for A, B, X, Y, L, R, ZL, ZR buttons indicate which buttons can utilize this feature.
5.6 Wake Up Function for Switch
The controller can wake up your Nintendo Switch console from sleep mode. Simply press the 홈 버튼 on the controller to activate the console.

이미지 설명: A red wireless controller is shown in the foreground, with a finger pressing its Home button. In the background, a Nintendo Switch console in its dock is depicted with a green glowing power icon, indicating it is being woken up by the controller.
6. 충전 및 배터리 수명
The controller is equipped with a built-in rechargeable battery, providing approximately 9 to 10 hours of playtime on a full charge. A USB-C charging cable is included for recharging.

이미지 설명: A red wireless controller is shown with a green battery icon and a lightning bolt, indicating charging or full battery. Text above reads "ABOUT 10 HOURS PLAYING TIME" and "600 MAH" below the battery icon.
- 동봉된 USB-C 케이블을 컨트롤러의 충전 포트에 연결하세요.
- Connect the other end of the USB-C cable to a USB power source (e.g., Nintendo Switch dock, computer USB port, or USB wall adapter).
- The LED indicators on the controller will show charging status. They will typically stop flashing or turn off when fully charged.
7. 사양
| 특징 | 세부 사항 |
|---|---|
| 모델명 | SA5633-3 |
| 호환 장치 | 닌텐도 스위치, 스위치 OLED, 스위치 라이트 |
| 연결 기술 | 무선(블루투스) |
| 컨트롤러 유형 | 게임패드 |
| 모션 감지 | 6-axis Gyroscope, Accelerometer |
| 진동 | 조절 가능 (3단계) |
| LED 기능 | Programmable RGB LEDs |
| 프로그래밍 가능한 버튼 | M1, M2 |
| 전원 | 배터리 구동 |
| 배터리 수명 | 약 9-10시간 |
| 품목 무게 | 204그램 |
| 품목 치수 | 4.53 x 6.3 x 23.62 인치 |
| 색상 | 빨간색 |
8. 문제 해결
8.1 컨트롤러가 연결/페어링되지 않음
- 배터리 확인: 컨트롤러가 완전히 충전되었는지 확인하십시오. USB-C 케이블을 사용하여 전원에 연결하십시오.
- 수리하다: Go to "Controllers" > "Change Grip/Order" on your Switch and try pairing again by holding the Home button on the controller.
- 간섭: Move closer to the Switch console and ensure no other wireless devices are causing interference.
- 컨트롤러 재설정: Locate the small reset button on the back of the controller (refer to Controller Layout image) and press it with a thin object (like a paperclip). Then attempt to pair again.
- Switch System Update: 닌텐도 스위치 콘솔의 시스템 소프트웨어가 최신 버전인지 확인하십시오.
8.2 입력 지연 또는 연결 끊김
- 거리: Ensure you are within a reasonable range of the Switch console.
- 간섭: 주변의 다른 활성 블루투스 장치를 최소화하세요.
- 배터리 수준: Low battery can affect wireless performance. Charge the controller.
8.3 버튼이 응답하지 않음
- 컨트롤러 재설정: 리셋 버튼을 사용하여 하드 리셋을 수행합니다.
- 수리하다: Disconnect and re-pair the controller with the Switch.
- Test in System Settings: Use the Switch's controller test function (System Settings > Controllers and Sensors > Test Input Devices) to verify button functionality.
9. 보증 및 지원
This SUBSONIC Wireless Controller comes with a 2년 제조사 보증.
For technical support, warranty claims, or further assistance, please contact SUBSONIC customer service through their official web제품을 구매한 사이트 또는 소매업체.
공식 제품 비디오:
비디오 설명: This official product video from SUBSONIC INC showcases the features of the red wireless controller for Nintendo Switch. It highlights the large capacity battery, programmable esport buttons, and other functionalities. The video is 14 seconds long.