소개
This manual provides instructions for the setup, operation, maintenance, and troubleshooting of your Pisichen 17.3 inch Portable Monitor. This monitor features a 1600x900 HD resolution, 800:1 contrast ratio, 250 cd/m² brightness, 16:9 aspect ratio, and a 60Hz refresh rate, designed to provide an extended display for various devices.
The monitor includes multiple interfaces for broad compatibility and a built-in kickstand for convenience. It supports various display modes for enhanced productivity and entertainment.
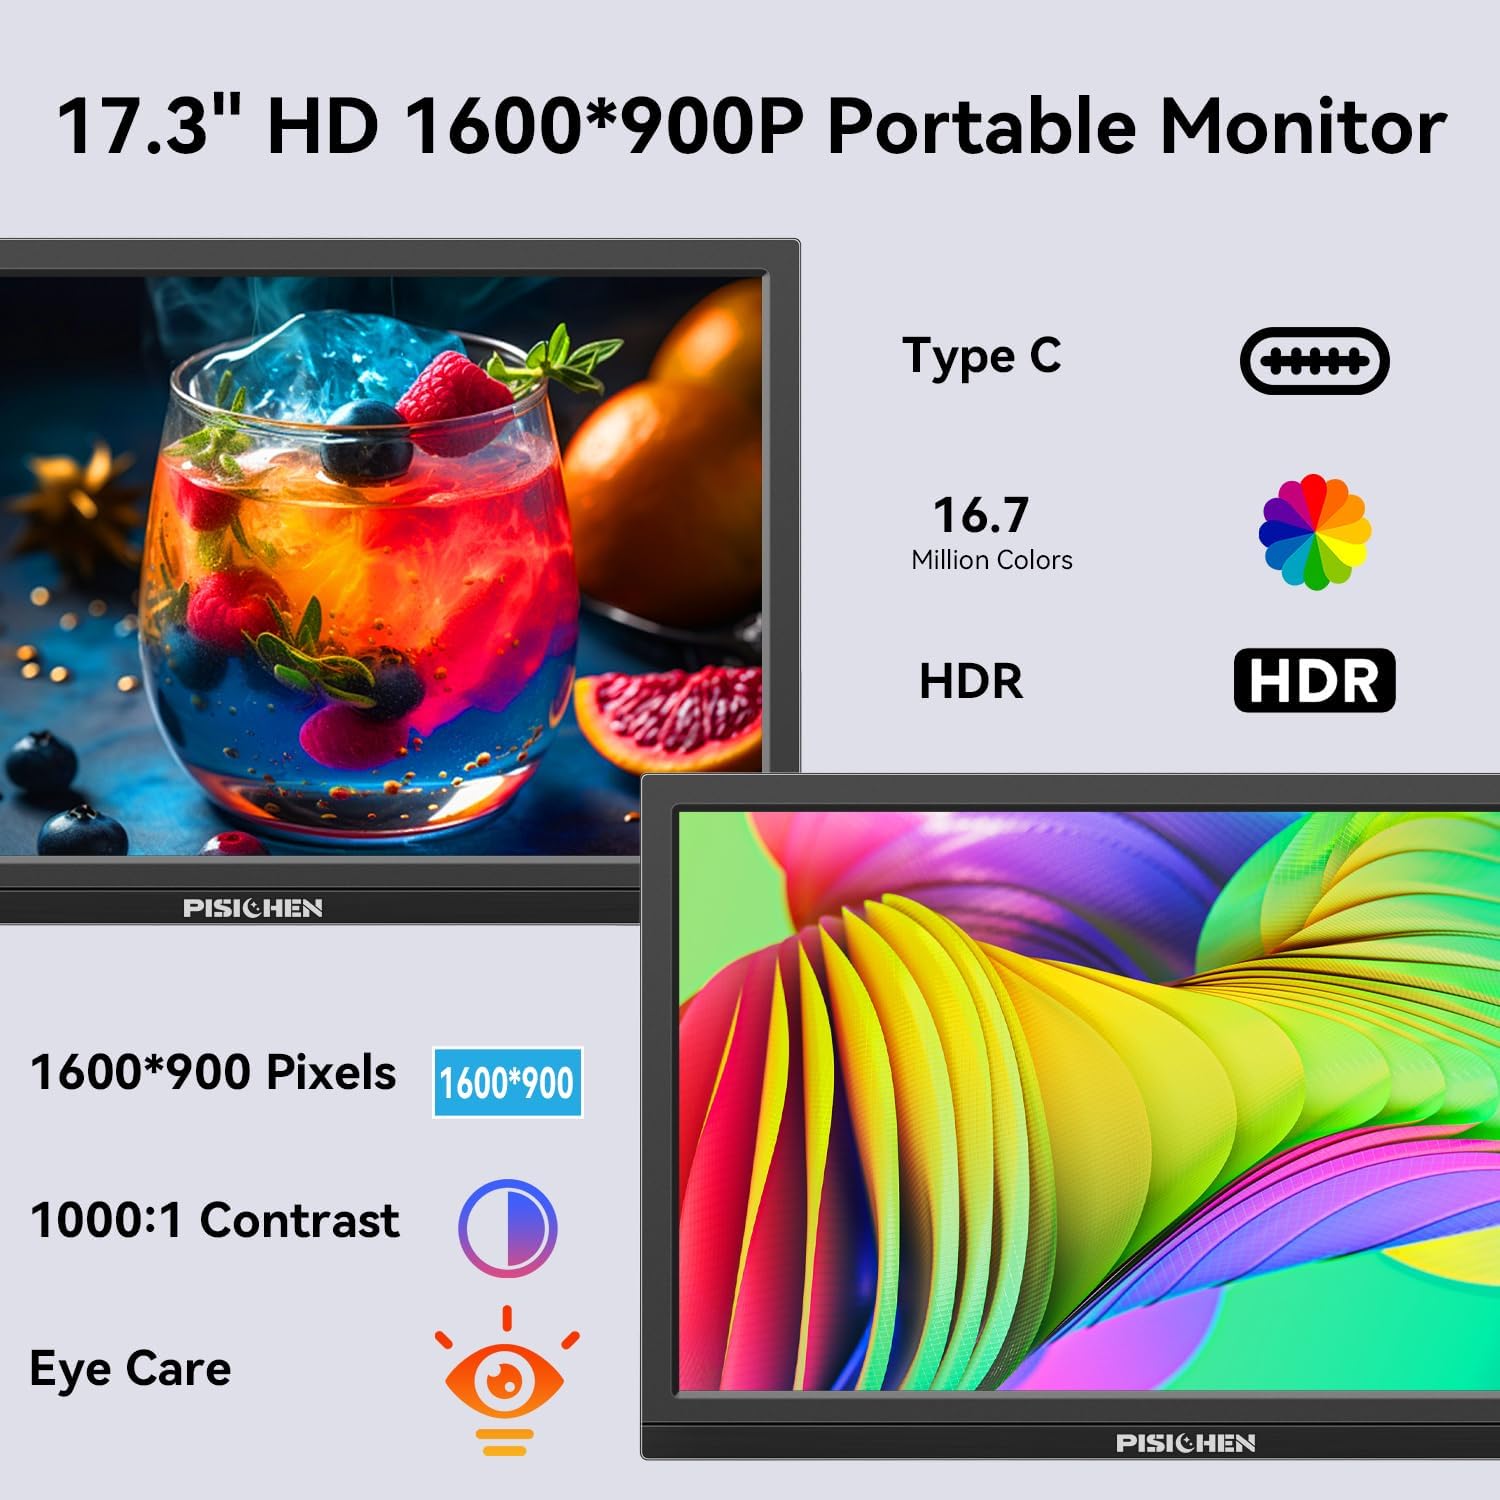
Image: The Pisichen 17.3 inch Portable Monitor highlighting its HD 1600x900 resolution, 1000:1 contrast, and eye care features.
패키지 내용
패키지에 모든 품목이 들어 있는지 확인하세요.
- 17.3인치 휴대용 모니터
- DC 전원 어댑터
- HDMI to HDMI 케이블
- USB-C to USB-C 케이블
- 사용 설명서 (본 문서)

Image: The portable monitor and its accompanying accessories, including cables and power adapter.
설치 지침
1. 전원 연결하기
Connect the provided DC Power Adapter to the DC Power Port on the monitor and then to a power outlet. Ensure the monitor receives sufficient power for stable operation.
2. 장치에 연결하기
이 모니터는 두 가지 주요 연결 방식을 지원합니다.
- USB-C 연결: Use the provided USB-C to USB-C cable. Connect one end to the monitor's USB-C 3.1 port (for signal input) and the other end to a compatible USB-C 3.1 (or higher) port on your laptop, PC, or smartphone. This connection can transmit both video and power.
- HDMI 연결: Use the provided HDMI to HDMI cable. Connect one end to the monitor's HDMI port and the other end to the HDMI output of your device (laptop, PC, game console). When using HDMI, ensure the monitor is also connected to power via the DC power adapter.

Image: Visual guide for USB-C and HDMI connection methods, showing cable connections and power requirements.
3. 물리적 설정
- 내장형 킥스탠드: The monitor features an integrated, foldable kickstand. Gently unfold it from the back of the monitor to position the screen at a desired viewing angle on a flat surface.
- VESA 장착: For alternative mounting options, the monitor is equipped with standard 75x75mm VESA holes on the back. This allows for mounting to compatible desktop stands or wall mounts (mounting hardware not included).
작동 지침
1. Monitor Interfaces and Controls
Familiarize yourself with the ports and control buttons located on the side of the monitor:
- DC 전원 포트: 전원 어댑터를 연결합니다.
- 3.5mm 오디오 포트: 외부 헤드폰이나 스피커를 연결하는 데 사용합니다.
- USB C 3.1 포트: For video signal input and power delivery from compatible devices.
- USB C 2.0 포트: Primarily for charging phones or connecting OTG devices.
- HDMI 포트 : For video signal input from HDMI-enabled devices.
- Brightness/Up Button: Adjusts screen brightness or navigates up in the OSD menu.
- 메뉴/확인 버튼: Opens the On-Screen Display (OSD) menu or confirms selections.
- Volume/Down Button: Adjusts audio volume or navigates down in the OSD menu.
- OTG 포트: For connecting a keyboard or mouse.

이미지: 상세 view 모니터의 포트와 제어 버튼에 대한 정보입니다.
2. 디스플레이 모드
이 모니터는 호환되는 장치에 연결될 경우 다양한 디스플레이 모드를 지원합니다.
- 복제 모드: 기본 화면의 내용을 그대로 보여줍니다.
- 확장 모드: Extends your desktop, providing additional screen space.
- 보조 화면 모드: 디스플레이로는 휴대용 모니터만 사용합니다.
These modes can typically be configured through your device's display settings (e.g., Windows Display Settings, macOS System Preferences).

이미지: 전ample of extending a smartphone's display to the portable monitor via USB-C.
3. 화면 디스플레이(OSD) 메뉴
를 누르세요 메뉴 / 확인 OSD 메뉴에 접근하려면 버튼을 누르십시오. 밝기/업 그리고 볼륨/다운 buttons to navigate through options and adjust settings such as brightness, contrast, color temperature, and input source. Press 메뉴 / 확인 again to confirm selections or exit sub-menus.
4. HDR 모드
The monitor supports HDR (High Dynamic Range) technology for improved color and contrast. This mode can be enabled or disabled through the OSD menu, if supported by your connected device and content.

Image: Visual comparison of SDR and HDR display quality.
5. Low Blue Light Feature
The monitor includes a Low Blue Light feature designed to filter harmful blue light, reducing eye strain during prolonged use. This setting can be adjusted via the OSD menu.

Image: Illustration of the Low Blue Light feature for eye protection.
유지
1. 모니터 청소
- 청소하기 전에는 항상 모니터의 전원을 끄고 플러그를 뽑으세요.
- 부드럽고 보풀이 없는 천을 살짝 사용하십시오. damp물이나 비연마성 화면 세척제로 세척하세요.
- 세척제를 화면에 직접 뿌리지 마세요. 천에 먼저 묻혀 사용하세요.
- 독한 화학 물질, 알코올 또는 암모니아 기반 세척제는 화면 표면을 손상시킬 수 있으므로 사용을 피하십시오.
2. 보관
사용하지 않을 때는 모니터를 직사광선과 극한 온도 변화를 피해 서늘하고 건조한 곳에 보관하십시오. 이동 시에는 긁힘이나 손상을 방지하기 위해 보호 슬리브나 케이스를 사용하십시오.
문제 해결
모니터에 문제가 발생하면 다음의 일반적인 문제와 해결 방법을 참조하세요.
- 신호 없음 / 검은 화면:
- Ensure all cables (power and video) are securely connected to both the monitor and the source device.
- 소스 장치의 전원이 켜져 있고 신호를 출력하는지 확인하세요.
- Check the input source setting on the monitor via the OSD menu to ensure it matches your connection (e.g., HDMI, USB-C).
- USB-C를 사용하는 경우, 장치의 USB-C 포트가 비디오 출력(DisplayPort Alternate Mode)을 지원하는지 확인하십시오.
- Screen is Too Dim / Cannot Adjust Brightness:
- Access the OSD menu and navigate to the brightness settings. Ensure the brightness level is increased.
- Some devices may have their own display settings that override or limit monitor brightness. Check your connected device's display settings.
- Ensure the monitor is receiving adequate power. A weak power source can sometimes affect brightness.
- No Audio / Headphone Jack Not Working:
- 모니터(OSD 메뉴를 통해)와 연결된 기기의 볼륨 설정을 모두 확인하세요.
- Ensure headphones or speakers are fully plugged into the 3.5mm audio port.
- Verify that the audio output on your source device is set to the portable monitor.
- Test with different headphones or speakers to rule out a faulty audio device.
- Image Distortion / Poor Picture Quality:
- Ensure the display resolution on your source device is set to the monitor's native resolution (1600x900).
- Check for damaged or loose video cables. Try a different cable if available.
- Adjust contrast and color settings in the OSD menu.
명세서
| 모델 번호 | SLZJ173 |
| 화면 크기 | 17.3인치 |
| 해결 | 1600x900 HD |
| 종횡비 | 16시 9분 |
| 대비율 | 800시 1분 |
| 명도 | 250칸델라/제곱미터 |
| 새로 고침 빈도 | 60Hz |
| 패널 유형 | TN |
| View잉 각도 | 170° |
| 색상 영역 | 99% sRGB, 16.7 million colors (8-bit) |
| 연결성 | 1x HDMI, 1x USB-C 3.1 (signal input), 1x USB-C 2.0 (phone charging/OTG), 1x 3.5mm Audio Jack, 1x DC Power Port |
| 내장 스피커 | 예 |
| VESA 마운트 | 75x75mm |
| 제품 치수 | 0.3 x 12 x 8 인치(대략) |
| 품목 무게 | 3.54파운드 |
보증 및 지원
For warranty information or technical support, please contact the manufacturer, Pisichen, or the retailer from whom you purchased the product. Please have your model number (SLZJ173) and purchase details ready when contacting support.