
1. 서론
This manual provides detailed instructions for the assembly, operation, and maintenance of your FABATO Queen Size Bed Base. This modern platform bed features an upholstered headboard with integrated LED lighting, two AC power outlets, and two USB charging ports for convenience. The robust metal frame includes 13 sturdy metal bars and 9 support legs, ensuring stability and a 900 lbs load capacity. Additionally, it offers 12.6 inches of under-bed storage space.
2. 안전 정보
- 항상 조립 지침을 주의 깊게 따르세요.
- 사용 전에 모든 볼트와 나사가 단단히 조여졌는지 확인하십시오. 정기적으로 점검하고 필요하면 다시 조이십시오.
- 최대 중량 용량인 900파운드를 초과하지 마십시오.
- Use suitable bedding materials to prevent choking hazards, especially if children will be using the bed.
- Keep electrical components (LED lights, AC/USB outlets) away from liquids.
- Avoid placing heavy or sharp objects on the headboard shelf to prevent damage or injury.
3. 패키지 내용
Before beginning assembly, verify that all components listed below are present and undamaged. Refer to the included hardware pack for small parts.
- Upholstered Headboard with integrated LED lights, AC outlets, and USB ports
- Metal Bed Frame components (side rails, center support beams, legs)
- 나무 판자 (13개)
- Hardware Pack (bolts, washers, Allen wrench, spare parts)
- LED 조명용 리모컨

Image: All bed frame components laid out for assembly.
4. 설치 및 조립
Assembly typically takes approximately 1 hour with two people. Ensure you have enough space and the necessary tools (an Allen wrench is usually provided).
4.1. 포장 풀기 및 준비
- 모든 구성품을 조심스럽게 풀어서 긁힘을 방지하기 위해 깨끗하고 부드러운 표면에 펼쳐 놓으세요.
- Identify all parts by comparing them with the parts list in the included manual.
4.2. 프레임 조립
- Attach the side rails to the headboard and footboard using the provided bolts and Allen wrench. Ensure connections are secure.
- Install the center support beam(s) and their legs. These are crucial for mattress support and stability.
- Place the wooden slats across the frame. Many slats feature a plastic snap-lock system or Velcro to keep them in place. Ensure each slat is properly seated.

Image: Queen bed frame dimensions and components.

Image: Fully assembled bed frame with LED lighting.
4.3. Headboard Features Setup
- Connect the power cord from the headboard to a wall outlet.
- Test the LED lights using the provided remote control.
- Verify the functionality of the AC outlets and USB ports by plugging in devices.

Image: Headboard with integrated AC and USB charging ports.

Image: LED lights on the headboard and footboard with control options.
4.4. 조립 영상
Video: ADORNEVE LED Bed Frame assembly and features overview. This video demonstrates the assembly process and highlights key features like storage drawers, adjustable headboard, and RGB LED lights.
Video: ADORNEVE Bed Frame with LED Lights and USB Ports. This video provides a closer look at the LED lighting and USB port functionality of the bed frame.
5. 사용 설명서
5.1. LED 조명 작동법
- Use the provided remote control to power on/off the LED lights.
- Select from 20 static colors and 22 dynamic modes to customize your room's ambiance.
- Adjust brightness and speed settings for dynamic modes using the remote.
5.2. USB and AC Outlets
- The headboard includes 2 AC outlets and 2 USB ports (5V/2A, including 1 Type-C port).
- Plug in your electronic devices directly to the headboard for convenient charging.
- Ensure the bed is properly connected to a power source for these features to function.

Image: Detail of the upholstered headboard material.
6. 유지관리
6.1. 청소
- 패브릭 헤드보드: 광고로 부드럽게 닦아주세요amp 부드러운 천과 순한 비누를 사용하세요. 강한 화학 약품은 사용하지 마세요. 액체를 쏟았을 경우 즉시 깨끗하고 마른 천으로 닦아내세요.
- 금속 프레임: 부드럽고 마른 천으로 닦아주세요. 잘 지워지지 않는 오염에는 약간 묽은 천을 사용하세요.amp 천으로 닦아서 완전히 말리세요.
- 전기 부품: Ensure the bed is unplugged before cleaning around outlets and USB ports. Use a dry cloth to wipe dust.
6.2. 일반 관리
- 모든 볼트와 연결부가 단단히 고정되어 있는지 주기적으로 점검하세요.
- 침대를 옮길 때는 끌지 말고 들어 올려야 침대 프레임이나 바닥이 손상되지 않습니다.
- Protect your floor from scratches using plastic pads on the bed legs.
7. 문제 해결
- LED 조명이 작동하지 않음: Ensure the power cord is securely plugged into both the headboard and the wall outlet. Check the remote control battery.
- USB/AC Outlets Not Functioning: Confirm the bed is plugged into a live power source. Test with a different device to rule out device issues.
- Bed Frame Squeaks or Wobbles: Re-tighten all assembly bolts and screws. Ensure all wooden slats are properly seated and secured.
- 매트리스 처짐: Verify that all 13 metal bars and 9 support legs are correctly installed and intact.
8. 사양
| 특징 | 세부 사항 |
|---|---|
| 크기 | 여왕 |
| 재료 | Iron frame, Upholstered headboard |
| 제품 크기(L x W x H) | 86.61" x 59.06" x 46.06"(220cm x 150cm x 117cm) |
| 침대 밑 수납 공간 높이 | 12.6인치(30cm) |
| 특별 기능 | LED lights, 2 AC outlets, 2 USB ports (5V/2A, 1 Type-C) |
| 포함된 구성 요소 | Headboard, Frame, Slats, Hardware, Remote Control |
| 최대 중량 권장 사항 | 900파운드(408.23kg) |
| 조립이 필요합니다 | 예 |
| 색상 | 검은색 |
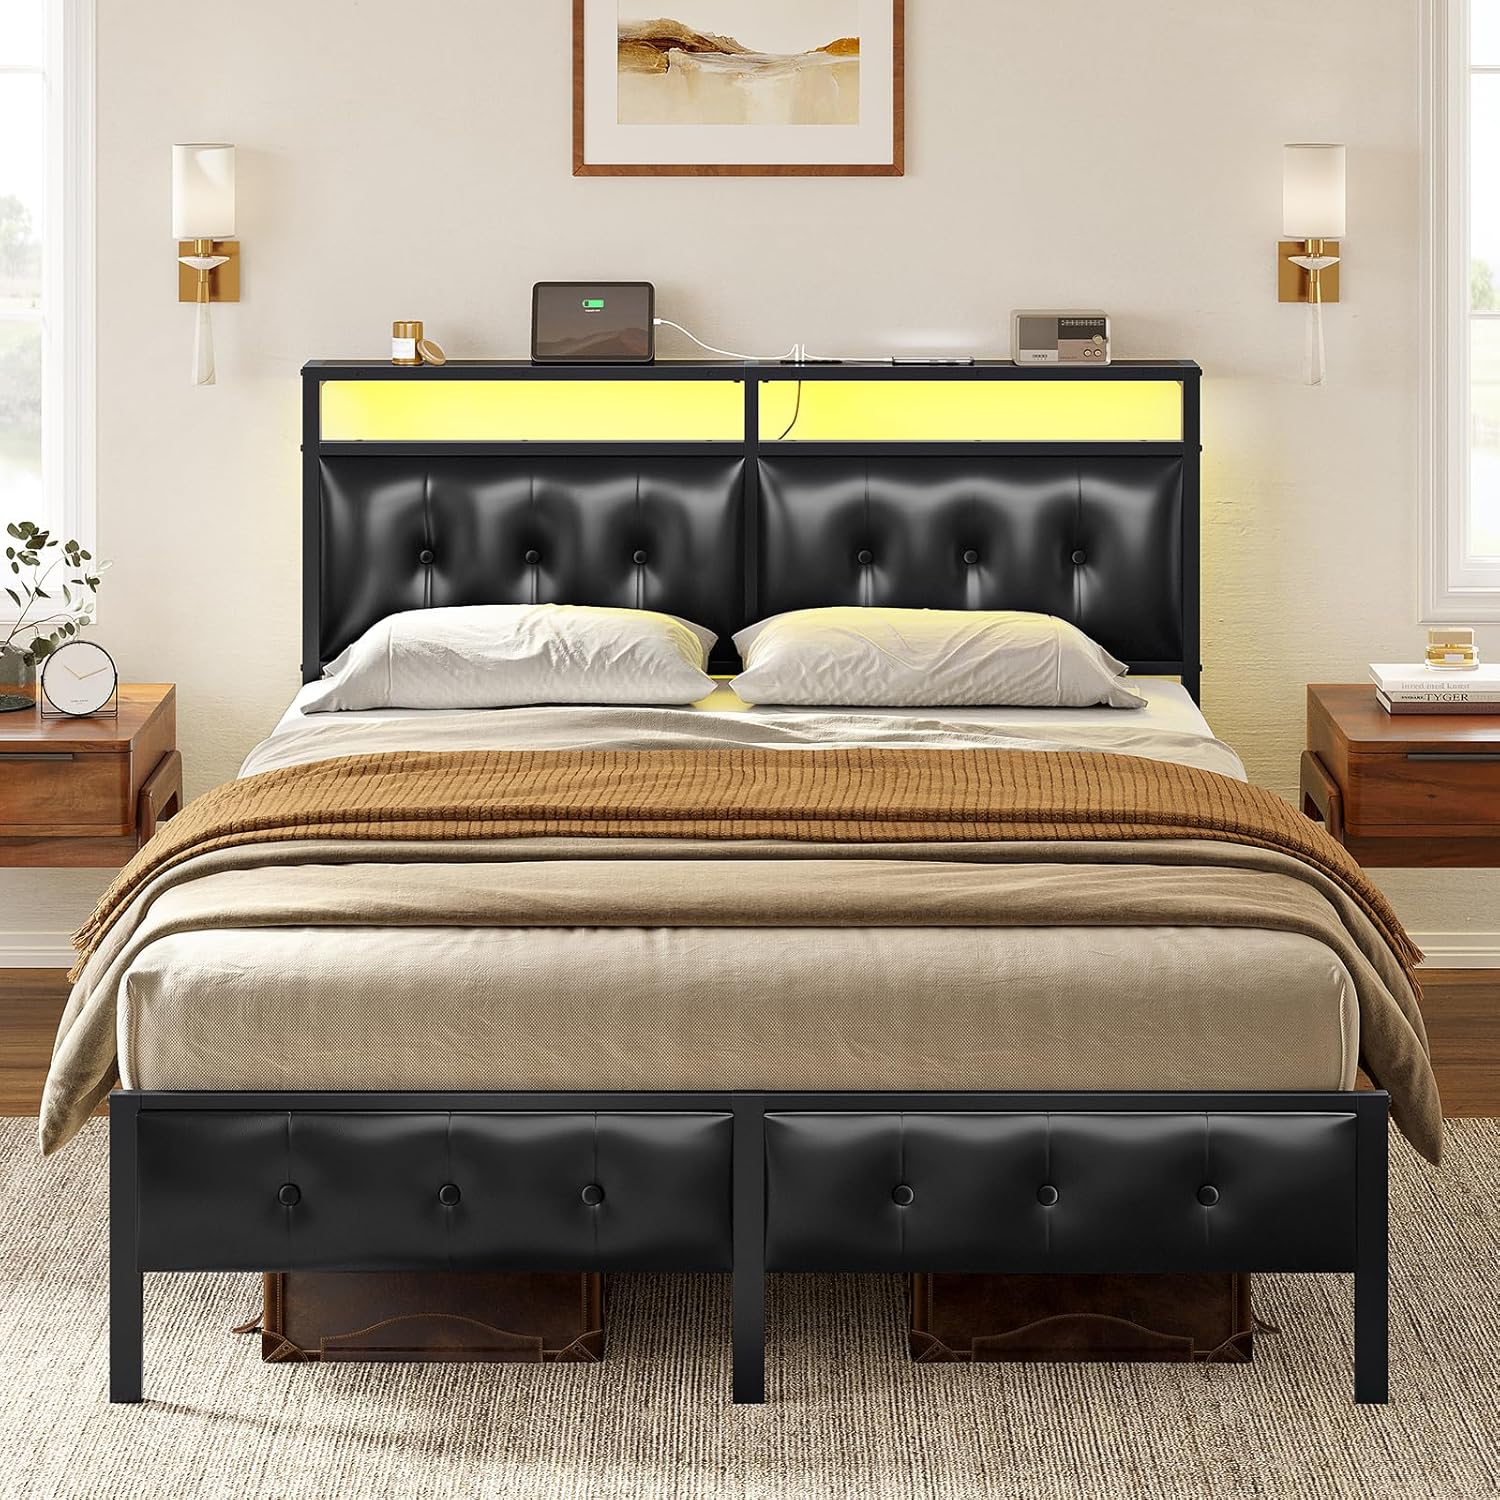
이미지: 침대 밑 수납 공간.
9. 보증 및 지원
For warranty information, product support, or to order replacement parts, please contact FABATO customer service. Refer to your purchase documentation for specific warranty terms and contact details.