
1. 서론
Thank you for choosing the Jocca 3.8L Air Fryer. This appliance uses rapid hot air circulation to cook your favorite foods with little to no oil, offering a healthier alternative to traditional frying. Please read this manual thoroughly before first use to ensure safe and optimal operation. Keep this manual for future reference.

앞쪽 view of the Jocca 3.8L Air Fryer, showcasin세련된 검은색 디자인과 디지털 제어판이 특징입니다.
2. 중요 안전 지침
전기 제품을 사용할 때는 화재, 감전, 부상의 위험을 줄이기 위해 항상 기본적인 안전 예방 조치를 따라야 합니다.
- 기기를 작동하기 전에 모든 지침을 읽으십시오.
- 뜨거운 표면을 만지지 마십시오. 손잡이나 손잡이를 사용하십시오.
- 감전 방지를 위해 코드, 플러그, 제품을 물이나 기타 액체에 담그지 마십시오.
- 어린이가 가전제품을 사용하거나 어린이 근처에서 사용할 때는 면밀한 감독이 필요합니다.
- 사용하지 않을 때와 세척하기 전에는 콘센트에서 플러그를 뽑으세요. 부품을 끼우거나 떼기 전에 식히세요.
- 코드나 플러그가 손상된 경우 또는 기기가 오작동하거나 어떤 식으로든 손상된 경우에는 기기를 작동하지 마십시오.
- 가전제품 제조업체가 권장하지 않는 부속품을 사용하면 부상을 입을 수 있습니다.
- 옥외에서는 사용하지 마십시오.
- 코드가 테이블이나 카운터 가장자리에 걸려 있거나 뜨거운 표면에 닿지 않도록 하세요.
- 뜨거운 가스나 전기 버너 근처 또는 가열된 오븐에 두지 마십시오.
- 뜨거운 기름이나 기타 뜨거운 액체가 담긴 가전제품을 옮길 때는 극히 조심해야 합니다.
- 항상 플러그를 먼저 기기에 연결한 다음 코드를 벽면 콘센트에 꽂으세요. 분리하려면 모든 제어를 "끄기"로 돌린 다음 벽면 콘센트에서 플러그를 뽑으세요.
- 본 제품을 본래 용도 외에는 사용하지 마십시오.
- 적절한 공기 순환을 위해 벽이나 다른 기기에서 떨어진 안정적이고 내열성이 있는 표면에 기기를 놓으세요.
- 통풍구를 막지 마십시오.
3. 제품 구성품
Familiarize yourself with the main parts of your Jocca Air Fryer:
- 메인 유닛: 가열 소자와 팬을 포함하는 주요 하우징입니다.
- 제어판: 온도, 시간, 사전 설정 기능을 위한 터치 컨트롤이 있는 디지털 디스플레이.
- 프라이팬 바구니: 음식을 담을 수 있는 탈착식 논스틱 바구니.
- 바구니 손잡이: Cool-touch handle for safe removal of the frying basket.
- 공기 유입구: Located on the top of the unit for air intake.
- 공기 출구 환풍: 뜨거운 공기 배출구는 장치 후면에 위치해 있습니다.
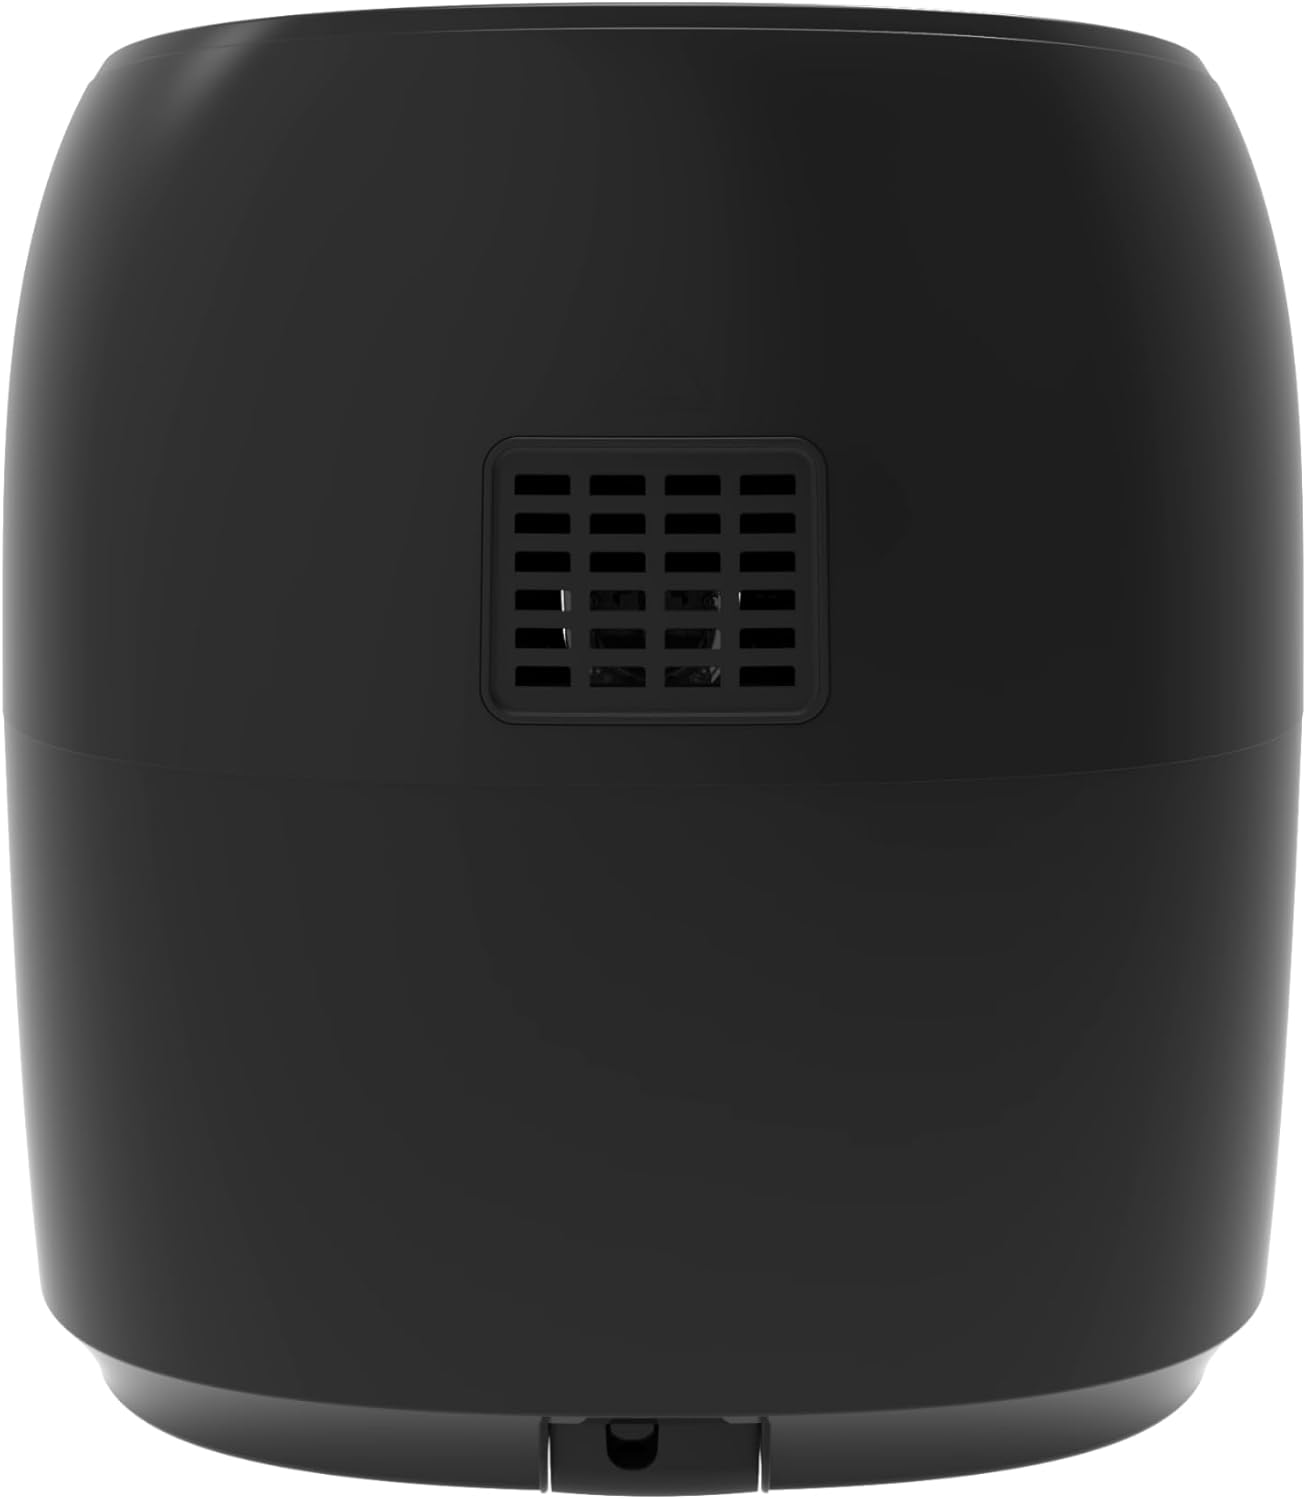
뒤쪽 view of the air fryer, highlighting the air outlet vent. Ensure this vent is not obstructed during operation.

맨 아래 view of the air fryer, showing the anti-slip feet for stability and the power cord storage area.
4. 설정
Before using your Jocca Air Fryer for the first time, follow these steps:
- 풀다: 에어프라이어와 모든 포장재를 조심스럽게 제거하세요.
- 깨끗한: Wash the frying basket and any removable accessories with hot water, dish soap, and a non-abrasive sponge. Rinse thoroughly and dry completely. Wipe the interior and exterior of the main unit with a damp 옷감.
- 놓기: 에어프라이어를 안정적이고 평평하며 내열성이 있는 표면에 놓으십시오. 적절한 통풍을 위해 제품 뒷면과 측면에 최소 10cm(4인치)의 여유 공간을 확보하십시오. 벽에 직접 붙이거나 싱크대 아래에 두지 마십시오.
- 전원 연결: 전원 코드를 접지된 벽면 콘센트에 꽂습니다.
- 첫 번째 사용(번인): It is recommended to run the air fryer empty for about 10-15 minutes at 180°C (350°F) before cooking food. This helps to burn off any manufacturing residues and eliminate initial odors. A slight smell or smoke may occur during this process; this is normal. Ensure the area is well-ventilated.
5. 사용 설명서
Operating your Jocca Air Fryer is straightforward. Follow these steps for optimal cooking results.
5.1 기본 작업
- 음식을 준비하다: 튀김 바구니에 재료를 넣으세요. 골고루 익도록 바구니를 너무 가득 채우지 마세요.
- 장바구니에 담기: 튀김 바구니를 딸깍 소리가 나면서 제자리에 고정될 때까지 본체 안으로 다시 밀어 넣으세요.
- 전원 켜기: Plug in the appliance. The digital display will illuminate. Press the power button to turn on the air fryer.
- 온도 및 시간 설정: Use the temperature control buttons (up/down arrows) to set the desired cooking temperature. Use the timer control buttons (up/down arrows) to set the cooking time.
- 요리 시작: Press the start/pause button to begin the cooking cycle. The fan and heating element will activate.
- 셰이크 바스켓(선택 사항): For some foods, it is recommended to shake the basket halfway through the cooking time to ensure even browning. Carefully pull out the basket using the cool-touch handle, shake the contents, and then reinsert the basket. The air fryer will automatically resume cooking.
- 요리 완료: The air fryer will beep when the set cooking time has elapsed, and the appliance will automatically shut off.
- 음식을 제거하세요: Carefully pull out the basket and transfer the cooked food to a plate using tongs. Avoid touching the hot basket or interior.

The Jocca Air Fryer in operation, showing food cooking inside the basket through the view잉 창.

The Jocca Air Fryer positioned on a kitchen counter, with a plate of freshly cooked fries next to it, demonstrating its use in a home setting.
5.2 권장 용도
The Jocca Air Fryer is versatile and can be used for various cooking methods:
- 요리: Prepare a wide range of dishes, from vegetables to meats.
- 그릴링: Achieve a grilled texture on items like chicken or fish.
- 제상 : 냉동식품은 천천히 해동하세요.
- 굽는 데 알맞은: Roast smaller cuts of meat or vegetables.
- 탈수: Create dried fruits or jerky (check specific recipes for optimal results).
6. 유지관리 및 청소
Regular cleaning and maintenance will prolong the life of your air fryer and ensure hygienic operation.
- 플러그를 뽑고 시원하게 식히세요: 에어프라이어를 청소하기 전에는 항상 전원 콘센트에서 플러그를 뽑고 완전히 식히십시오.
- 바구니와 팬을 깨끗하게 닦으세요: The frying basket and pan have a non-stick coating. Wash them with hot water, dish soap, and a non-abrasive sponge. For stubborn food residues, soak them in hot water with dish soap for about 10 minutes before cleaning. They are generally dishwasher safe, but hand washing is recommended to preserve the non-stick coating.
- 깨끗한 외관: 에어프라이어 외부를 광고로 닦아보세요amp 천으로 닦으세요. 연마성 세제나 수세미는 표면을 손상시킬 수 있으므로 사용하지 마세요.
- 깨끗한 실내: 광고로 내부 닦기amp cloth. If necessary, use a soft brush to remove any food residue from the heating element. Do not use excessive water.
- 저장: 제품을 보관하기 전에 모든 부품이 깨끗하고 건조한지 확인하십시오. 에어프라이어는 서늘하고 건조한 곳에 보관하십시오.
7. 문제 해결
에어 프라이어에 문제가 발생하면 다음의 일반적인 문제와 해결 방법을 참조하세요.
| 문제 | 가능한 원인 | 해결책 |
|---|---|---|
| 에어프라이어가 켜지지 않습니다. | 가전제품이 플러그에 꽂혀 있지 않습니다. 전원 콘센트가 작동하지 않습니다. | 전원 코드가 정상적으로 작동하는 콘센트에 단단히 꽂혀 있는지 확인하세요. 회로 차단기를 확인하세요. |
| 음식이 고르게 익지 않습니다. | 바구니가 너무 가득 찼습니다. 음식이 흔들리지 않았습니다. | 바구니에 재료를 너무 많이 담지 마세요. 고르게 익으려면 요리 중간에 바구니를 흔들어 주세요. |
| 기기에서 흰 연기가 나옵니다. | 이전 사용으로 인한 기름 찌꺼기. 지방 성분. | Clean the basket and pan thoroughly after each use. For fatty foods, drain excess oil from the basket during cooking. |
| 처음 사용할 때 기기에서 냄새가 납니다. | 제조 잔여물이 타버립니다. | 처음 몇 번 사용하실 때는 이러한 현상이 나타나는 것이 정상입니다. 환기를 잘 시켜주세요. 냄새는 곧 사라질 것입니다. |
이러한 해결 방법을 시도한 후에도 문제가 지속되면 고객 지원팀에 문의하세요.
8. 사양
| 상표: | 조카 |
| 모델 번호: | PARENT FREIDORA (also known as 2157) |
| 색상: | 검은색 |
| 치수(길이 x 너비 x 높이): | 25.8 x 29.1 x 31.8cm |
| 힘: | 1800 와트 |
| 용량: | 3.8 Liters (basket capacity) |
| 특별 기능: | Automatic shut-off, Non-stick coating |
| 추천 용도: | Cook, grill, defrost, roast, dehydrate |
9. 보증 및 지원
For warranty information and customer support, please refer to the warranty card included with your purchase or contact the retailer where the product was purchased. Keep your proof of purchase for any warranty claims.