
1. 서론
This manual provides detailed instructions for the installation, operation, and maintenance of your WALI Projector Mount Tray, Model PM-005-B. This versatile mount is designed for both ceiling and wall installations, offering height adjustment and integrated cable management for a clean setup. Please read these instructions carefully before installation and retain for future reference.
2. 안전 정보
- Ensure the mounting surface (ceiling or wall) can safely support the combined weight of the mount and your projector (up to 22 lbs / 10 kg).
- Use appropriate mounting hardware for your specific wall or ceiling type. If unsure, consult a qualified professional.
- 나사를 너무 세게 조이지 마십시오. 마운트 또는 장착 표면이 손상될 수 있습니다.
- 설치하는 동안 어린이와 애완동물이 접근하지 못하도록 하세요.
- Verify all connections are secure before placing the projector on the tray.
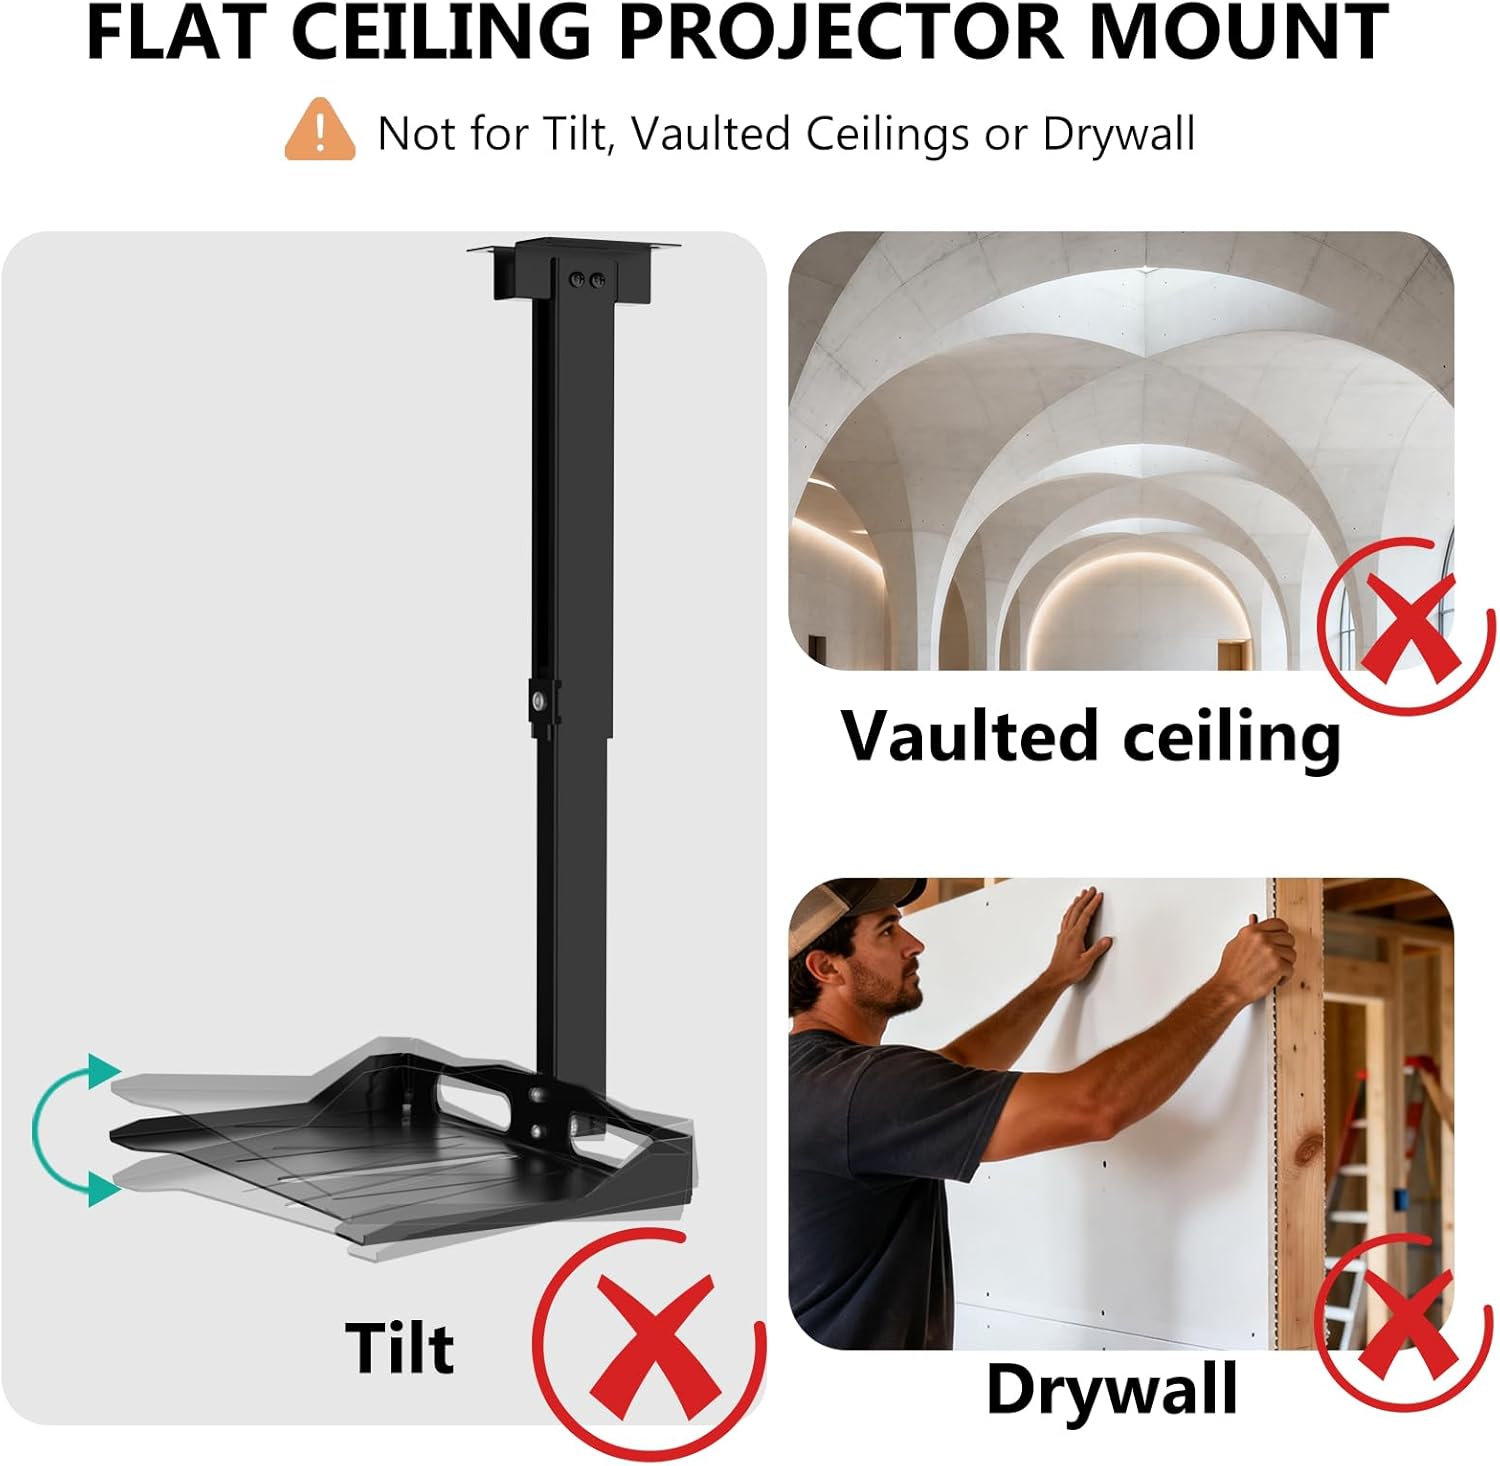
- This mount is designed for flat ceilings. Do not install on vaulted, sloped, or drywall-only ceilings without proper reinforcement.
3. 패키지 내용
The WALI Projector Mount Tray (PM-005-B) package includes the following components:
- Projector Mount Tray Assembly
- 설치용 하드웨어 키트(나사, 앵커, 와셔 등)
- 사용 설명서
Note: Specific hardware may vary slightly. Refer to the included hardware bag for a complete list.
4. 제품 특징
- 보편적 인 호환성 : Designed to fit most projectors with dimensions up to 13.7 inches (length) x 8.6 inches (width). Supports devices up to 22 lbs (10 kg).
- 유연한 조정: Offers multi-dimensional height and angle adjustments for optimal positioning.
- Hidden Cable Management: Integrated cable storage structure helps organize and conceal connecting cables for a tidy installation.
- 이중 설치 옵션: Can be installed as a ceiling mount or a wall mount.
- 내구성 있는 구조: Made from robust materials for stable and long-term use.


5. 설정 및 설치
This section outlines the steps for installing your WALI Projector Mount Tray. The mount can be installed on a ceiling or a wall. Ensure you have all components and tools before beginning.
5.1 설치 위치 선택
Select a sturdy location on your ceiling or wall that can support the weight of the mount and your projector. Avoid installing on drywall alone; always secure to a wood stud, concrete, or brick wall.

5.2 브래킷 장착
- Mark the desired drilling locations on your ceiling or wall using the mounting plate as a template.
- Drill pilot holes at the marked locations. Use an appropriate drill bit size for your chosen anchors/screws.
- Secure the mounting plate to the surface using the provided screws and anchors. Ensure it is firmly attached.

5.3 Attaching the Projector Tray
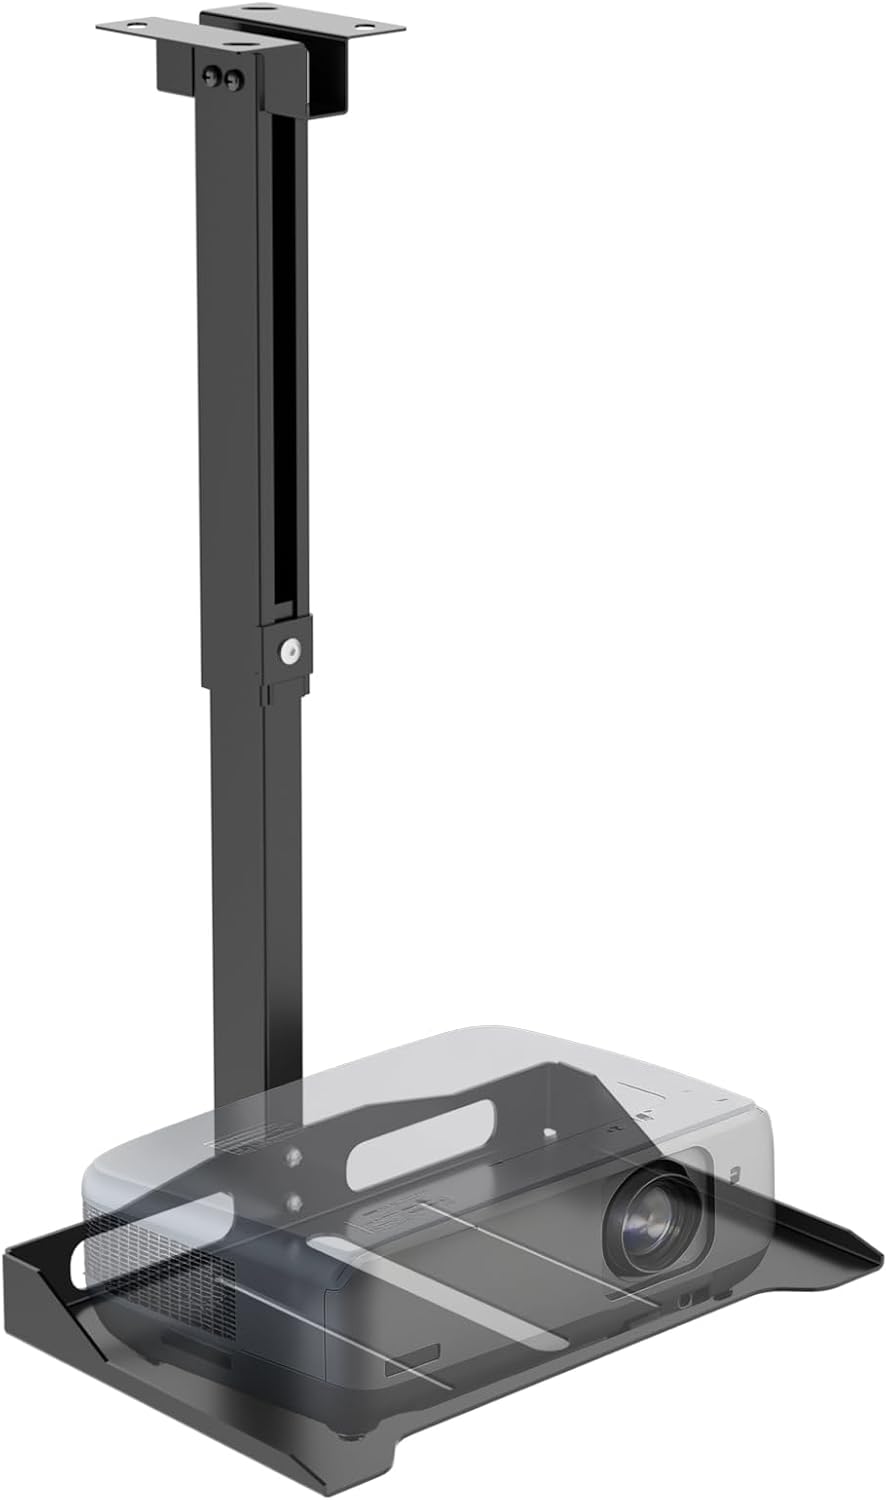
- Assemble the adjustable pole and tray components according to the detailed diagrams in the included manual.
- Attach the assembled tray and pole to the mounted bracket.
- Place your projector securely on the tray.
6. 작동 및 조정
The WALI Projector Mount Tray offers various adjustments to achieve optimal projector positioning.
6.1 높이 조정
The mount features an adjustable pole that allows you to set the desired height for your projector. Loosen the locking mechanism, adjust the pole to the required extension, and then securely tighten the mechanism.


6.2 케이블 관리
Utilize the built-in cable storage structure to route and conceal your projector's power and video cables. This helps maintain a clean appearance and prevents cable tangles.

6.3 비디오 데모
Video 6.1: A demonstration of the WALI Projector Ceiling Mount, highlighting its multi-functional design and adjustable features.
7. 유지관리
The WALI Projector Mount Tray requires minimal maintenance. Periodically check all screws and connections to ensure they remain tight and secure. Clean the mount with a soft, dry cloth as needed. Avoid using abrasive cleaners or solvents.
8. 문제 해결
If you encounter issues with your WALI Projector Mount Tray, consider the following:
- 산이 불안정하다고 느껴집니다: Recheck all mounting screws and ensure they are securely fastened to a structural element (wood stud, concrete, or brick). Verify the projector's weight does not exceed the 22 lbs (10 kg) limit.
- 높이 조절이 어렵습니다. Ensure the locking mechanism for height adjustment is fully loosened before attempting to adjust, and then securely tightened afterward.
- Cables are not tidy: Reroute cables through the designated cable management channels within the mount's pole.
For further assistance, please contact WALI customer support.
9. 사양
| 특징 | 세부 사항 |
|---|---|
| 상표 | 왈리 |
| 모델명 | PM-005-B |
| 색상 | 검은색 |
| 장착 유형 | Wall Mount, Ceiling Mount, Floor Mount |
| 중량 용량 최대 | 22파운드(10kg) |
| Item Dimensions (Tray) | 길이 13.78인치 x 너비 8.66인치 |
| Ceiling Mount Height Adjustment | 14.17인치 – 22.44인치 |
| Wall Mount Length Adjustment | 22.05인치 – 31.5인치 |
| 재료 | 철 |
| 한국어: | 811278026353 |
10. 보증 및 지원
보증: This product comes with a 10-Year Manufacturer Warranty, ensuring quality and reliability.
고객 지원: For any questions, installation assistance, or issues, please contact WALI customer support. Our professional support team is available to provide timely assistance.
You can visit the official WALI store for more information and support: WALI Store