
1. 서론
The beyerdynamic MC 930 is a versatile true condenser microphone designed for a wide range of audio recording applications. Manufactured in Heilbronn, Germany, it offers high sensitivity, superb transient response, and features switchable pre-attenuation and a low-cut filter for enhanced flexibility in both studio and live sound environments.
This manual provides essential information for the proper setup, operation, and maintenance of your MC 930 microphone to ensure optimal performance and longevity.
2. 안전 지침
- Read all instructions carefully before using the microphone.
- Do not expose the microphone to moisture, rain, or extreme temperatures.
- 마이크를 떨어뜨리거나 심한 충격을 주지 마십시오.
- Only use the microphone with compatible audio equipment that provides 11-52 V phantom power.
- 마이크를 열거나 개조하지 마십시오. 모든 수리는 자격을 갖춘 전문가에게 맡기십시오.
- Keep the microphone and its accessories out of reach of children.
3. 패키지 내용
패키지에 모든 품목이 들어 있는지 확인하세요.
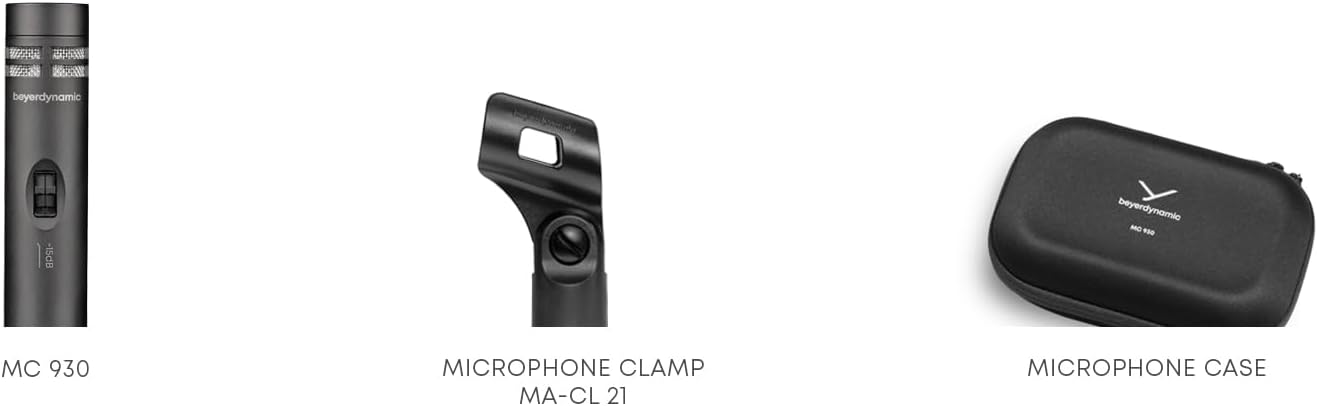
- MC 930 Condenser Microphone
- 마이크 CLamp (MA-CL 21)
- 운반 케이스
- 앞유리
- Microphone Cable (XLR)
- Measurement Curve Document
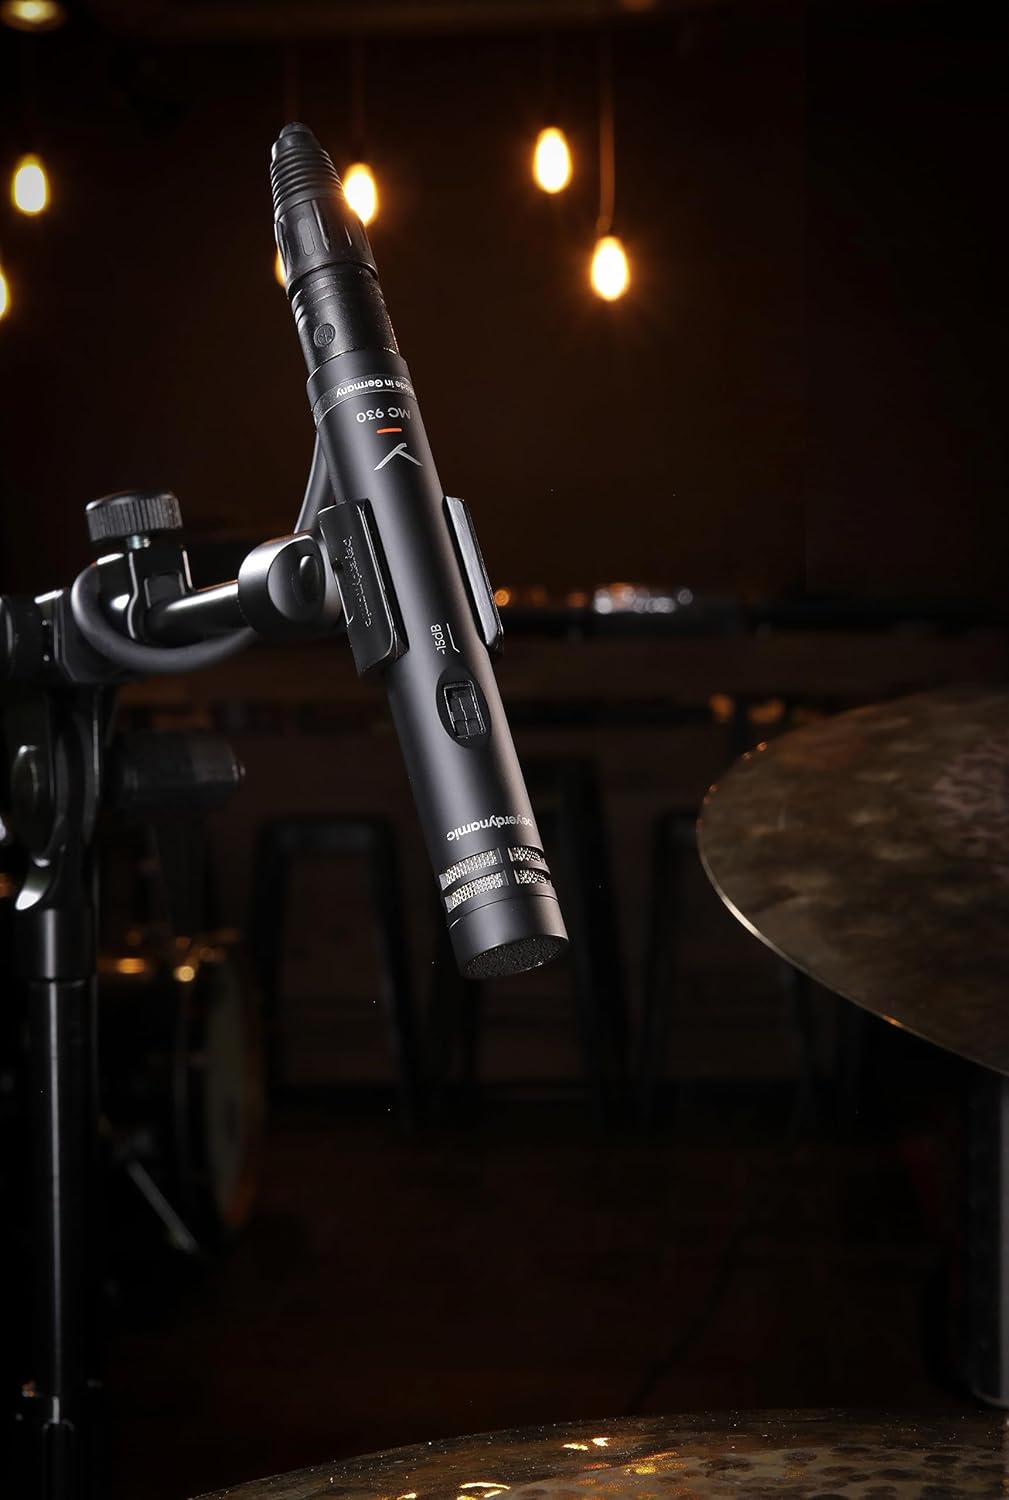
Image: The beyerdynamic MC 930 microphone mounted on a stand, ready for use.
4. 설정
4.1 마이크 장착
- Attach the supplied microphone clamp (MA-CL 21) to a standard microphone stand.
- Carefully screw the MC 930 microphone into the clamp단단히 고정되었는지 확인하되 너무 세게 조이지 마십시오.
이미지: 클로즈업 view of the MA-CL 21 microphone clamp, used for securing the MC 930 to a stand.
4.2 오디오 장비에 연결하기
- Connect the supplied XLR microphone cable to the XLR output at the base of the MC 930.
- XLR 케이블의 다른 쪽 끝을 오디오 믹서, 오디오 인터페이스 또는 프리앰프의 입력 단자에 연결하십시오.amp리퍼.
- Ensure your audio equipment provides 11-52V 팬텀 전원. The MC 930 requires phantom power to operate. Activate phantom power on the connected input channel.
4.3 Pre-attenuation and Low-Cut Filter
The MC 930 features two small switches on its body:
- Pre-attenuation Switch (-15 dB): This switch reduces the microphone's output level by 15 dB. Use this setting when recording very loud sound sources (e.g., drums, loud guitar amplifiers) to prevent input clipping on your mixer or interface.
- Low-Cut Filter Switch (80 Hz): This switch activates a high-pass filter at 80 Hz. Use this to reduce unwanted low-frequency noise such as rumble from air conditioning, stage vibrations, or proximity effect when close-miking.
Adjust these switches according to your recording environment and sound source.
5. 마이크 작동
5.1 극성 패턴
The MC 930 features a unidirectional (cardioid) polar pattern. This means it is most sensitive to sounds coming from the front and rejects sounds from the sides and rear. This characteristic is ideal for isolating a sound source and minimizing background noise or feedback in live settings.
5.2 권장 용도
The MC 930 is suitable for a variety of applications, including:
- Instrument Miking: Acoustic guitars, overheads for drums, percussion, strings, woodwinds, and brass instruments.
- 보컬 녹음: Speech and singing, especially in controlled studio environments.
- 비디오 녹화: Capturing clear audio for video productions.
- 라이브 사운드: Reinforcement of instruments and vocals on stage.
5.3 최적의 배치
Experiment with microphone placement to achieve the desired sound. Generally, placing the microphone closer to the sound source will increase direct sound and reduce room ambience. Utilize the cardioid pattern by pointing the front of the microphone towards the desired sound and away from unwanted noise sources.
6. 유지관리
6.1 청소
To clean the microphone, gently wipe the exterior with a soft, dry, lint-free cloth. Do not use liquid cleaners, solvents, or abrasive materials, as these can damage the finish or internal components. Avoid getting moisture into the microphone capsule or switches.
6.2 보관
When not in use, store the MC 930 in its supplied carrying case to protect it from dust, moisture, and physical damage. Store in a cool, dry place.
7. 문제 해결
If you encounter issues with your MC 930 microphone, refer to the following common problems and solutions:
- 사운드 출력 없음:
- Ensure phantom power (11-52 V) is activated on the connected input channel.
- Check all XLR cable connections for proper seating. Try a different XLR cable.
- Verify the input gain on your mixer/interface is turned up.
- 다른 입력 채널이나 다른 오디오 장비를 사용하여 마이크를 테스트해 보세요.
- 소리가 왜곡되거나 잘린 경우:
- Activate the -15 dB pre-attenuation switch on the microphone.
- 믹서/인터페이스의 입력 게인을 줄이세요.
- 마이크와 음원 사이의 거리를 늘리세요.
- Excessive Low-Frequency Noise/Rumble:
- Activate the 80 Hz low-cut filter switch on the microphone.
- Ensure the microphone is isolated from vibrations (e.g., use a shock mount, if available, or place the stand on a stable surface).
- 윙윙거리는 소리 또는 웅웅거리는 소음:
- Check for ground loops. Ensure all audio equipment is properly grounded.
- Ensure XLR cables are balanced and in good condition. Avoid running audio cables parallel to power cables.
- Test in a different electrical outlet or location to rule out external interference.
If problems persist after trying these steps, contact beyerdynamic customer support or an authorized service center.
8. 기술 사양
| 특징 | 사양 |
|---|---|
| 모델명 | 엠씨 930 |
| 상표 | BEYERDYNAMIC |
| 마이크 폼 팩터 | 스튜디오 콘덴서 |
| 극성 패턴 | 단방향 (카디오이드) |
| 전원 | 11–52 V phantom power |
| 주파수 응답 | 20Hz - 20kHz |
| 오디오 감도 | 15데시벨 |
| 신호 대 잡음 비율 | 76데시벨 |
| 연결 기술 | 열광한 |
| 커넥터 유형 | XLR |
| 품목 무게 | 1.14파운드(0.52kg) |
| 제품 크기(L x W x H) | 9.3 x 6.55 x 3.45인치(23.6 x 16.6 x 8.8cm) |
| 재료 | 내구성 있는 소재 |
| 포함된 구성 요소 | Microphone, Carrying case, Windscreen, Microphone cable, Measurement curve |
9. 보증 및 지원
For detailed information regarding the warranty period and terms for your beyerdynamic MC 930 microphone, please refer to the warranty card included with your product or visit the official beyerdynamic website. For technical support, service, or spare parts, please contact beyerdynamic customer service directly through their official channels.
제조업체: BEYERDYNAMIC
추가 지원이 필요하면 다음을 방문하세요. www.beyerdynamic.com