
1. 서론
Thank you for choosing the Diydeg 30A MPPT Solar Controller and 50W Solar Panel Kit. This kit is designed to provide efficient solar charging for 12V and 24V battery systems in various applications such as RVs, marine vessels, trailers, and camping setups. This manual provides essential information for the safe and effective installation, operation, and maintenance of your solar kit.
2. 안전 정보
설치 및 작동 전에 모든 안전 지침을 주의 깊게 읽으십시오. 지침을 따르지 않으면 감전, 화재 또는 심각한 부상이 발생할 수 있습니다.
- 모든 연결 부분이 안전하고 적절하게 절연되어 단락을 방지하세요.
- Do not attempt to disassemble or repair the solar panel or controller. Contact qualified personnel for service.
- 설치하는 동안 장갑, 눈 보호 장비 등 적절한 개인 보호 장비(PPE)를 착용하세요.
- Avoid touching exposed wires or terminals when the system is connected to a power source.
- 태양광 패널은 통풍이 잘 되는 곳에 설치하고 인화성 물질로부터 멀리 떨어진 곳에 설치하십시오.
- The solar controller is designed for 12V/24V lead-acid batteries (Flooded, GEL, Deep Cycle). Do not use with other battery types unless specified.
3. 패키지 내용
아래 나열된 모든 품목이 패키지에 포함되어 있는지 확인하세요.
- 1 x 50W 태양광 패널
- 1 x 30A MPPT Solar Charge Controller
- 1 x Connecting Wire (DC output cable for solar panel)
- 4 x 흡입 컵
- 1 x User Specification (this manual)
- 1 x Car Charging Cable (cigarette lighter adapter)
- 1 x Output Clip (alligator clips for battery connection)

Image: Complete contents of the Diydeg 50W Solar Panel Kit, including the solar panel, controller, cables, and suction cups.
4. 설정 및 설치
4.1 태양광 패널 배치
Position the 50W solar panel in a location that receives maximum direct sunlight throughout the day. Avoid shaded areas. The panel is designed to be portable and can be mounted using the included suction cups or other suitable mounting hardware (not included).
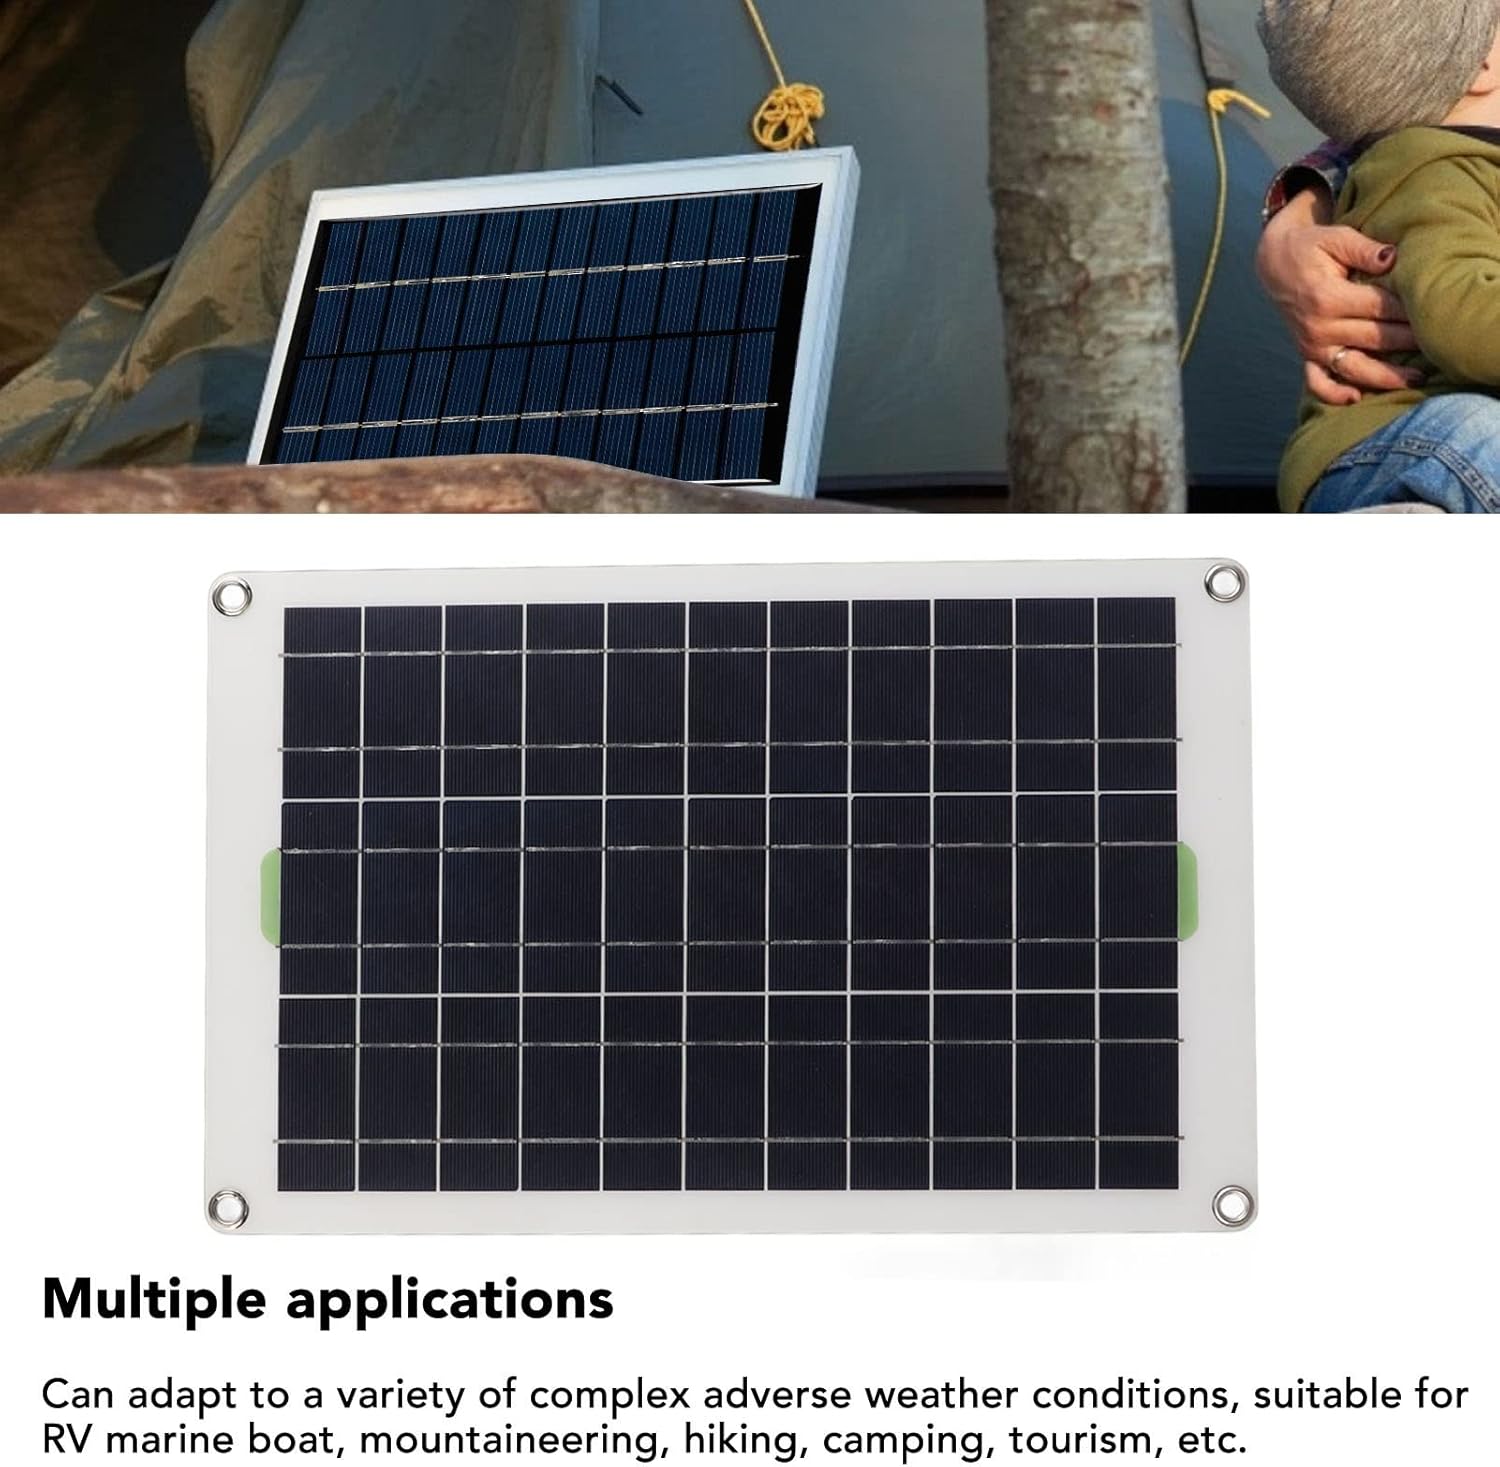
Image: The 50W solar panel set up outdoors next to a tent, demonstrating a typical camp응용 프로그램을 시작합니다.

이미지: 클로즈업 view of the monocrystalline silicon solar panel, highlighting its construction and efficiency.
4.2 컨트롤러 연결
Follow these steps to connect the solar panel to the controller and then to your battery:
- 먼저 배터리를 연결하세요. Connect the alligator clips (output clip) to your 12V or 24V battery terminals. Ensure correct polarity: red to positive (+), black to negative (-). Then, connect the other end of the alligator clip cable to the DC output port on the solar charge controller.
- 태양광 패널 연결: Connect the DC output cable from the 50W solar panel to the solar input port on the charge controller.
- Optional: Car Charging Cable: If charging via a car's cigarette lighter, connect the car charging cable to the controller and then to the vehicle's cigarette lighter socket.
중요한: Always connect the battery to the controller ~ 전에 connecting the solar panel. Disconnect in the reverse order: solar panel first, then battery.

Image: The 30A MPPT solar charge controller, showing its display and connection ports.

Image: Various connection cables included with the kit, such as the car charging cable and alligator clips, along with the suction cups.
5. 사용 설명서
5.1 초기 전원 켜기
Once the battery and solar panel are connected, the controller will automatically detect the battery voltage (12V or 24V) and begin charging. The display on the controller will show charging status, battery voltage, and other relevant parameters.

이미지: 자세한 view of the solar charge controller's display and control buttons, indicating various functions like MCU control, set voltage, full protect, and built-in timer.
5.2 컨트롤러 기능
The 30A solar controller is equipped with multiple protective functions to ensure battery longevity and system safety:
- 과충전 보호 : Prevents the battery from being charged beyond its capacity.
- 오버볼tage 보호: 과도한 볼륨에 대한 보호 장치tag전자 입력.
- Discharge Protection: Prevents deep discharge of the battery.
- 단락 보호: Protects the system from damage due to short circuits.
- 역접속 보호: 극성 연결 오류로 인한 손상을 방지합니다.
The controller also features a built-in timer and options for setting voltage, which can be adjusted via the buttons on the unit. Refer to the controller's specific instructions for detailed programming.
6. 유지관리
Regular maintenance ensures optimal performance and extends the lifespan of your solar kit.
- 태양광 패널 청소: 태양광 패널 표면을 주기적으로 부드러운 천으로 닦아주세요.amp cloth to remove dust, dirt, and debris. A clean panel ensures maximum light absorption.
- 연결 확인: Annually inspect all electrical connections for tightness and corrosion. Ensure wires are not frayed or damaged.
- Controller Inspection: Keep the controller free from dust and moisture. Ensure adequate ventilation around the controller to prevent overheating.
- 배터리 상태: 배터리 제조업체의 권장 사항에 따라 배터리 상태와 전해액 수위(습식 배터리의 경우)를 모니터링하십시오.
7. 문제 해결
If you encounter issues with your solar kit, refer to the following common problems and solutions:
| 문제 | 가능한 원인 | 해결책 |
|---|---|---|
| No charging indicated on controller | No sunlight; Loose connections; Reversed polarity; Faulty panel/controller. | Ensure panel is in direct sunlight. Check all wiring for secure connections and correct polarity. Test components if possible. |
| Low charging current/voltage | Partial shading on panel; Dirty panel surface; Insufficient sunlight; Undersized panel. | Relocate panel to avoid shade. Clean panel surface. Ensure clear skies. Consider a larger panel if output is consistently low. |
| Controller display is off | Battery not connected or discharged; Loose battery connection. | Ensure battery is connected and has sufficient charge. Check battery connections. |
| Metal grommets rusting (as per user feedback) | Non-stainless steel material exposed to moisture. | Apply rust-inhibiting coating or replace with stainless steel grommets if possible. Store in dry conditions when not in use. |
If the problem persists after attempting these solutions, please contact Diydeg customer support.
8. 사양
Key technical specifications for the Diydeg 30A MPPT Solar Controller and 50W Solar Panel Kit:
| 특징 | 사양 |
|---|---|
| 상표 | 디덱 |
| 모델 번호 | Diydegf5wt308os6 |
| Solar Panel Maximum Power | 50 와트 |
| 태양 광 패널 소재 | 단결정 실리콘 |
| 컨트롤러 유형 | MPPT(최대 전력점 추적) |
| Controller Current Rating | 30A |
| 시스템 볼륨tage | 12V/24V 자동 감지 |
| 적용 가능한 배터리 유형 | Lead-acid (Flooded, GEL, Deep Cycle) |
| 특별 기능 | Portable, Overcharge Protection, Overvoltage Protection, Discharge Protection, Short Circuit Protection, Reverse Connection Protection |
| 품목 무게 | 680g |
| 소포 크기 | 45.08 x 29.21 x 3.81cm |
9. 보증 및 지원
For warranty information, technical support, or service inquiries, please contact Diydeg customer service through your original point of purchase. Keep your purchase receipt as proof of purchase.