1. 서론
This manual provides detailed instructions for the installation, operation, and programming of the TAXNELE THC30A Digital Programmable Timer Switch. This device is designed for automatic control of various electrical appliances based on user-defined daily and weekly schedules.

Figure 1: TAXNELE THC30A Digital Programmable Timer Switch
2. 주요 특징
- 7-Day Digital Programmable Timer: Supports daily and weekly programs with a full time range from 1 minute to 168 hours.
- Multiple ON/OFF Settings: Up to 20 ON and 20 OFF settings for precise control.
- 자동 제어: Automatically switches power to connected devices according to programmed schedules.
- 사용자 친화적인 인터페이스: Large LCD screen and clear buttons (D+, H+, M+) for easy operation.
- 높은 정밀도: Equipped with an industrial-grade chip for accurate timing.
- 전원 끄기 메모리: Built-in high-performance battery retains timing, display, and data for up to 3 years during power outag에스.
- 높은 하중 용량: Features a 30A relay for handling significant electrical loads.
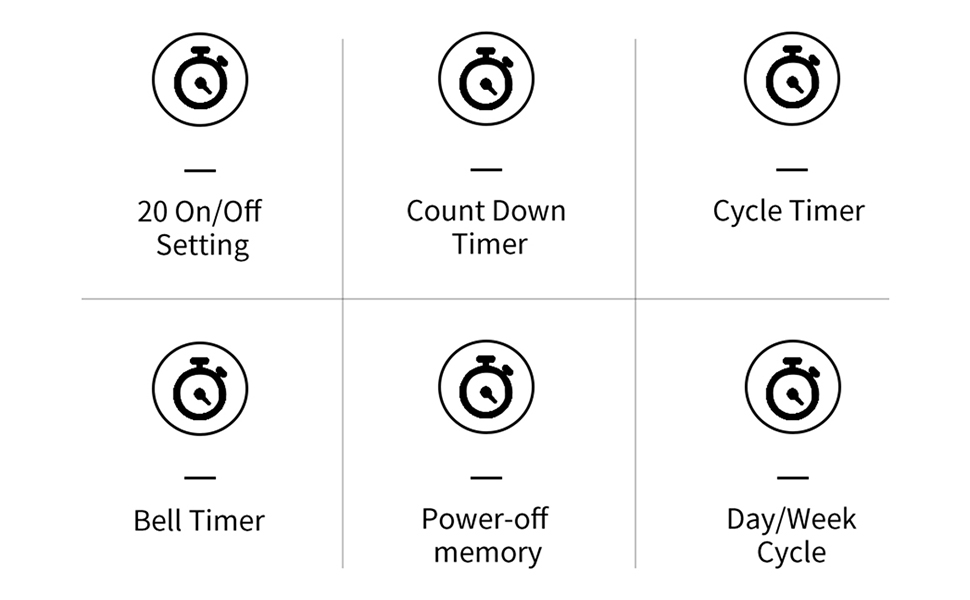
그림 2: 이상view of THC30A Timer Switch Features
3. 사양
| 모델 | THC30A |
| 권tage | 230VAC |
| 하중 용량 | 30A |
| 시간 범위 | 1분부터 168시간까지 |
| 프로그램 | 20 ON/20 OFF settings |
| 전원 끄기 메모리 | Yes, with built-in CR2032 battery (up to 3 years) |
| 설치 | 35mm DIN Rail Mounted |
| 치수 | 약 87mm(높이) x 36mm(폭) x 65mm(깊이) |

Figure 3: THC30A Timer Switch Dimensions
4. 설치
4.1 안전 예방 조치
- 감전을 방지하기 위해 설치 전에 전원을 차단하십시오.
- 설치는 자격을 갖춘 전기 기술자 또는 관련 지식이 있는 사람이 수행해야 합니다.
- 볼륨을 확인하세요tage and current ratings of your circuit match the timer's specifications.
4.2 장착
The THC30A timer switch is designed for 35mm DIN rail mounting. Securely attach the timer to the DIN rail in your electrical panel or enclosure.

Figure 4: THC30A Mounted on a DIN Rail
4.3 배선도
Connect the timer according to the wiring diagram below. Ensure correct polarity for input (IN) and output (OUT) terminals. The input terminals are typically labeled 'N' (Neutral) and 'L' (Live), and the output terminals are also 'N' and 'L' for connecting to the load.

Figure 5: Simplified Wiring Diagram for THC30A
Connect the incoming power supply to the 'IN' terminals (N and L). Connect the device to be controlled to the 'OUT' terminals (N and L).
5. 사용 설명서
5.1 Initial Setup and Reset
Upon first use or after a prolonged power-off, the display may be blank. Press the 다시 놓기 button (often recessed, may require a pointed object) to initialize the timer. The LCD will display the current time (e.g., 0:00) and "AUTO".

Figure 6: Front Panel with Buttons and LCD Screen
- 작동 표시기: LED light indicating operation status.
- LCD 화면: 시간, 요일 및 프로그램 상태를 표시합니다.
- 타이머 버튼: Used to enter programming mode.
- 시계 버튼: Used to set current time and day.
- D+ Button: 요일을 조정합니다.
- H+ Button: 시간을 조정합니다.
- M+ Button: 분을 조정합니다.
- ON/AUTO/OFF Button (Manual): Cycles through ON, AUTO, and OFF modes.
- 재설정 버튼: Clears all settings and resets the timer.
5.2 현재 시간 및 요일 설정
- 를 누르고 계세요 시계 단추.
- 잡고 있는 동안 시계, 누르다 D+ to set the current day of the week (MON, TUE, WED, THU, FRI, SAT, SUN).
- 잡고 있는 동안 시계, 누르다 H+ 현재 시간을 설정합니다(0-23).
- 잡고 있는 동안 시계, 누르다 M+ 현재 분(0-59)을 설정합니다.
- 릴리스하다 시계 버튼을 누르세요. 현재 시간과 날짜가 설정되었습니다.
5.3 수동 오버라이드(ON/AUTO/OFF)
를 누르세요 수동 button (often labeled ON/AUTO/OFF) to cycle through the following modes:
- 에: The timer output is continuously ON, overriding all programmed schedules.
- OFF : The timer output is continuously OFF, overriding all programmed schedules.
- 자동 : 타이머는 설정된 켜짐/꺼짐 스케줄에 따라 작동합니다. 이는 자동 제어의 표준 작동 모드입니다.
6. 켜짐/꺼짐 일정 프로그래밍
The THC30A supports up to 20 ON and 20 OFF programs. Follow these steps to set your desired schedules:
- 를 누르세요 시간제 노동자 button once. The display will show "1 ON" (or the next available program number).
- 누르다 D+ to select the day(s) for this "ON" program. You can choose individual days, weekdays, weekends, or all 7 days.
- 누르다 H+ to set the hour for the "ON" time.
- 누르다 M+ to set the minute for the "ON" time.
- 를 누르세요 시간제 노동자 버튼을 다시 누르십시오. 디스플레이에 "1 OFF"가 표시됩니다.
- 2~4단계를 반복하여 해당 "OFF" 시간에 대한 요일, 시간, 분을 설정합니다.
- 계속 눌러 시간제 노동자 button to cycle through "2 ON", "2 OFF", and so on, up to "20 ON" and "20 OFF". Repeat steps 2-6 for each program.
- 원하는 프로그램을 모두 설정한 후, 시계 button to exit programming mode and return to the current time display. Ensure the timer is in 자동차 프로그램 실행 모드.
To clear a specific program, navigate to that program (e.g., "5 ON") and press the 다시 놓기 button. This will clear both the ON and OFF times for that program number.
7. 유지관리
The THC30A timer switch requires minimal maintenance.
- 청소: 부드럽고 마른 천으로 외부를 닦으세요. 연마성 세제나 용제는 사용하지 마세요.
- 배터리: The internal CR2032 battery provides power-off memory. If the timer frequently loses settings during power outages, the battery may need replacement. This typically requires professional service.
- 환경: Ensure the timer is installed in a dry, well-ventilated area, away from direct sunlight, extreme temperatures, and corrosive environments.

Figure 7: Power-Off Memory Function with Internal Battery
8. 문제 해결
| 문제 | 가능한 원인 | 해결책 |
|---|---|---|
| 디스플레이가 비어 있습니다. | No power supply; Timer needs initialization. | Check power connections. Press the 다시 놓기 단추. |
| 타이머가 설정된 시간에 켜지거나 꺼지지 않습니다. | Timer is not in AUTO mode; Incorrect program settings; Overlapping programs. | 누르다 수동 "AUTO"가 표시될 때까지. 다시view and correct program settings. Ensure ON/OFF times do not conflict. |
| 전원을 껐다 켜면 설정이 초기화됩니다.tage. | 내부 배터리가 부족하거나 방전되었습니다. | The internal battery may need replacement. Contact customer support if this issue persists. |
| 출력은 항상 켜짐이거나 항상 꺼짐입니다. | 타이머는 수동으로 켜짐 또는 꺼짐 모드로 설정할 수 있습니다. | 누르다 수동 "AUTO"가 표시될 때까지. |
9. 보증 및 지원
This product comes with a standard manufacturer's warranty. For specific warranty details, please refer to the product packaging or contact your retailer. For technical support or inquiries, please reach out to TAXNELE customer service through your purchase platform or the official TAXNELE web대지.


