
NUFEBS B0C4FH9QSS
NUFEBS Security Camera System User Manual
Model: B0C4FH9QSS
1. 서론
This manual provides detailed instructions for the installation, operation, and maintenance of your NUFEBS Security Camera System. Please read this manual thoroughly before using the product to ensure proper functionality and safety. Keep this manual for future reference.
2. 패키지 내용
아래 나열된 모든 품목이 패키지에 포함되어 있는지 확인하세요. 품목이 누락되었거나 손상된 경우 고객 지원팀에 문의하세요.
- 1 x 10-inch LCD Monitor/NVR
- 4 x 3MP Outdoor PTZ Cameras
- NVR용 1 x 전원 어댑터
- 카메라용 전원 어댑터 4개
- 1 x USB 마우스
- 1 x 이더넷 케이블
- 장착 나사 및 플러그
- 사용 설명서 (본 문서)
3. 제품 오버view
3.1 시스템 구성 요소

그림 3.1: 이상view of the NUFEBS Security Camera System, showing the 10-inch LCD monitor and four outdoor PTZ cameras.
The NUFEBS Security Camera System includes a central 10-inch LCD monitor which acts as the Network Video Recorder (NVR), and four wireless 3MP outdoor cameras. The system is designed for easy setup and remote access.

Figure 3.2: The smart home security camera system provides wireless coverage around your property.
3.3 주요 특징
- 3MP 고화질: Provides clear 2K resolution video for detailed monitoring.
- 10인치 LCD 모니터: Integrated display for live viewing and playback without an external monitor.
- 무선 연결 : Cameras connect wirelessly to the NVR for flexible placement.
- 355° PTZ 제어: Pan, Tilt, and Zoom functionality allows for wide area coverage and remote adjustment.
- 양방향 오디오 : Built-in microphone and speaker for communication through the cameras.
- 컬러 나이트 비전: Enhanced night vision capabilities to capture full-color images in low-light conditions.
- 모션 감지 및 경고: Receive instant notifications upon detecting motion.
- 24/7 Loop Recording: 이전 파일을 자동으로 덮어쓰는 연속 녹화 기능tage.
- IP65 방수: 카메라는 다양한 실외 기상 조건을 견딜 수 있도록 설계되었습니다.
- 원격 접속: View 라이브 및 녹음 footage from smartphones or tablets via the dedicated app.
4. 설정 가이드
4.1 초기 설정
- Power On the NVR: Connect the NVR (10-inch LCD monitor) to a power outlet using its dedicated power adapter. The system will boot up automatically.
- Power On the Cameras: Connect each camera to a power outlet using its respective power adapter. Ensure the cameras are within range of the NVR's wireless signal.
- 자동 페어링: The cameras are pre-paired with the NVR from the factory. Once powered on, they should automatically connect and display video on the NVR screen. If a camera does not connect, refer to the "Troubleshooting" section for manual pairing instructions.
- 마우스 연결: Plug the included USB mouse into one of the USB ports on the NVR for easier navigation of the system interface.

Figure 4.1: Illustration of the plug-and-play setup, showing cameras connected to power outlets and automatically pairing with the NVR.
4.2 카메라 설치
Choose suitable locations for your cameras, ensuring they have a clear line of sight to the area you wish to monitor and are within wireless range of the NVR. Avoid placing cameras where direct sunlight or strong light sources will shine into the lens.
- 드릴링 지점 표시: Use the camera's mounting base as a template to mark the drilling points on the wall or ceiling.
- 드릴 구멍: Drill holes at the marked points and insert the provided wall plugs if mounting on masonry.
- 보안 카메라: 카메라 받침대를 드릴로 뚫은 구멍에 맞춰 정렬한 후 제공된 나사를 사용하여 고정하십시오.
- 각도 조정: 카메라 본체의 조절 나사를 풀어 원하는 설정을 맞추세요. viewing angle, then tighten them to secure the camera in position.
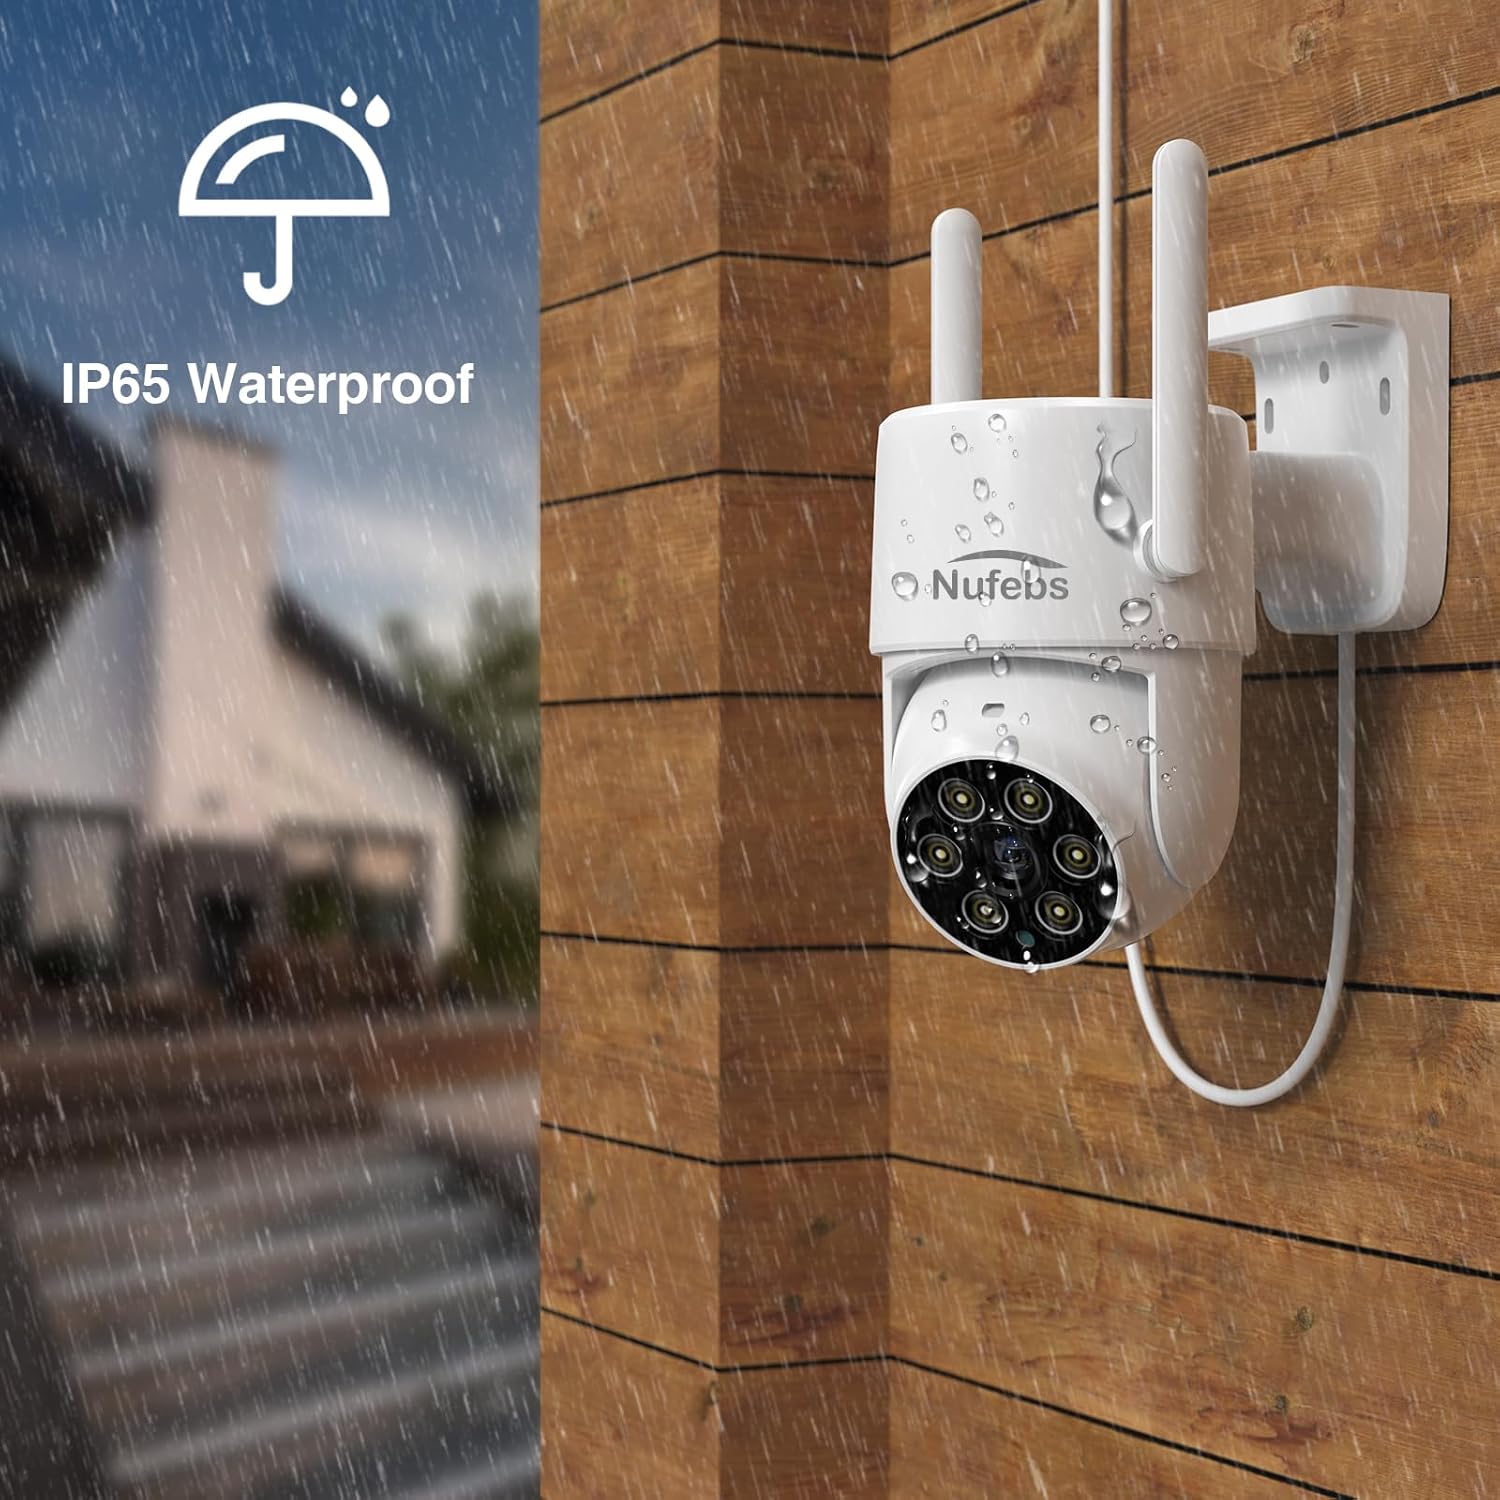
Figure 4.2: An outdoor camera demonstrating its IP65 waterproof design, suitable for various weather conditions.
4.3 원격 접속을 위한 네트워크 연결
원격을 활성화하려면 viewing via the mobile app, the NVR needs to be connected to your home network.
- Wired Connection (Recommended): Connect one end of the Ethernet cable to the LAN port on the NVR and the other end to an available LAN port on your router.
- Wireless Connection (NVR): On the NVR interface, navigate to Network Settings. Select your Wi-Fi network and enter the password.
4.4 Mobile App Setup (Tris Home)
- 앱 다운로드 : 검색 "Tris Home" in the App Store (iOS) or Google Play Store (Android) and download the application.
- 계정 등록: 앱을 열고 화면의 지시에 따라 새 계정을 등록하세요.
- 장치 추가: Tap the "+" icon or "Add Device" option in the app. Scan the QR code displayed on the NVR's screen (usually found in System Information or Network Settings) or manually enter the device ID.
- View 생방송: 추가한 후에는 다음을 수행할 수 있습니다. view the live feed from your cameras and access various settings remotely.

Figure 4.3: The Tris Home app enables remote access to your security system from various devices, including smartphones, tablets, and computers.
5. 사용 설명서
5.1 라이브 View 및 재생
- 살다 View: The NVR's 10-inch screen automatically displays the live feed from all connected cameras. You can switch between single-camera view 그리고 멀티 카메라 view 화면상의 컨트롤이나 마우스를 사용합니다.
- 재생: Right-click on the NVR screen to access the main menu. Select "Playback" to review 기록된 footag예. 날짜, 시간, 카메라별로 필터링할 수 있습니다.

Figure 5.1: The 24/7 loop recording feature allows continuous monitoring and easy review of past events through a timeline interface.
5.2 PTZ 제어
The 355° PTZ (Pan-Tilt-Zoom) functionality allows you to adjust the camera's view원격으로 각도를 조정하세요.
- On NVR: 라이브에서 view, click on a camera channel to select it. Use the PTZ controls (arrows, zoom in/out) displayed on the screen or accessible via the right-click menu.
- 모바일 앱을 통해: 라이브에서 view of a specific camera, swipe on the screen or use the dedicated PTZ controls to pan, tilt, or zoom.

Figure 5.2: The 355° pan and 90° tilt capabilities of the camera, controllable via the mobile application for comprehensive area coverage.
5.3 양방향 오디오
The built-in microphone and speaker allow for real-time communication.
- 활성화: 모바일 앱 라이브에서 view, tap the microphone icon to speak. Tap again to end.
- 듣다: Ensure the speaker icon is enabled in the app to hear audio from the camera's location.

Figure 5.3: The clear two-way audio feature allows for direct communication through the camera, useful for interacting with visitors or delivery personnel.
5.4 야간 투시 모드
The camera supports multiple night vision modes for optimal visibility in low light.
- 적외선 모드 : 적외선 LED를 사용하는 표준 흑백 야간 투시경.
- 풀 컬러 모드: 내장된 스포트라이트를 활용하여 완전한 어둠 속에서도 풀컬러 영상을 제공합니다.
- 지능형 모드: Stays in infrared mode and switches to full color only when motion is detected, illuminating the area.

Figure 5.4: Comparison of the three night vision modes: Infrared for discreet monitoring, Full Color for detailed visibility, and Intelligent Mode for motion-activated color illumination.
5.5 동작 감지 및 알림
Configure motion detection settings to receive alerts and trigger recording.
- 액세스 설정: On the NVR, right-click and navigate to "System Setup" > "Alarm" or "Motion Detection".
- 동작 감지 활성화: Select the desired camera channel and enable motion detection.
- 감도 조정: 오경보를 최소화하도록 감도 수준을 설정하십시오.
- Set Recording Schedule: Configure the NVR to record when motion is detected.
- 앱 알림: Ensure push notifications are enabled in the Tris Home app settings to receive alerts on your mobile device.

Figure 5.5: The camera's auto-tracking and color night vision features work together to illuminate and follow detected motion in low-light conditions.
6. 유지관리
- 깨끗한 렌즈: 부드러운 천으로 카메라 렌즈를 주기적으로 청소하세요.amp 깨끗한 이미지 품질을 위해 천을 사용하십시오. 연마성 세척제는 사용하지 마십시오.
- 연결 확인: Ensure all power adapters and cables are securely connected and free from damage.
- 펌웨어 업데이트: 제조사 확인해보세요 website or the Tris Home app for available firmware updates to ensure optimal performance and security.
- 스토리지 관리: The NVR supports 24/7 loop recording. If you wish to save specific footage, back it up to an external USB drive.
- 환경 고려 사항: While cameras are IP65 waterproof, avoid direct high-pressure water jets. Ensure proper ventilation for the NVR.
7. 문제 해결
7.1 No Image from Camera
- 전원 확인: Ensure the camera is properly powered on and its power adapter is connected to a working outlet.
- 무선 신호를 확인하세요: Verify the camera is within the NVR's wireless range. Obstacles like thick walls can weaken the signal.
- 카메라 수리: If the camera was previously working, try manually re-pairing it with the NVR. On the NVR, go to "Video Manage" or "IPC Channel Config", select an empty channel or the problematic camera, and initiate pairing. Press the reset/pair button on the camera (refer to camera diagram for location).
- 장치 재시작: Power cycle both the camera and the NVR.
7.2 원격 접속 문제
- NVR Network Connection: Ensure the NVR is connected to your router via Ethernet or Wi-Fi and has internet access. Check the network status on the NVR.
- 라우터 설정: Verify that your router's firewall is not blocking the NVR's connection.
- 앱 연결: 모바일 기기의 인터넷 연결 상태가 안정적인지 확인하십시오 (Wi-Fi 또는 모바일 데이터).
- 앱 버전: Update the Tris Home app to the latest version.
- Device ID/QR Code: Double-check that you have entered the correct device ID or scanned the correct QR code when adding the NVR to the app.
7.3 이미지 품질이 좋지 않음
- 깨끗한 렌즈: Dust or smudges on the camera lens can degrade image quality. Clean it gently.
- 조명 조건: Ensure there are no strong light sources directly facing the camera, which can cause glare or overexposure.
- 해상도 설정: Check the camera's resolution settings on the NVR or app to ensure it's set to 3MP (2K).
- 네트워크 대역폭: Insufficient network bandwidth can cause choppy or low-quality video streams, especially for remote view주고받음.
7.4 동작 감지 오경보
- 감도 조정: Lower the motion detection sensitivity in the NVR settings or app.
- 감지 영역 설정: Configure specific detection zones to exclude areas with frequent irrelevant motion (e.g., trees swaying, busy roads).
- 환경적 요인: Consider if strong winds, rain, or insects are triggering false alarms.
8. 사양
| 특징 | 설명 |
|---|---|
| 상표 | NUFEBS |
| 모델 | B0C4FH9QSS |
| 연결 기술 | 무선 전화 |
| 비디오 캡처 해상도 | 3MP (2K), 1080p, 720p |
| 특별 기능 | Motion Sensor, Night Vision (Color, Infrared, Intelligent), PTZ, Two-Way Audio |
| 채널 수 | 4 |
| 메모리 저장 용량 | 128GB (XNUMX기가바이트) |
| 운영 체제(앱) | Android (Compatible with iOS via Tris Home app) |
| 권장 사용 | 집 밖의 |
| 호환 장치 | 스마트폰, 태블릿 |
| 방수 등급 | IP65 |
| 패키지 크기 | 13.19 x 12.64 x 7.4 인치 |
| 품목 무게 | 6.91파운드 |
9. 보증 및 지원
For warranty information and technical support, please refer to the contact details provided on the product packaging or the official NUFEBS website. Please have your model number (B0C4FH9QSS) ready when contacting support.
추가 지원이 필요한 경우 다음을 참조할 수도 있습니다. Amazon의 제품 페이지 for updated information or frequently asked questions.
Ask a question about this manual
Ask about setup, troubleshooting, compatibility, parts, safety, or missing instructions. Manuals+ will review the question and use this page’s manual context to help answer it.