
1. 서론
The XTUGA SEM100 is a professional wireless in-ear monitor system designed for stage performers, studio musicians, and lecturers. It provides crystal-clear, low-latency audio monitoring through UHF digital transmission, offering freedom of movement and reliable performance. This system features a rechargeable bodypack receiver, multiple frequency options, and versatile connectivity including Bluetooth and USB playback.
2. 패키지 내용
아래 나열된 모든 품목이 패키지에 포함되어 있는지 확인해 주세요. 품목이 누락되었거나 손상된 경우 고객 지원팀에 문의해 주세요.
- 송신기 × 1
- Bodypack Receiver × 1
- 안테나 × 1
- 이어폰 × 2
- Cable Line × 4
- 전원 어댑터 × 1
- 사용 설명서 × 1
3. 제품 오버view
Familiarize yourself with the components of your XTUGA SEM100 system.

Figure 3.1: XTUGA SEM100 Wireless In-Ear Monitor System, showing the transmitter, bodypack receiver, and earphones.
3.1 바디팩 수신기

그림 3.2: 상세 view of the bodypack receiver, highlighting the power light, charging connector, and earphone jack.
- 파워 라이트 : Indicates power status and connection.
- 충전 커넥터: 내부 배터리를 충전하기 위한 Type-C 포트.
- 이어폰 잭: 3.5mm output for connecting in-ear monitors.
- LCD 화면: Displays channel, group, stereo mode, and lock status.
- 제어 버튼: For navigation, volume adjustment, and frequency selection.
3.2 송신기

그림 3.3: 전면 및 후면 view of the transmitter, showing input/output connectors, volume knobs, USB socket, and control buttons.
- 기능 설정 버튼: Used to access and adjust system settings.
- Up/Down Selection Buttons: 메뉴를 탐색하고 값을 조정하는 데 사용합니다.
- LCD 화면: Displays frequency, group, channel, and other operational information.
- 블루투스 표시기: 블루투스가 연결되면 불이 켜집니다.
- 전원 스위치: 송신기를 켜거나 끕니다.
- Last/Next Song Buttons: For controlling media playback via USB or Bluetooth.
- 재생/일시 정지 버튼: 미디어 재생을 제어하기 위한 것입니다.
- USB 소켓 : USB 드라이브 재생용입니다.
- 볼륨 노브: 출력 볼륨을 조정합니다.
- Earphone Monitoring Socket: 3.5mm jack for direct monitoring from the transmitter.
- 6.35mm Output Connector: 오디오 출력.
- 입력 커넥터: For audio input sources.
- 전원 소켓: 전원 어댑터를 연결합니다.
- 안테나: 무선 신호 전송용.
4. 설정 가이드
4.1 초기 충전
Before first use, ensure the bodypack receiver is fully charged. Connect the Type-C charging cable to the bodypack and a suitable USB power source. A full charge takes approximately 2.5 hours and provides up to 6 hours of operation.
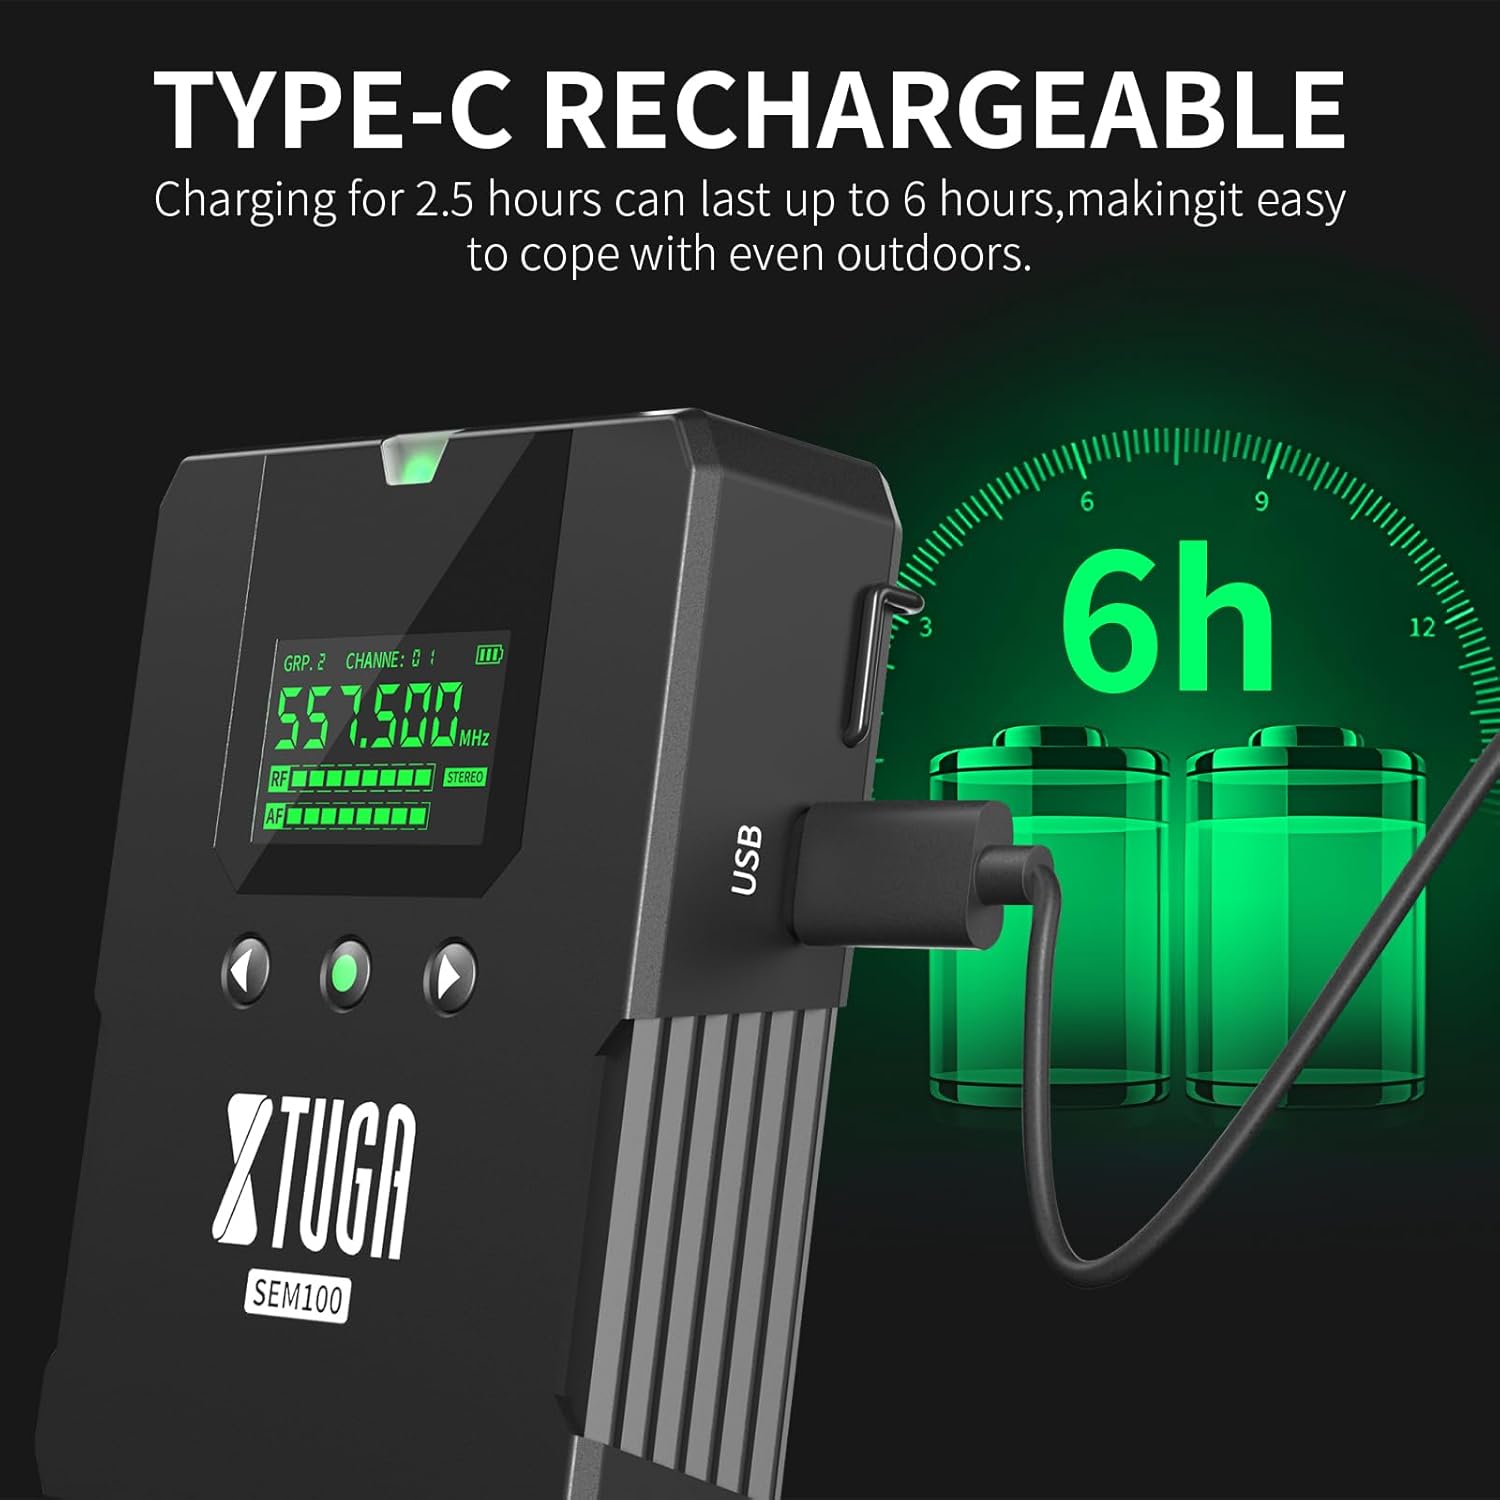
Figure 4.1: The bodypack receiver charging via its Type-C port, indicating a 2.5-hour charge time for 6 hours of use.
4.2 송신기 연결
- Connect the provided antenna to the ANT connector on the rear of the transmitter.
- Connect the power adapter to the Power Socket on the transmitter and plug it into an electrical outlet.
- Connect your audio source (e.g., mixing console, instrument) to the Input Connectors on the transmitter.
4.3 Connecting the Bodypack Receiver
- Connect your in-ear monitors to the 3.5mm Earphone Jack on the bodypack receiver.
4.4 Frequency Synchronization
The system supports 40 frequency options, organized into 4 groups with 10 frequencies each. To ensure proper operation, the bodypack receiver must be synchronized with the transmitter's frequency.

Figure 4.2: The transmitter and two bodypack receivers displaying synchronized frequencies.
- Power on both the transmitter and the bodypack receiver.
- On the transmitter, use the Up/Down selection buttons to choose your desired frequency group and channel.
- On the bodypack receiver, long-press the middle button (often labeled 'SET' or similar) to initiate synchronization. The bodypack will automatically scan and lock onto the transmitter's frequency. The indicator light on the bodypack will remain on after successful connection.
5. 운영
Video 5.1: Demonstrates the setup, frequency selection, Bluetooth connection, and monitoring features of the XTUGA SEM100 system.
5.1 전원 켜기/끄기
- 송신기: Press the Power Switch button on the front panel.
- 바디팩 수신기: Long-press the power button on the top of the bodypack.
5.2 볼륨 조절
- 바디팩 수신기: Use the left and right navigation buttons on the bodypack to adjust the volume. The bodypack offers twelve levels of volume adjustment.
- 송신기: Use the Volume Knob on the front panel to adjust the overall output volume.
5.3 모노/스테레오 스위치
The bodypack receiver allows switching between mono and stereo monitoring modes.

Figure 5.1: The bodypack receiver's screen showing the option to switch between mono and stereo modes.
- On the bodypack receiver, press the appropriate button (refer to the bodypack's screen for indication) to toggle between mono and stereo modes.
5.4 Bluetooth/USB Playback
The transmitter supports playing accompaniment directly via Bluetooth or a USB drive.
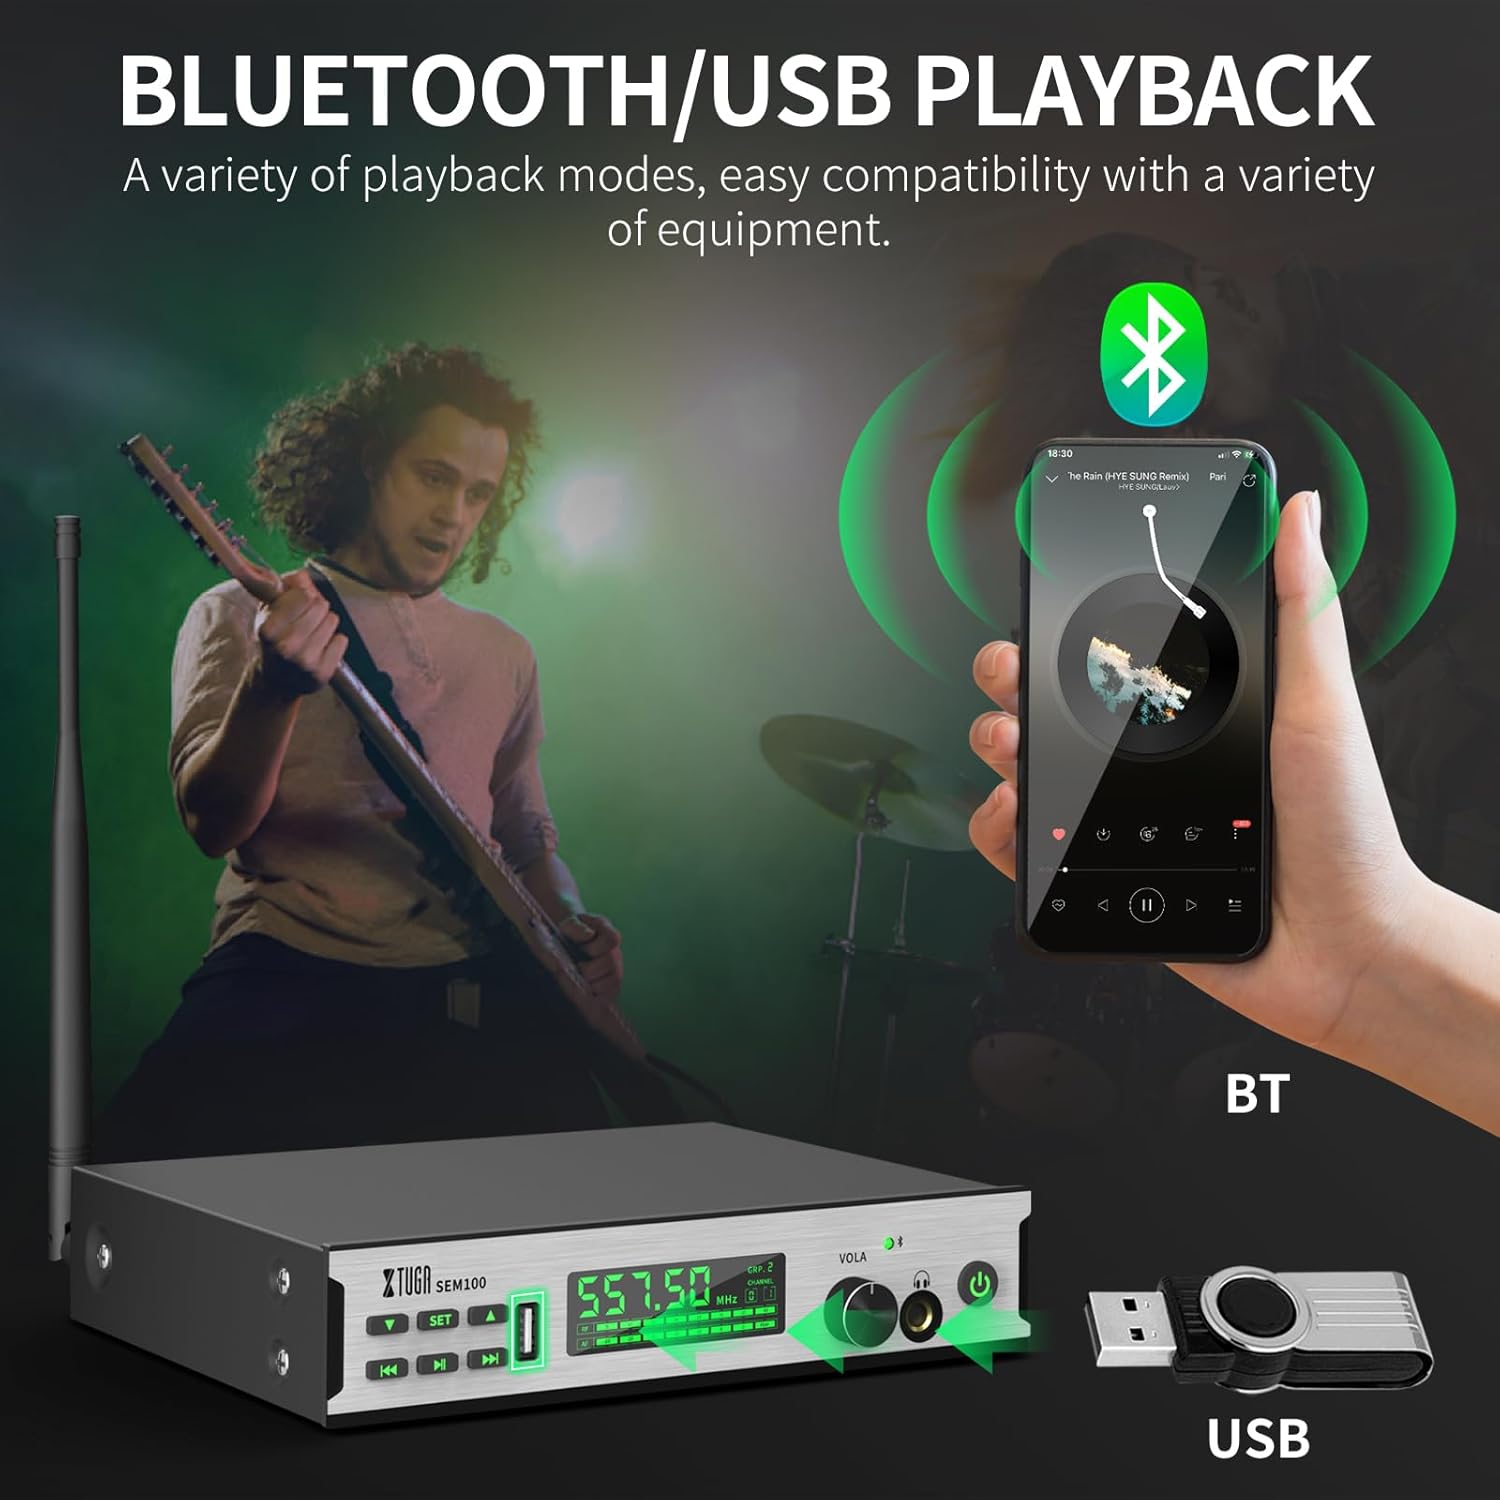
Figure 5.2: The transmitter connected to a smartphone via Bluetooth and a USB drive for accompaniment playback.
- 블루투스: Enable Bluetooth on your smartphone or other device and pair with "XTUGA-SEM". The Bluetooth indicator on the transmitter will light up upon successful connection. Use the Play/Pause and Last/Next Song buttons on the transmitter to control playback.
- USB 재생 : 오디오가 포함된 USB 드라이브를 삽입하세요 files into the USB Socket on the transmitter. Use the Play/Pause and Last/Next Song buttons to control playback.
5.5 잠금 화면 기능
To prevent accidental changes during performance, the bodypack receiver features a lock screen function.

Figure 5.3: The bodypack receiver displaying a lock icon on its screen, indicating the lock function is active.
- Long-press the middle button on the bodypack receiver to activate or deactivate the lock screen function. When locked, a locking pattern or icon will appear on the screen, and controls will be unresponsive to prevent unintended adjustments.
6. 유지관리
Proper maintenance ensures the longevity and optimal performance of your XTUGA SEM100 system.
- 청소: Use a soft, dry cloth to clean the surfaces of the transmitter and bodypack receiver. Avoid using liquid cleaners or solvents.
- 저장: Store the system in a cool, dry place away from direct sunlight and extreme temperatures. When not in use for extended periods, ensure the bodypack receiver is charged periodically to maintain battery health.
- 배터리 관리 : Avoid fully discharging the bodypack's battery frequently. Recharge it regularly to prolong its lifespan.
7. 문제 해결
If you encounter issues with your XTUGA SEM100 system, refer to the following common troubleshooting steps:
- 소리 없음:
- Ensure both the transmitter and bodypack receiver are powered on.
- Verify that the frequencies of the transmitter and bodypack are synchronized.
- Check all cable connections (audio input to transmitter, earphones to bodypack).
- Adjust volume levels on both the transmitter and bodypack.
- Ensure the bodypack is not in lock screen mode.
- 간섭/정적:
- Change the frequency channel on the transmitter and re-synchronize the bodypack. The system offers 40 frequency options to avoid clashes.
- Ensure the transmitter and receiver are within the operating range (up to 213ft/65m).
- 송신기와 수신기 사이의 장애물을 최소화하십시오.
- 주변에 비슷한 주파수 대역에서 작동하는 다른 무선 기기가 있는지 확인하십시오.
- 배터리 수명이 짧음:
- Ensure the bodypack is fully charged (2.5 hours for 6 hours of use).
- 장시간 사용하면 배터리 성능이 저하될 수 있습니다.
8. 사양
Key technical specifications for the XTUGA SEM100 Wireless In-Ear Monitor System:
| 특징 | 사양 |
|---|---|
| 상표 | 엑스투가 |
| 모델 번호 | SEM100 |
| 색상 | 검은색 |
| 귀 위치 | 귀에 |
| 폼 팩터 | 귀에 |
| 임피던스 | 4옴 |
| 헤드폰 잭 | 3.5 mm 잭 |
| 연결 기술 | 무선 전화 |
| 무선 기술 | 블루투스 |
| 블루투스 범위 | 65미터(213피트) |
| 블루투스 버전 | 4.0 |
| 제어 유형 | 볼륨 조절, 푸시 버튼 |
| 소음 제어 | 없음 |
| 주파수 범위 | 550MHz-580MHz |
| 오디오 드라이버 유형 | 평형 전기자 드라이버 |
| 인클로저 재료 | 금속 |
| 품목 무게 | 3.25 Kilograms (Total package weight) |
9. 보증 및 지원
XTUGA products are designed for reliability and performance. For warranty information, technical support, or service inquiries, please refer to the contact details provided in your product packaging or visit the official XTUGA web사이트. 보증 청구를 위해 구매 증빙 자료로 구매 영수증을 보관하세요.
For additional support, you may visit the XTUGA Store on Amazon: XTUGA Store