
1. 서론
The XIAOVV BP9 is a 2.4GHz WiFi outdoor security camera designed for home surveillance. It features HD 2MP resolution, a 10000mAh solar panel for continuous power, and an IP65 waterproof rating, making it suitable for various outdoor environments. This manual provides detailed instructions for installation, operation, maintenance, and troubleshooting to ensure optimal performance of your security camera.
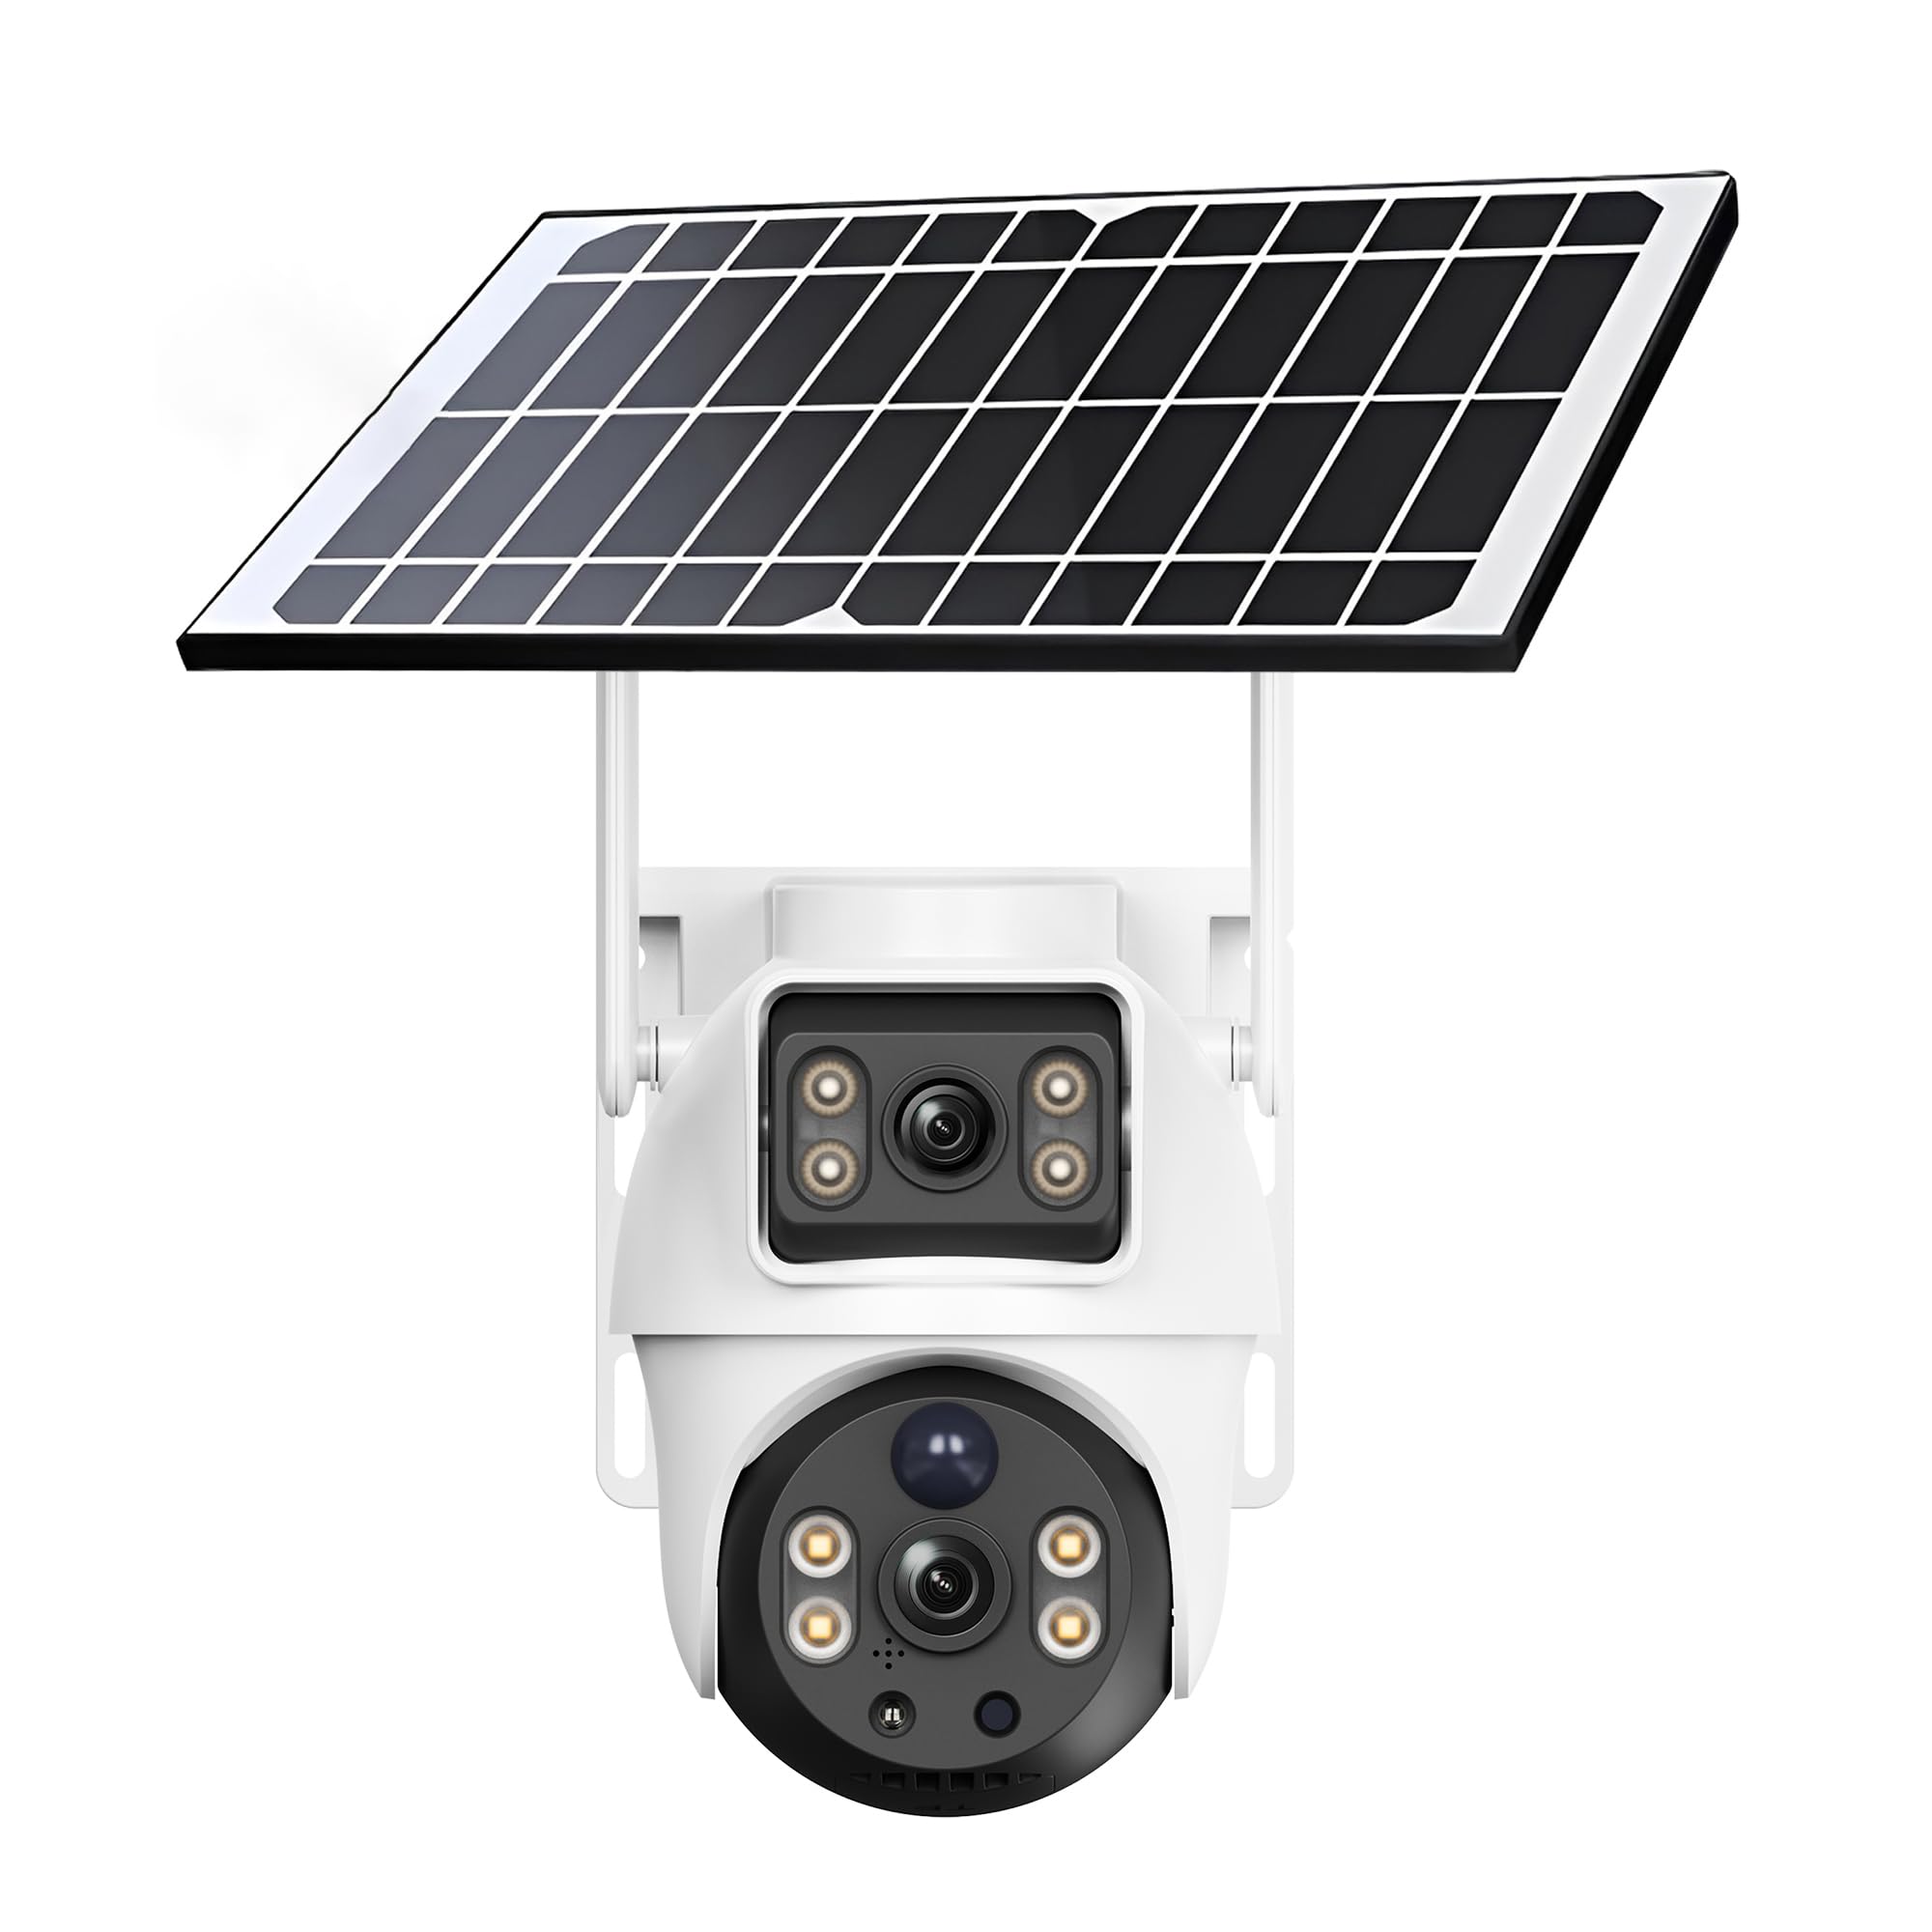
Figure 1: XIAOVV BP9 Solar WiFi Outdoor Security Camera.
2. 설정
2.1 패키지 내용
설치하기 전에 모든 구성 요소가 있는지 확인하세요.
- XIAOVV BP9 Security Camera
- Solar Panel with integrated 10000mAh battery
- 장착 브래킷 및 나사
- USB 충전 케이블
- 사용 설명서 (본 문서)
2.2 초기 배터리 충전
It is recommended to fully charge the camera's integrated battery via the USB charging cable before the first use. This ensures the camera has sufficient power for initial setup and operation, especially if solar exposure is limited during installation.
2.3 물리적 설치
The camera offers flexible installation options. You can mount the camera and solar panel together using a single bracket, or separately to optimize solar exposure for the panel. Choose a location that provides a clear view of the area you wish to monitor and ensures the solar panel receives direct sunlight for several hours daily.
- 장착 위치 선택: Identify a suitable outdoor location, ideally at a height of 2.5 to 3 meters (8-10 feet) to deter tampering and provide a wide view잉 각도.
- 드릴 구멍: Use the provided mounting template (if included) or mark the positions for drilling. Drill pilot holes for the screws.
- 브래킷 부착: Secure the mounting brackets to the wall using the screws and wall anchors.
- 카메라와 태양광 패널을 장착하세요: Attach the camera and solar panel to the brackets. Ensure the solar panel is angled to maximize sun exposure. Connect the solar panel cable to the camera.

Figure 2: Camera and solar panel mounted on a wall.
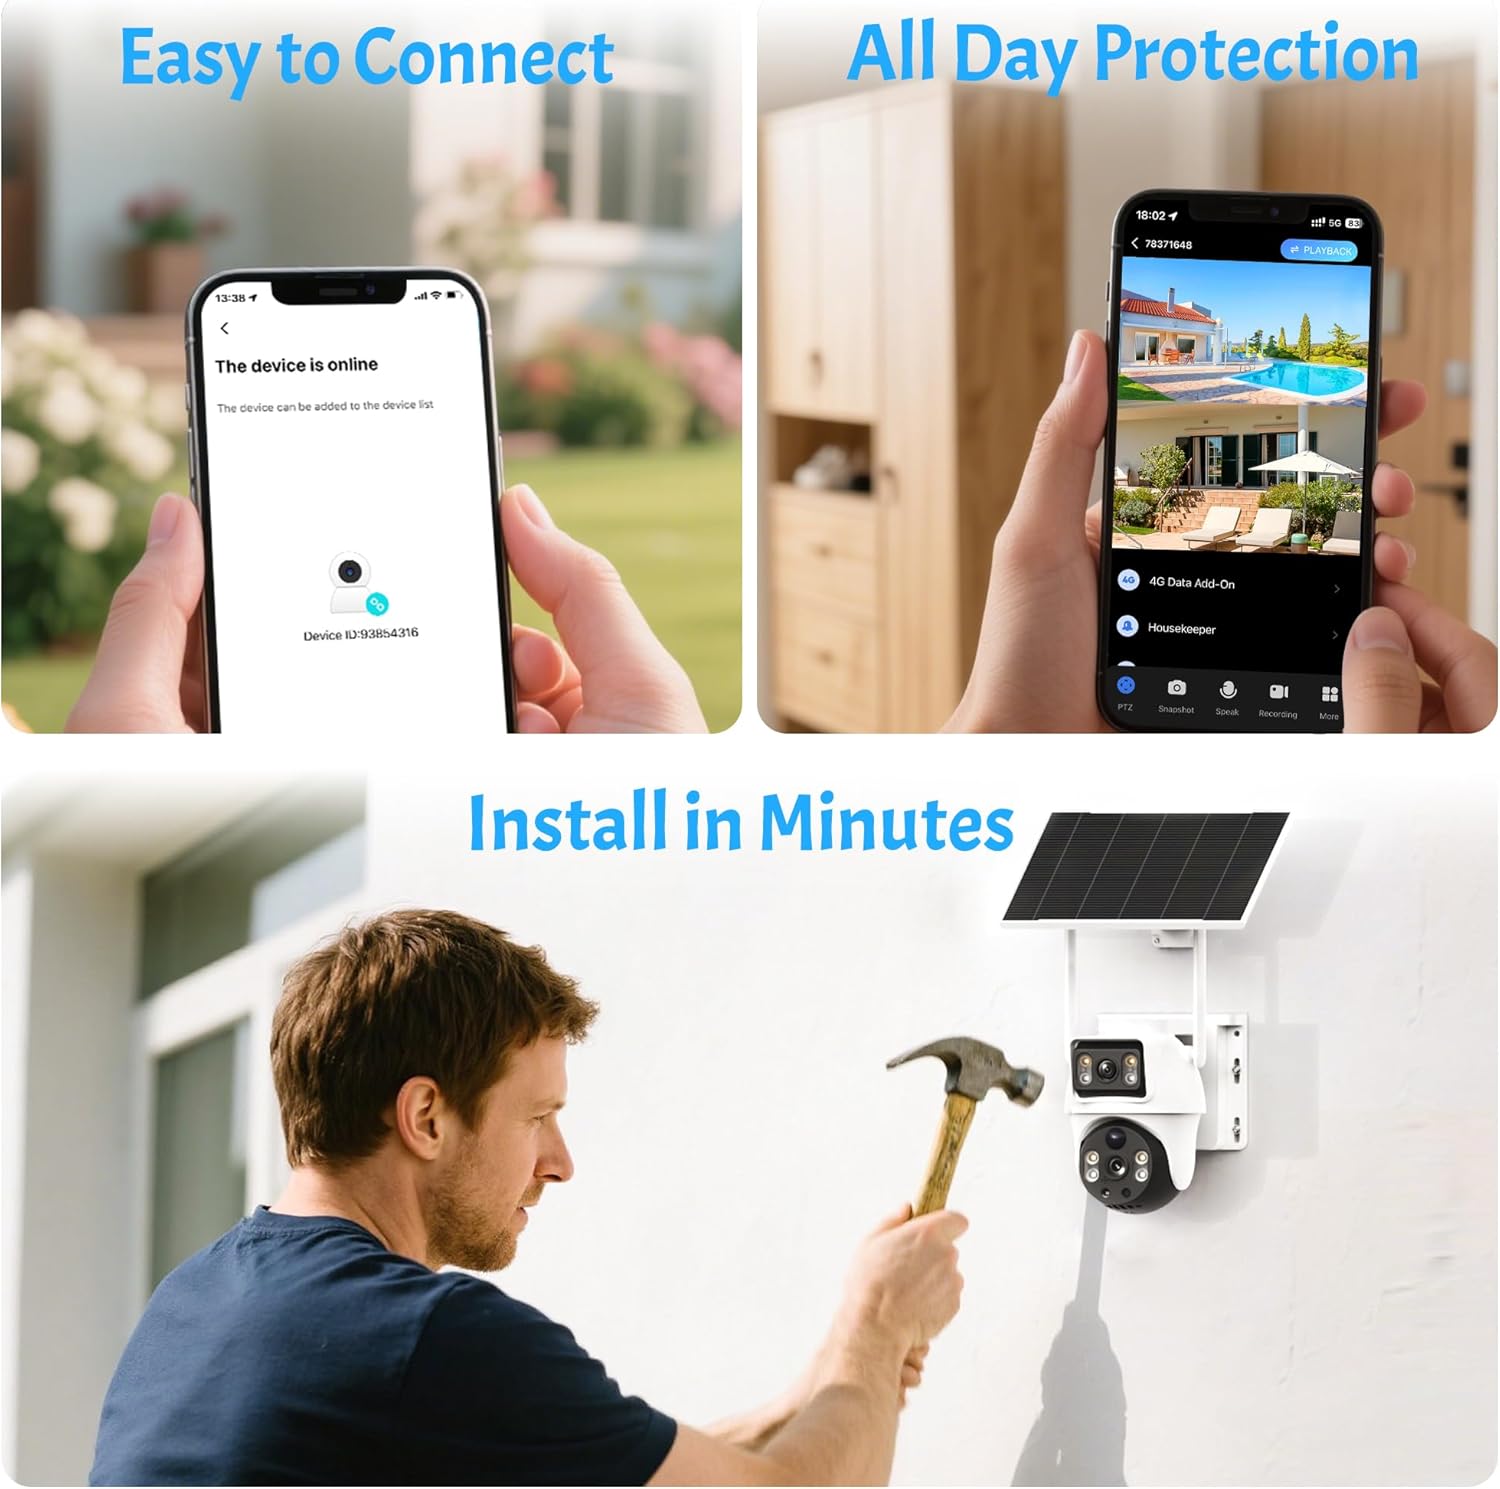
Figure 3: Simplified installation and connection steps.
2.4 앱 설치 및 기기 페어링
The camera is controlled via a dedicated mobile application. Ensure your smartphone is connected to a 2.4GHz WiFi network, as the camera does not support 5GHz WiFi.
- 앱 다운로드: 검색 the official XIAOVV app (or specified app in packaging) on the Apple App Store (for iOS) or Google Play Store (for Android) and install it.
- 계정 생성: Open the app and follow the prompts to create a new user account using your email address.
- 장치 추가: Select the option to add a new device. The app will typically guide you to scan a QR code located on the camera itself.
- Wi-Fi에 연결: Enter your 2.4GHz WiFi network password when prompted. The app will then generate a QR code on your phone screen.
- QR 코드 스캔: Position your phone screen in front of the camera lens (approximately 15-20 cm or 6-8 inches away) until the camera emits a confirmation sound, indicating successful scanning and connection.
- 설정 완료: Follow any remaining on-screen instructions to name your camera and finalize the setup process.
3. 카메라 작동
3.1 라이브 View 및 원격 액세스
Once connected, you can access the live video feed from your camera anytime, anywhere, using the mobile app. The app allows you to monitor your property in real-time.

Figure 4: App interface showing multiple camera views.
3.2 팬 및 틸트 제어
The camera supports pan (horizontal rotation) and tilt (vertical inclination) movements. Use the controls within the app to adjust the camera's viewing angle remotely. You can also set up to six preset positions for quick navigation to frequently monitored areas.

그림 5: 예amples of preset camera positions.
3.3 동작 감지 및 알림
The camera features reliable motion detection. When motion is detected within the monitoring range, the camera can automatically trigger a siren and spotlight, begin recording, and send instant notifications to your smartphone. You can customize the detection sensitivity and notification settings in the app.

Figure 6: Intruder detection and smartphone alert.

Figure 7: Siren and spotlight activation upon detection.
3.4 야간 투시경
The camera provides clear vision even in low-light conditions. It supports both infrared night vision and HD color night vision, allowing you to see details clearly day and night.
3.5 양방향 오디오
Equipped with a built-in microphone and speaker, the camera enables two-way audio communication. You can listen to what's happening around the camera and speak through the camera using your smartphone app.
3.6 기록 및 저장
Recordings can be stored locally on a Micro SD card (not included) or via cloud storage (subscription may apply). The camera records events triggered by motion detection. The duration of recordings can vary based on the operational mode (e.g., 'low power' vs. 'adaptive') and continuous movement.
3.7 다중 사용자 공유
You can effortlessly share camera access with family members or trusted friends through the app, enhancing overall home security and convenience.

그림 8: 다중 사용자 공유 기능.
3.8 Advanced Features (AI Detection)
The camera may offer advanced AI detection features capable of distinguishing between pets, packages, and vehicles. Please note that these advanced features may require an additional fee or subscription.

Figure 9: AI detection capabilities.
4. 유지관리
4.1 태양광 패널 효율
To ensure continuous power, regularly check that the solar panel is clean and free from obstructions like dirt, leaves, or snow. The battery autonomy is highly dependent on solar exposure, weather conditions, and the frequency of motion detection events.

Figure 10: Smart solar panel with 10000mAh battery.
4.2 청소
Periodically clean the camera lens and the solar panel with a soft, damp cloth to maintain optimal image quality and charging efficiency. Avoid using harsh chemicals or abrasive materials.
4.3 내후성
The camera has an IP65 international protection rating, meaning it is protected against dust ingress and low-pressure water jets from any direction. It is designed to withstand various outdoor weather conditions, including rain and direct sunlight.
5. 문제 해결
5.1 연결 문제
- Camera frequently disconnects: Ensure your router is within range and provides a strong 2.4GHz WiFi signal. Walls and other obstructions can weaken the signal. Try repositioning the camera or router.
- WiFi에 연결할 수 없습니다: Double-check that your WiFi network is 2.4GHz. Verify the WiFi password entered during setup. Ensure your smartphone is also connected to the 2.4GHz network during pairing.
- QR code scanning failure: Ensure the camera lens is clean. Adjust the distance between your phone screen and the camera lens (typically 15-20 cm). Ensure the screen brightness is sufficient.
5.2 Power and Battery Issues
- 카메라가 충전되지 않음: Verify the solar panel is clean and receives adequate direct sunlight. Check the connection cable between the solar panel and the camera. If necessary, charge the camera directly via USB.
- 짧은 배터리 수명: Battery performance can be affected by frequent motion detections, cold weather, and insufficient solar charging. Adjust motion detection sensitivity and review operational modes (e.g., 'low power' mode conserves battery).
5.3 Motion Detection and Notification Issues
- 수신된 알림이 없습니다. Check your smartphone's app notification settings and ensure they are enabled for the XIAOVV app. Verify the camera's motion detection settings in the app are active and sensitivity is appropriately configured.
- Motion detection not working or delayed: Ensure the camera's operational mode is not set to an overly aggressive power-saving mode that might delay activation. Adjust motion detection zones and sensitivity.
5.4 일반적인 문제 해결
- 카메라가 응답하지 않습니다: Try restarting the camera by pressing and holding the reset button (if available) or disconnecting and reconnecting the power.
- 이미지 품질 문제: Ensure the camera lens is clean. Check your network connection speed, as poor bandwidth can affect live stream quality.
6. 사양
| 특징 | 사양 |
|---|---|
| 상표 | XIAOVV |
| 모델 번호 | BP9 |
| 연결 기술 | 무선(2.4GHz Wi-Fi만 해당) |
| 권장 사용 | 감시 |
| 실내/실외 사용 | 집 밖의 |
| 특징 | 가지고 다닐 수 있는 |
| 호환 장치 | 스마트폰(안드로이드, iOS) |
| 전원 | 태양광 충전식 (10000mAh 배터리) |
| 국제 보호 등급 | IP65 |
| 비디오 해상도 | 1080p (2 메가픽셀) |
| View잉 각도 | 355도(팬/틸트) |
| 광학 줌 | None (8x Digital Zoom) |
| 나이트 비전 | 컬러 나이트 비전 |
| 경고 유형 | 양방향 오디오 |
| 제어 방법 | 애플리케이션 |
| 장착 유형 | 벽걸이형 |
| 품목 치수 | 24.2 x 22 x 19.8cm |
| 품목 무게 | 1.75 킬로그램 |
7. 보증 및 지원
7.1 보증 정보
Please refer to the product packaging or the seller's website for specific warranty terms and conditions. Typically, products come with a limited manufacturer's warranty covering defects in materials and workmanship.
7.2 고객 지원
For technical assistance, troubleshooting, or any other inquiries regarding your XIAOVV BP9 camera, please contact the professional support team provided by XIAOVV. Contact details can usually be found on the product packaging, the official XIAOVV web사이트나 구매 플랫폼을 통해서도 구매할 수 있습니다.