
소개
This manual provides comprehensive instructions for the operation and maintenance of your AbergBest Mini Digital Camera. Designed for ease of use, this compact camera is ideal for capturing everyday moments with its 21-megapixel sensor and HD 720P video recording capabilities. Please read this manual thoroughly to ensure proper usage and to maximize your camera's potential.
상자 안에 무엇이 들어있나요?
Upon unboxing your AbergBest Mini Digital Camera, please verify that all the following components are included:
- AbergBest Mini Digital Camera (Model: New2022ABDC5100)
- 2 x Lithium Batteries
- Charging Brick (USB Wall Adapter)
- USB 케이블(충전 및 데이터 전송용)
- 손목 스트랩
- Driver Disk (CD)
- 사용자 설명서
- Carrying Satchel

Image: All components included in the AbergBest Mini Digital Camera package.
설정
1. 배터리 설치
The camera comes with two rechargeable lithium batteries. To install a battery:
- 카메라 하단에 있는 배터리함 덮개를 찾으세요.
- 잠금장치를 밀어서 수납공간을 여세요.
- 배터리를 삽입하고 접점이 올바르게 정렬되었는지 확인하세요.
- Close the battery compartment door securely until it clicks.

Image: Visual guide for inserting the battery into the camera.
2. SD Card Installation (Not Included)
An SD memory card is required to store photos and videos. The camera supports up to a 64GB SD memory card. For optimal performance, use a certified brand SD card with a Class 4 speed or above.
- SD 카드 슬롯은 일반적으로 배터리 칸 근처 또는 카메라 측면에 있습니다.
- SD 카드의 금속 접촉면이 아래쪽을 향하도록 하여 딸깍 소리가 나면서 제자리에 고정될 때까지 삽입하십시오.
- 제거하려면 카드가 튀어나올 때까지 조심스럽게 밀어 넣으세요.

Image: Recommended SD card types and capacity for the camera.
3. 카메라 충전
Use the provided USB cable and charging brick to charge the camera. A fully charged battery can support the camera for over 60 minutes of use.
- USB 케이블의 작은 쪽 끝을 카메라의 USB 포트에 연결하세요.
- Connect the large end of the USB cable to the charging brick.
- Plug the charging brick into a wall outlet.
- The charging indicator light will illuminate during charging and turn off when complete.
작동 지침
1. 전원 켜기 / 끄기
Press and hold the Power button (usually located on the top or side of the camera) to turn the camera on or off.
2. LCD 화면 사용
The camera features a 2.7-inch TFT LCD screen for framing shots, review사진을 올리고 메뉴를 탐색하는 기능입니다.
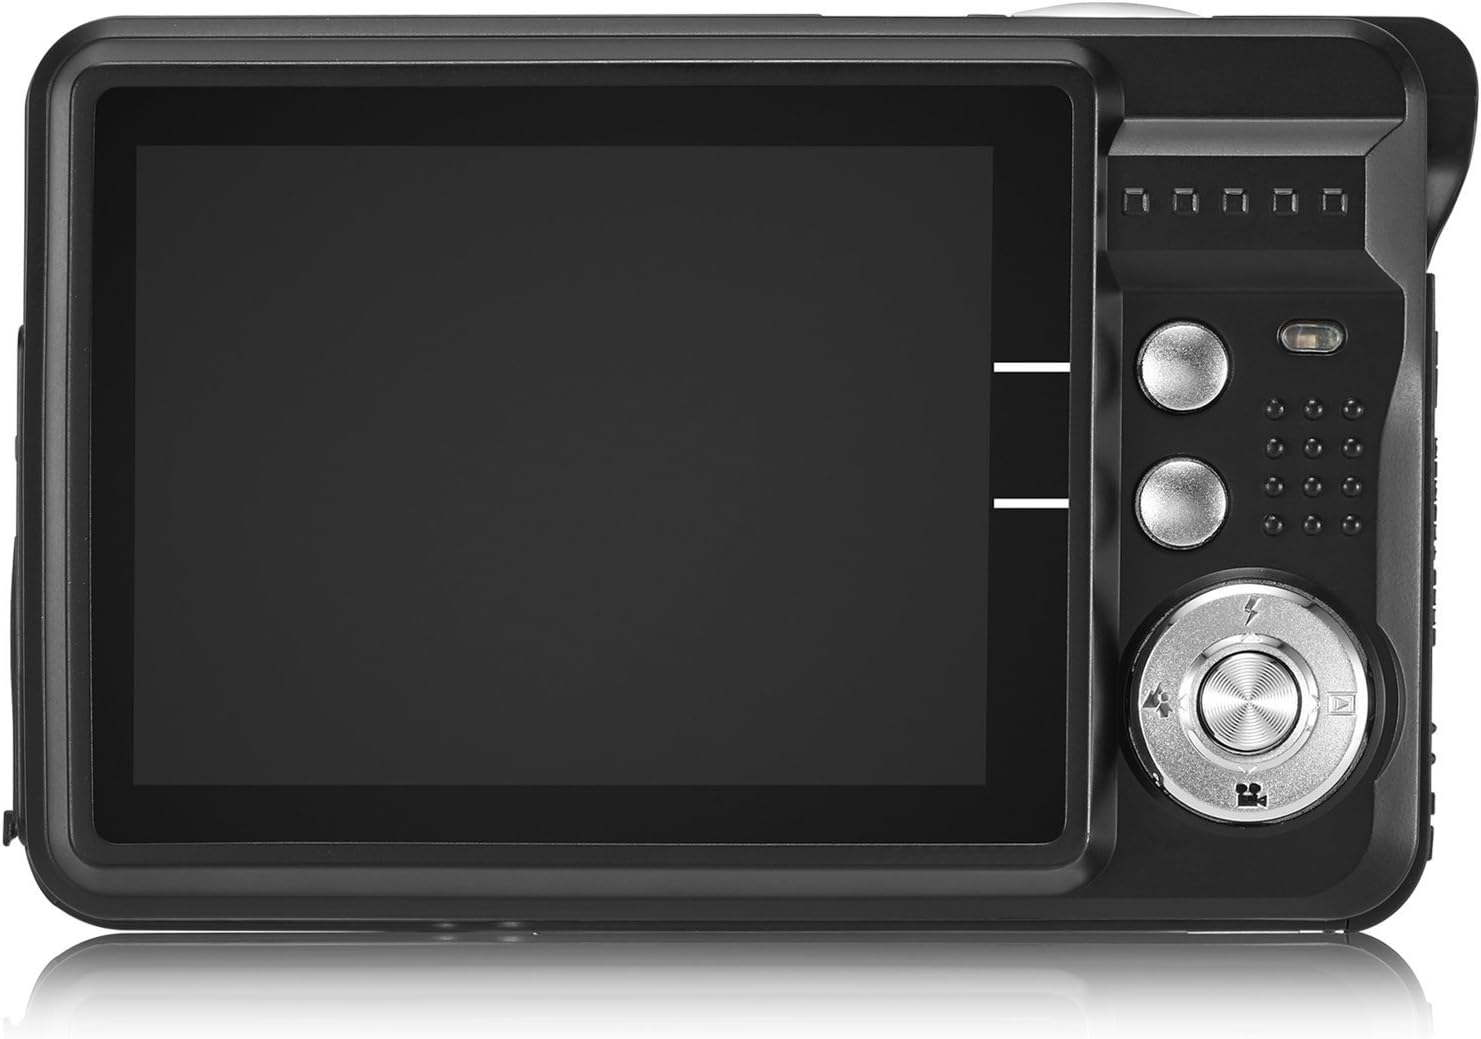
Image: The camera's 2.7-inch LCD screen and rear controls.
3. 사진 찍기
정지 이미지를 캡처하려면:
- LCD 화면을 사용하여 피사체를 구도에 맞추세요.
- 초점을 맞추려면 셔터 버튼을 반쯤 누르세요.
- Press the Shutter button fully to take the picture.
The camera captures images at 21 megapixels in JPEG format.
4. 비디오 녹화
비디오를 녹화하려면:
- Switch the camera to video mode (refer to the on-screen icons or user manual for specific button).
- 셔터 버튼을 눌러 녹화를 시작하세요.
- 녹화를 중지하려면 셔터 버튼을 다시 누르세요.
Videos are recorded in HD 720P resolution in AVI format.

Image: The camera displaying video recording functionality.
5. 줌 기능
The camera features 8X digital zoom. Use the zoom buttons (often labeled with a magnifying glass icon or 'W' for Wide and 'T' for Telephoto) to adjust the zoom level.

Image: Demonstrating the camera's 8X digital zoom capability.
6. Scene Modes and Settings
Access the camera's menu to select various scene modes and adjust settings for different shooting conditions. Available modes include:
- 야간 인물 사진: For clear portraits in low light.
- Night Scenery: Optimizes for landscapes at night.
- 스포츠: Reduces blur for fast-moving subjects.
- Scenery: Enhances outdoor landscape shots.
- 파티: Ideal for indoor events with mixed lighting.
- 해변: Adjusts for bright, reflective environments.
- 높은 감도: Improves performance in very low light.
Other adjustable settings include ISO (Auto, 100, 200, 400), Anti-Shake for stable images, and Flash options (Auto, On, Off, Red-eye Reduction). The camera also features Face Detection, Smile Capture, and a 2-second Self-Timer.

Image: The camera's 2.7-inch screen highlighting the face detection feature.

Image: Illustrating the effect of the built-in flash in low-light conditions.
컴퓨터에 연결하기
사진과 동영상을 컴퓨터로 전송하려면 다음 단계를 따르세요.
- 카메라의 전원이 꺼져 있는지 확인하세요.
- 제공된 USB 케이블을 사용하여 카메라를 컴퓨터에 연결합니다.
- 카메라를 켜세요. 컴퓨터에서 이동식 디스크 드라이브로 나타날 것입니다.
- Alternatively, you can remove the SD card and insert it into a compatible card reader connected to your computer.
The camera is compatible with Windows XP/VISTA/7/8/10 and Mac operating systems. A driver disk is included for older systems or specific software needs, though most modern operating systems will recognize the camera automatically.

Image: Connecting the camera to a personal computer for data transfer.
유지
Proper care will extend the life of your camera:
- 청소: Use a soft, lint-free cloth to clean the camera body and screen. For the lens, use a specialized lens cleaning cloth and solution. Avoid harsh chemicals.
- 저장: 카메라를 직사광선과 극한의 온도를 피해 서늘하고 건조한 곳에 보관하세요. 장기간 보관 시에는 배터리를 분리하세요.
- 배터리 관리 : 처음 사용하기 전에 배터리를 완전히 충전하십시오. 배터리 수명을 연장하려면 과충전이나 잦은 완전 방전을 피하십시오.
문제 해결
If you encounter issues with your camera, try the following common troubleshooting steps:
- 카메라가 켜지지 않음: 배터리가 올바르게 설치되었고 완전히 충전되었는지 확인하십시오. 제공된 두 번째 배터리를 사용해 보십시오.
- 이미지 품질이 좋지 않음: Check lighting conditions. Ensure the lens is clean. Adjust scene modes or ISO settings as needed.
- 메모리 카드 오류: Ensure the SD card is properly inserted and not full. Try formatting the card (this will erase all data, so back up first). Use a compatible SD card (Class 4 or above, up to 64GB).
- 카메라 화면이 멈춥니다: 카메라를 재설정하려면 배터리를 제거했다가 다시 삽입하세요.
If problems persist, please refer to the detailed user manual or contact customer support.
명세서
| 특징 | 세부 사항 |
|---|---|
| 상표 | 애버그베스트 |
| 모델명 | ABCAM218UPDATED |
| 모델 번호 | New2022ABDC5100 |
| 최고 Web캠 이미지 해상도 | 21 MP |
| 포토 센서 기술 | CMOS |
| 비디오 해상도 | 720p |
| 지원됨 File 체재 | AVI (Video), JPEG (Photo) |
| 이미지 안정화 | 디지털 |
| 화면 크기 | 2.7인치 TFT LCD |
| 디지털 줌 | 8x |
| 플래시 메모리 유형 | SD (up to 64GB, Class 4+) |
| 배터리 유형 | 리튬폴리머(2개 포함) |
| 연결 기술 | USB |
| 호환 장치 | Windows XP/VISTA/7/8/10/MAC |
| 특징 | Face Detection, Smile Capture, Anti-Shake, Self-Timer |
| 품목 무게 | 309그램 |
| 품목 치수(D x W x H) | 3.74인치 깊이 x 2.4인치 너비 x 0.94인치 높이 |
보증 및 지원
Your AbergBest Mini Digital Camera comes with a 1년 제조사 보증. For warranty claims, technical support, or any questions regarding your product, please refer to the contact information provided in the included user manual or visit the official AbergBest web대지.
보증을 위해 구매 증빙서류를 보관하세요.