
1. 서론
Thank you for choosing the JBM Robotic Lawnmower Model 52598. This manual provides essential information for the safe and efficient operation, installation, and maintenance of your new robotic lawnmower. Please read this manual thoroughly before using the product and keep it for future reference.

그림 1: 이상view of the JBM Robotic Lawnmower Model 52598. This image shows the complete robotic lawnmower from a front-side angle, highlighting its green and black casing and large wheels.
2. 안전 지침
부상이나 손상의 위험을 줄이려면 항상 다음 안전 예방 조치를 준수하세요.
- Read all instructions carefully before operating the robotic lawnmower.
- 손과 발을 절단면에서 멀리하십시오.
- 습한 환경이나 비가 올 때는 잔디 깎는 기계를 작동하지 마십시오.
- 잔디깎이 기계가 지정된 구역을 벗어나지 않도록 경계선이 올바르게 설치되고 유지 관리되는지 확인하십시오.
- Turn off the main power switch before performing any maintenance or cleaning.
- Keep children and pets away from the working area of the lawnmower.
- 정품 예비 부품과 액세서리만 사용하십시오.
3. 설정
3.1 풀기
Carefully remove all components from the packaging. Verify that all parts listed in the package contents are present. Retain packaging for future storage or transport.
3.2 충전소 배치
Select a suitable location for the charging station. It should be on a flat surface, close to an outdoor power outlet, and in an area that allows the robotic lawnmower easy access for docking.
3.3 경계선 설치
Install the boundary wire around the perimeter of your lawn. The wire defines the mowing area for the robotic lawnmower. Ensure the wire is securely fastened to the ground or buried to prevent damage. Follow the specific spacing guidelines provided in the detailed installation guide included with your product.
3.4 초기 충전 및 전원 켜기
Connect the charging station to the power supply. Place the robotic lawnmower onto the charging station to allow the battery to fully charge before first use. Once charged, open the top panel to access the control interface and power on the device.

Figure 2: Control panel of the JBM Robotic Lawnmower. This image shows the top panel lifted, revealing the digital display, control buttons, and the prominent red 'STOP' button, essential for programming and manual control.
4. 사용 설명서
4.1 시작 및 중지
- 시작한다: Ensure the mower is charged and within its boundary. Press the 'START' button on the control panel. The mower will begin its programmed mowing cycle.
- 그만하다: Press the large red 'STOP' button located on the top of the mower. This will immediately halt all operations.
4.2 Programming Mowing Schedules
Use the control panel to set up automatic mowing schedules. You can define specific days and times for the mower to operate. Refer to the detailed programming section in your product's full manual for step-by-step instructions on setting up schedules and zones.
4.3 절단 높이 조정
The cutting height can be adjusted to suit your lawn's needs. Consult your full manual for the location of the cutting height adjustment mechanism and the available settings. Always adjust the cutting height when the mower is powered off.
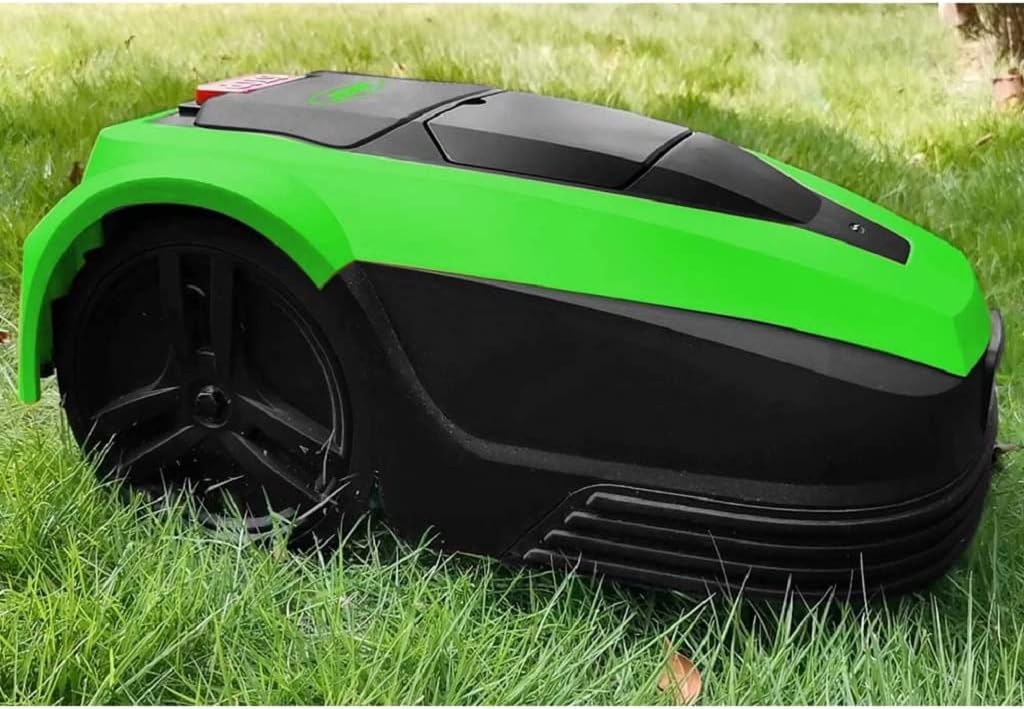
Figure 3: The JBM Robotic Lawnmower operating on a lawn. This image shows the mower actively cutting grass, demonstrating its functionality in a typical garden environment.
5. 유지관리
Regular maintenance ensures the longevity and optimal performance of your robotic lawnmower.
5.1 청소
- 외부: 잔디깎이 외부를 청소하세요.amp cloth. Do not use high-pressure water or solvents.
- 아랫면 및 날개: Regularly clean grass clippings from the underside and around the blades. Always wear protective gloves and ensure the mower is powered off before cleaning the blades.
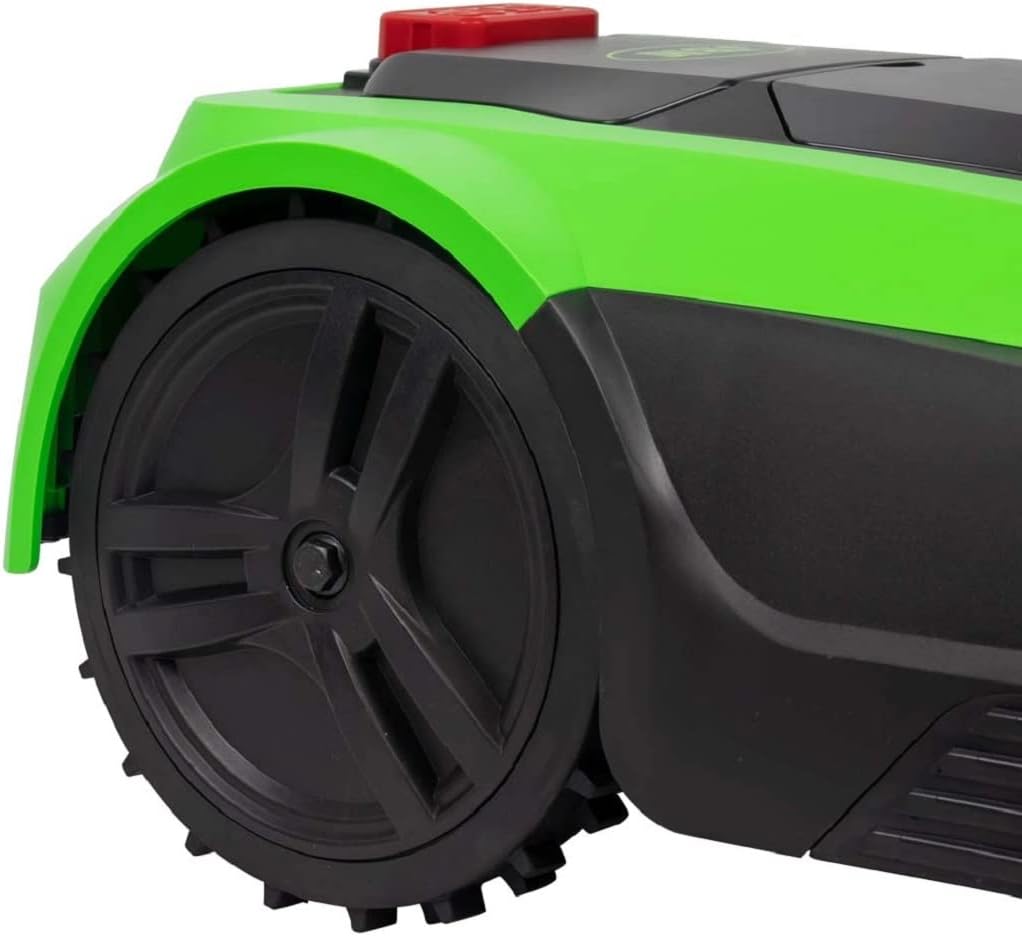
그림 4: 클로즈업 view of the JBM Robotic Lawnmower's wheel and side panel. This image highlights the robust wheel design and the green and black casing, useful for identifying areas for cleaning and inspection.
5.2 블레이드 교체
The blades should be replaced regularly, typically every 1-3 months depending on usage and grass type. Always use genuine JBM replacement blades. Refer to your full manual for detailed instructions on safe blade replacement.
5.3 배터리 관리 및 보관
For optimal battery life, avoid prolonged exposure to extreme temperatures. During off-season storage, ensure the battery is fully charged and store the mower in a dry, frost-free environment. Disconnect the charging station from the power supply.
6. 문제 해결
This section addresses common issues you might encounter with your robotic lawnmower.
| 문제 | 가능한 원인 | 해결책 |
|---|---|---|
| 모어가 시작되지 않음 | Low battery; Main switch off; Error message on display | Charge battery; Turn on main switch; Check display for error codes and consult manual |
| 잔디깎이 기계가 충전되지 않습니다 | Charging station not powered; Poor contact with charging pins | Check power supply to charging station; Clean charging contacts on mower and station |
| Mower leaving boundary | Boundary wire damaged or incorrectly installed | Inspect boundary wire for breaks or incorrect placement; Ensure connections are secure |
| 고르지 않은 절단 결과 | Dull blades; Incorrect cutting height; Obstructions | Replace blades; Adjust cutting height; Clear mowing area of debris |
7. 사양
Key technical specifications for the JBM Robotic Lawnmower Model 52598:
- 상표: 제이비엠
- 모델 번호: 52598
- 전원: Corded Electric (for charging station)
- 재료: 강철 합금
- 색상: Multicolored (Green and Black)
- 스타일: 무브러시
- 절단 폭: 18 센티미터
- 작동 모드: 오토매틱
8. 보증 및 지원
Your JBM Robotic Lawnmower Model 52598 comes with a standard manufacturer's warranty. Please refer to the warranty card included in your product packaging for specific terms and conditions, including warranty period and coverage details.
For technical support, spare parts, or service inquiries, please contact JBM customer service through the contact information provided in your product documentation or on the official JBM website. When contacting support, please have your model number (52598) and purchase date readily available.