1. 서론
This manual provides essential information for the proper setup, operation, and maintenance of your WIMAXIT 10.1" Raspberry Pi Touch Screen Portable Monitor. Please read this manual thoroughly before using the product to ensure optimal performance and longevity.
The WIMAXIT 10.1-inch portable touch monitor features a native resolution of 1024x600 with an IPS panel, offering a 178-degree wide viewing angle. It supports 5-point capacitive touch and is designed for broad compatibility with various devices, including Raspberry Pi models (Pi 5, 4, 3, 2, Zero), Windows PCs (Win10/Win8/Win7), gaming consoles (Xbox, PS4), and other systems like Linux, Raspbian, Kali Linux, and Ubuntu. The monitor includes dual built-in speakers and a 3.5mm headphone jack for audio output.
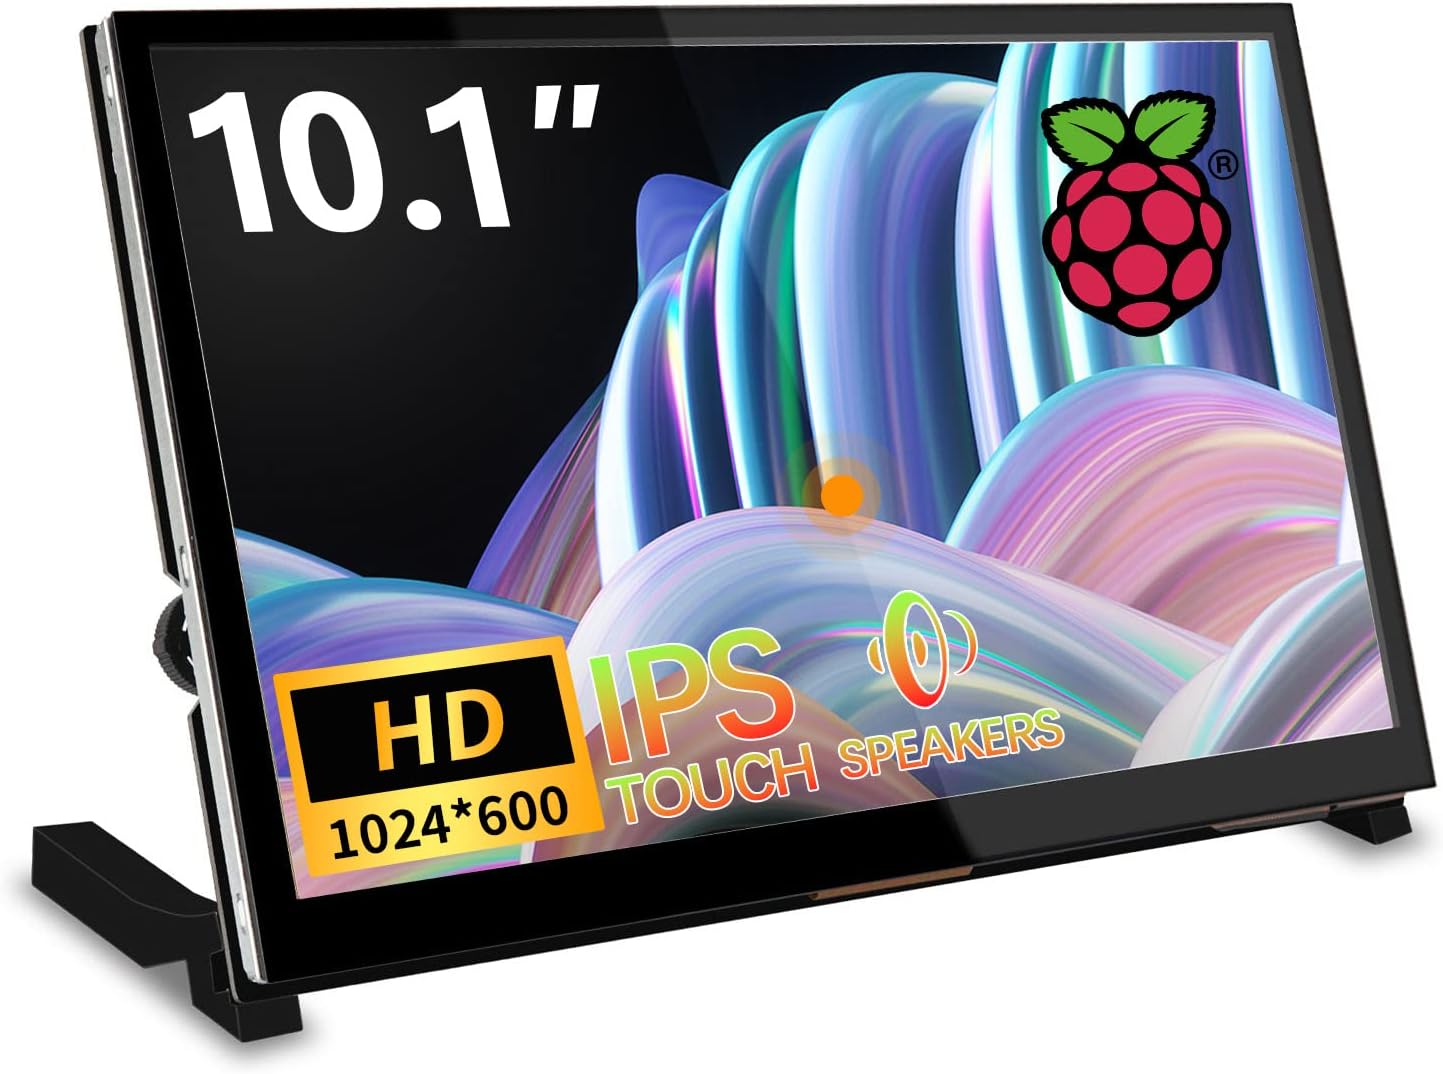
Figure 1: WIMAXIT 10.1" Raspberry Pi Touch Screen Portable Monitor
설명: This image displays the WIMAXIT 10.1" Raspberry Pi Touch Screen Portable Monitor from a front-angle view, 보여 주다asing its compact design and the screen displaying a vibrant image. The monitor is supported by a stand.
2. 설정
2.1 패키지 내용
- WIMAXIT 10.1" Touch Screen Portable Monitor
- HDMI 케이블
- USB 케이블 (터치 및 전원용)
- Micro-HDMI to HDMI Adapters (for Raspberry Pi 4/3/2)
- Mounting Screws and Copper Pillars (for Raspberry Pi attachment)
- 미니 스크루드라이버
- 스탠드 구성품
- 사용자 설명서
2.2 스탠드 설치
To set up the monitor for desktop use, attach the provided stand components to the back of the monitor using the included screws and screwdriver. Ensure the stand is securely fastened to provide stable support.
Video 1: How to install the stand for the monitor. This video demonstrates the step-by-step process of attaching the stand to the WIMAXIT 10.1" monitor using the provided screws and screwdriver.
2.3 Connecting a Raspberry Pi
The monitor is designed to integrate seamlessly with Raspberry Pi boards. You can attach the Raspberry Pi directly to the back of the monitor using the mounting screws and copper pillars. Use the appropriate HDMI and USB adapters for your specific Raspberry Pi model.

Figure 2: Raspberry Pi mounted on the back of the monitor. This image shows a Raspberry Pi board securely attached to the rear of the WIMAXIT 10.1" monitor, illustrating the integrated design for DIY projects.
Video 2: How to install Raspberry Pi 5. This video provides instructions on how to connect and install a Raspberry Pi 5 board with the monitor, including the use of adapters and mounting hardware.
2.4 Raspberry Pi Configuration (for optimal display)
For optimal display and touch functionality with Raspberry Pi, it may be necessary to modify the config.txt file on your SD card. Add the following lines to the end of the config.txt file located in the root directory of your Raspberry Pi's SD card:
hdmi_force_edid_audio=1
max_usb_current=1
hdmi_force_hotplug=1
config_hdmi_boost=7
hdmi_group=2
hdmi_mode=87
hdmi_drive=2
display_rotate=0
hdmi_timings=1024 1 200 18 200 600 1 50 3 50 0 0 0 60 0 51200000 3
저장하다 file and reboot your Raspberry Pi. Ensure that you do not duplicate any existing parameters in the config.txt file.
2.5 Connecting to a PC or Gaming Console
Connect the monitor to your PC or gaming console using an HDMI cable for video output. For touch functionality with a Windows PC, connect the 'Touch' Micro USB port on the monitor to a USB port on your PC. If touch is not required, use the 'Power' Micro USB port for power input.
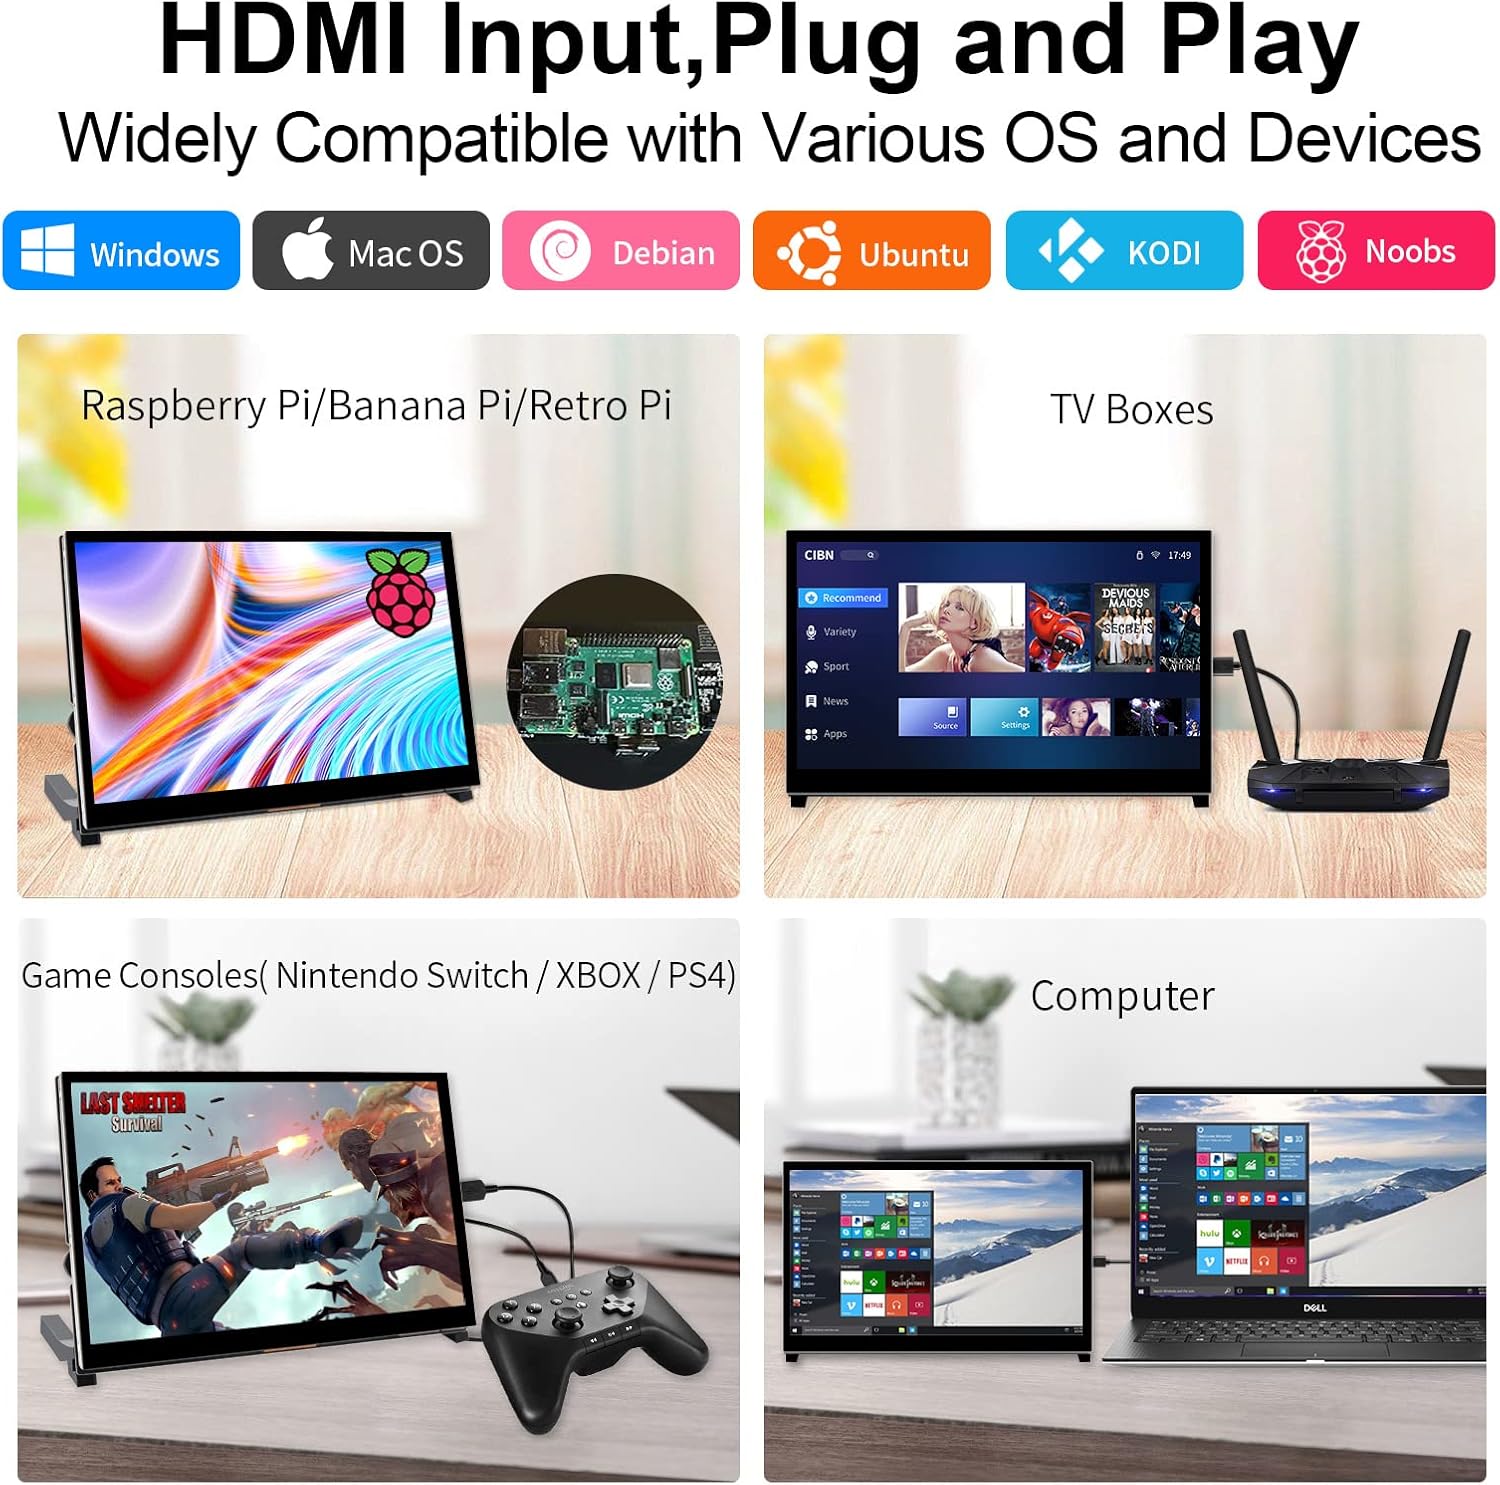
Figure 3: Monitor compatibility with various devices. This image illustrates the WIMAXIT 10.1" monitor connected to different devices such as Raspberry Pi, TV boxes, gaming consoles (Nintendo Switch, Xbox, PS4), and a laptop, highlighting its broad compatibility.
3. 사용 설명서
3.1 전원 켜기/끄기
Connect the monitor to a 5V/2A power source via the Micro USB port. The monitor will automatically power on. To power off, disconnect the power source.
3.2 터치 기능
The 10.1-inch display supports 5-point capacitive touch. Once connected via the appropriate USB port (as described in Section 2.5), you can interact with the display using touch gestures for navigation, selection, and input.

Figure 4: Multi-point responsive touching. This image shows a hand interacting with the WIMAXIT 10.1" monitor using various touch gestures like tap, press, zoom in, zoom out, and mouse click, demonstrating its responsive touch interface.
3.3 오디오 및 디스플레이 설정
The monitor features dual built-in speakers and a 3.5mm audio output interface. A single dial on the monitor allows for easy adjustment of volume and brightness settings. Rotate the dial to change values and press it to switch between volume and brightness control modes.

Figure 5: Monitor port layout. This image provides a detailed view of the ports on the WIMAXIT 10.1" monitor, including HDMI input, Micro USB (Touch & Power), 3.5mm earphone jack, and the control switch.
Video 3: WIMAXIT 10.1 Inch Small Raspberry Pi Monitor. This video offers a general overview of the WIMAXIT 10.1" monitor, showcasing its features and potential applications with Raspberry Pi.
4. 유지관리
To maintain the monitor's performance and appearance, regularly clean the screen with a soft, lint-free cloth. Avoid using harsh chemicals or abrasive materials. Keep the monitor in a dry environment and protect it from extreme temperatures and direct sunlight.
5. 문제 해결
5.1 No Video Signal with Raspberry Pi
If you encounter a "no video" message or a blank screen when connecting to a Raspberry Pi, ensure the config.txt file is correctly configured as detailed in Section 2.4. Incorrect or missing parameters can prevent the display from initializing properly.
5.2 Touch Functionality Not Working on Windows PC
Verify that the 'Touch' Micro USB port on the monitor is connected to your Windows PC. The 'Power' port does not support touch functions. No additional drivers are typically required for Windows 10/8/7 systems.
5.3 전원 요구 사항
Ensure the monitor receives adequate power. For Raspberry Pi 3/2, a 2.5A power supply is required. For other applications, a 5V 2A power input is generally sufficient. Insufficient power can lead to unstable operation or display issues.
6. 사양
| 화면 유형 | IPS |
| 화면 크기 | 10.1 인치 |
| 해결 | 1024 x 600 픽셀 |
| 종횡비 | 16시 9분 |
| View잉 각도 | 178° 광각 |
| 터치 스크린 | 5-point Capacitive Touch, 6H Hardness |
| 비디오 입력 | HDMI |
| 오디오 출력 | 3.5mm Audio Interface, Dual Built-in Speakers |
| 전원 공급 장치 | MicroUSB (5V/2A) |
| 제품 치수 | 9.29 x 0.79 x 5.75인치(236.00 x 145.57 x 20.00mm) |
| 품목 무게 | 2.01 pounds (900g including packaging) |
| 모델 번호 | M1012 |
7. 보증 및 지원
For warranty information and technical support, please refer to the documentation included with your product or visit the official WIMAXIT website. Contact details for customer service can typically be found on the product packaging or the brand's online store.