
소개
This manual provides essential information for the safe and effective use of your Vividia CT-6010 LCD/WiFi Flexible Two-Way Articulating Inspection Camera Borescope Videoscope. Please read these instructions carefully before operating the device and retain them for future reference.

Figure 1: Vividia CT-6010 Borescope main unit with flexible probe.
설정
1. 포장 풀기 및 구성 요소 식별
Carefully unpack all items from the packaging. Ensure all components are present and undamaged. The package typically includes:
- Vividia CT-6010 Main Unit with LCD Display
- Flexible Articulating Probe (6mm diameter, 1.0m length)
- 전원 어댑터/충전기
- USB 케이블
- 운반 케이스
- 어깨끈

Figure 2: Contents of the Vividia CT-6010 package.
2. 장치 충전
Before first use, fully charge the device. Connect the power adapter to the DC 인 port on the main unit and plug it into a power outlet. The charging indicator will show the charging status.
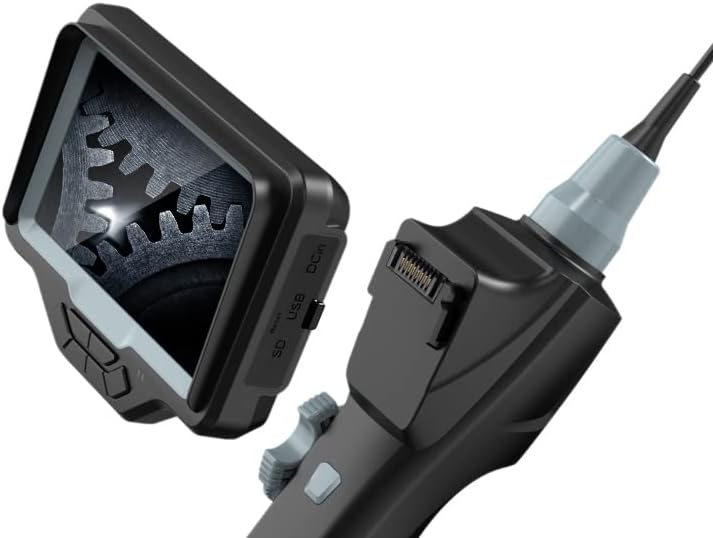
Figure 3: DC In port for charging, along with SD and USB ports.
3. SD 카드 삽입
To save photos and videos, insert a compatible Micro SD card (not included) into the SD card slot on the side of the main unit. Ensure the card is inserted correctly until it clicks into place.
4. 전원 켜기 / 끄기
를 누르고 계세요 힘 button located on the control panel to turn the device on or off. The LCD screen will illuminate upon startup.
5. WiFi Connection (Optional)
The CT-6010 features built-in WiFi for connecting to iPhone, iPad, or Android devices. Follow these steps:
- Turn on the CT-6010 device.
- 모바일 기기에서 Wi-Fi를 켜세요.
- 검색 the CT-6010's WiFi network (usually named 'Vividia_XXXX').
- Connect to the network using the provided password (refer to the device screen or a sticker on the unit).
- Open the dedicated Vividia app on your mobile device to view the live feed and control functions.

그림 4: 예ample of WiFi connection to a mobile device.
작동 지침
1. 기본 제어
The main unit features several buttons for operation:
- 전원 버튼: 장치를 켜거나 끕니다.
- 확인 버튼: Confirms selections in the menu or captures media.
- 메뉴 버튼: 장치 설정에 액세스합니다.
- 조명 버튼(*): Adjusts the brightness of the LED lights on the probe tip.
- Photo/Video Capture Button: A dedicated button on the handle for quick photo or video recording.

Figure 5: Location of the Photo/Video Capture button.
2. Probe Articulation
The CT-6010 features a two-way articulating probe. Use the articulation knob on the handle to precisely control the bending direction of the probe tip. The probe can bend more than 180 degrees in two directions, allowing for comprehensive inspection of hard-to-reach areas.
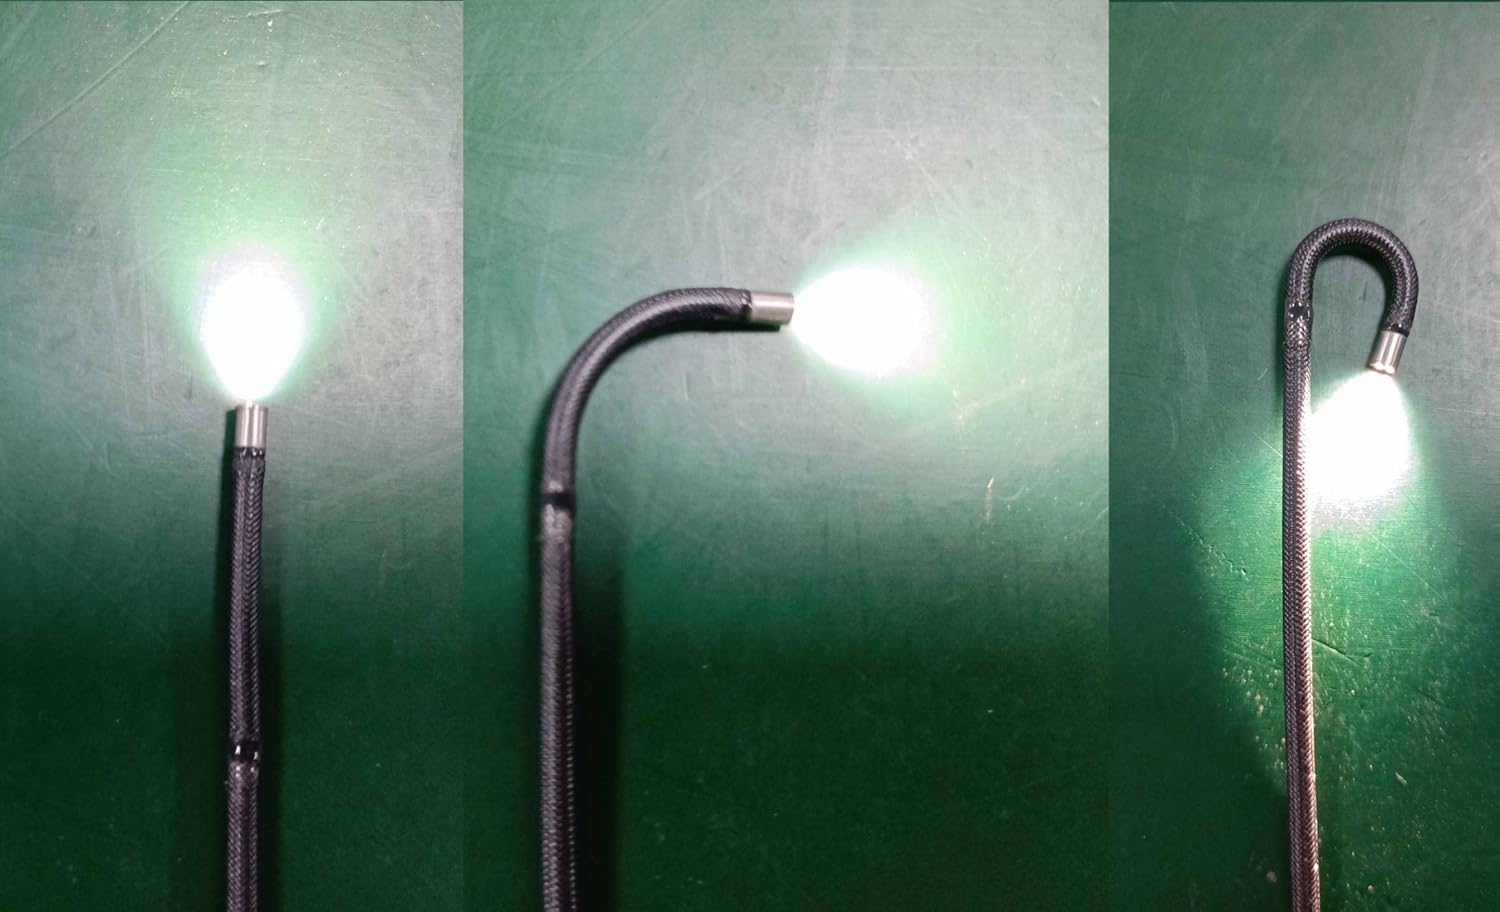
그림 6: 예amples of probe articulation.

Figure 7: Close-up of the articulating probe tip.
3. Adjusting Illumination
를 누르세요 * (Light) button to cycle through different brightness levels for the LED lights at the probe tip. Adjust the illumination to achieve optimal visibility in various inspection environments.
4. 사진 및 비디오 촬영
하는 동안 view실시간 피드를 보려면 누르세요 사진/동영상 캡처 버튼 on the handle to take a still image. To record a video, press and hold the button briefly to start recording, and press it again to stop. Captured media is saved to the inserted SD card.
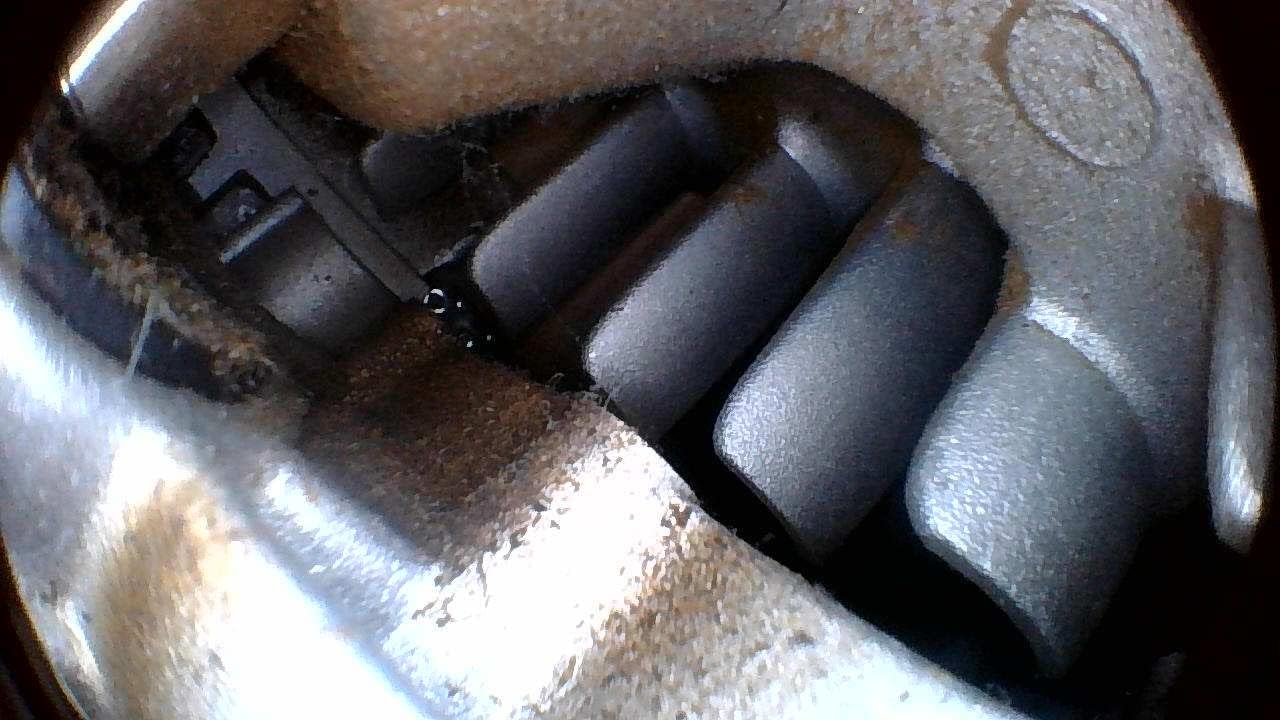
그림 8: 예ample of an inspection view.
5. 메뉴 탐색 및 설정
를 누르세요 메뉴 button to access device settings. Use the directional buttons (often integrated with OK/Light buttons) to navigate through options such as resolution, date/time, language, and playback. Press OK 선택 사항을 확인하기 위해 메뉴 다시 종료합니다.
유지
1. 청소
- 조사: 사용 후에는 프로브와 카메라 렌즈를 부드러운 천으로 살살 닦아주세요.amp cloth. For stubborn dirt, use a mild cleaning solution. Ensure no liquid enters the main unit.
- 메인 유닛: Wipe the main unit with a dry, soft cloth. Avoid using abrasive cleaners or solvents.
2. 배터리 관리
배터리 수명을 연장하려면:
- 장기간 보관하기 전에 기기를 완전히 충전하십시오.
- 극도로 뜨겁거나 추운 환경에 장치를 보관하지 마십시오.
- If not used for an extended period, charge the battery every 3-6 months.
3. 보관
Store the CT-6010 in its carrying case in a cool, dry place, away from direct sunlight and extreme temperatures. Ensure the probe is coiled loosely and not sharply bent to prevent damage.
4. 방수성
The flexible probe is rated IP67 waterproof, meaning it can withstand immersion in water up to 1 meter for 30 minutes. The main unit is NOT waterproof. Do not immerse the main unit in water or expose it to heavy rain.
문제 해결
| 문제 | 가능한 원인 | 해결책 |
|---|---|---|
| 장치의 전원이 켜지지 않습니다. | 배터리가 부족합니다. 전원 버튼을 제대로 누르지 않았습니다. | Charge the device fully; Press and hold the Power button for a few seconds. |
| 화면에 이미지가 나오지 않습니다. | Probe not connected properly; Camera lens obstructed/dirty. | Ensure the probe is securely connected; Clean the camera lens. |
| 와이파이 연결이 실패했습니다. | Incorrect password; App not installed; Device out of range. | Verify WiFi password; Install the correct Vividia app; Move closer to the device. |
| Probe articulation is stiff or stuck. | 막힘; 기계적 문제. | Do not force the articulation. Gently retract the probe and check for obstructions. If the issue persists, contact support. |
| 이미지 품질이 좋지 않습니다. | Insufficient lighting; Dirty lens; Incorrect focus (if adjustable). | Adjust LED brightness; Clean the camera lens; Ensure proper distance from object. |
명세서
| 특징 | 세부 사항 |
|---|---|
| 프로브 직경 | 6mm(0.236인치) |
| 프로브 길이 | 1.0미터(3.3피트) |
| 카메라 해상도 | HD 1280x720 |
| 관절 | 2-way, max. bending angle >180 degrees |
| 연결성 | Built-in WiFi (for iPhone, iPad, Android) |
| 방수 등급 | IP67(프로브만 해당) |
| 표시하다 | Integrated LCD |
| 비디오 캡처 해상도 | 720p |
| 카메라 플래시 | 내장형 LED |
| 제조업체 | 비비디아 테크놀로지스 |
| 첫 번째 이용 가능 날짜 | 12년 2022월 XNUMX일 |

Figure 9: Probe diameter measurement.

Figure 10: Probe length illustration.
보증 및 지원
보증 정보
The Vividia CT-6010 is covered by a manufacturer's warranty. Please refer to the warranty card included with your product or visit the official Vividia Technologies web자세한 보증 약관은 해당 사이트에서 확인하세요.
고객 지원
For technical assistance, troubleshooting beyond this manual, or warranty claims, please contact Vividia Technologies customer support. Contact information can typically be found on the manufacturer's web사이트나 제품 설명서에서 확인하세요.