
1. 서론
This manual provides detailed instructions for the installation, operation, and maintenance of your j5create USB-C Dual HDMI Docking Station (Model JCD542). This docking station is designed to expand the connectivity of your USB-C enabled laptop, offering dual display output, multiple USB ports, network connectivity, and power delivery.
제품의 올바른 기능을 보장하고 손상을 방지하기 위해 사용하기 전에 이 설명서를 자세히 읽어주세요.
2. 제품 오버view
2.1 패키지 내용
- j5create USB-C Dual HDMI Docking Station (JCD542)
- 사용 설명서
2.2 장치 레이아웃 및 포트
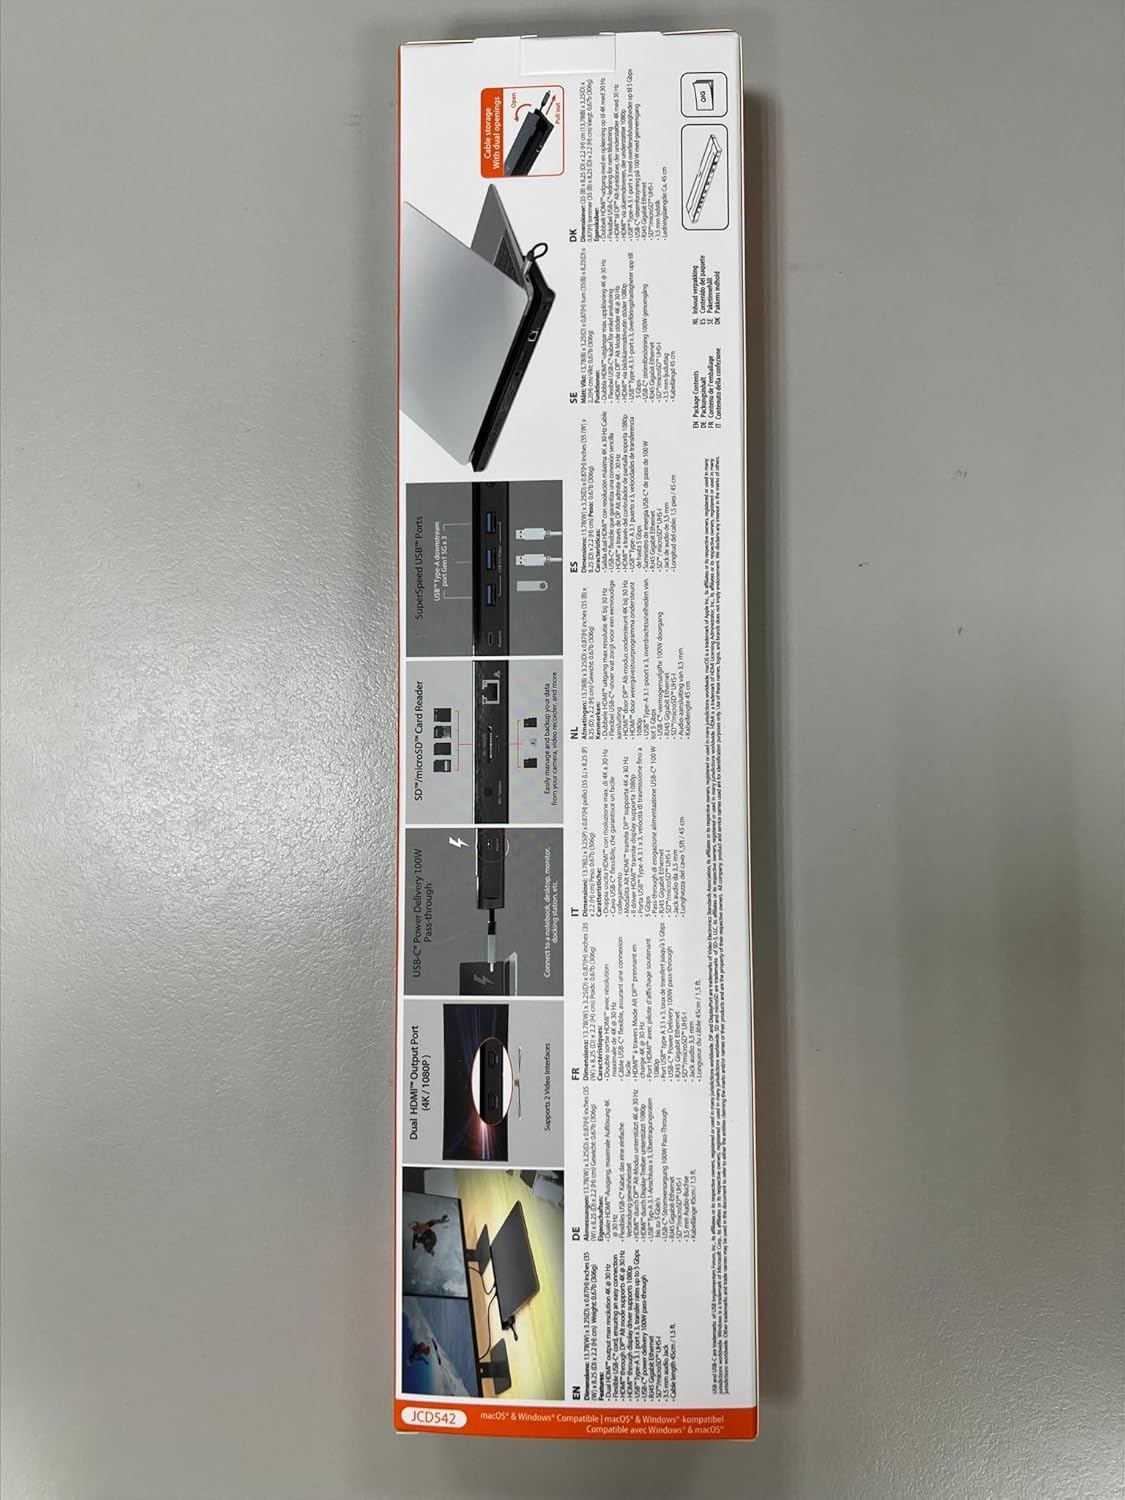
The JCD542 docking station features a comprehensive array of ports to enhance your workstation. Refer to the images below for a visual guide to the port layout.

이미지 1: 위에서 아래로 view of the j5create JCD542 USB-C Dual HDMI Docking Station, showcasin세련된 디자인과 다양한 포트를 갖추고 있습니다.

Image 2: Diagram illustrating the 10 available ports on the j5create JCD542 docking station, including USB-C Power In, USB 3.0, Mic/Speaker, SD/microSD, Gigabit Ethernet, 4K HDMI, HDMI, and Security Slot.
- USB-C 호스트 커넥터: 노트북의 USB-C 포트에 연결됩니다.
- USB-C Power In (PD 3.0): Supports up to 100W Power Delivery for charging your laptop.
- HDMI 1 (4K): Connects to a display for up to 4K (3840 x 2160) resolution.
- HDMI 2 : Connects to a display for up to 2K (2048 x 1152) or 1080p resolution.
- USB 3.0 (5Gbps) 3개: Connects to USB peripherals such as keyboards, mice, or external drives.
- RJ45 기가비트 이더넷: 안정적인 유선 네트워크 연결을 제공합니다.
- SD 카드 리더기: 일반 SD 메모리 카드를 읽는 데 사용합니다.
- microSD 카드 리더기: For reading microSD memory cards.
- Combo Audio Jack (Mic/Speaker): Connects to headphones or speakers with a microphone.
- 보안 잠금 슬롯: 도난 방지를 위해 보안 케이블을 부착하는 용도입니다.
3. 설정
3.1 시스템 요구 사항
- Available USB-C port with DisplayPort Alternate Mode (Alt Mode) support.
- Windows 10 / 8.1 / 7 or macOS X 10.8 or later (macOS 11 & 12 supported).
- For Mac users, driver installation is required for display functionality. Please visit the j5create web최신 드라이버 사이트.
- For Power Delivery, your laptop must support USB-C Power Delivery.
3.2 도킹 스테이션 연결하기
- Connect the integrated USB-C host cable from the docking station to an available USB-C port on your laptop.
- If you wish to charge your laptop via the docking station, connect your laptop's USB-C power adapter to the USB-C Power In port on the docking station.
- HDMI 케이블을 사용하여 외부 모니터를 도킹 스테이션의 HDMI 포트에 연결하십시오.
- Connect any USB peripherals (keyboard, mouse, external hard drive) to the USB 3.0 ports.
- For a wired network connection, connect an Ethernet cable from your router/modem to the RJ45 Gigabit Ethernet port.
- Insert SD or microSD cards into the respective card reader slots if needed.
- Connect headphones or speakers to the Combo Audio Jack.

Image 3: A laptop connected to the j5create JCD542 docking station via its integrated USB-C cable, demonstrating a typical setup.

Image 4: Illustration showing compatibility with both Windows and Mac operating systems, highlighting the need for driver installation for Mac users.
4. 사용 설명서
4.1 듀얼 디스플레이 구성
The docking station supports extending your laptop's display to two external monitors. One HDMI port supports up to 4K (3840 x 2160) resolution, and the other supports up to 2K (2048 x 1152) or 1080p. You can also use your laptop screen for a total of three displays.

Image 5: A workstation demonstrating a dual-monitor setup connected via the j5create JCD542 docking station, enhancing productivity.
After connecting your monitors, you may need to configure display settings in your operating system (Windows Display Settings or macOS System Preferences > Displays) to extend or mirror your desktop.
4.2 전력 공급
The USB-C Power In port allows you to charge your laptop while using the docking station, supporting up to 100W Power Delivery. Ensure your laptop's original power adapter is connected to this port for charging.

Image 6: A USB-C power cable connected to the 'Power In' port of the j5create JCD542 docking station, indicating support for up to 100W Power Delivery to the connected laptop.
4.3 Data Transfer and Peripherals
The three USB 3.0 ports provide SuperSpeed 5Gbps data transfer rates for connecting various USB peripherals. The RJ45 Gigabit Ethernet port ensures a reliable and fast wired internet connection, while the SD and microSD card readers allow for convenient access to memory card data.

이미지 7: 클로즈업 view of the three SuperSpeed USB 3.0 ports on the j5create JCD542 docking station, with a USB device connected.

이미지 8: 클로즈업 view of the RJ45 Gigabit Ethernet port on the j5create JCD542 docking station, showing an Ethernet cable connected for a stable network connection.

이미지 9: 클로즈업 view of the SD and microSD card reader slots on the j5create JCD542 docking station, with a memory card being inserted.

이미지 10: 클로즈업 view of the combo audio jack (Mic/Speaker) on the j5create JCD542 docking station, with a 3.5mm audio plug inserted.
이미지 11: 클로즈업 view of the security lock slot on the j5create JCD542 docking station, showing a security cable being attached.
5. 유지관리
도킹 스테이션의 수명 연장 및 최적 성능 유지를 위해 다음 유지 관리 지침을 따르십시오.
- 기기를 깨끗하고 청결하게 유지하려면 부드럽고 마른 천으로 닦아주세요. 액체 세척제나 용제 사용은 피해주세요.
- 장치를 극한의 온도, 습도 또는 직사광선에 노출시키지 마십시오.
- 장치를 떨어뜨리거나 강한 충격을 가하지 마십시오.
- 과열을 방지하기 위해 도킹 스테이션 주변에 적절한 환기가 이루어지도록 하십시오.
6. 문제 해결
If you encounter issues with your j5create JCD542 docking station, refer to the following common problems and solutions:
- 디스플레이 출력 없음:
- 노트북의 USB-C 포트가 DisplayPort Alt Mode를 지원하는지 확인하세요.
- Verify that all HDMI cables are securely connected to both the docking station and the monitors.
- For Mac users, ensure the necessary display drivers are installed. Visit the j5create support web드라이버 다운로드 사이트.
- Check your operating system's display settings to ensure monitors are detected and configured correctly (extended or mirrored).
- Try disconnecting and reconnecting the docking station from your laptop.
- 노트북이 충전되지 않음:
- Confirm that your laptop supports USB-C Power Delivery.
- Ensure your laptop's original USB-C power adapter is connected to the USB-C Power In port on the docking station.
- Verify the power adapter is functioning correctly and connected to a power outlet.
- USB 주변 장치가 작동하지 않음:
- 도킹 스테이션이 노트북에 제대로 연결되었는지 확인하세요.
- 주변기기를 노트북에 직접 연결하여 정상 작동하는지 확인해 보세요.
- Test the peripheral in a different USB 3.0 port on the docking station.
- 이더넷을 통한 인터넷 연결 없음:
- 이더넷 케이블이 도킹 스테이션과 라우터/모뎀에 모두 안전하게 연결되어 있는지 확인하세요.
- Check your network settings in your operating system.
- 라우터/모뎀이 올바르게 작동하는지 확인하세요.
- 도킹 스테이션이 따뜻하게 느껴집니다:
- It is normal for the docking station to generate some heat during operation, especially when multiple ports are in use or when charging a laptop. Ensure it has adequate ventilation and is not covered.
7. 사양
| 모델 번호 | JCD542 |
| 제품 치수 | 13.78 x 3.25 x 0.86인치(350 x 82.5 x 21.8mm) |
| 품목 무게 | 14.3 온스(405그램) |
| 호스트 인터페이스 | USB-C |
| 비디오 출력 | 2 x HDMI (1x 4K, 1x 2K/1080p) |
| USB 포트 | 3 x USB 3.0(5Gbps) |
| 이더넷 | RJ45 기가비트 이더넷 |
| 카드 리더기 | SD/마이크로SD |
| 오디오 | Combo Audio Jack (Mic/Speaker) |
| 전력 공급 | Up to 100W via USB-C Power In port |
| 호환성 | Windows 10/8.1/7, macOS X 10.8 or later (macOS 11 & 12) |
8. 보증 및 지원
j5create products are designed and manufactured with quality in mind. For warranty information and technical support, please refer to the official j5create web사이트를 방문하거나 고객 서비스에 문의하세요.
제조업체: j5크리에이트
연락처 정보:
카이젯 테크놀로지 인터내셔널 BV
Address: Zomerdroom 20, 3068 MZ Rotterdam, Netherlands
Phone Number: +31 (0)6-2880 2882
이메일: service@j5create.com
보증 청구를 위해 구매 증명서를 보관하십시오.