
1. 서론
This manual provides comprehensive instructions for the installation, configuration, and operation of your PGST Wireless Smart Home Alarm System. Please read this manual thoroughly before using the product to ensure proper functionality and safety. This system is designed to enhance the security of your home or office with advanced features including Wi-Fi/GSM connectivity, app control, and various detection sensors.
2. 패키지 내용
아래 나열된 모든 품목이 패키지에 포함되어 있는지 확인하세요. 품목이 누락되었거나 손상된 경우 고객 지원팀에 문의하세요.
- Alarm Host (Control Panel)
- Wireless Infrared Motion Detector
- Wireless Door/Window Opening Detectors (5 units)
- 리모컨(2개)
- 무선 주파수 식별(RFID) Tags (2 개)
- 사이렌
- SOS 버튼
- 전원 어댑터
- 사용자 설명서

이미지 2.1: 이상view of the PGST Wireless Smart Home Alarm System kit components.
3. 제품 오버view
The PGST Smart Home Alarm System is a comprehensive security solution featuring a 4.3-inch IPS color touchscreen control panel, multiple wireless sensors, and smart connectivity options.
3.1. Alarm Host (Control Panel)
The central unit of the alarm system, featuring a 4.3-inch IPS color display for real-time operation and status monitoring. It supports Wi-Fi, 4G, GSM, and GPRS networks for reliable communication.

Image 3.1: The PGST Alarm Host with its 4.3-inch IPS color display.
3.2. Wireless Sensors and Accessories
- 동작 감지기: Detects movement within its range, triggering an alarm.
- 도어/창 센서: Triggers an alarm when a protected door or window is opened.
- 원격 제어: Used for arming, disarming, and triggering the SOS function remotely.
- 무선 주파수 식별(RFID) Tag: Allows for quick arming/disarming by swiping the tag near the control panel.
- SOS 버튼: A dedicated button for emergency alerts.

Image 3.2: A wireless motion detector.
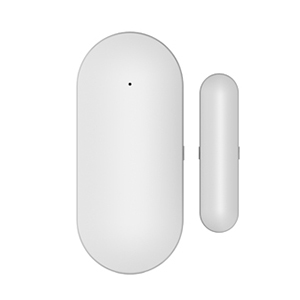
Image 3.3: A wireless door/window sensor.

Image 3.4: A remote control for the alarm system.

Image 3.5: An RFID tag 편리한 접근을 위해.

Image 3.6: A dedicated SOS button.
4. 설정 및 설치
4.1. 초기 파워업
- 전원 어댑터를 경보 장치에 연결하고 전원 콘센트에 꽂으십시오.
- The system will power on and display the main interface on the 4.3-inch screen.
4.2. Connecting to the Tuya App and Wi-Fi
To control your alarm system remotely and receive notifications, connect it to the Tuya Smart app via Wi-Fi.
- 스마트폰 앱스토어에서 'Tuya Smart' 또는 'Smart Life' 앱을 다운로드하세요.
- 계정에 등록하거나 로그인하십시오.
- On the alarm host, navigate to the Wi-Fi settings.
- 앱에서 '기기 추가'를 선택하고 경보 시스템 카테고리를 선택하세요.
- Follow the on-screen prompts in the app to connect the alarm host to your 2.4GHz Wi-Fi network. Ensure your Wi-Fi password is correct.
Video 4.1: Instructions for connecting the alarm host to the Tuya Smart app via Wi-Fi.
4.3. 무선 액세서리 페어링
Follow these steps to pair your remote controls, RFID tags, door/window sensors, and motion detectors with the alarm host.
- On the alarm host, navigate to the 'Parts' or 'Accessories' menu.
- Select the option to add a new remote control, RFID tag, or detector.
- 리모컨을 사용하는 경우, 안내 메시지가 나오면 리모컨의 아무 버튼이나 누르세요.
- RFID에 대하여 tags, 스와이프 tag near the RFID reader on the alarm host.
- For door/window sensors, separate the two parts of the sensor when prompted.
- For motion detectors, trigger the detector by moving in front of it when prompted.
- The alarm host will confirm successful pairing. Repeat for all accessories.
Video 4.2: Demonstration of pairing remote controls, RFID tags, door sensors, and motion detectors with the alarm host.
4.4. IP Camera Setup (Optional)
If your kit includes an IP camera, you can integrate it with the Tuya app for enhanced monitoring and motion-triggered recording.
- Power on the IP camera.
- Press and hold the reset button on the camera for 5 seconds until you hear a prompt.
- In the Tuya app, select 'Add Device' and choose the camera category.
- Follow the app's instructions to connect the camera to your Wi-Fi network, typically by scanning a QR code displayed on your phone with the camera.
- Once connected, you can set up motion detection alarms within the camera settings in the app.
Video 4.3: Guide for connecting the IP camera to the Tuya app and configuring motion detection.

Image 4.4: Illustration of the Tuya IP Camera linking with the alarm system for motion detection.
5. 사용 설명서
5.1. 무장 및 무장 해제
The system can be armed or disarmed using the control panel, remote controls, RFID tags, or the Tuya app.
- 무장(외출 모드): 모든 센서를 활성화합니다. 감지된 센서는 경보를 발생시킵니다.
- 절전 모드 유지 (홈 모드): Activates perimeter sensors (e.g., door/window sensors) while allowing free movement within the property.
- 무장 해제: 경보 시스템을 비활성화합니다.
5.2. SOS 기능
In an emergency, press the SOS button on the control panel or remote control to trigger an immediate alarm and notify pre-set emergency contacts.

Image 5.1: Illustration of the SOS function providing immediate assistance.
5.3. Two-Way Voice Intercom
The alarm host supports two-way voice communication, allowing you to make and receive calls or voice messages through the system.
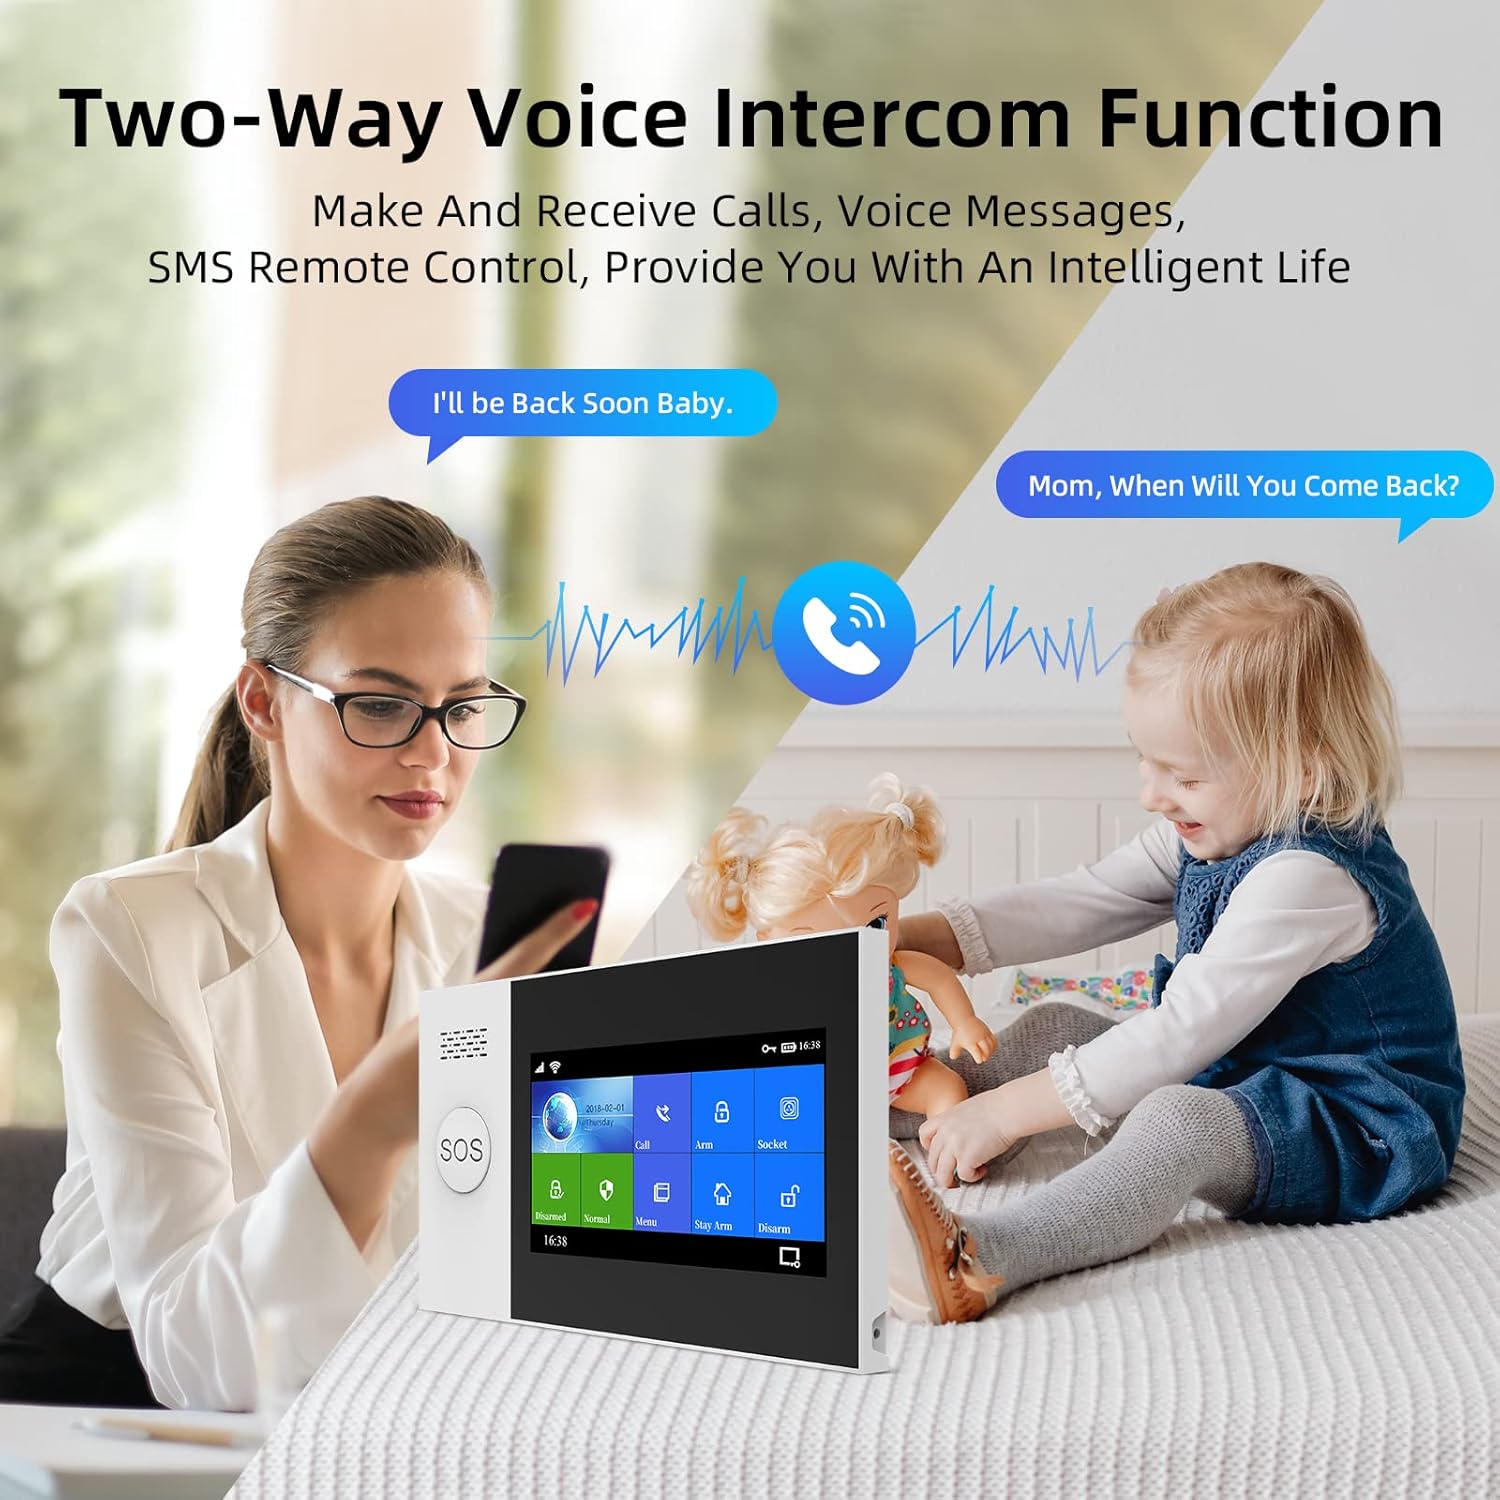
Image 5.2: The two-way voice intercom function in use.
5.4. 음성 제어 통합
The system is compatible with voice assistants like Amazon Alexa and Google Assistant, enabling convenient voice commands for arming and disarming.

Image 5.3: The alarm system's compatibility with Alexa voice control.
5.5. Zone Settings
The system supports multiple defense zone settings, allowing customization for different areas of your property:
- Access Zone: Typically for entry/exit points with a delay.
- Interior Zone: For indoor motion sensors, active in Away mode.
- Perimeter Zone: For door/window sensors, active in Stay Arm mode.
- 24시간 운영 구역: Always active, such as for smoke detectors or emergency buttons.
- 초인종 구역: Functions as a doorbell.
You can customize the names of these zones (e.g., main door, living room, bedroom window) for clear identification.
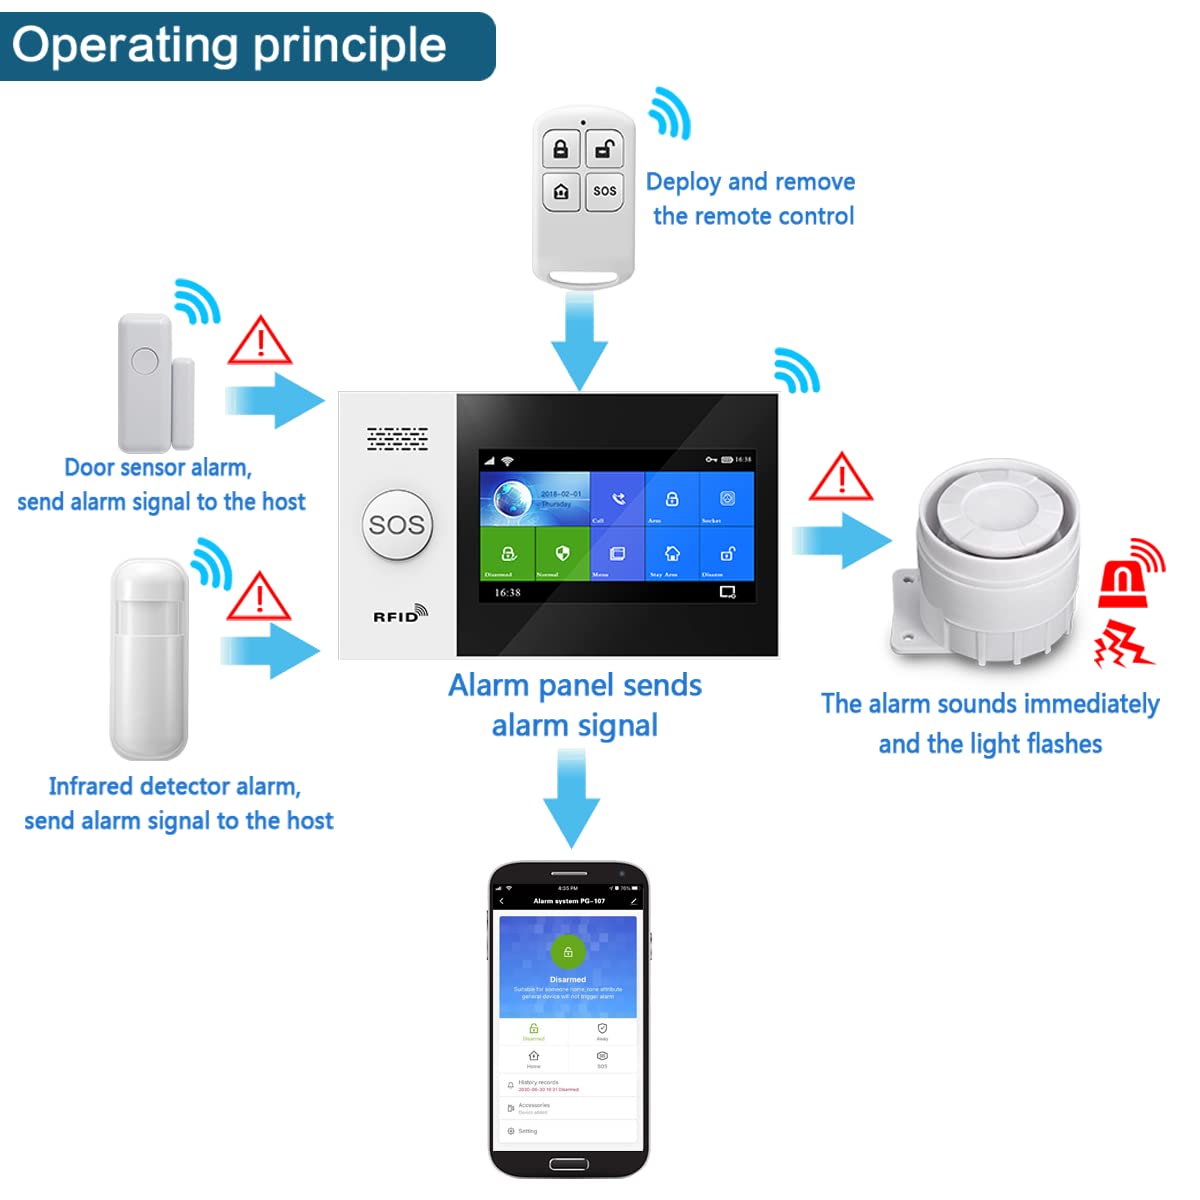
Image 5.4: Diagram illustrating the operating principle of the alarm system with various sensors.
6. 유지관리
- 배터리 교체: The system will provide a low battery warning for sensors. Replace batteries promptly to ensure continuous protection. The main host uses a Lithium-ion battery.
- 청소: Use a soft, dry cloth to clean the control panel and sensors. Avoid using abrasive cleaners or solvents.
- 펌웨어 업데이트: Periodically check the Tuya app for available firmware updates for the alarm host and camera to ensure optimal performance and security.
7. 문제 해결
If you encounter issues with your PGST alarm system, refer to the following common problems and solutions:
- 시스템이 Wi-Fi에 연결되지 않습니다: Ensure your Wi-Fi network is 2.4GHz. Verify the Wi-Fi password. Restart the alarm host and your router.
- 센서가 경보를 울리지 않음: Check sensor battery levels. Ensure sensors are properly paired with the alarm host. Verify sensor placement and alignment (e.g., door/window sensors).
- 원격 제어가 작동하지 않음: Check the remote control battery. Re-pair the remote control with the alarm host.
- 오경보: Adjust sensitivity settings for motion detectors if available. Ensure sensors are not placed in areas prone to drafts or direct sunlight.
- 앱 알림 없음: Check app notification settings on your smartphone. Ensure the alarm host has a stable internet connection.
For further assistance, please contact PGST customer support.
8. 사양
| 특징 | 사양 |
|---|---|
| 모델 번호 | PG107-4G/T53A |
| 상표 | PGST |
| 연결 기술 | 와이파이, GSM |
| 전원 | WiFi/GSM (Main unit), 1 Lithium-ion battery (Main unit), other batteries for sensors |
| 제어 방법 | Touch (Control Panel) |
| 호환 장치 | 스마트폰, 태블릿 |
| 설치 유형 | (센서용) 접착식 |
| 경고 유형 | Audio only, Motion only |
| 제품 크기(L x W x H) | 30.9 x 16.1 x 10.2cm |
| 품목 무게 | 1.04 킬로그램 |
9. 보증 및 지원
For warranty information, technical support, or service inquiries, please refer to the contact details provided with your purchase or visit the official PGST web사이트. 보증 청구를 위해 구매 증빙 자료로 구매 영수증을 보관하세요.