
1. 서론
The AXTON AT401 is a powerful 4-channel Class D amplifier specifically designed for 24V on-board networks found in trucks, lorries, and motorhomes. This amplifier provides a significant audio upgrade, enhancing the performance and sound quality of existing factory or aftermarket multimedia/GPS systems without requiring a complete system overhaul. Its compact design and robust construction ensure reliable operation and flexible installation.
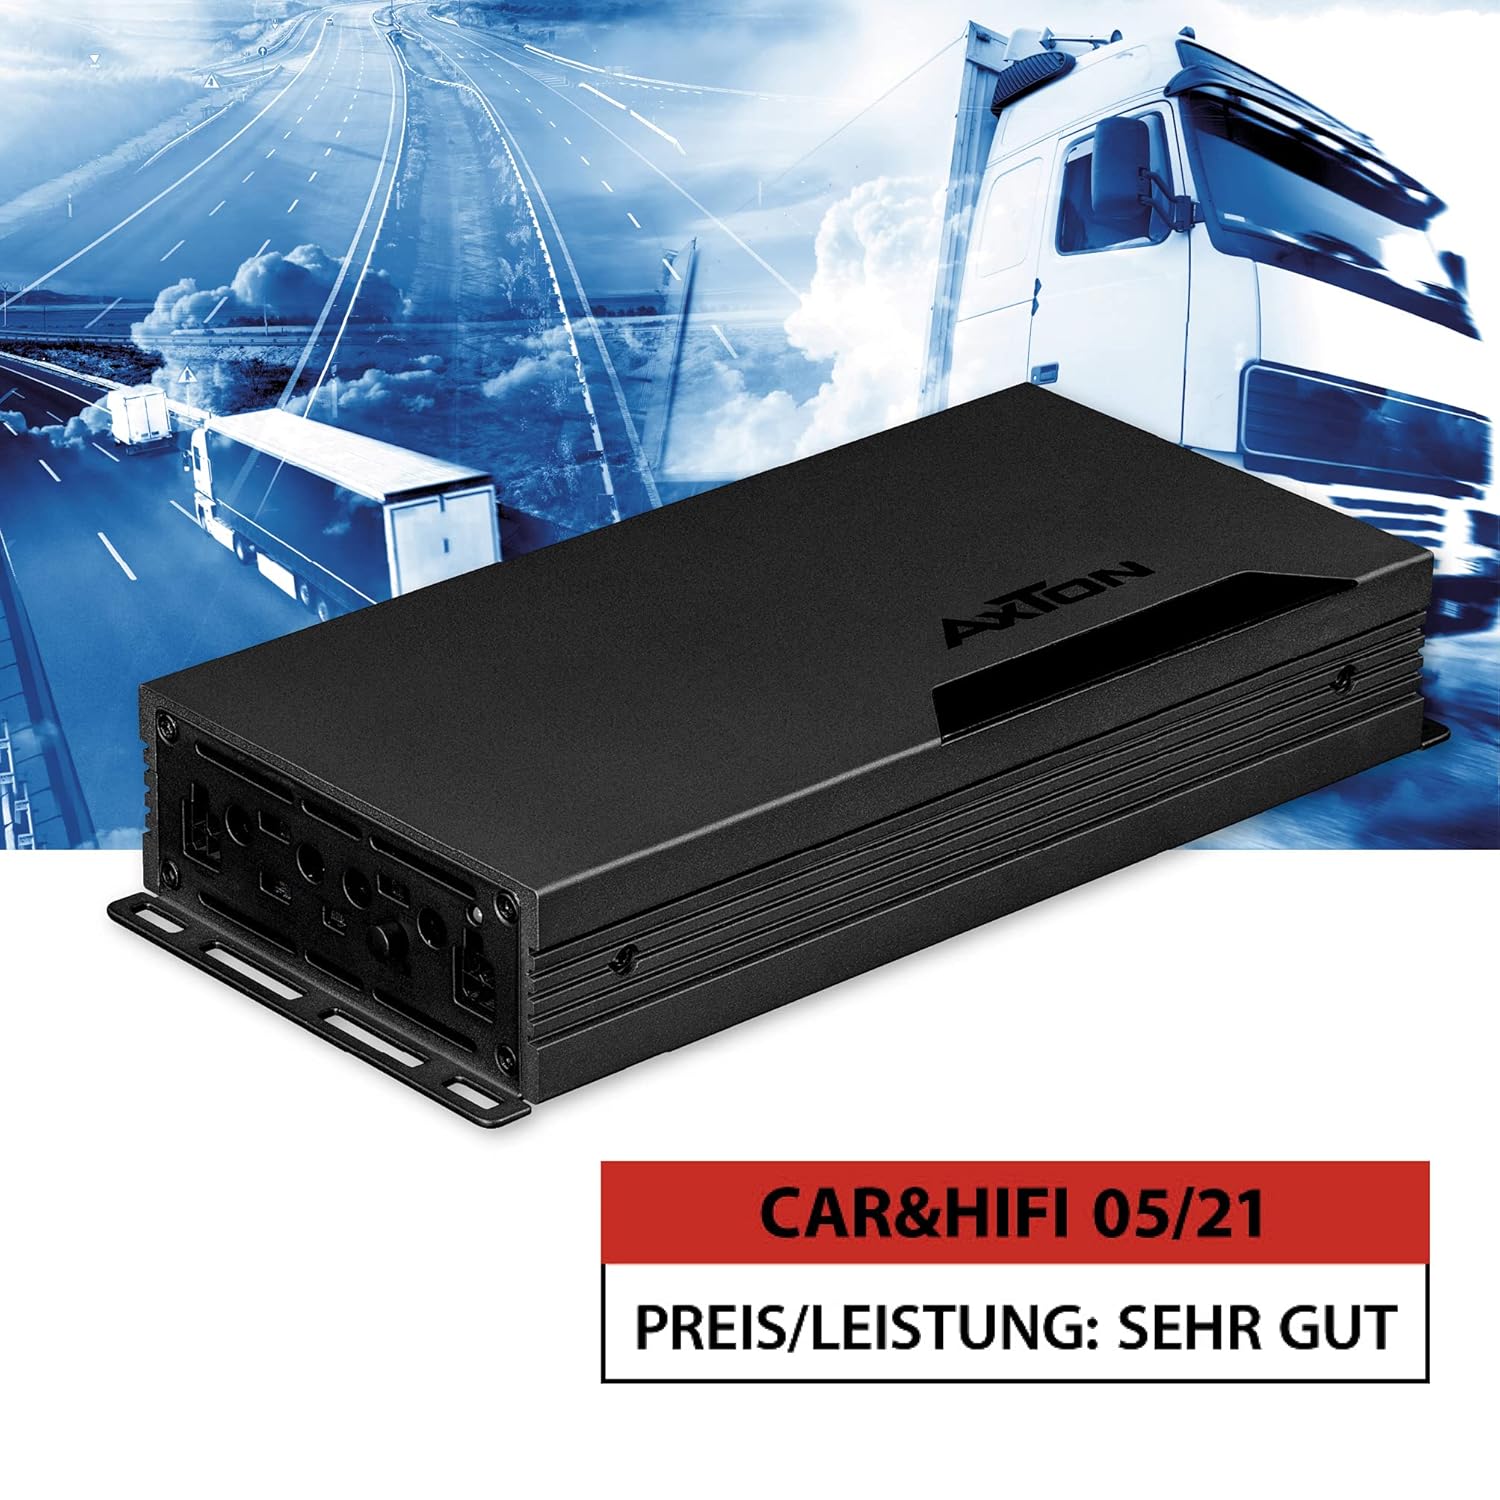
이미지 1.1: 앞면 view of the AXTON AT401 4-Channel 24V Class D Amp리퍼.
2. 안전 지침
- 전기 작업을 시작하기 전에 항상 차량의 배터리를 분리하십시오.
- 전기 위험을 방지하기 위해 적절한 접지를 확인하십시오.
- 설치하다 amp발전기는 직사광선, 열원 및 습기를 피해 건조하고 통풍이 잘 되는 곳에 두십시오.
- Use appropriate gauge wiring for power, ground, and speaker connections as specified in the installation guide.
- 제품을 열거나 수정하려고 시도하지 마십시오. amp수리 담당자. 모든 서비스는 자격을 갖춘 담당자에게 의뢰하세요.
- Avoid routing cables near moving parts or sharp edges. Secure all wiring to prevent damage.
- 이것 amplifier is designed for 24V vehicle electrical systems only. Connecting it to a 12V system or higher voltage than specified will cause damage.
3. 패키지 내용
다음 품목이 패키지에 포함되어 있는지 확인하세요.
- AXTON AT401 4-Channel Amp리퍼
- 장착 하드웨어(나사, 브래킷)
- 사용 설명서 (본 문서)
- Connector plugs for power and speaker outputs
누락되거나 손상된 품목이 있는 경우 즉시 대리점에 문의하십시오.
4. 제품 특징
- Powerful 4-Channel Class D Amp정수기: Delivers robust sound performance for 24V vehicle systems.
- 24V On-Board Network Compatibility: Specifically designed for trucks, lorries, and motorhomes.
- 컴팩트한 디자인: Measuring approximately 10.5 cm wide and 4 cm high, allowing flexible installation in confined spaces.
- 효율적인 열 발산: Solid aluminum heat sink ensures optimal continuous operating temperature.
- Optimized Circuitry: Board layout designed for low distortion and equipped with selected components.
- 높은 출력 전력: 4 x 100 W RMS (4 ohms) or 2 x 350 W RMS (bridged).
- Integrated Electronic Crossovers: 12 dB/octave, continuously adjustable from 40 to 400 Hz (High-Pass or Low-Pass filter).
- High-Level Inputs with Auto-Turn-On: Allows connection to original radios without RCA outputs, simplifying integration with factory systems.
5. 설정 및 설치
최적의 성능과 안전을 위해서는 올바른 설치가 필수적입니다. 설치 단계에 대해 잘 모르시겠다면 전문 설치 기사에게 문의하세요.
5.1 장착 Amp리퍼
건조하고 통풍이 잘 되며 안전한 설치 장소를 선택하십시오. 주변에 충분한 공간을 확보하십시오. amplifier for air circulation. Use the provided mounting hardware to firmly secure the amplifier to a solid surface in the vehicle.

Image 5.1: The aluminum heat sink ensures efficient heat dissipation.
5.2 배선 연결
Refer to the diagram below for connection points. Always use appropriate gauge wiring.

이미지 5.2: 이상view of amplifier connections and controls.
- 전원 연결(+24V): Connect a fused 24V power cable directly from the vehicle's battery. Ensure the fuse is located close to the battery.
- 접지 연결(GND): Connect a short, heavy-gauge cable from the amp앰프의 접지 단자를 차량 섀시의 깨끗하고 도색되지 않은 금속 표면에 연결하십시오.
- 원격 켜기(REM): If using low-level inputs, connect this to the remote output of your head unit. If using high-level inputs with Auto-Turn-On, this connection may not be necessary.
- 스피커 출력: Connect your speakers to the FRONT and REAR output terminals. Observe correct polarity (+/-). For bridged mode, refer to the specific bridging instructions.
- 입력 연결:
- 상위 수준 입력: Connect the speaker outputs from your head unit directly to the amplifier's high-level input terminals. This is ideal for factory radios without RCA outputs.
- 저수준 입력(RCA): 헤드 유닛에 RCA 프리앰프 출력 단자가 있다면, 해당 단자를 연결하십시오. amplifier의 RCA 입력 잭.
5.3 Auto-Turn-On Function
The AT401 features an Auto-Turn-On function for high-level inputs. This allows the amplifier to turn on automatically when it detects an audio signal from the head unit, eliminating the need for a separate remote turn-on wire. Ensure the switch is set to the appropriate mode (DC or VOX) for this function.

Image 5.3: Auto-Turn-On function switch for flexible use.
6. 사용 설명서
Once installed, the AT401 amplifier offers various adjustments to fine-tune your audio system.
6.1 Gain (SENS) Adjustment
The gain control (SENS) matches the amplifier's input sensitivity to the output level of your head unit. Start with the gain set to minimum. Gradually increase the head unit volume until distortion is heard, then back off slightly. Then, slowly increase the amplifier's gain until the desired volume is achieved without distortion.
6.2 Crossover (X-OVER) Settings
The AT401 features integrated 12 dB/octave electronic crossovers, adjustable from 40 to 400 Hz. These allow you to filter specific frequency ranges to your speakers.

Image 6.1: Adjustment options for crossovers and input sensitivity.
- HPF(하이패스필터): 주파수를 허용합니다 ~ 위에 the set point to pass through. Use for full-range speakers to prevent low bass distortion.
- LPF(저역통과필터): 주파수를 허용합니다 아래에 the set point to pass through. Use for subwoofers.
- 가득한: 크로스오버를 비활성화하여 모든 주파수가 통과하도록 합니다.
Adjust the FREQ knob to select the desired crossover frequency for each channel pair (FRONT/REAR).
7. 유지관리
- 유지하다 amp부드럽고 마른 천으로 닦아 깨끗하게 유지하세요. 강한 화학 물질이나 연마성 세제는 사용하지 마세요.
- Ensure that the heat sink fins are free from dust and debris to maintain proper cooling.
- 모든 배선 연결부의 조임 상태와 부식 여부를 정기적으로 점검하십시오.
- 위에 물건을 올려놓지 마세요. amp공기 흐름을 방해할 수 있는 증폭기.
8. 문제 해결
| 문제 | 가능한 원인 | 해결책 |
|---|---|---|
| 전원 없음/소리 없음 | Blown fuse, loose power/ground connection, no remote signal, incorrect Auto-Turn-On setting. | Check fuse, verify power/ground connections, ensure remote wire is connected (if applicable), check Auto-Turn-On switch. |
| 왜곡된 소리 | Gain set too high, incorrect crossover settings, damaged speaker. | Reduce gain, adjust crossover settings, check speaker condition. |
| 한 채널에서 소리가 나지 않습니다 | Loose speaker wire, faulty RCA/high-level input, damaged speaker. | Check speaker connections, verify input signal, test speaker. |
| Amp앰프가 뜨거워집니다 | Insufficient ventilation, low impedance load, prolonged high output. | Ensure proper airflow, check speaker impedance, reduce volume or gain. |
9. 사양
| 특징 | 사양 |
|---|---|
| 모델 번호 | AT401 |
| 제조업체 | 액스턴 |
| 채널 수 | 4 |
| Ampliifier 클래스 | D 클래스 |
| 출력 전력(RMS) | 4 x 100 W (4 Ohms) / 2 x 350 W (Bridged) |
| 권tage | 24볼트(DC) |
| 크로스 오버 유형 | 12 dB/oct. High-Pass/Low-Pass |
| 크로스오버 주파수 범위 | 40 - 400 Hz (Continuously adjustable) |
| 입력 유형 | High-Level with Auto-Turn-On / Low-Level (RCA) |
| 재료 | 알류미늄 |
| 치수(길이 x 너비 x 높이) | 약 27.7 x 10.5 x 4cm(10.9 x 4.1 x 1.6인치) |
| 무게 | 1.38kg(3.04파운드) |
| 인증 | CE |
10. 보증 및 지원
AXTON products are manufactured to high-quality standards. This product is covered by a manufacturer's warranty against defects in materials and workmanship. The specific warranty period and terms may vary by region and retailer. Please retain your proof of purchase for warranty claims.
For technical support, service, or warranty inquiries, please contact your authorized AXTON dealer or visit the official AXTON web연락처 정보 사이트.