
DIHOOM Wireless Security Camera NVR (Recorder Unit)
DIHOOM Wireless Security Camera NVR Instruction Manual
Model: Wireless Security Camera NVR (Recorder Unit Only)
브랜드: 디훔
1. 서론
This instruction manual provides detailed information on the setup, operation, and maintenance of your DIHOOM Wireless Security Camera NVR. This NVR (Network Video Recorder) unit is designed to work with DIHOOM wireless surveillance cameras, supporting up to 8 cameras with 5-megapixel resolution. It features H.265+ compression for efficient storage and supports both local and remote monitoring via smartphone or PC.

이미지: 앞면 view of the DIHOOM Wireless Security Camera NVR unit, showing its compact design and two antennas.
2. 제품 오버view 및 구성 요소
Familiarize yourself with the various ports and indicators on your NVR unit.

Image: Diagram illustrating the components and ports of the DIHOOM NVR. Key components include: (1) Power Lamp, (2) HDD Lamp, (3) RUN Lamp, (4) Antennas, (5) USB Port, (6) VGA Port, (7) Switch Button, (8) Power Port, (9) LAN Port, (10) HDMI Port.
- 파워 Lamp: 장치의 전원 상태를 나타냅니다.
- HDD Lamp: Indicates the status of the hard disk drive.
- 런 엘amp: Indicates the operational status of the NVR.
- 안테나 : 카메라와의 무선 통신을 위해.
- USB 포트: 마우스나 외부 저장장치를 연결하는 데 사용합니다.
- VGA 포트: For connecting to a monitor via VGA cable.
- 스위치 버튼: 전원 켜기/끄기 스위치.
- 전원 포트: 전원 어댑터를 연결합니다.
- LAN 포트: For wired network connection to a router.
- HDMI 포트 : For connecting to a monitor via HDMI cable.
3. 설정 가이드
The DIHOOM NVR is designed for easy setup with minimal configuration required for wireless cameras.

Image: Visual guide for NVR setup. Steps include: 1. Powering on the camera and connecting the NVR to a router. 2. Downloading the mobile application. 3. View녹음 중.
3.1 Initial Wireless Connection
- 카메라 전원 켜기: Ensure all DIHOOM wireless cameras are powered on and within range of the NVR.
- NVR 전원 켜기: Connect the power adapter to the NVR's power port and plug it into an electrical outlet. The NVR will power on automatically.
- 디스플레이에 연결: HDMI 또는 VGA 포트를 사용하여 NVR을 모니터나 TV에 연결하십시오.
- 자동 페어링: The NVR will automatically detect and pair with powered-on DIHOOM wireless cameras. Live feeds should appear on the connected display.
3.2 유선 연결 (선택 사항)
For improved signal strength or specific network configurations, individual cameras can be connected to the NVR via an Ethernet cable.
- Connect one end of an Ethernet cable to the camera's LAN port.
- Connect the other end of the Ethernet cable to an available LAN port on the NVR.
- The NVR will automatically switch the camera's connection to wired mode.
3.3 Remote Monitoring Setup
원격을 활성화하려면 viewing via smartphone or PC, the NVR must be connected to your home network.
- NVR을 라우터에 연결하세요: Use an Ethernet cable to connect the NVR's LAN port to an available port on your internet router.
- 앱 다운로드 : Download the official DIHOOM monitoring application from your smartphone's app store (App Store for iOS, Google Play for Android).
- 등록/로그인: Follow the in-app instructions to register an account and add your NVR device using its unique ID or QR code.
- PC 클라이언트: For PC monitoring, download the dedicated client software from the official DIHOOM web대지.
4. NVR 작동
4.1 라이브 View and Playback (Local Operation)
When connected to a display, you can perform real-time viewing, playback, and system settings directly on the NVR using a USB mouse.
- 실시간 Viewing: Displays live feeds from all connected cameras.
- 재생: 기록된 foo에 액세스tage stored on the installed HDD.
- 설정: Configure various NVR parameters, including recording modes, network settings, and user management.
4.2 녹음 모드
The NVR supports three primary recording modes to suit different surveillance needs.
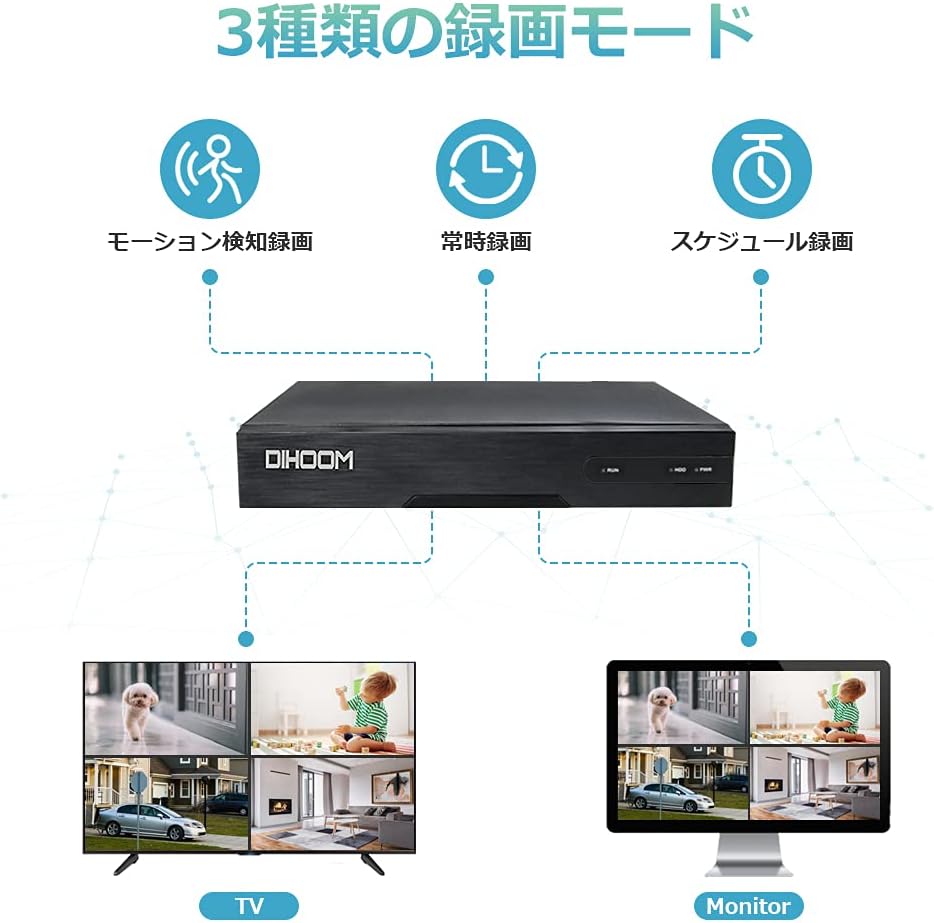
Image: Diagram illustrating the three recording modes: Motion Detection Recording, Continuous Recording, and Schedule Recording. Below are examples of multi-camera views on a TV and a monitor.
- 연속 녹화 : 24시간 내내 중단 없이 녹화합니다.
- 녹화 일정: Allows you to set specific times for recording.
- 모션 감지 녹화: Records only when motion is detected, saving storage space. When abnormal movement is detected, the NVR will trigger a buzzer alarm and send notifications to your smartphone.

Image: Illustration of the motion detection feature, showing a camera detecting human movement and the NVR unit emitting an alarm sound.
5. 주요 특징
- 5 Megapixel Resolution Support: The NVR's default resolution is 5MP (2560x1920), providing clear and detailed images. It supports five different resolution settings for monitoring systems.
- H.265+ High Compression Technology: Adopting H.265+ compression technology, this NVR saves approximately half the HDD capacity compared to conventional H.264. This also reduces bandwidth usage, resulting in smoother video playback.

Image: Comparison of H.264, H.265, and H.265+ compression, showing H.265+ offers significantly longer recording times for the same storage capacity (e.g., 27 days vs. 9 days for 1TB HDD).
- Supports up to 8 Cameras: This NVR can be expanded to support up to 8 wireless security cameras, allowing for comprehensive surveillance coverage.
- Local and Remote Operation: The NVR supports local operation (real-time viewing, playback, settings) without an internet connection when connected to a display. For remote monitoring via smartphone or PC, a wired LAN connection to a router is required.
6. 유지관리
Proper maintenance ensures the longevity and optimal performance of your DIHOOM NVR.
- 청소: Regularly wipe the NVR unit with a soft, dry cloth. Do not use liquid cleaners or aerosols.
- 통풍: 과열을 방지하기 위해 NVR을 통풍이 잘 되는 곳에 설치하십시오. 통풍구를 막지 마십시오.
- 펌웨어 업데이트: Periodically check the DIHOOM official web시스템에 최신 기능과 보안 패치가 적용되도록 펌웨어 업데이트를 제공하는 사이트입니다.
- HDD 상태: HDD가 설치된 경우 데이터 손실을 방지하기 위해 NVR의 시스템 설정을 통해 HDD의 상태를 모니터링하십시오.
7. 문제 해결
This section addresses common issues you might encounter with your DIHOOM NVR.
| 문제 | 가능한 원인 | 해결책 |
|---|---|---|
| 표시되는 이미지가 없습니다. | 케이블 연결이 헐거워졌거나, 모니터의 입력 소스가 잘못되었거나, NVR 전원이 켜져 있지 않을 수 있습니다. | Check HDMI/VGA cable connection. Ensure monitor input is set correctly. Verify NVR power lamp 켜져있습니다. |
| 카메라가 나타나지 않습니다. | Cameras not powered on, out of range, interference, or not paired. | Ensure cameras are powered. Reduce distance between NVR and cameras. Try wired connection for problematic cameras. Re-pair cameras if necessary (refer to NVR settings). |
| 원격 view작동하지 않습니다. | NVR not connected to router, network issues, incorrect app settings. | Verify NVR is connected to router via LAN cable. Check router's internet connection. Ensure correct device ID/QR code is entered in the app. |
| Recording not happening. | No HDD installed, HDD full, incorrect recording schedule, motion detection not triggered. | Install a compatible HDD (up to 6TB). Check HDD status and free space. Verify recording schedule or motion detection settings. |
8. 사양
| 특징 | 세부 사항 |
|---|---|
| 상표 | 디훔 |
| 모델 유형 | Wireless Security Camera NVR (Recorder Unit) |
| ASIN | B09362BY11 |
| 한국어: | 631851245137 |
| 연결 기술 | Wi-Fi (Wireless), Ethernet (Wired) |
| 채널 수 | 8 (최대 8대의 카메라 지원) |
| 최대 해상도 | 5 메가픽셀(2560x1920) |
| 비디오 압축 | H.265 + |
| HDD 지원 | 최대 6TB (HDD 별도 구매) |
| 패키지 크기 | 50 x 46 x 39cm |
| 패키지 무게 | 13.6kg |
9. 보증 및 지원
DIHOOM is committed to providing high-quality products and excellent customer support.


Image: Left: DIHOOM customer support representatives ready to assist. Right: DIHOOM's quality control process, ensuring each product is inspected before shipment.
- 품질 보증: Products undergo rigorous inspection before shipment.
- 기술 지원: Professional technical support is available for assistance with product setup, operation, and troubleshooting.
- 연락처 정보: For support inquiries, please refer to the contact details provided on the DIHOOM official web사이트 또는 구매 문서.
Ask a question about this manual
Ask about setup, troubleshooting, compatibility, parts, safety, or missing instructions. Manuals+ will review the question and use this page’s manual context to help answer it.