
1. 서론
This manual provides detailed instructions for the setup, operation, maintenance, and troubleshooting of your UF-TOOLS 7-Inch LCD Digital Microscope. Please read this manual thoroughly before using the device to ensure proper functionality and to maximize its lifespan.
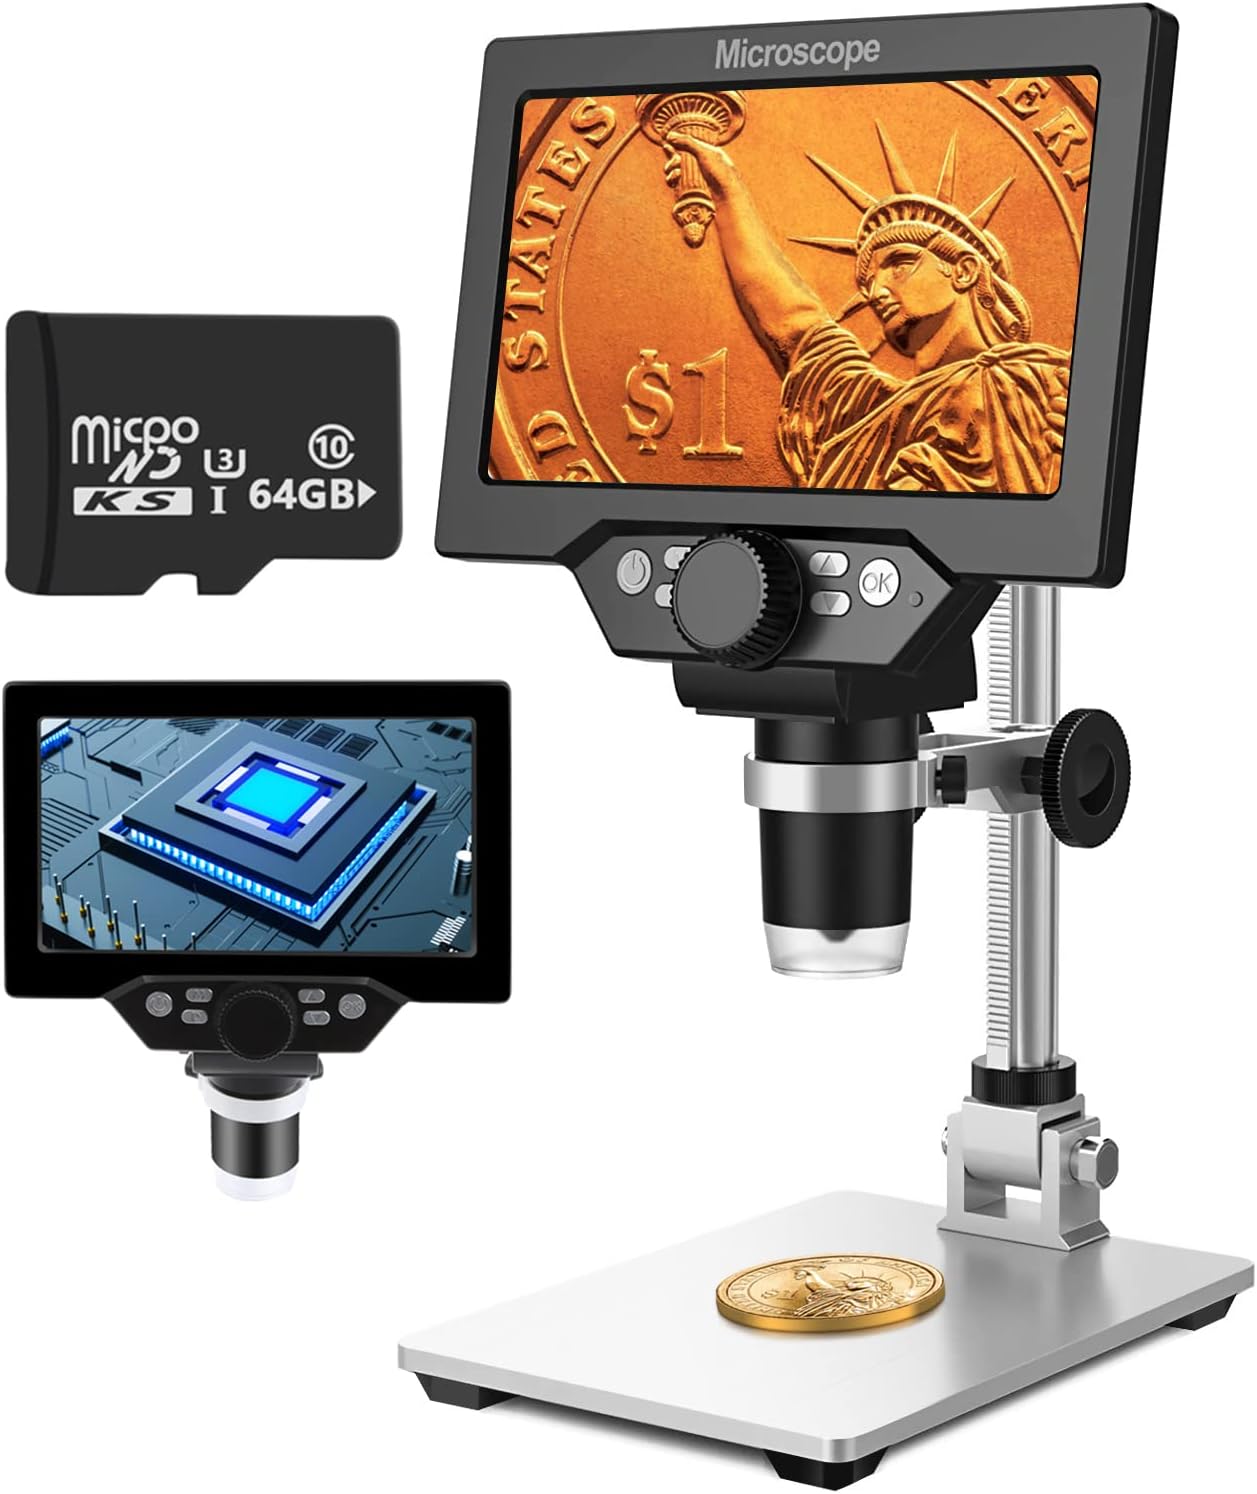
Image 1.1: UF-TOOLS 7-Inch LCD Digital Microscope with included 64GB TF card, showing the main unit and stand.
1.1 주요 특징
- 7인치 LCD 화면: Provides a clear, high-definition display for direct viewing without a computer.
- 10X-1200X 배율: Continuous zoom capability for observing various objects.
- 12MP 카메라 : Captures high-resolution images and 1080P video.
- 64GB TF 카드: Included for direct storage of photos and videos. Supports up to 128GB.
- 8개의 조절 가능한 LED 조명: Ensures optimal illumination for detailed observation.
- Flexible Aluminum Alloy Stand: Allows for 90° angle adjustment and 2-10cm focus distance adjustment.
- 내장형 3000mAh 배터리: Offers portability with up to 6 hours of operation on a full charge.
- PC 연결: Compatible with Windows 7/8/10 for larger display and data transfer.
2. 패키지 내용
아래 나열된 모든 품목이 패키지에 들어 있는지 확인하세요.
- UF-TOOLS 7-Inch LCD Digital Microscope Unit
- Adjustable Aluminum Alloy Stand
- 64GB TF 카드
- USB 케이블
- 전원 어댑터(포함된 경우)
- 사용 설명서 (본 문서)

Image 2.1: The microscope package includes a 64GB TF card for storage.
3. 설정 가이드
3.1 현미경 조립하기
- 상자에서 모든 구성품을 조심스럽게 꺼내세요.
- Attach the microscope unit to the adjustable aluminum alloy stand. Ensure it is securely fastened using the provided screws or locking mechanisms.
- Insert the 64GB TF card into the designated slot on the microscope unit.
- Place the assembled microscope on a stable, flat surface.

Image 3.1: Product dimensions and adjustable stand features, including 270° rotation and height adjustment.
3.2 배터리 충전
The microscope has a built-in 3000mAh rechargeable battery. Before first use, fully charge the device.
- Connect the USB cable to the microscope's charge port and the other end to a power adapter or a computer's USB port.
- 충전 표시등은 충전 상태를 보여줍니다.
- 완충 시 일반적으로 최대 6시간 동안 연속 사용이 가능합니다.

Image 3.2: The microscope features a long-lasting rechargeable battery, charged via USB.
4. 사용 설명서
4.1 디바이스 오버view 및 제어

이미지 4.1: 이상view of the microscope's controls and ports, including charge port, MicroSD slot, light regulation, fixed knob, lifting adjusting bracket knob, and various function buttons.
- 전원 켜기/끄기: 전원 버튼을 길게 눌러 기기를 켜거나 끄세요.
- Video/Camera Playback: Use dedicated buttons to switch between video recording, photo capture, and playback modes.
- System Key Programming: Access menu settings for various configurations.
- Object Distance Adjustment: 렌즈와 피사체 사이의 거리를 조절하세요.
- 페이지 위로/아래로: Navigate through menus or captured media.
- Confirm Key/Camera Button: Select options or capture photos/videos.
- Light Regulation: Adjust the brightness of the 8 LED lights.
- 고정형 손잡이: Secures the microscope unit to the stand.
- Lifting Adjusting Bracket Knob: Adjusts the height of the microscope unit on the stand.
4.2 확대 및 초점 조절
- 관찰하고자 하는 물체를 받침대 위에 놓으십시오.
- Adjust the height of the microscope unit using the Lifting Adjusting Bracket Knob to get a rough focus.
- Use the focus wheel on the microscope lens to fine-tune the focus until the image on the 7-inch LCD screen is clear.
- The magnification range is 10X to 1200X. Adjust the distance between the lens and the object, along with the focus wheel, to achieve the desired magnification.

Image 4.2: The microscope features an adjustable screen, free length adjustment, and precise focus control.

Image 4.3: Digital magnification from 10X to 1200X, demonstrating the zoom capability on small objects.
4.3 LED 조명 사용
The microscope is equipped with 8 adjustable LED lights to illuminate your subject. Use the Light Regulation control to increase or decrease brightness as needed for optimal view주고받음.

Image 4.4: The 8 LED lights provide adequate illumination for observing objects in various lighting conditions.
4.4 사진 및 비디오 촬영
With the included 64GB TF card, you can directly save images and videos.
- In photo mode, press the Confirm/Camera button to capture an image.
- In video mode, press the Confirm/Camera button to start recording, and press again to stop.
- Captured media can be reviewed using the playback function.
4.5 PC 연결
에게 view observations on a larger screen or transfer files, connect the microscope to a Windows PC (Windows 7/8/10) using the provided USB cable.
- Connect the microscope to your PC via the USB cable.
- The microscope should be recognized as a storage device or a webcam, depending on the mode selected on the microscope.
- You can then access the stored images/videos or use the microscope as a live camera feed.

Image 4.5: Connect the microscope to a PC for a larger viewing experience and data management.
5. 유지관리
5.1 청소
- 렌즈: 광학 렌즈 전용으로 제작된 부드럽고 보풀 없는 천을 사용하십시오. 잘 지워지지 않는 얼룩의 경우, 렌즈에 직접 닿지 않도록 천에 소량의 렌즈 세척액을 묻혀 사용하십시오.
- 화면: Wipe the LCD screen gently with a microfiber cloth. Avoid harsh chemicals.
- 몸: Clean the microscope body and stand with a soft, dry cloth. Do not use abrasive cleaners or solvents.
5.2 보관
- 현미경은 직사광선과 극한 온도 변화를 피해 서늘하고 건조한 곳에 보관하십시오.
- 장기간 보관할 경우, 배터리 수명을 연장하려면 배터리를 부분적으로(약 50%) 충전해 두세요.
- Keep the lens covered to prevent dust accumulation.
5.3 배터리 관리
- 배터리를 자주 완전히 방전시키지 마세요.
- 배터리의 성능을 유지하려면 사용하지 않더라도 정기적으로 충전하세요.
- 배터리를 고온에 노출시키지 마십시오.
6. 문제 해결
- 전원 없음:
- Ensure the battery is charged. Connect the microscope to a power source and try again.
- 전원 케이블 연결을 확인하세요.
- 흐릿한 이미지:
- Adjust the focus wheel carefully.
- Adjust the height of the microscope unit on the stand.
- Ensure the object is properly illuminated by adjusting the LED lights.
- 렌즈에 얼룩이나 먼지가 묻어 있으면 닦아주세요.
- Cannot Capture Photos/Videos:
- Ensure a TF card is inserted and properly formatted.
- Check if the TF card has sufficient storage space.
- Verify the device is in the correct photo or video capture mode.
- PC에서 장치를 인식하지 못합니다:
- Ensure the USB cable is securely connected to both the microscope and the PC.
- 컴퓨터의 다른 USB 포트를 사용해 보십시오.
- Restart both the microscope and the PC.
- Ensure your PC is running Windows 7/8/10.
7. 사양
| 특징 | 세부 사항 |
|---|---|
| 모델명 | SUGON-Digital Microscope |
| 화면 크기 | 7인치 LCD |
| 확대 | 10X-1200X |
| 카메라 해상도 | 12MP |
| 비디오 해상도 | 1080피 |
| 저장 | 64GB TF Card (Max 128GB supported) |
| 조명 | 8개의 LED 조명 |
| 배터리 용량 | 3000mAh 리튬 폴리머 |
| 배터리 수명 | 최대 6시간(대략) |
| PC 호환성 | 윈도우 7/8/10 |
| 재료 | 금속, 플라스틱 |
| 품목 무게 | 2.44파운드(1.11kg) |
| 패키지 크기 | 9.8 x 8.19 x 3.35 인치 |
8. 보증 및 지원
UF-TOOLS provides the following warranty and support for this product:
- 반품 기간: 45 days limited product return period.
- 교환 정책: 18 months exchange for product defects.
For technical support or warranty claims, please contact UF-TOOLS customer service through the retailer where the product was purchased or visit the official UF-TOOLS web연락처 정보 사이트.
참고: 보증 조건은 지역 및 판매점에 따라 다를 수 있습니다. 구매 증빙 자료를 보관하십시오.