
Roxicosly CR1001E
Roxicosly Digital Alarm Clock User Manual
모델: CR1001E
1. 서론
This manual provides detailed instructions for the setup, operation, and maintenance of your Roxicosly Digital Alarm Clock. Designed for ease of use, this alarm clock features a large LED display, dual alarms, adjustable brightness and volume, a USB charging port, and battery backup for convenience and reliability.
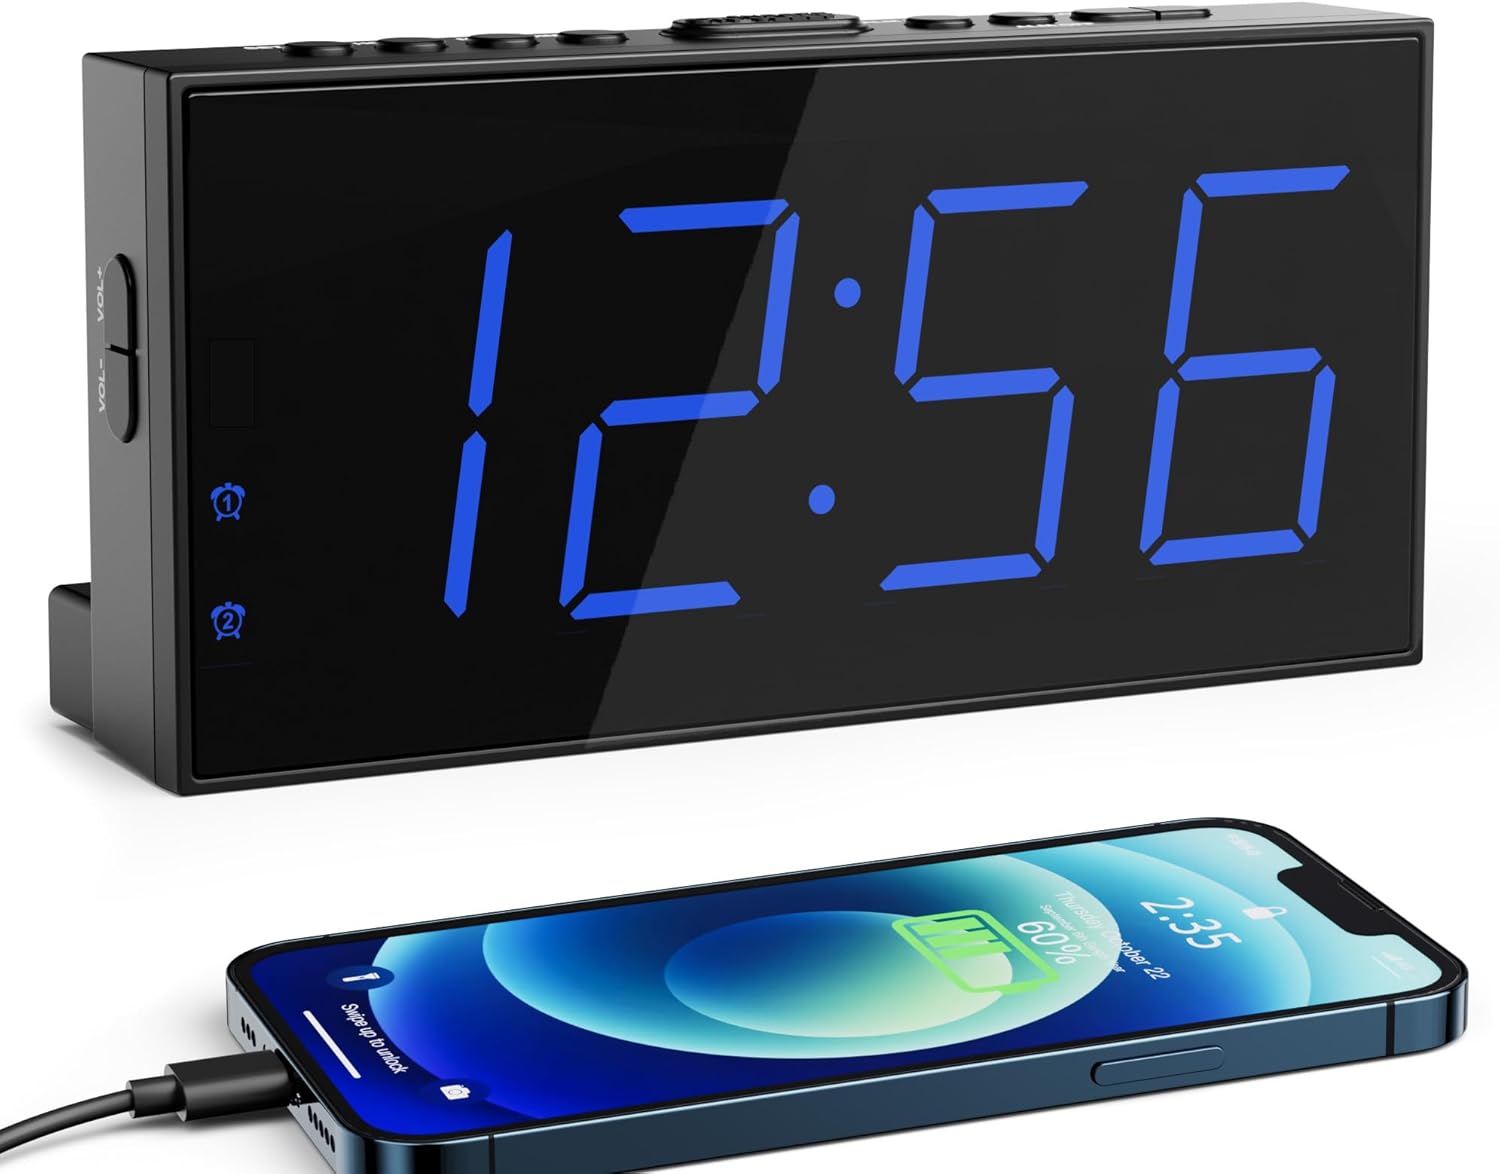
Image 1.1: The Roxicosly Digital Alarm Clock displaying time, with a smartphone connected for charging.
2. 제품 특징
- 7.5-inch Large LED Display: Provides clear visibility of time from a distance.
- 5-Level Adjustable Screen Brightness: Customize display intensity for day or night view주고받음.
- 이중 경보: Set two independent wake-up times.
- 5-Level Adjustable Alarm Volume: Ensures effective waking for various sleep preferences.
- 9분 스누즈 기능: Allows for a brief extension of sleep.
- USB 충전 포트 : Conveniently charge external devices (e.g., smartphones).
- 12/24H Format & DST Function: Switch between time formats and adjust for Daylight Saving Time.
- 배터리 백업을 통한 AC 전원: Operates on AC power with AAA batteries (not included) to retain settings during power outag에스.
- Stable Standing Design: Includes two back holders for secure tabletop placement.
3. 설정 지침
3.1 포장 풀기 및 구성품
포장에서 모든 구성품을 조심스럽게 꺼내십시오. 포장에는 다음이 포함되어야 합니다.
- Roxicosly Digital Alarm Clock
- 전원 단자
- 1.5m 전원 케이블
- Two Back Holders
- 사용 설명서 (본 문서)

Image 3.1: Included components of the alarm clock package.
3.2 전원 연결
- Connect the provided power cable to the DC IN port on the back of the alarm clock.
- Plug the power adapter into a standard AC power outlet (100-240V). The clock display will illuminate.

Image 3.2: Connecting the alarm clock to AC power.
3.3 배터리 백업 설치
For retaining time and alarm settings during power outages, install two AAA batteries (not included).
- 시계 뒷면의 배터리함 덮개를 여세요.
- 1.5V AAA 배터리 2개를 삽입할 때, 극성(+와 -)을 올바르게 맞춰주세요.
- 배터리 덮개를 닫습니다.
메모: Batteries are for backup only; the clock requires AC power for normal operation and display illumination.

Image 3.3: Installing AAA batteries for backup.
3.4 Stable Placement
Insert the two provided back holders into the designated slots on the bottom rear of the clock for enhanced stability on flat surfaces.
4. 사용 설명서
4.1 시간 설정
- 를 누르고 계세요 시간 설정 시 숫자가 깜빡일 때까지 버튼을 누르세요.
- 사용하세요 시간 그리고 최소 buttons to adjust the hour and minute respectively.
- 누르다 시간 설정 시간 설정 모드를 확인하고 종료하려면 다시 누르세요.
4.2 12/24 Hour Format and DST
To switch between 12-hour and 24-hour time formats, or to activate/deactivate Daylight Saving Time (DST):
- 를 누르세요 12/24시간 및 서머타임 button. Each press will cycle through 12H, 24H, and DST modes.
- In 12H format, a 'PM' indicator will appear for afternoon hours.
- When DST is active, a 'DST' indicator will be displayed, and the time will adjust by one hour.

Image 4.1: 12/24H and DST function button.
4.3 디스플레이 밝기 조정
The clock features 5 levels of display brightness. To adjust:
- 를 누르세요 주차 button repeatedly to cycle through the 5 brightness levels (from brightest to darkest, then off).
- 편안한 시야를 위해 원하는 밝기 수준을 선택하세요. view주고받음.
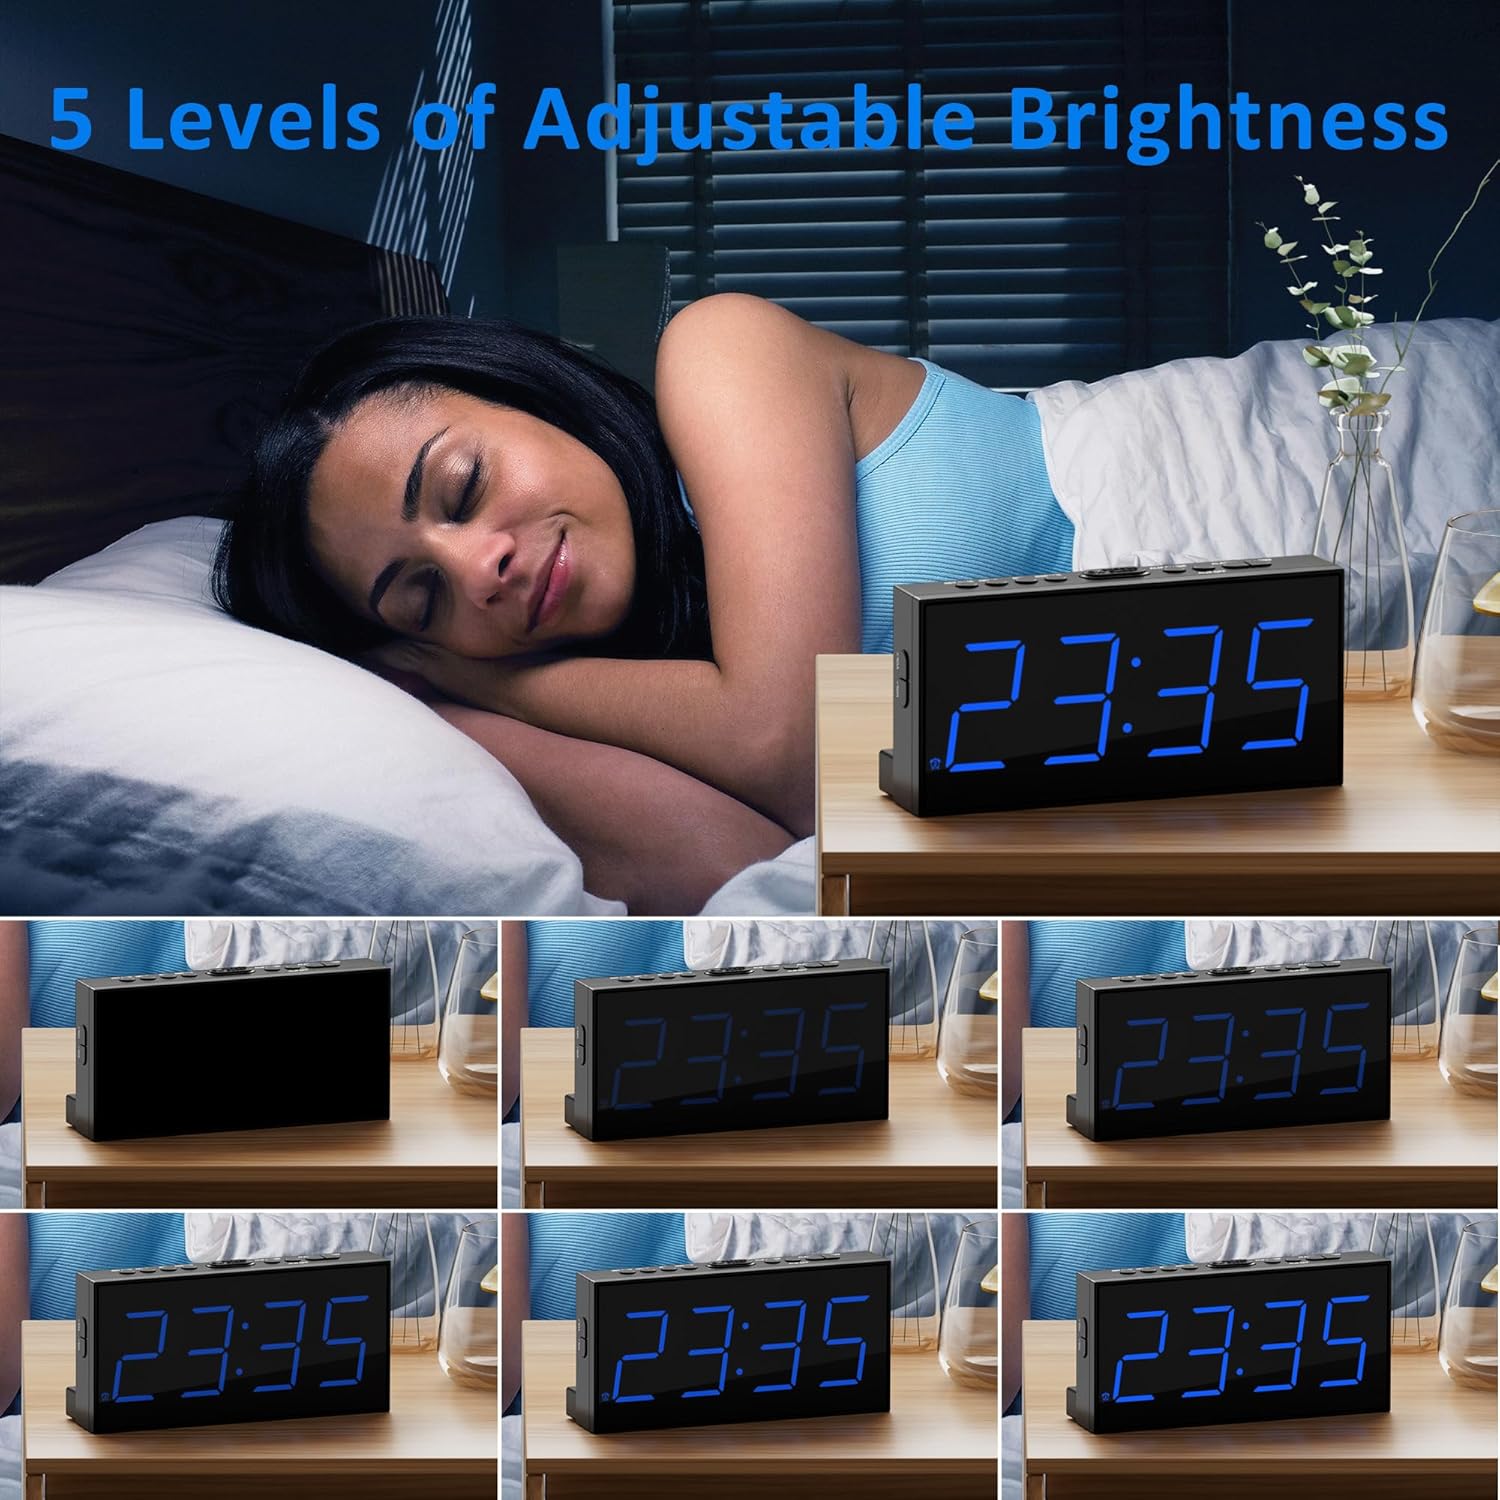
이미지 4.2: Examples of the 5 adjustable brightness levels.
4.4 알람 설정 (알람 1 및 알람 2)
이 시계는 두 개의 독립적인 알람을 설정할 수 있습니다.
- 를 누르세요 경보 1 or 경보 2 버튼을 한 번 누르면 현재 알람 시간이 표시됩니다.
- 각각의 버튼을 길게 누르세요 경보 시 숫자가 깜빡일 때까지 버튼을 누르세요.
- 사용하세요 시간 그리고 최소 원하는 알람 시간을 설정하려면 버튼을 누르세요.
- 를 누르세요 경보 button again to confirm and activate the alarm. The corresponding alarm icon (1 or 2) will appear on the display.
- To deactivate an alarm, press the respective 경보 알람 아이콘이 사라질 때까지 버튼을 누르세요.

Image 4.3: Dual alarm functionality.
4.5 스누즈 기능
알람이 울리면 큰 버튼을 누르세요. 선잠 button located on top of the clock to temporarily silence the alarm for 9 minutes. The alarm will sound again after 9 minutes.
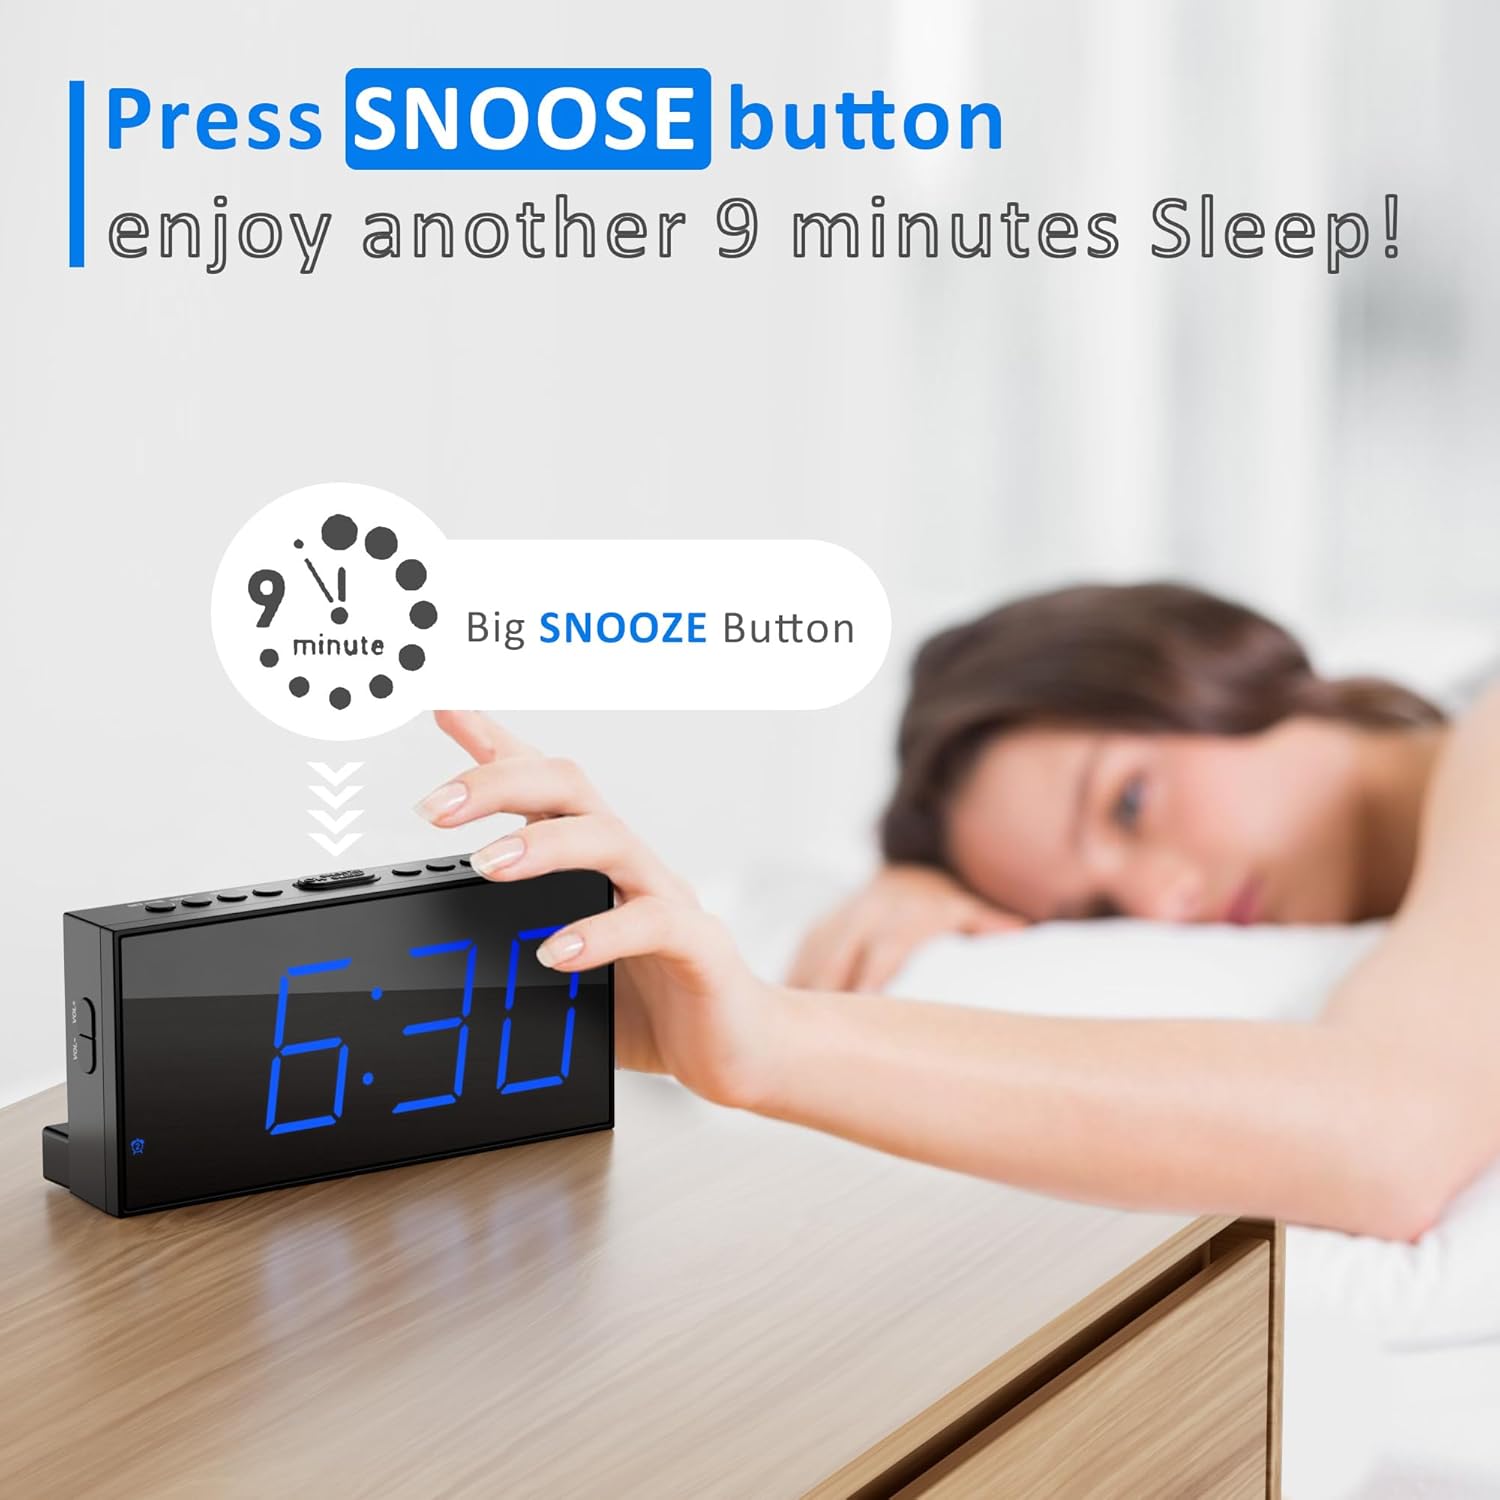
Image 4.4: Using the snooze button.
4.6 알람 소리 조절하기
알람 볼륨은 5단계로 조절 가능합니다.
- During an alarm, or while setting an alarm, use the 볼륨+ or 권 buttons on the side of the clock to increase or decrease the volume.
- The current volume level will be indicated on the display.

Image 4.5: Volume adjustment buttons and range.
4.7 USB 충전 포트
A USB charging port is located on the back of the clock. Connect your smartphone or other USB-powered device to this port using a compatible USB cable for charging.

Image 4.6: Using the USB charging port.
5. 유지관리
5.1 청소
To clean the alarm clock, gently wipe the surface with a soft, dry cloth. Avoid using abrasive cleaners, solvents, or harsh chemicals, as these may damage the finish or electronic components.
5.2 배터리 교체
If the clock loses its time or alarm settings after a power interruption, the AAA backup batteries may need to be replaced. Follow the steps in Section 3.3 to replace the batteries.
6. 문제 해결
- Display is blank or very dim:
Ensure the clock is properly connected to AC power. Check the brightness level using the 주차 button; it might be set to the lowest or off setting. - 전원이 꺼진 후 시간 또는 알람 설정이 손실됩니다.tage:
Verify that two fresh AAA batteries are correctly installed in the battery backup compartment. The batteries are essential for retaining settings during power interruptions. - Alarm is not sounding or is too quiet:
Ensure the alarm is activated (the alarm icon should be visible on the display). Adjust the alarm volume using the 볼륨+ 단추. - USB charging port is not working:
Ensure the clock is connected to AC power, as the USB charging function requires main power. Check the USB cable for damage and ensure it is properly connected to both the clock and your device. - Clock is unstable on a surface:
Ensure the two back holders are correctly inserted into their slots on the bottom rear of the clock.
7. 사양
| 특징 | 세부 사항 |
|---|---|
| 상표 | 록시코슬리 |
| 모델 | CR1001E |
| 디스플레이 유형 | 주도의 |
| 디스플레이 크기 | 7.5인치 |
| 전원 | 유선 전기 (AC 100-240V) |
| 배터리 백업 | AAA 배터리 2개 (포함되지 않음) |
| 특별 기능 | 12/24H&DST, 5-level Screen Brightness, Dual Alarms & 5-level Volume, USB Charging Port |
| 장착 유형 | 테이블탑 |
| 제품 치수 | 17.32 x 3.81 x 8.61cm |
| 품목 무게 | 170g |
| 재료 유형 | 플라스틱 |
8. 보증 및 지원
For warranty information or technical support, please refer to the contact details provided with your purchase or visit the official Roxicosly web사이트. 보증 청구에 대비해 구매 증빙 자료로 구매 영수증을 보관하세요.
Ask a question about this manual
Ask about setup, troubleshooting, compatibility, parts, safety, or missing instructions. Manuals+ will review the question and use this page’s manual context to help answer it.